QUICK LINKS

info@howtocraftnetwork.com
We just got smarter - shop and watch with the SBM appGET THE APPWatch us live on your smart TVSEE HOWDiscover our dedicated IPTV channel - go to my-telly.comWATCHCollect loyalty points on every orderFIND OUT MORE
Welcome to the How to Craft Network
 
SBM SHOP
FOLLOW US
GIVE YOUR FRIENDS $10 OFF REFER A FRIEND › DISCOVER MY-TELLY.COM › WE JUST GOT SMARTER GET THE APP › AWARD WINNING CHANNEL ON YOUR TV › JOIN THE CLUB FOR SAVINGS ›
 
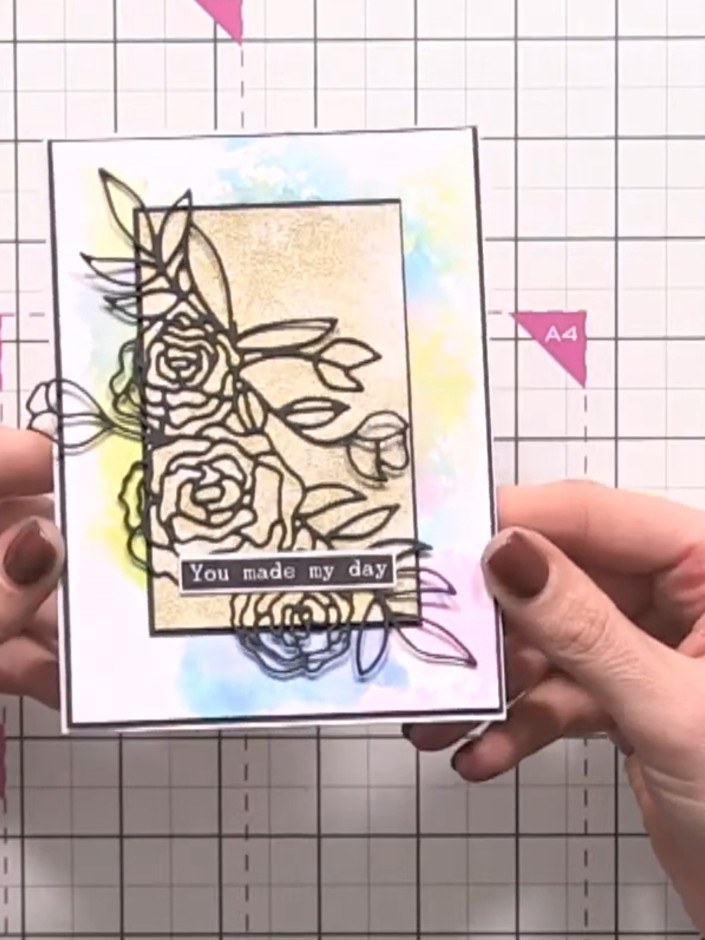
Layered Inky Background Card with Die-Cut Flower - the finished project
The finished project
As seen on the show · step by step

Layered Inky Background Card with Die-Cut Flower

A project from our live show MIGHTY MONDAY - Join Toni for her detailed papercrafting sessions - Broadcast 24th Feb 2025 · 02/24/2025

Create a stunning layered card featuring an elegant die-cut rose design over richly textured backgrounds. Combine a vibrant inky cellophane transfer with a shimmering gold panel, both mounted on black card for dramatic contrast. Complete your card with a delicate washi tape sentiment for a sophisticated handmade greeting.
13steps
26:00in the show
Step 1 of 13

You will need

the products used on the show

Step by step

Tap “watch” to see each step being made
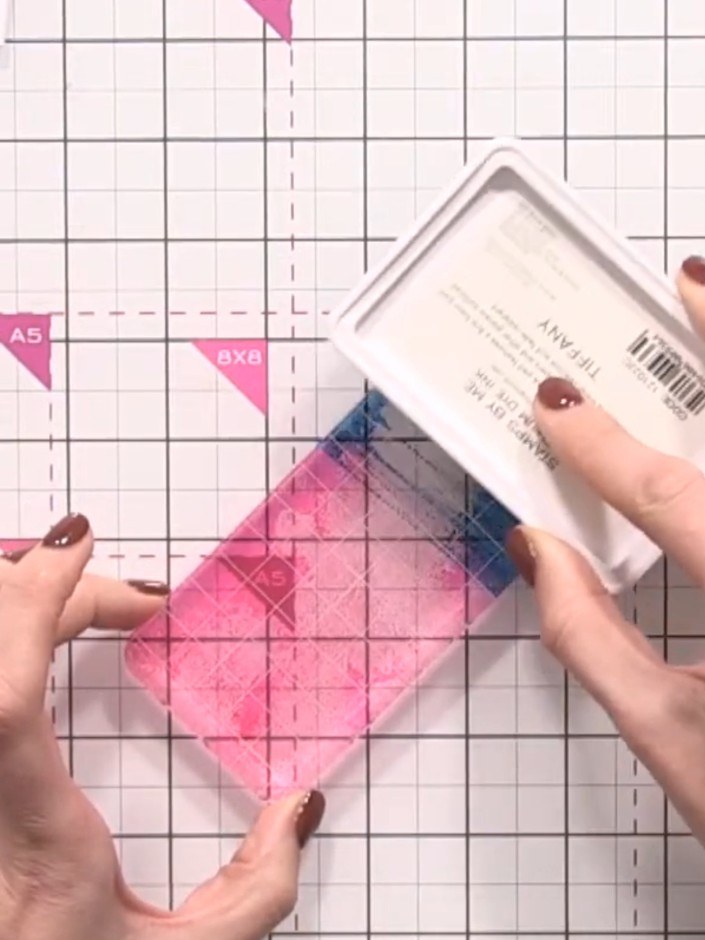
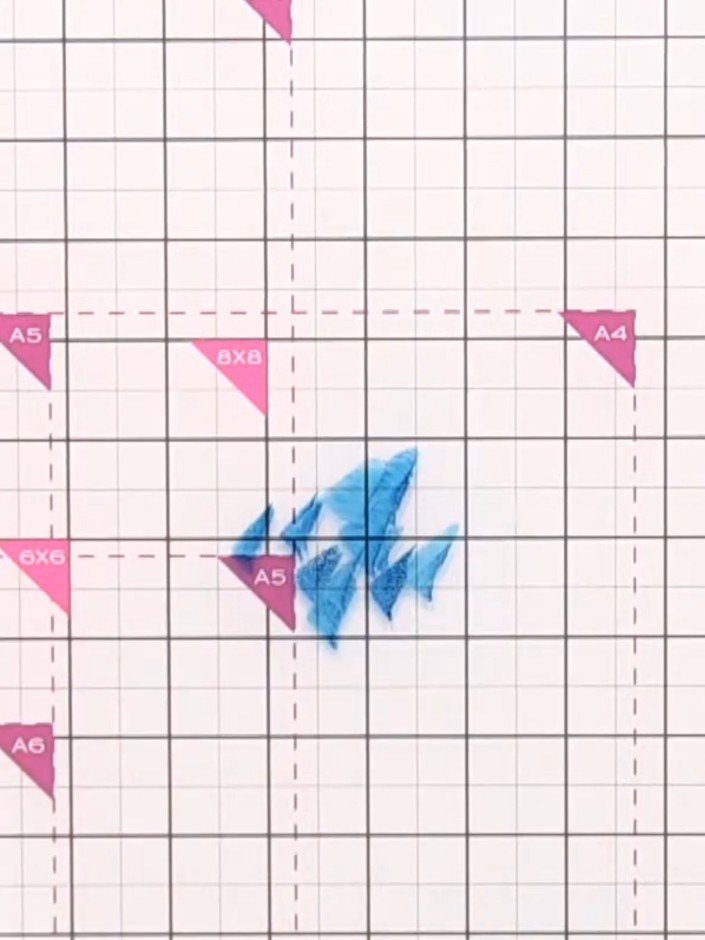
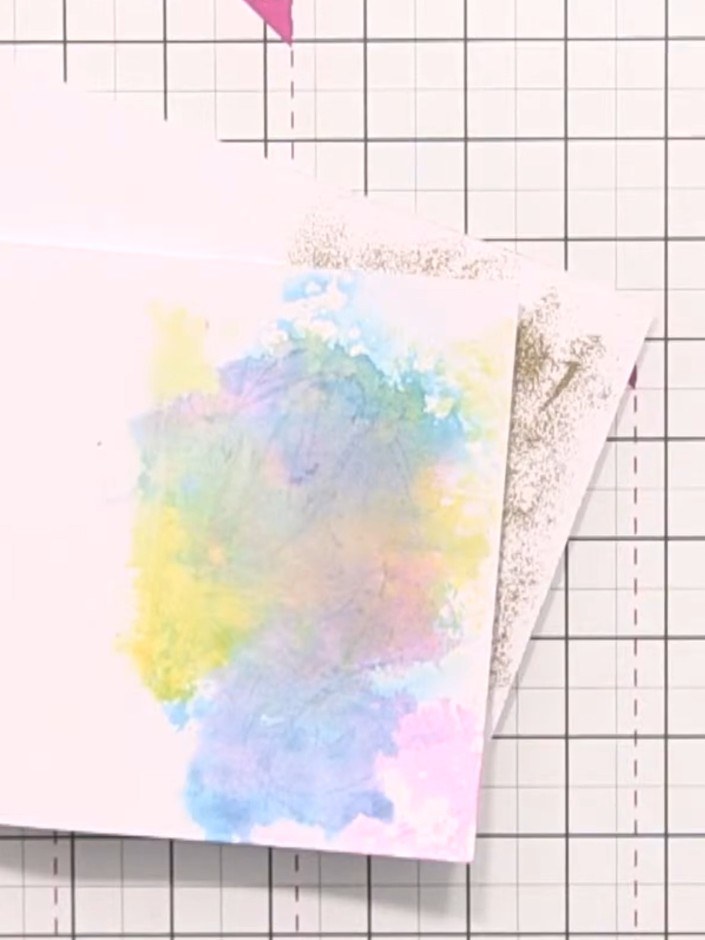
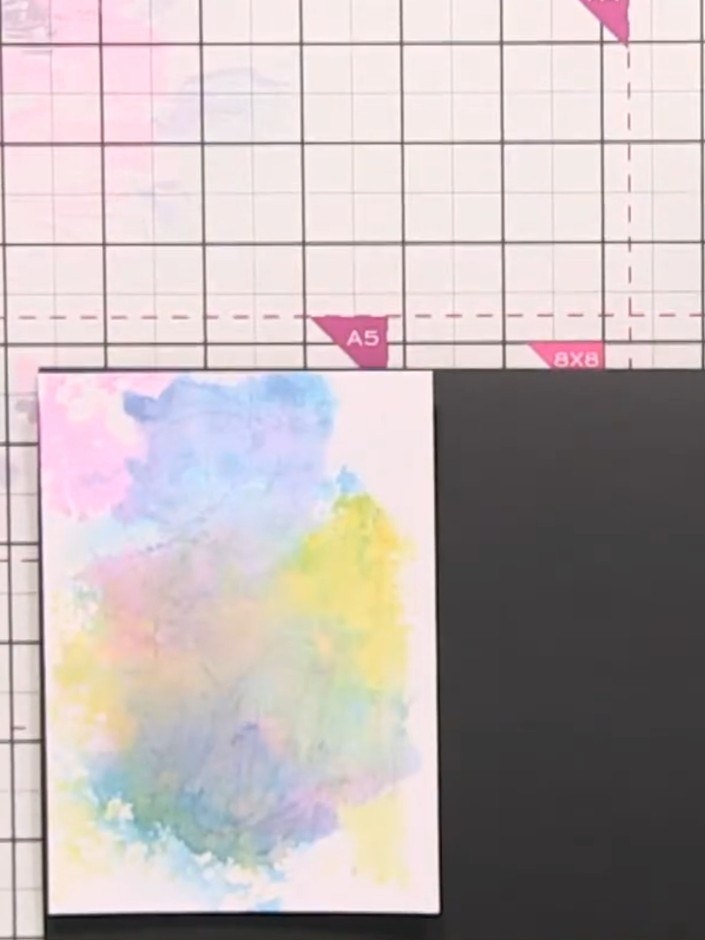
  1. Step 1: Trim the coloured cellophane transfer background to a neat rectangular panel and set aside. Remove any excess 1

    Trim the coloured cellophane transfer background to a neat rectangular panel and set aside. Remove any excess glitter or debris from your craft mat.
    ▶ watch this step 26:00
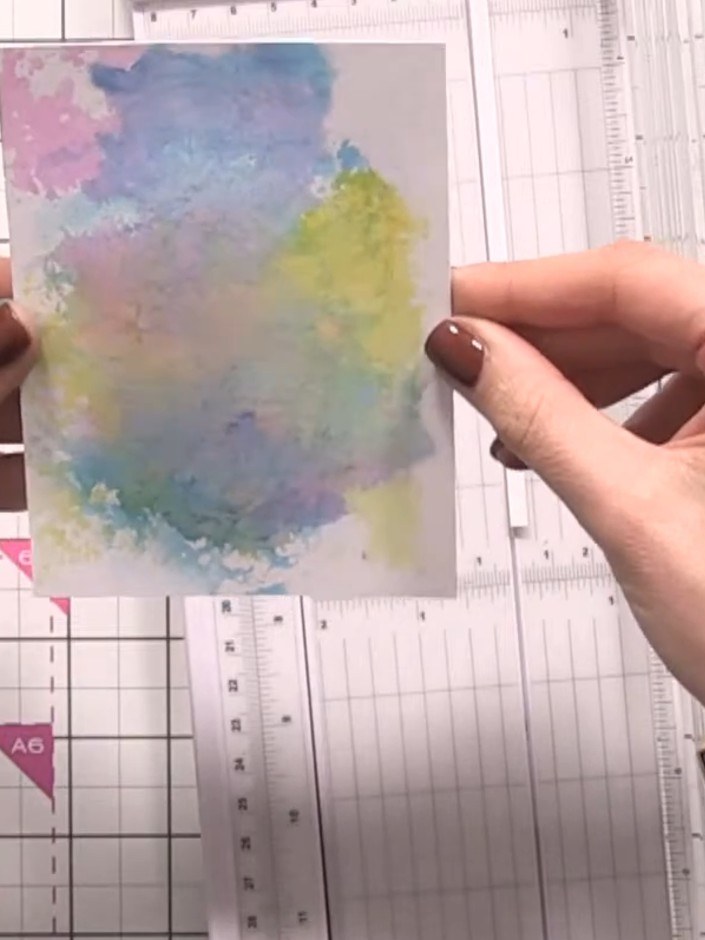
  2. Step 2: Trim the watercolour panel to a neat rectangular shape using your paper trimmer, creating a smaller panel from2

    Trim the watercolour panel to a neat rectangular shape using your paper trimmer, creating a smaller panel from the inky background.
    ▶ watch this step 26:30
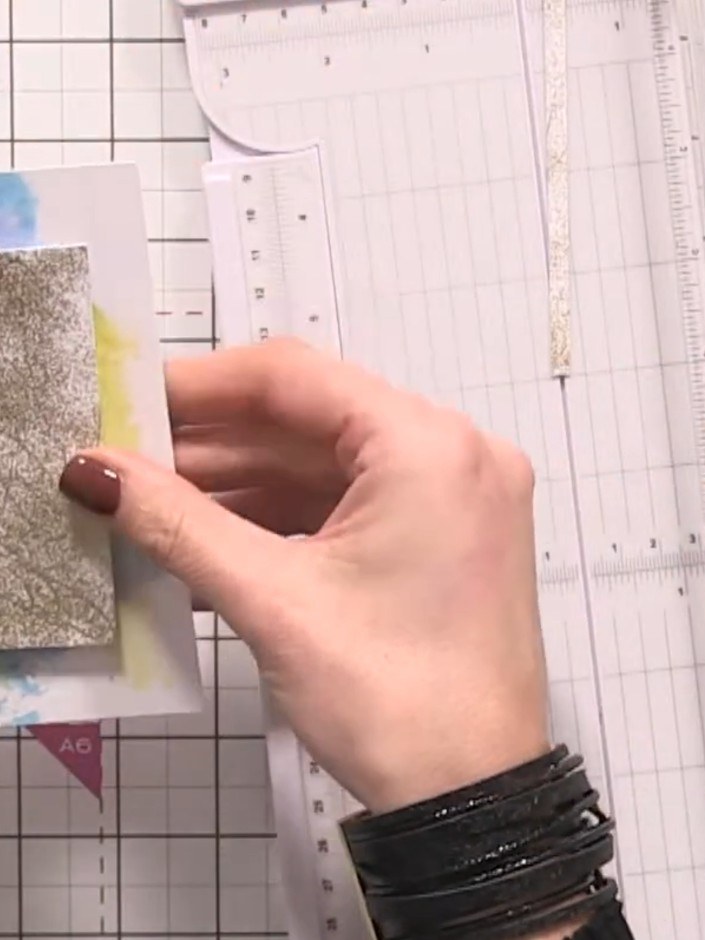
  3. Step 3: Cut a piece of black card stock to use as a mounting layer for your glitter panel.3

    Cut a piece of black card stock to use as a mounting layer for your glitter panel.
    ▶ watch this step 27:00
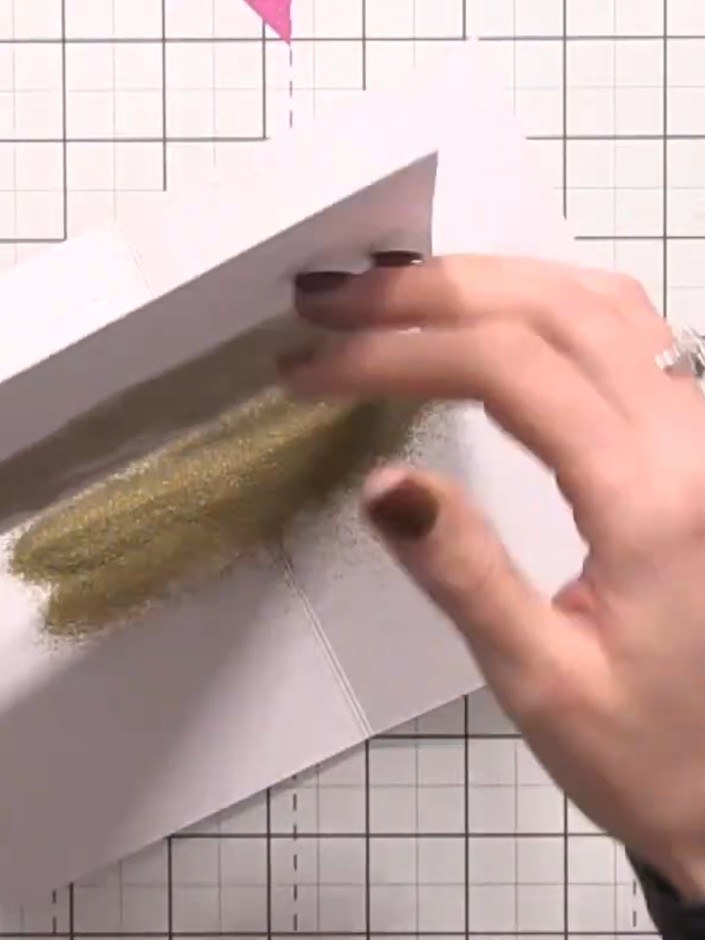
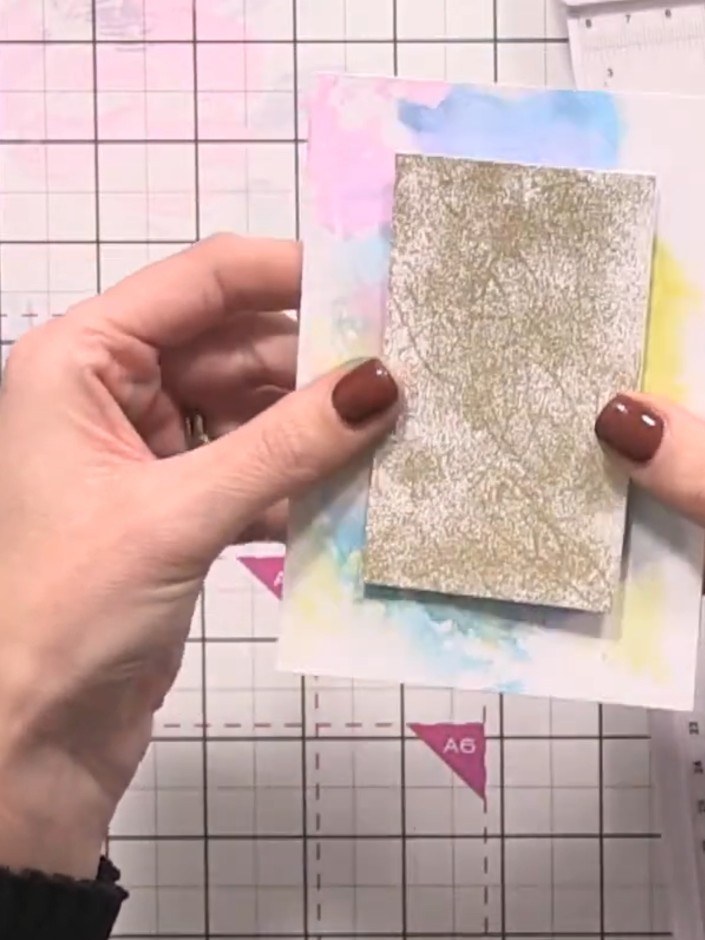
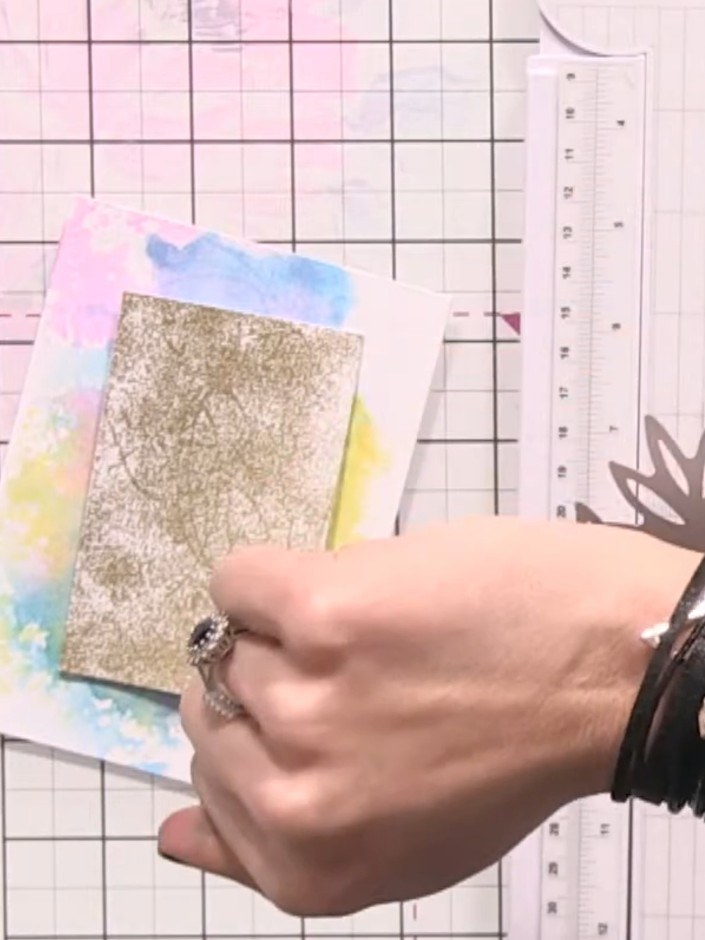
  4. Step 4: Adhere the watercolour panel to the gold glitter card, positioning it so a thin border of gold shows around al4

    Adhere the watercolour panel to the gold glitter card, positioning it so a thin border of gold shows around all edges.
    ▶ watch this step 27:30
  5. Step 5: Trim the black-backed panel to size using your ruler and trimmer. Position the trimmed panel on your card blan5

    Trim the black-backed panel to size using your ruler and trimmer. Position the trimmed panel on your card blank to check the fit before adhering.
    ▶ watch this step 28:00
  6. Step 6: Position the gold glitter panel in the centre of the watercolour background card and adhere it in place.6

    Position the gold glitter panel in the centre of the watercolour background card and adhere it in place.
    ▶ watch this step 28:30
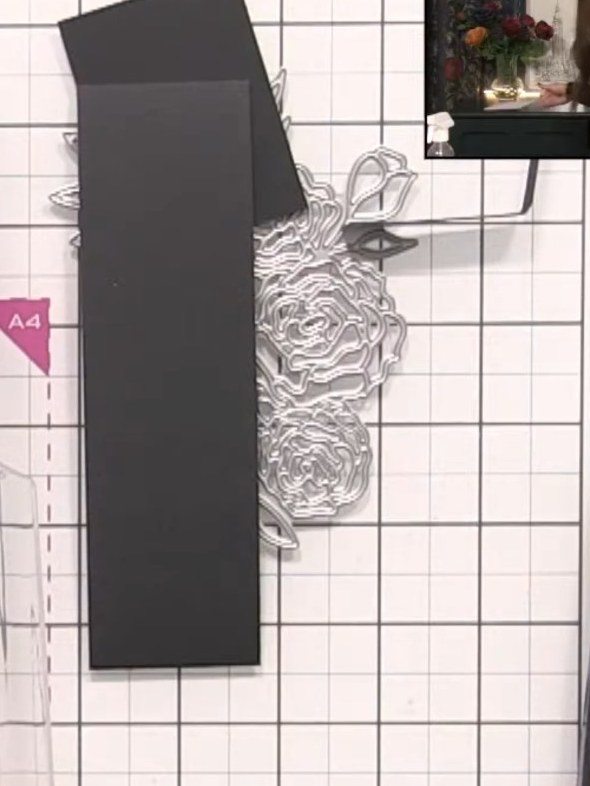
  7. Step 7: Place the detailed rose die onto black card stock with a support layer underneath in your cutting machine.7

    Place the detailed rose die onto black card stock with a support layer underneath in your cutting machine.
    ▶ watch this step 32:00
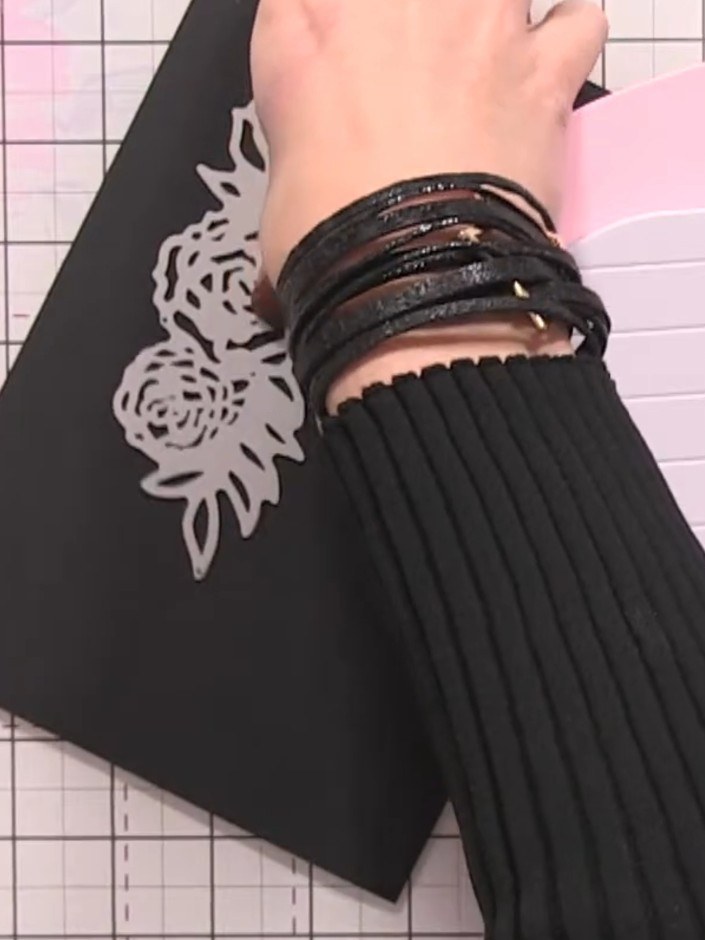
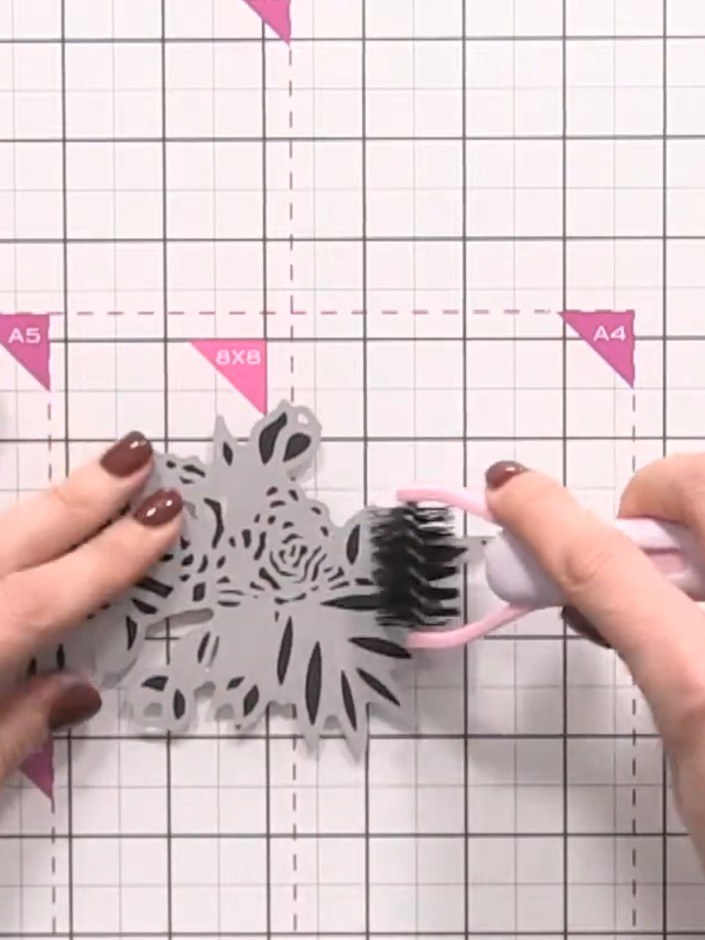
  8. Step 8: Place the black cardstock with the rose die on top onto the cutting platform. Run it through your die-cutting 8

    Place the black cardstock with the rose die on top onto the cutting platform. Run it through your die-cutting machine to cut out the detailed rose design.
    ▶ watch this step 32:30
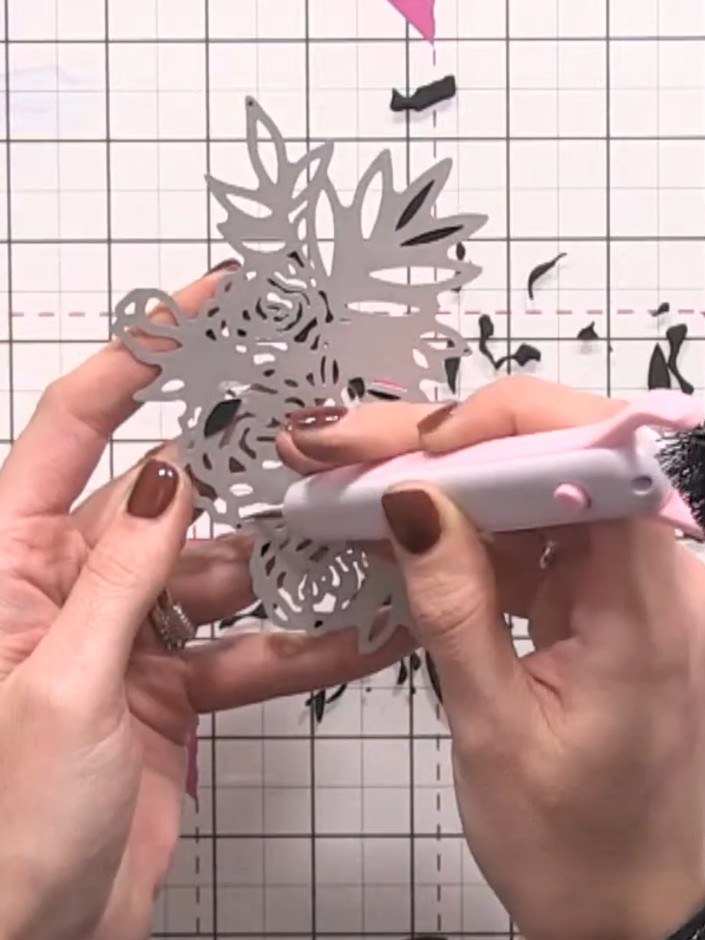
  9. Step 9: Use a small brush to gently brush out the die-cut rose pieces, helping to release any intricate cut sections f9

    Use a small brush to gently brush out the die-cut rose pieces, helping to release any intricate cut sections from the die.
    ▶ watch this step 34:30
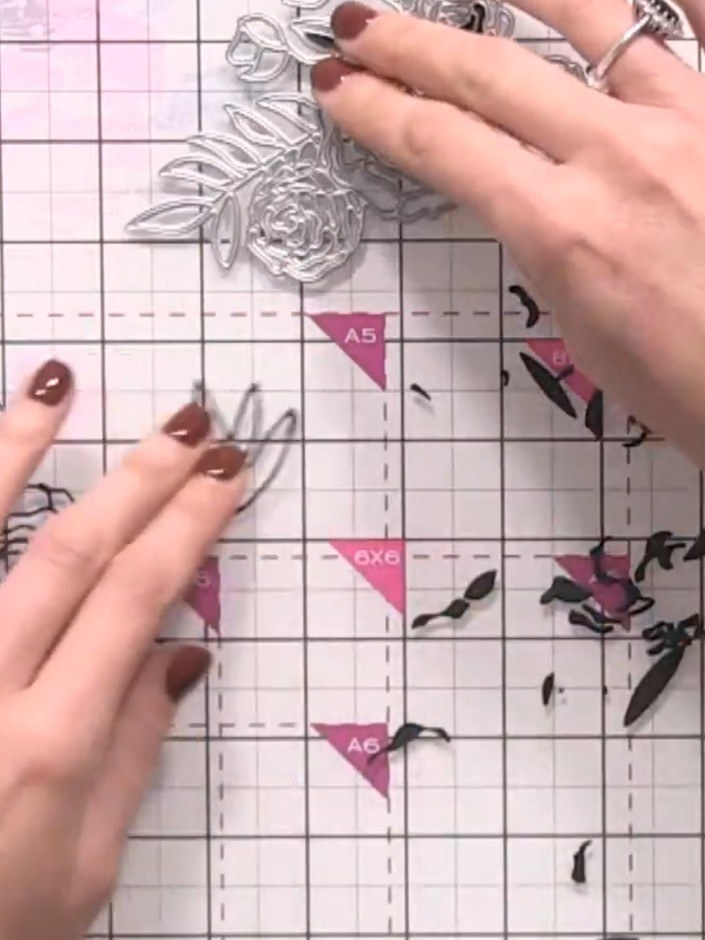
  10. Step 10: Use a pokey tool to carefully pop out the detailed pieces from the die-cut rose. Remove all the small intricat10

    Use a pokey tool to carefully pop out the detailed pieces from the die-cut rose. Remove all the small intricate cut-out sections from the black die-cut floral design.
    ▶ watch this step 35:00
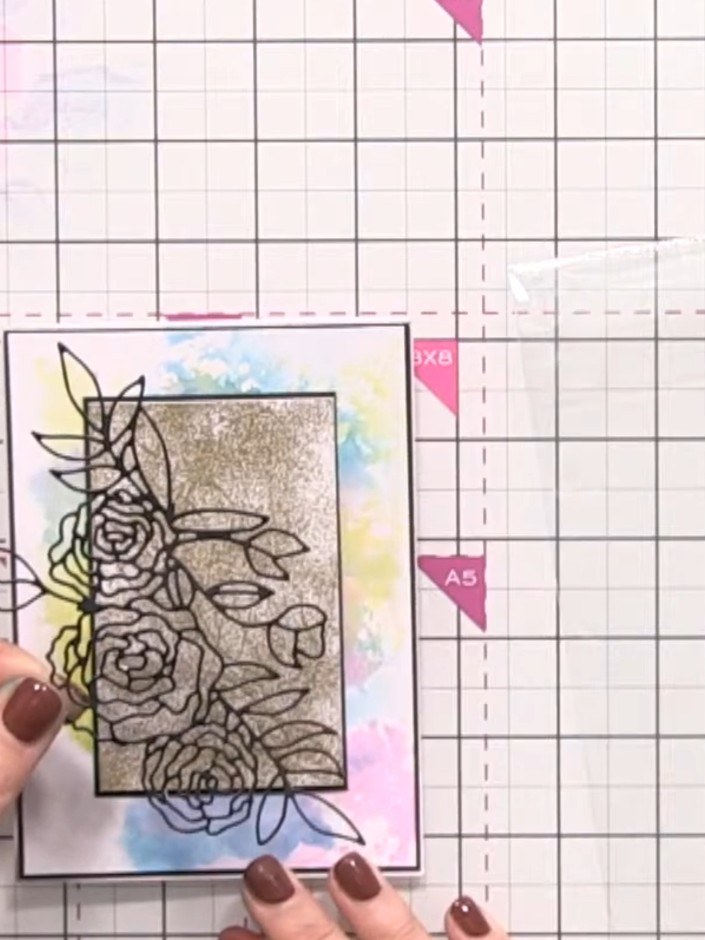
  11. Step 11: Examine the die-cut rose and trim away any excess or torn pieces to neaten the edges.11

    Examine the die-cut rose and trim away any excess or torn pieces to neaten the edges.
    ▶ watch this step 36:00
  12. Step 12: Apply glue to select areas of the die-cut rose and position it over the glitter panel on the card front. Use a12

    Apply glue to select areas of the die-cut rose and position it over the glitter panel on the card front. Use an acrylic block to hold the rose in place whilst the glue sets.
    ▶ watch this step 38:15
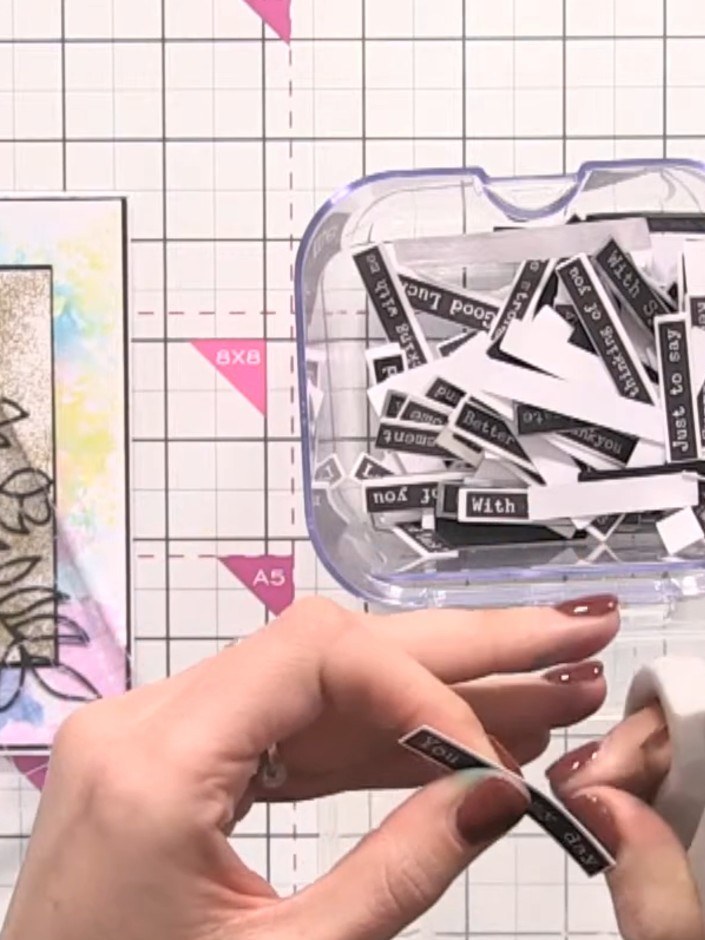
  13. Step 13: Trim a piece of washi tape to the desired length and adhere it to the card front as a sentiment strip.13

    Trim a piece of washi tape to the desired length and adhere it to the card front as a sentiment strip.

    ▶ watch this step 39:15

Tips from the show

You made it!

Share your make with the Stamps By Me community - and keep this guide for next time.

Written up from the show itself. See every guide from our shows · free how-to guides · watch live on My Telly · the previous layout