Give your friends $10 off their first order!
Refer a FRIEND








Prices change straight away. Every language is our own translation, not Google.
A project from our live show MIGHTY MONDAY - Join Toni for her detailed papercrafting sessions - Broadcast 24th Feb 2025 · 02/24/2025 · watch it from 19:15
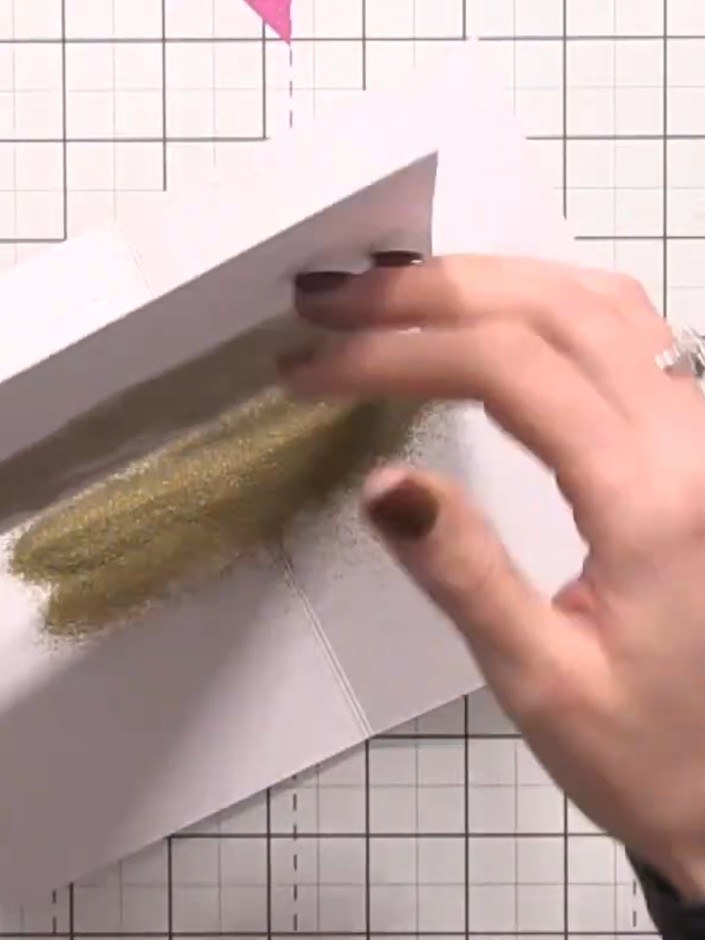
Create a beautiful textured background with a sporadic gold marbled effect on soft watercolour washes. Using sticky ink transferred via cellophane and heat-set with embossing powder, you'll achieve an elegant dotted texture with wonderful dimension. This technique produces a stunning piece featuring blue, pink and yellow tones enhanced with shimmering gold accents.
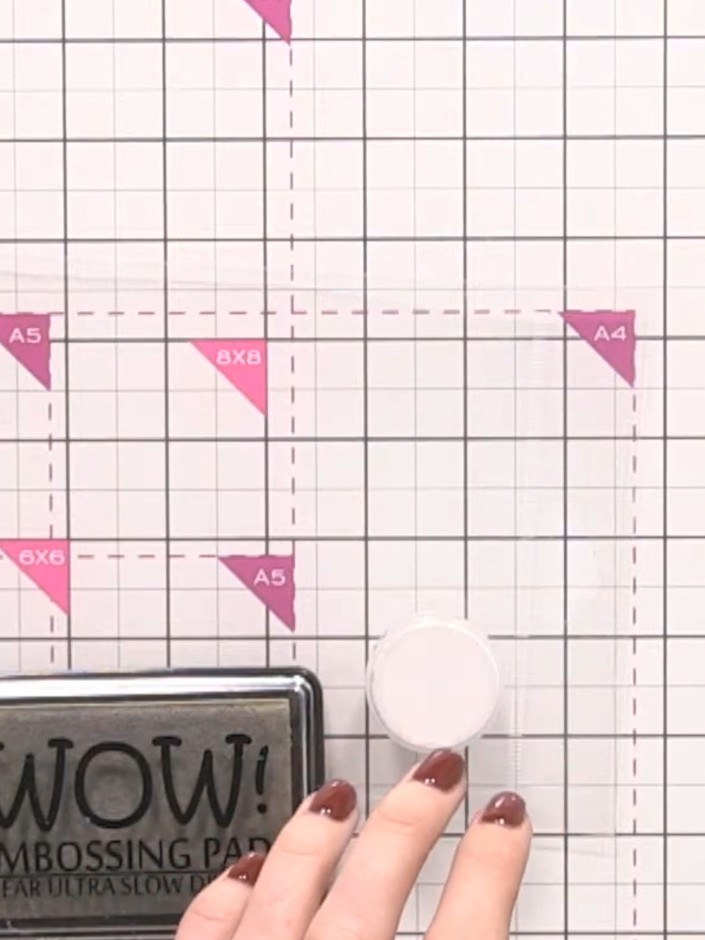
Tap a WOW! clear ultra slow drying embossing pad onto a clean, dry cellophane bag several times to coat the surface with sticky ink.
▶ watch this step (19:30)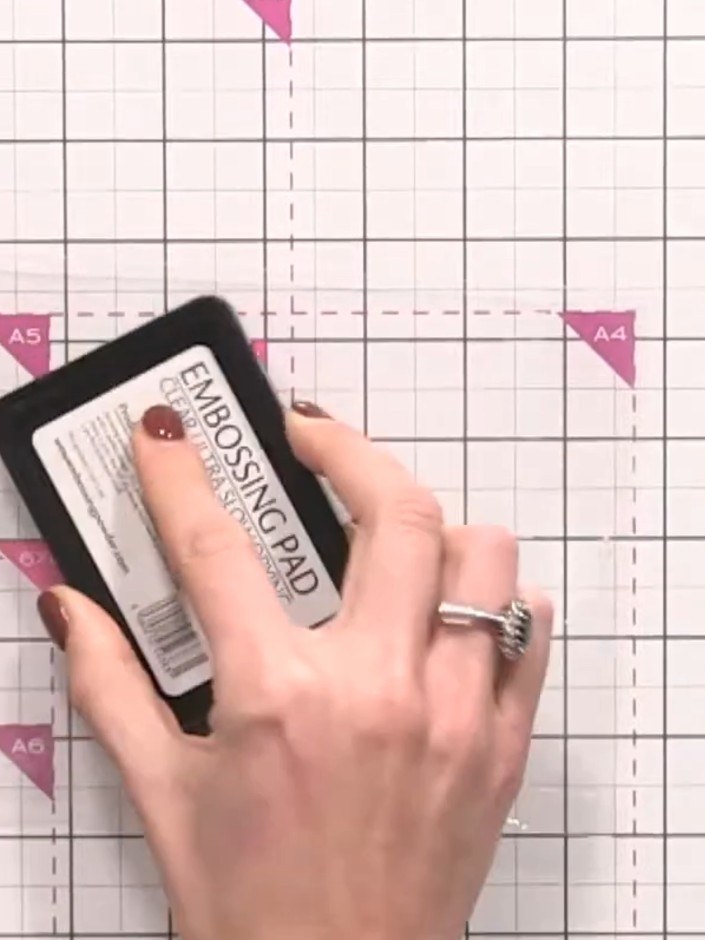
Press the sticky ink pad onto the cellophane bag in a random, sporadic pattern across the surface. Apply the ink unevenly to create texture and variation.
▶ watch this step (20:00)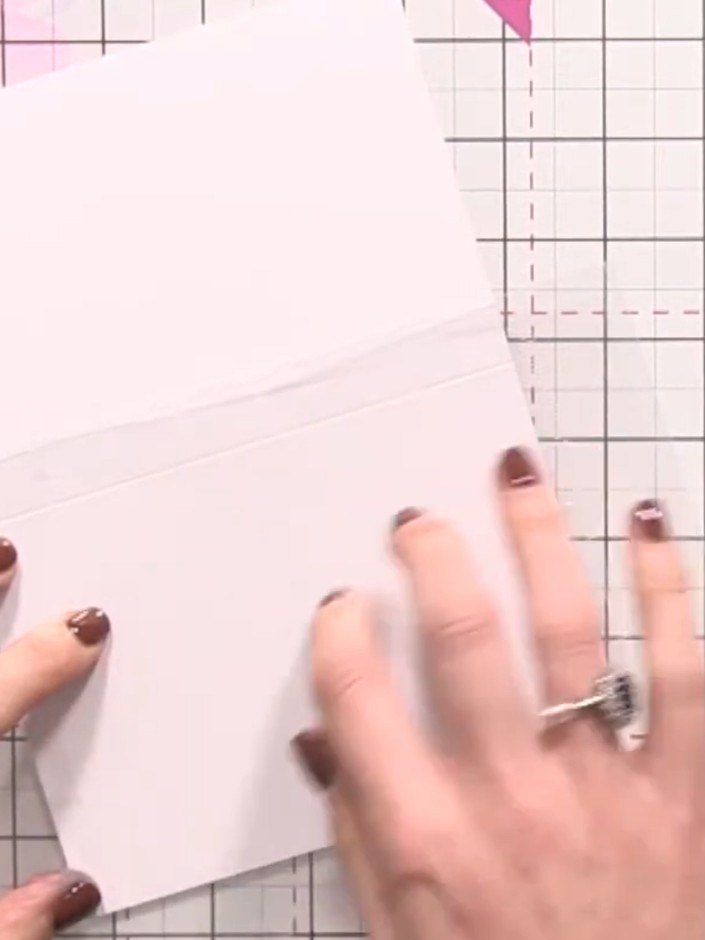
Tap and press the cellophane bag across the white card to transfer the sticky ink unevenly, creating a textured pattern.
▶ watch this step (20:30)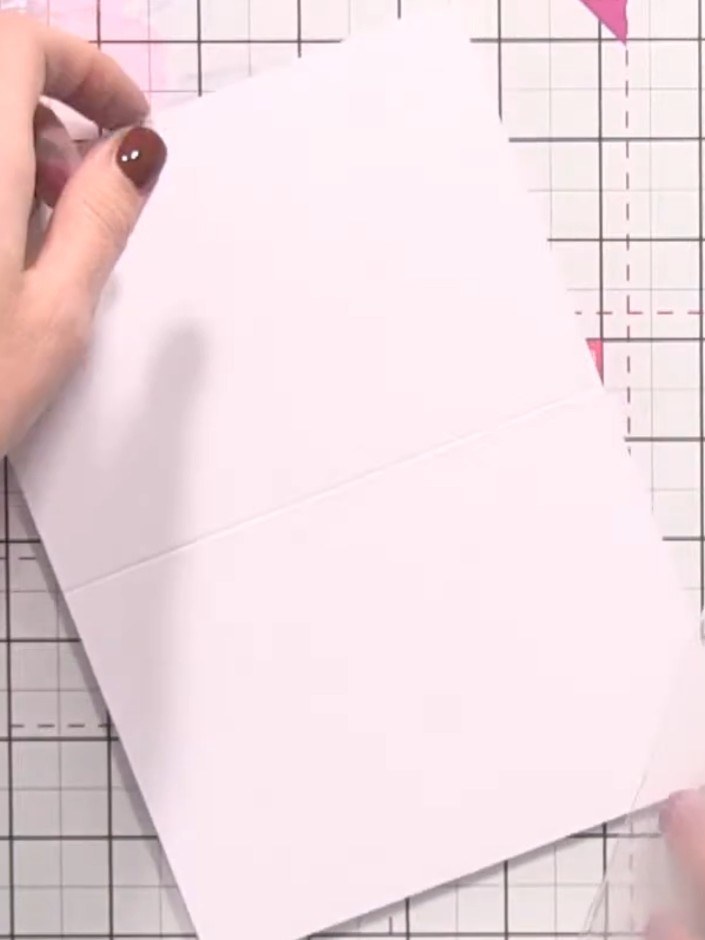
Carefully lift and peel the cellophane bag away from the card to reveal the textured gold background pattern.
▶ watch this step (21:00)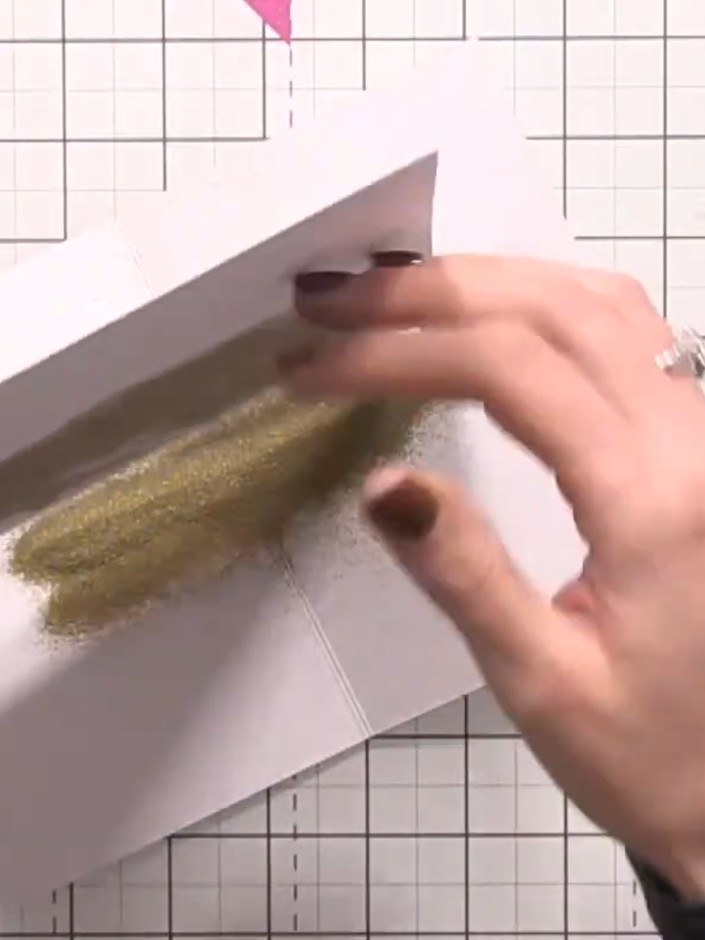
Sprinkle gold embossing powder over the sticky ink areas on the white card. Tap off the excess powder and heat emboss to set the design.
▶ watch this step (21:30)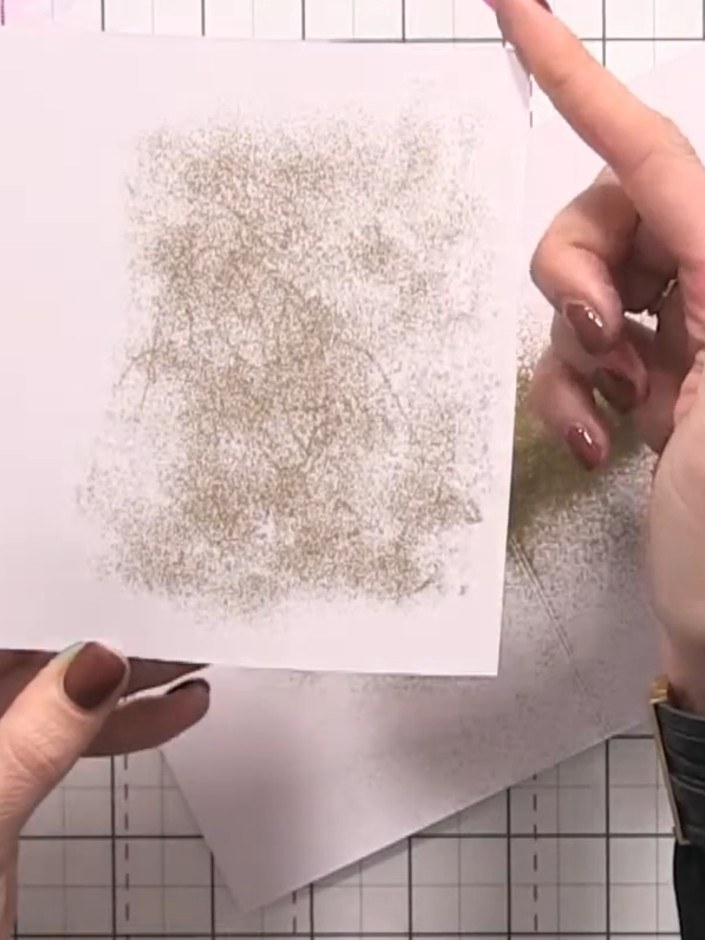
Tap off any excess embossing powder back into the pot. Hold the paper over the pot and gently tap to remove loose powder from the surface.
▶ watch this step (22:00)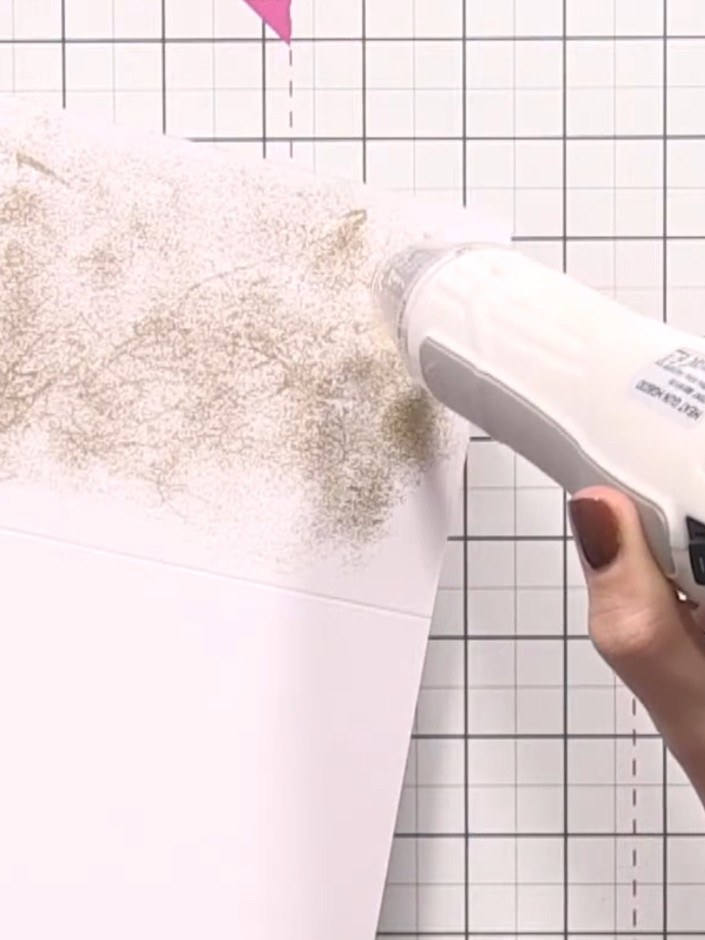
Use a heat gun to melt and set the embossing powder, moving it steadily over the surface. The powder will transform into a smooth, textured metallic finish as it heats.
▶ watch this step (23:45)Written up from the show itself. See every guide from our shows · free how-to guides · watch live on My Telly


