


Step 1 of 6
Cut a piece of white card to 4 1/2 x 6 1/2".
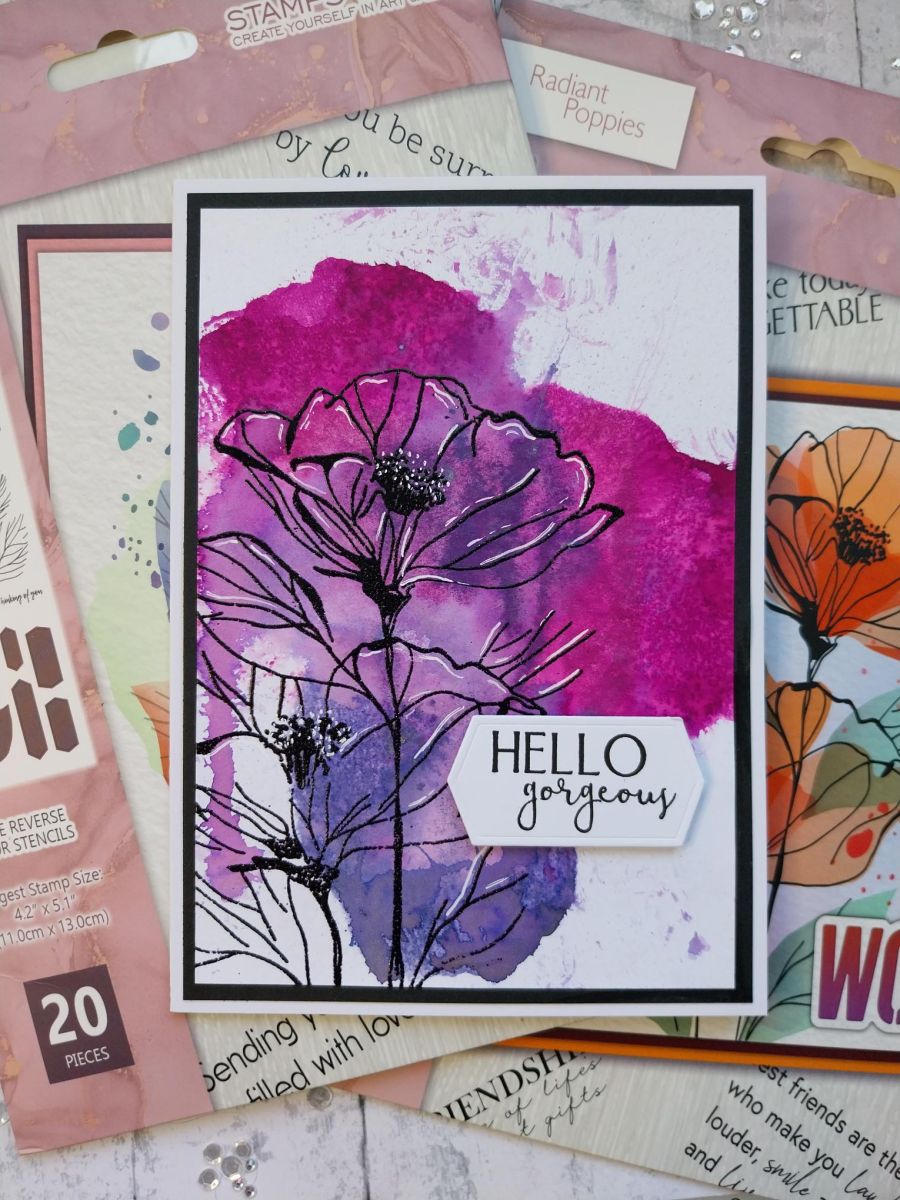
Apply your watercolour inks onto your glass mat. Smoosh your card into the ink until you are happy with your background, then dry COMPLETELY with a heat tool.








Prices change straight away. Every language is our own translation, not Google.
Cut a piece of white card to 4 1/2 x 6 1/2".
Apply your watercolour inks onto your glass mat. Smoosh your card into the ink until you are happy with your background, then dry COMPLETELY with a heat tool.
Smother the card with the anti-static bag, as you do not want ANY moisture left.
Stamp the Poppies with the sticky embossing powder, then apply the Black embossing powder over the image. Shake off any excess powder and decant back into the pot.
Once your heat tool is hot, heat set the powder moving the tool as soon as the powder starts to turn.
Use a white gel pen to add accents and highlights as desired.
Stamp the sentiment from the Whispering Leaves set onto white card, with the Midnight ink and use the coordinating die to cut it out.
Use foam pads to adhere to the bottom right of your artwork.
To finish, mat onto black card cut to 4 3/4 x 6 3/4" and then onto your 5 x 7" white card blank.
Share your make with the Stamps By Me community - and keep this guide for next time.
Prefer the previous layout? Open the old page.



