Give your friends $10 off their first order!
Refer a FRIEND








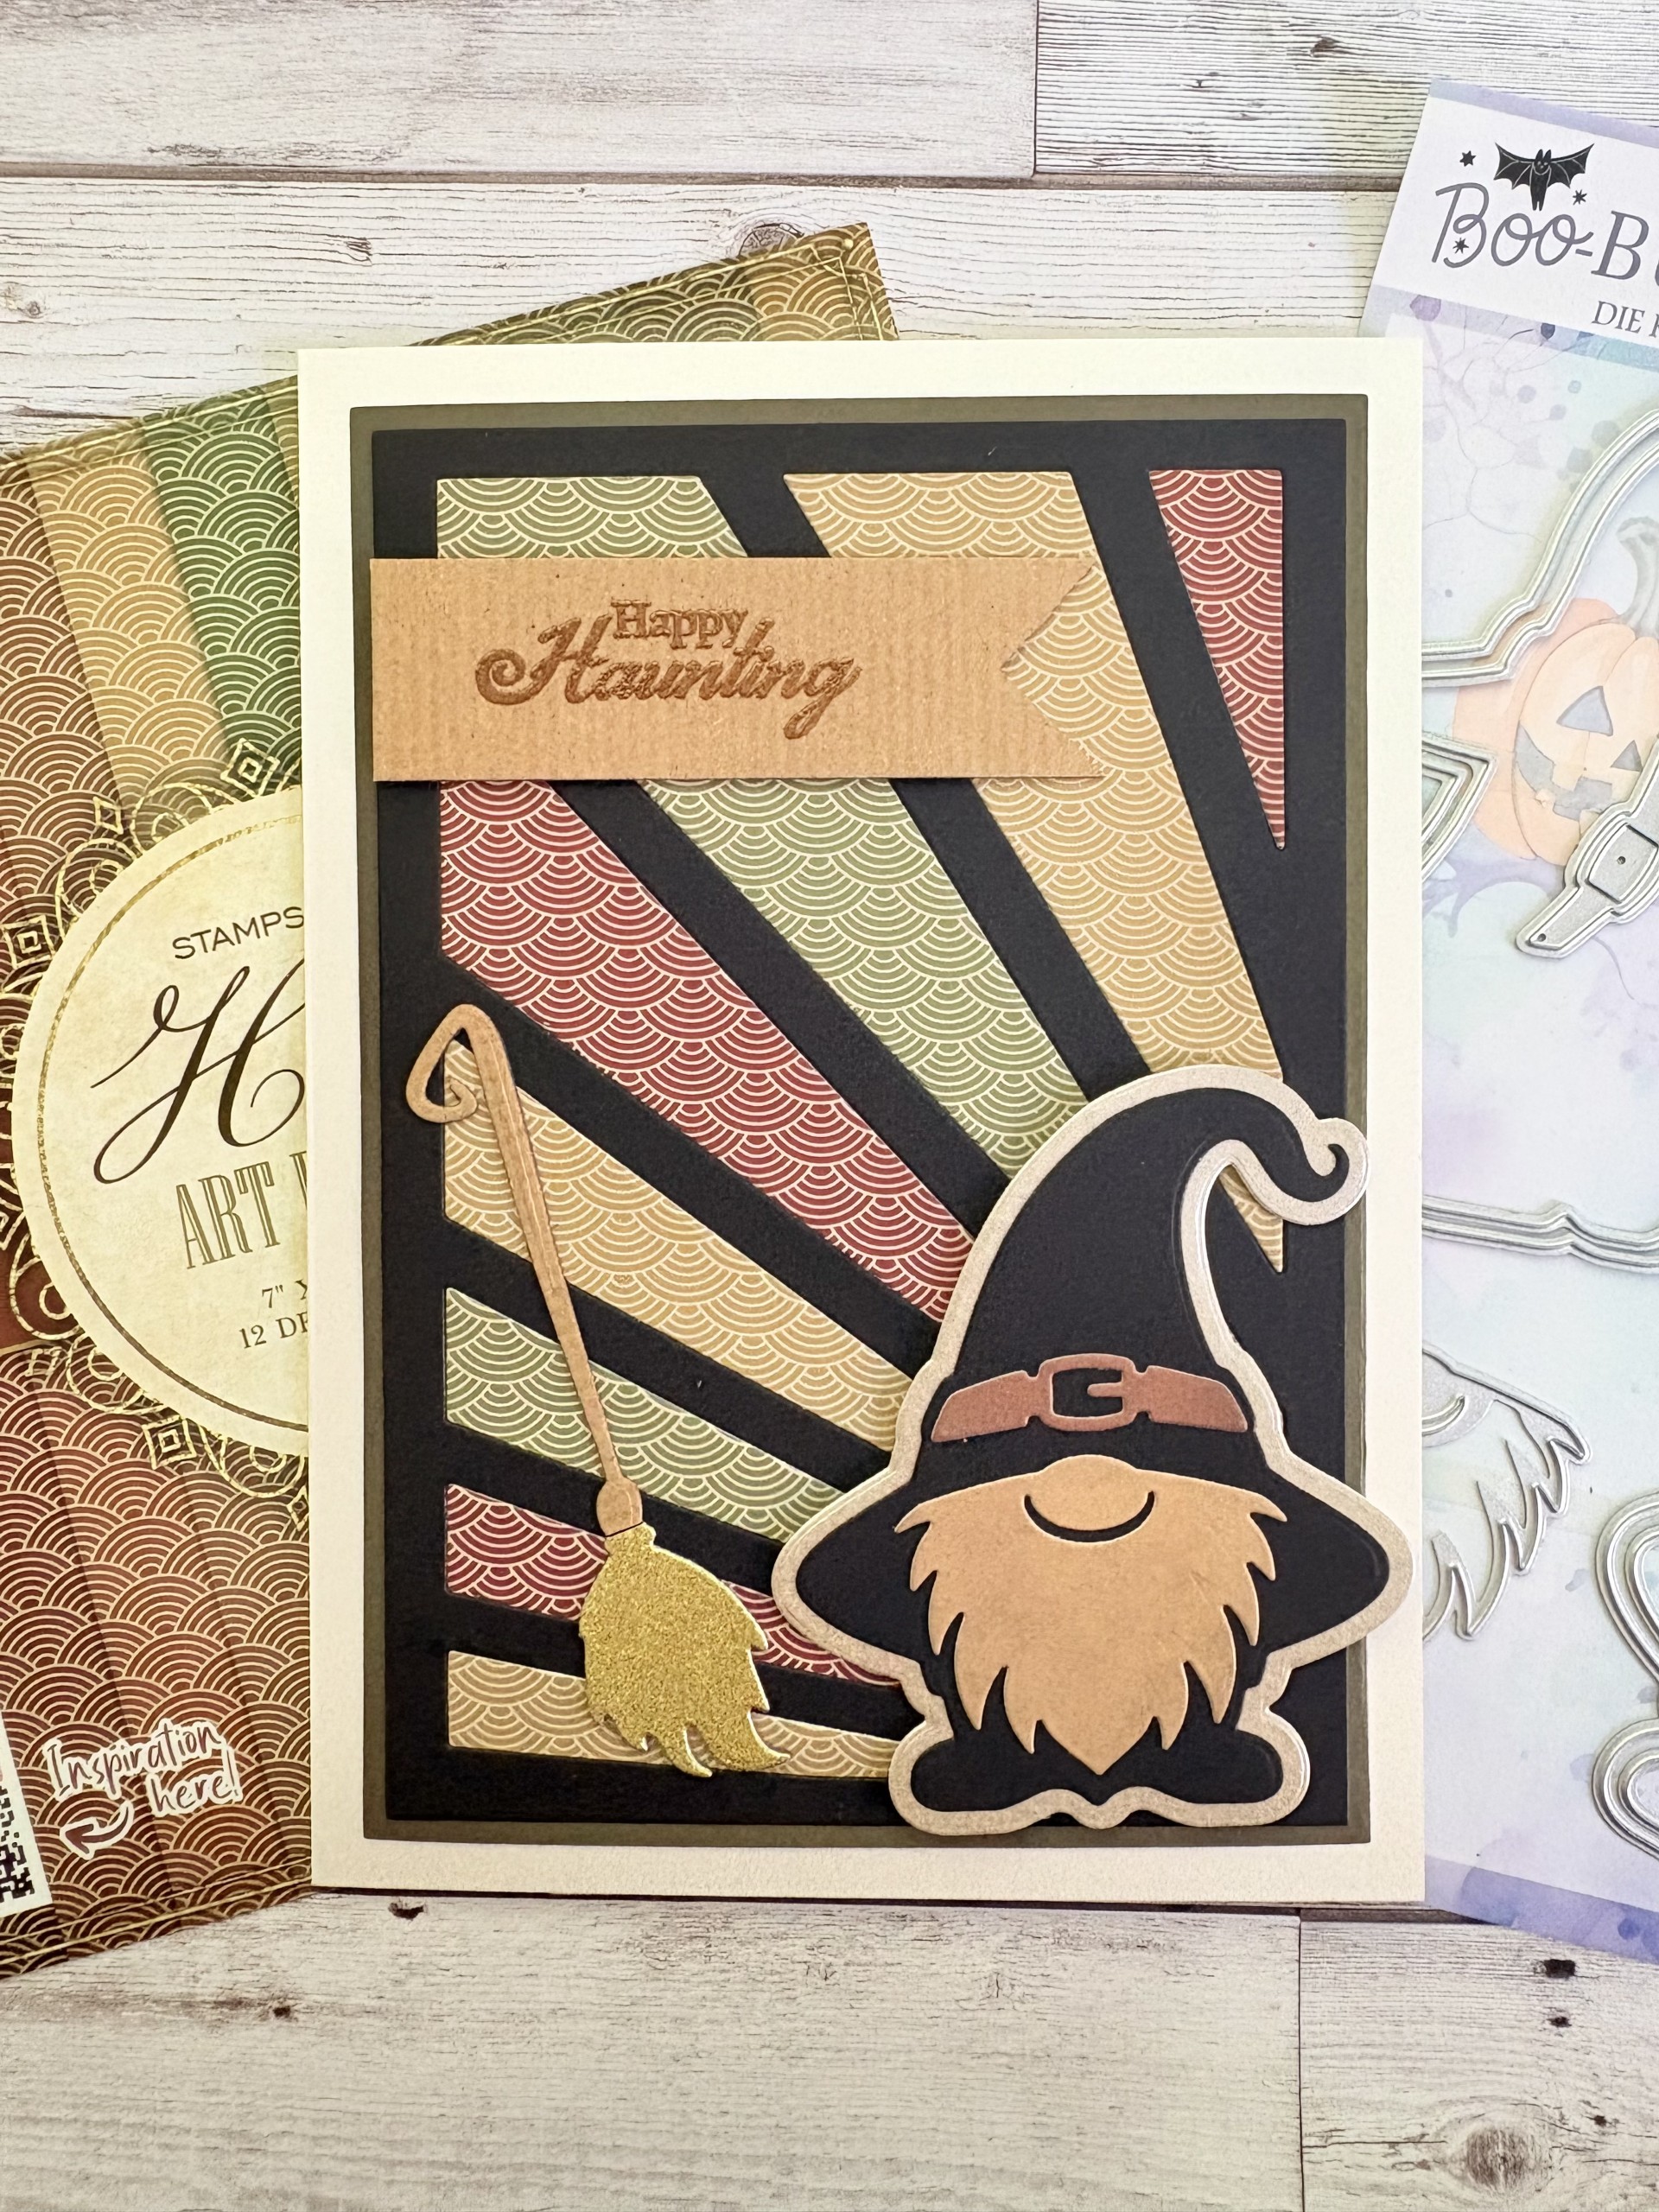
WHAT YOU WILL NEED:
[click image to enlarge] 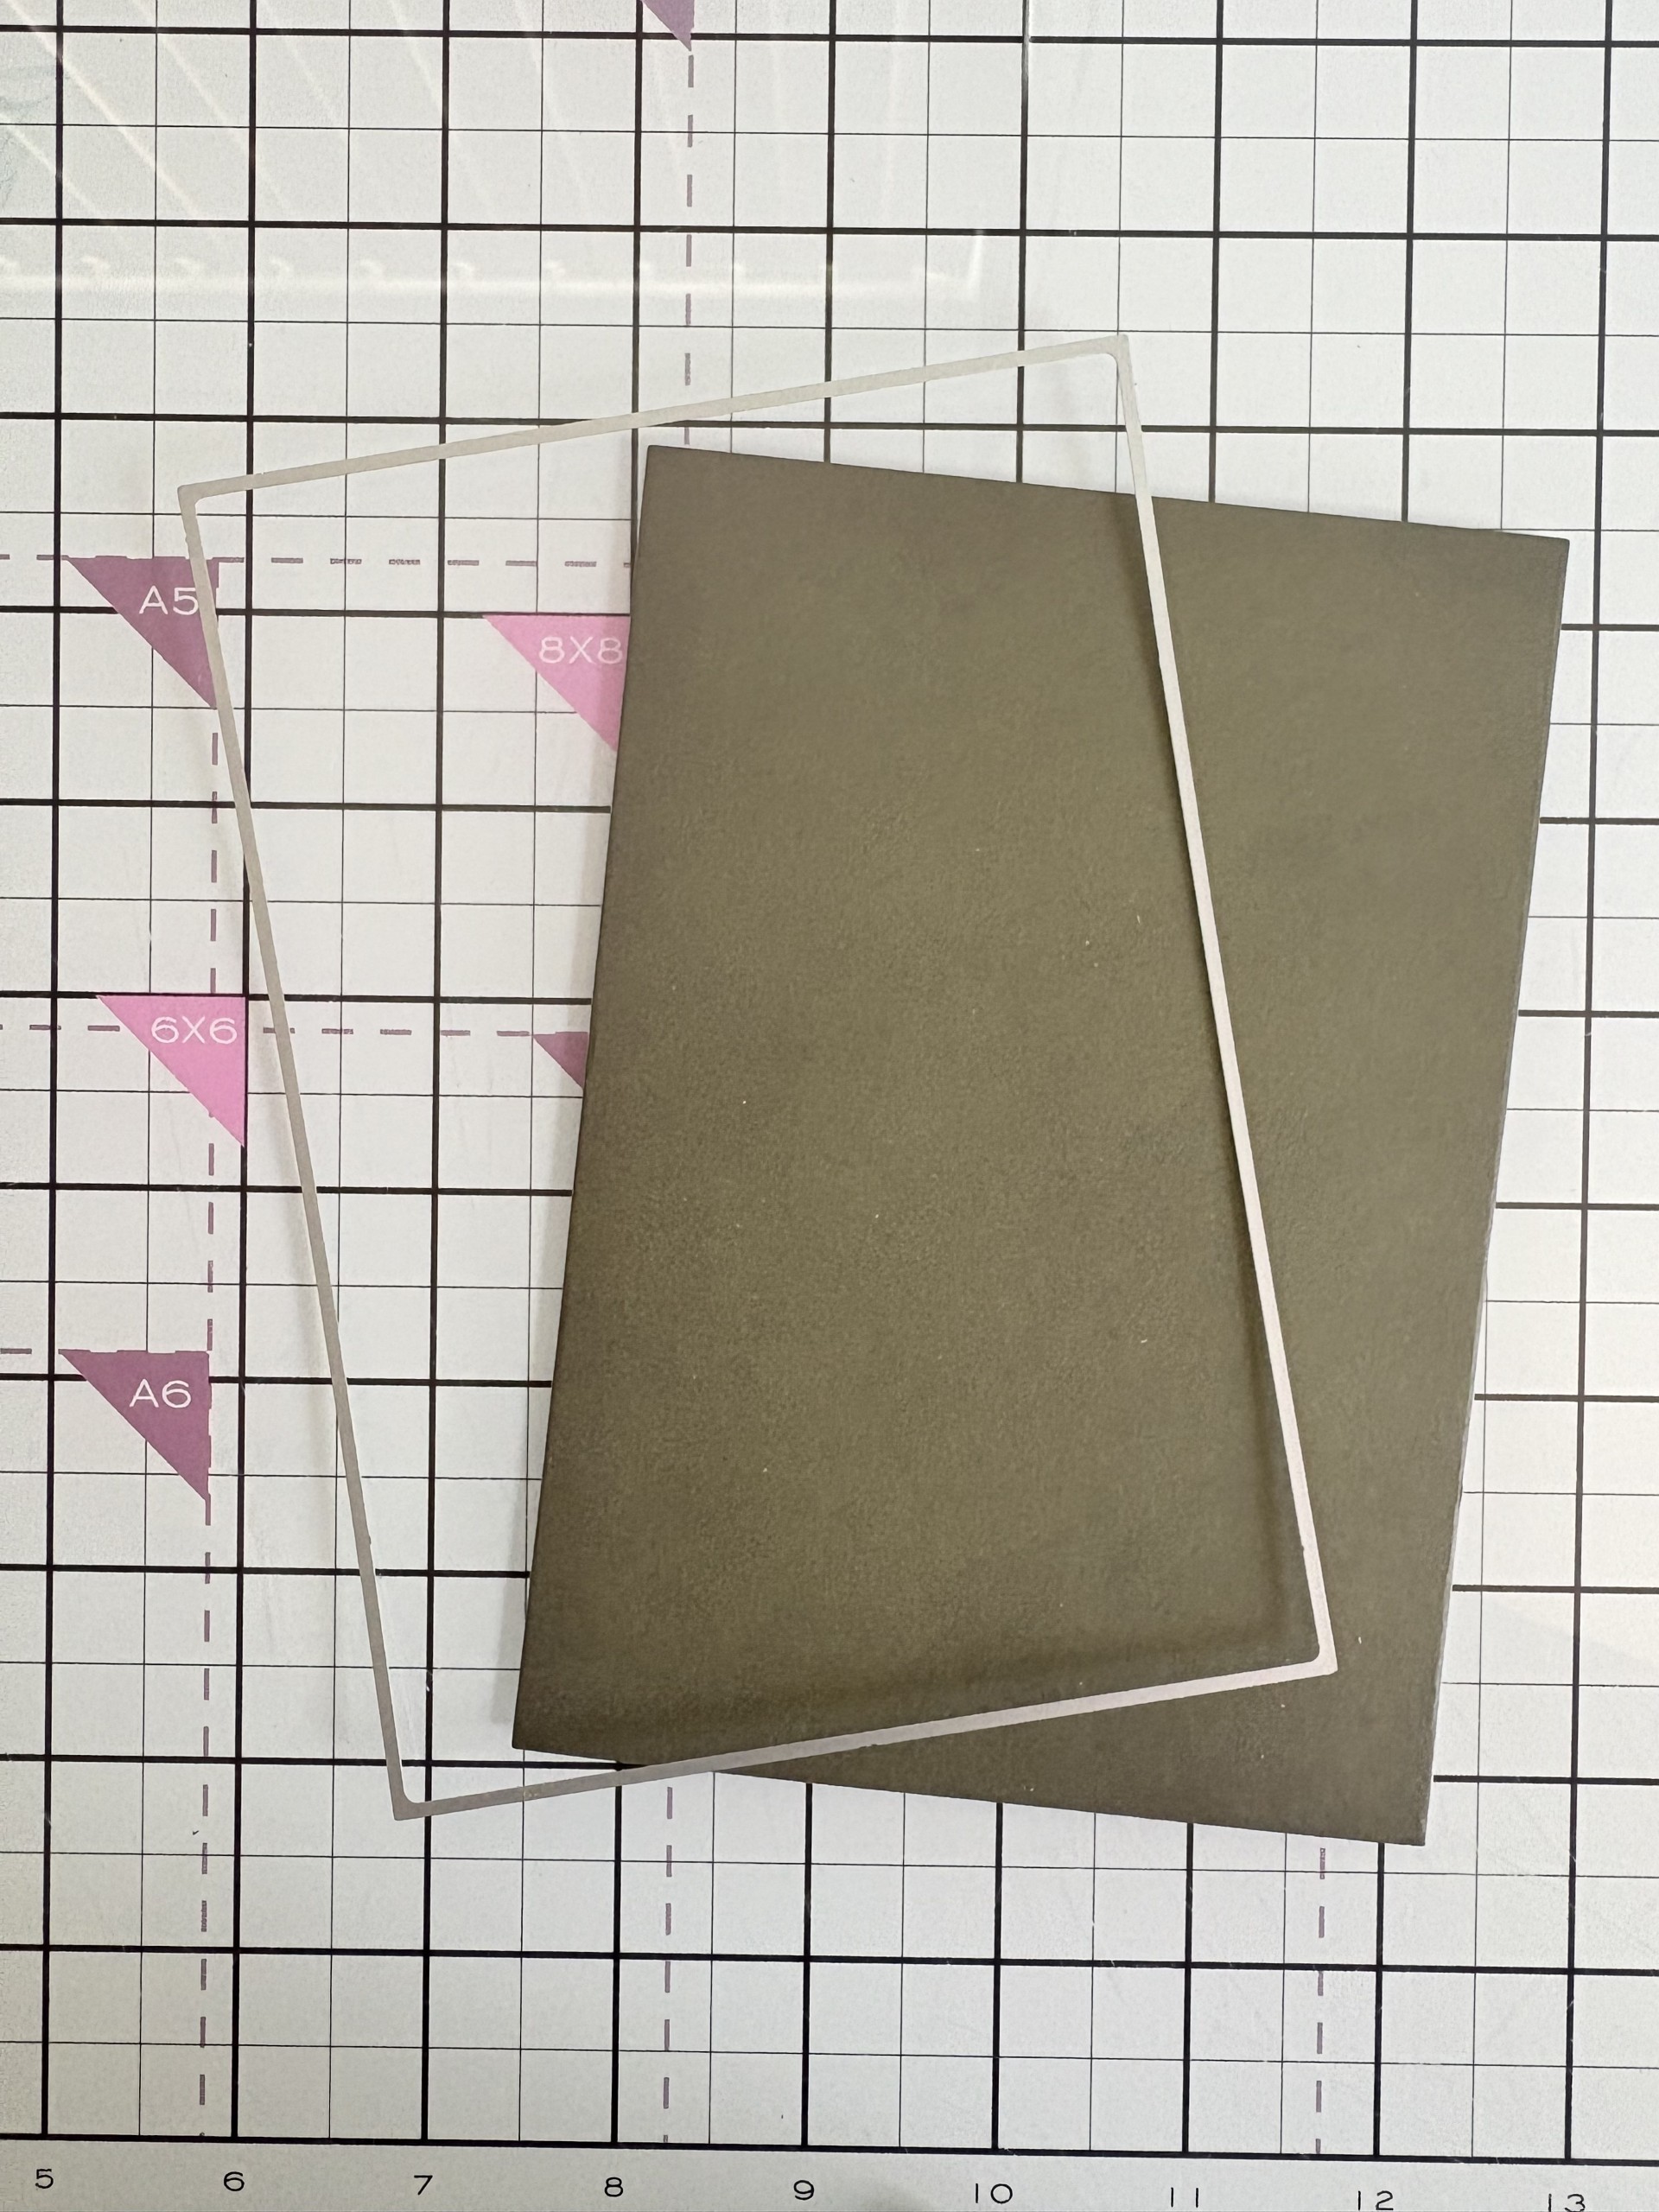
|
Take a sheet of paper from the Heritage Textures pad and die cut the rectangle die from the Sunburst set. |
|
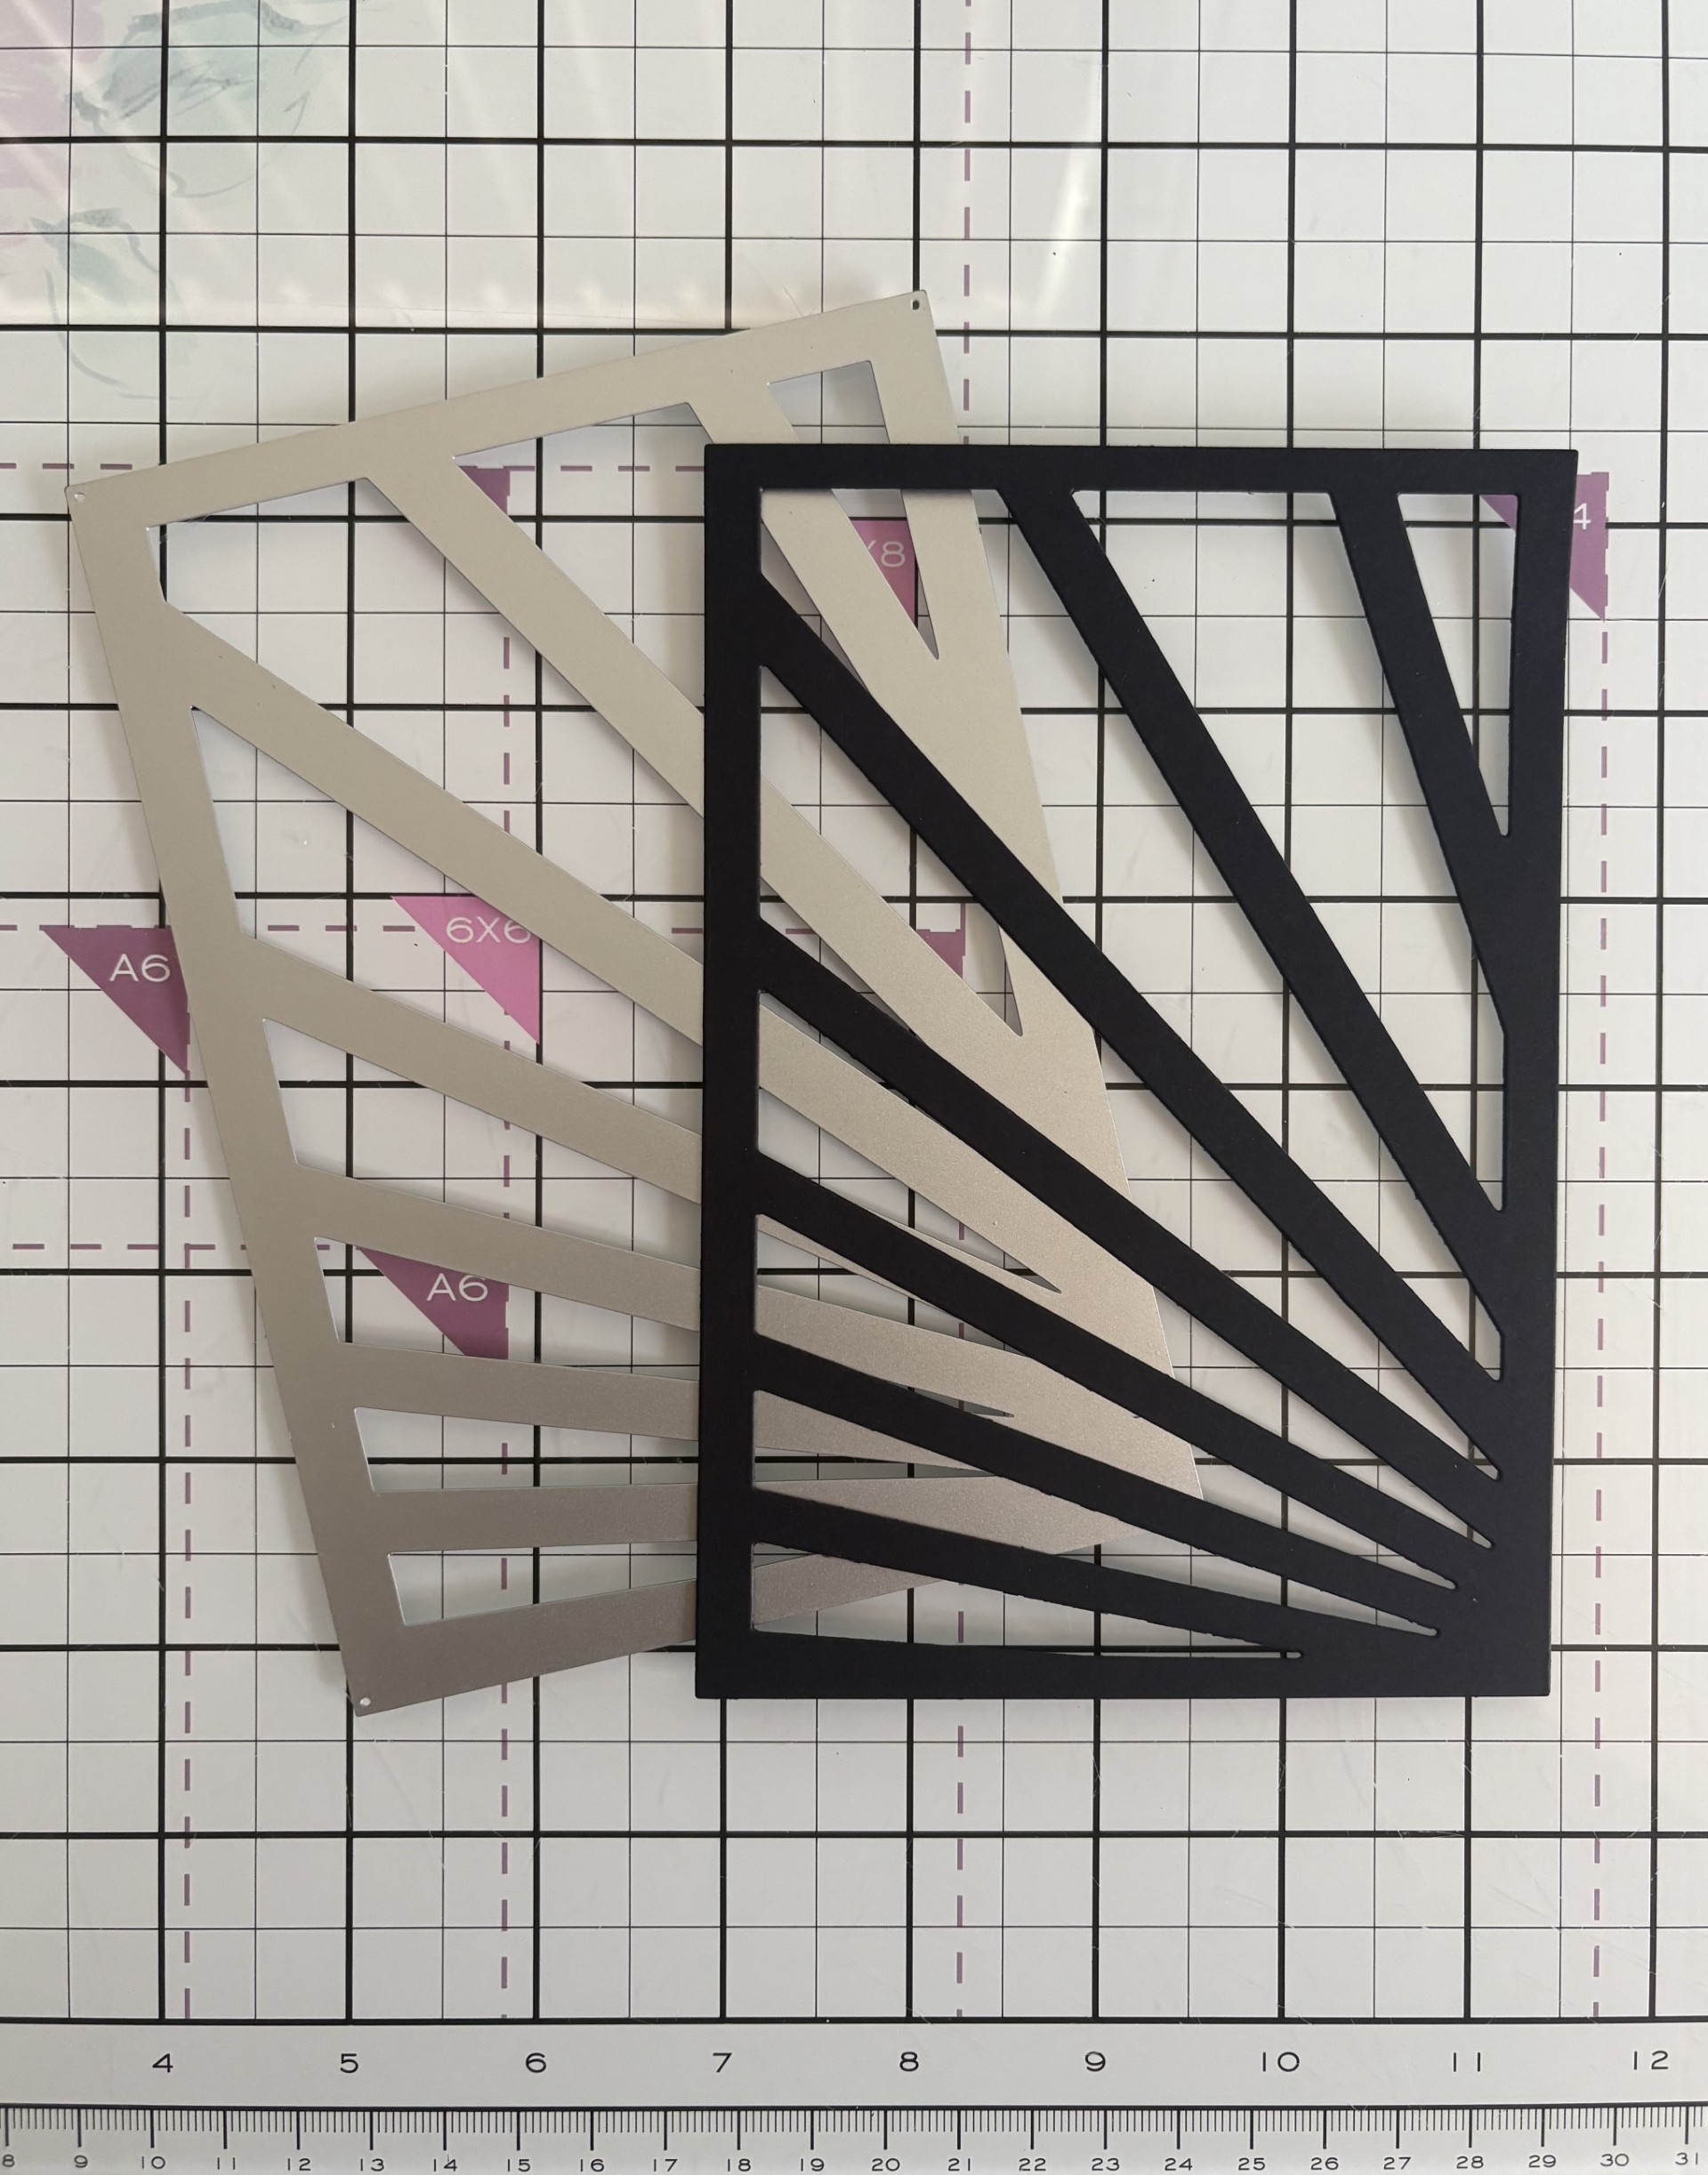
Next, take a piece of black card and die cut the Sunburst die, keeping just the frame panel. |
|
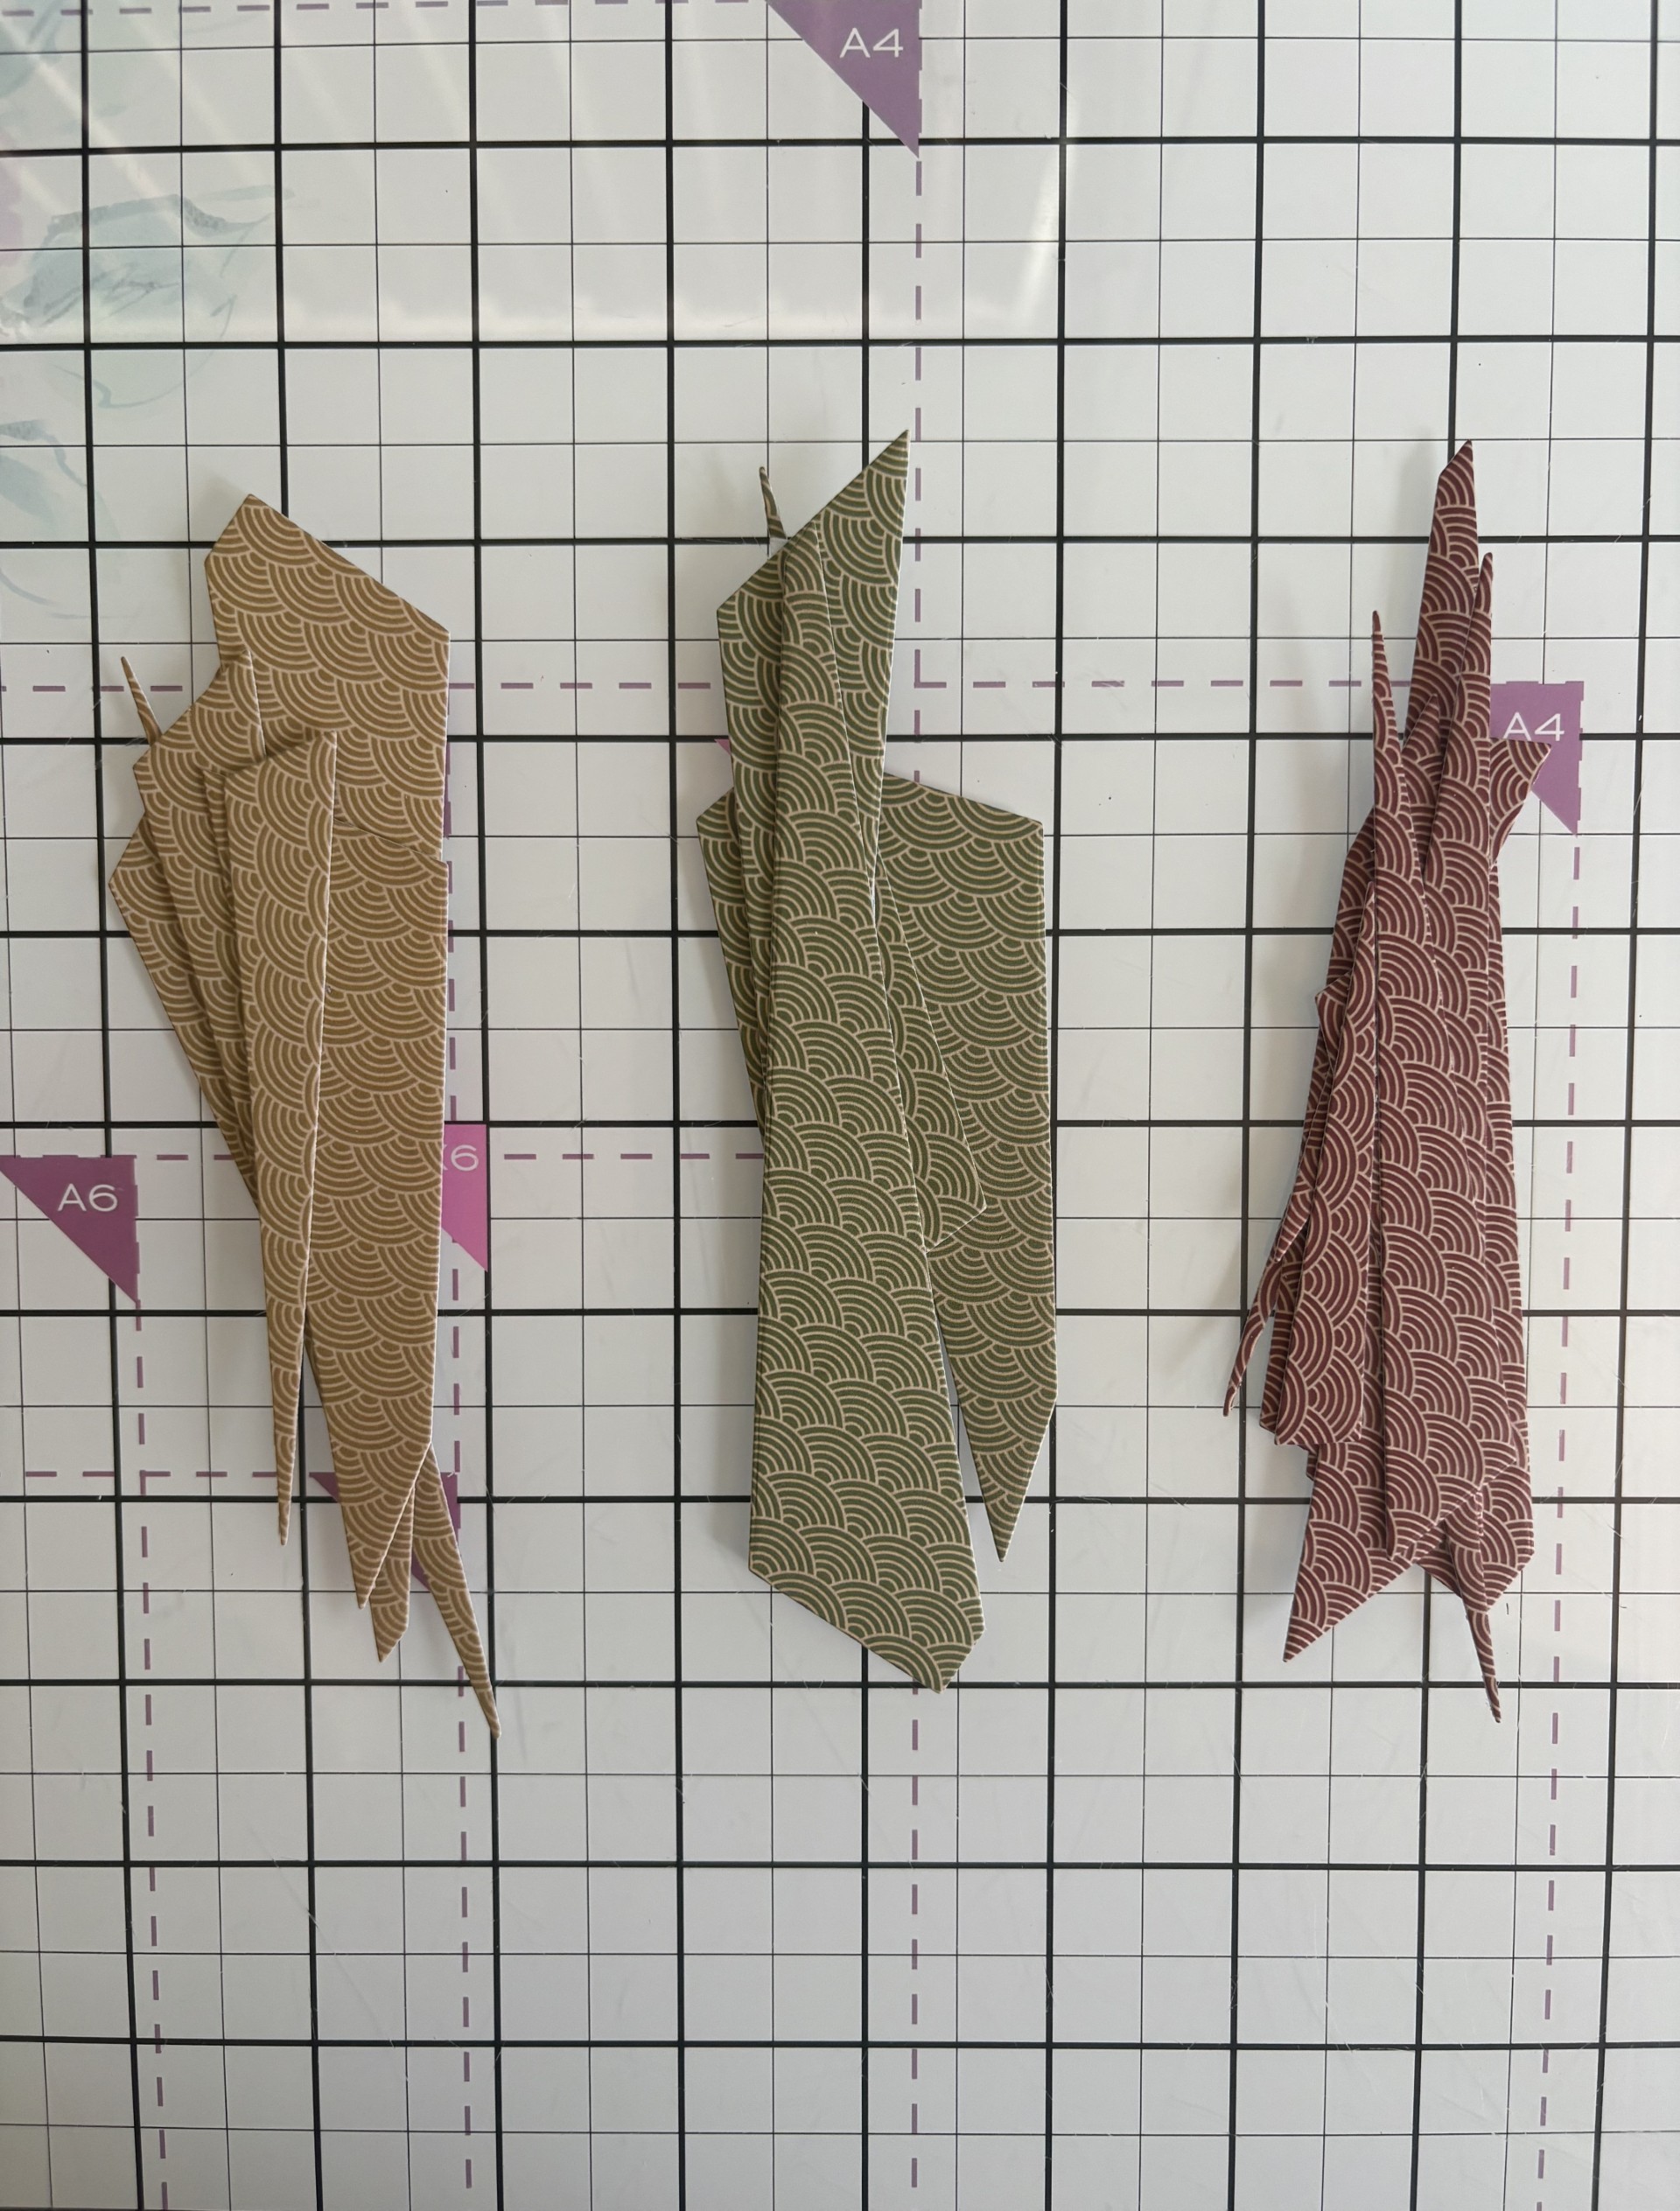
Select 3 different colours from the Art Deco papers and die cut each one using the Sunburst die. Keep the pieces ready to paper piece in your die and pop the rest in a tub. You will have enough left over to make 2 more cards. |
|
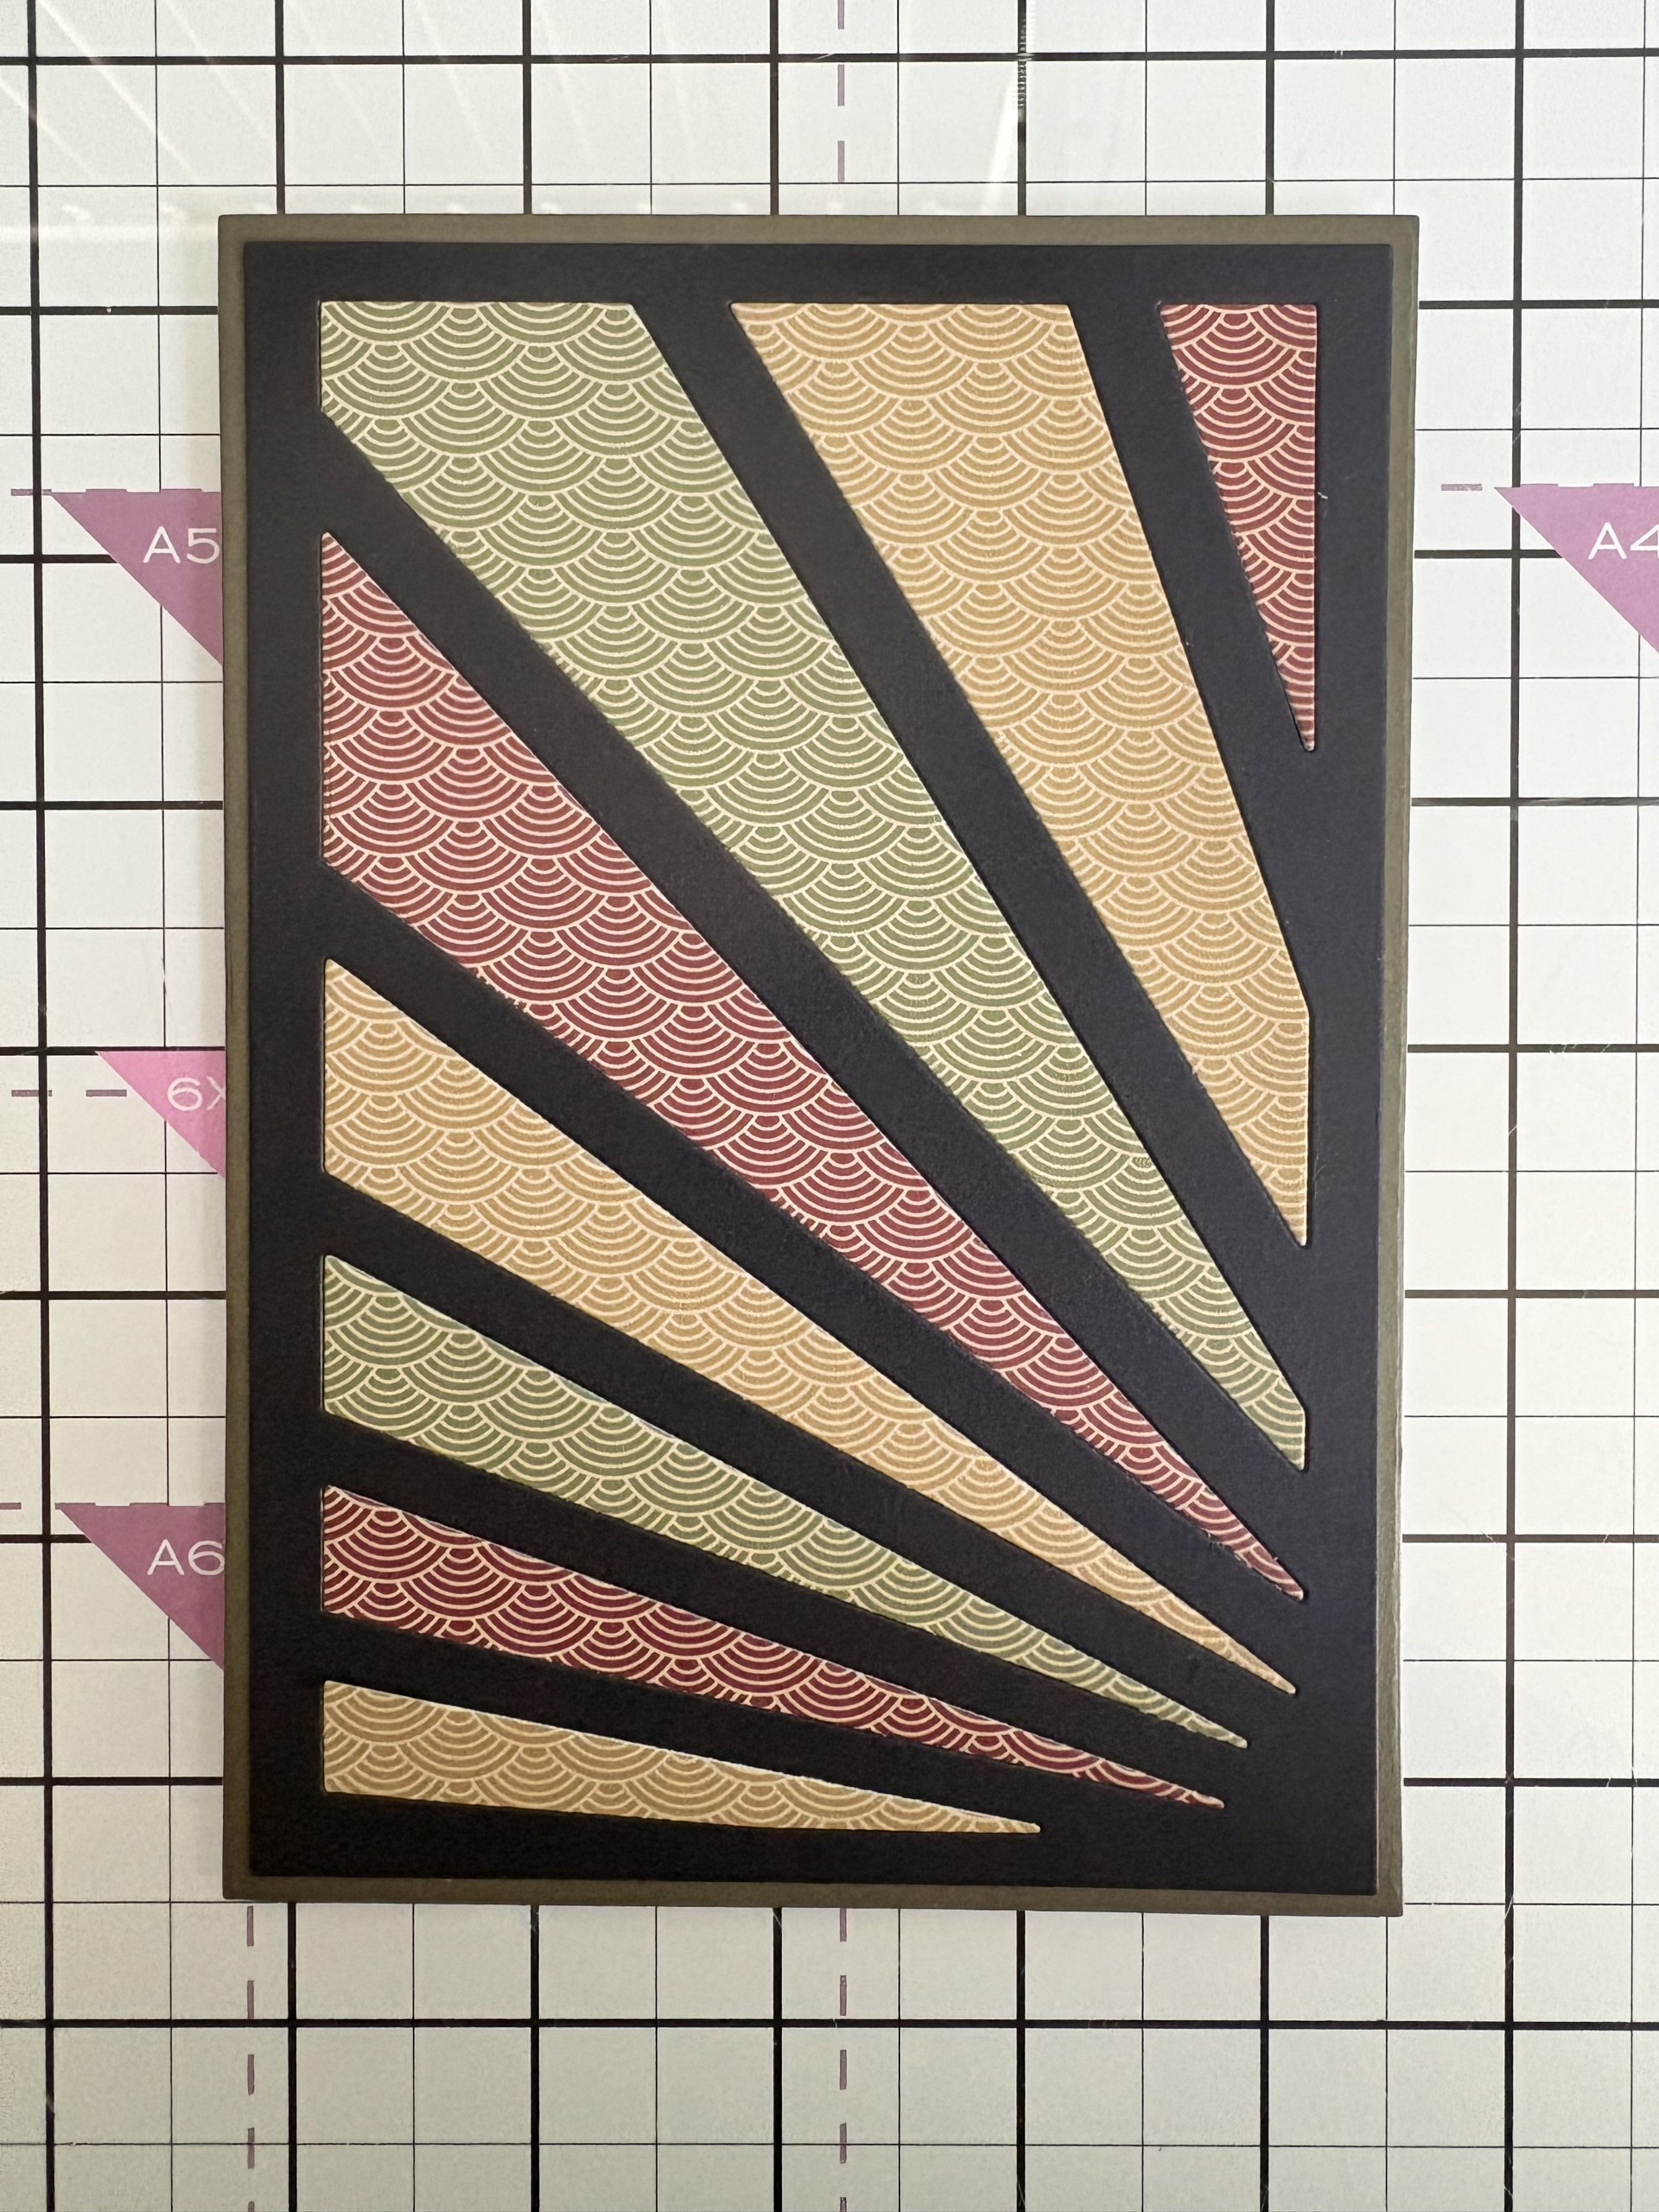
Adhere the black Sunburst panel to the rectangle die cut and then paper piece your 3 coloured panels back in, using wet glue. |
|
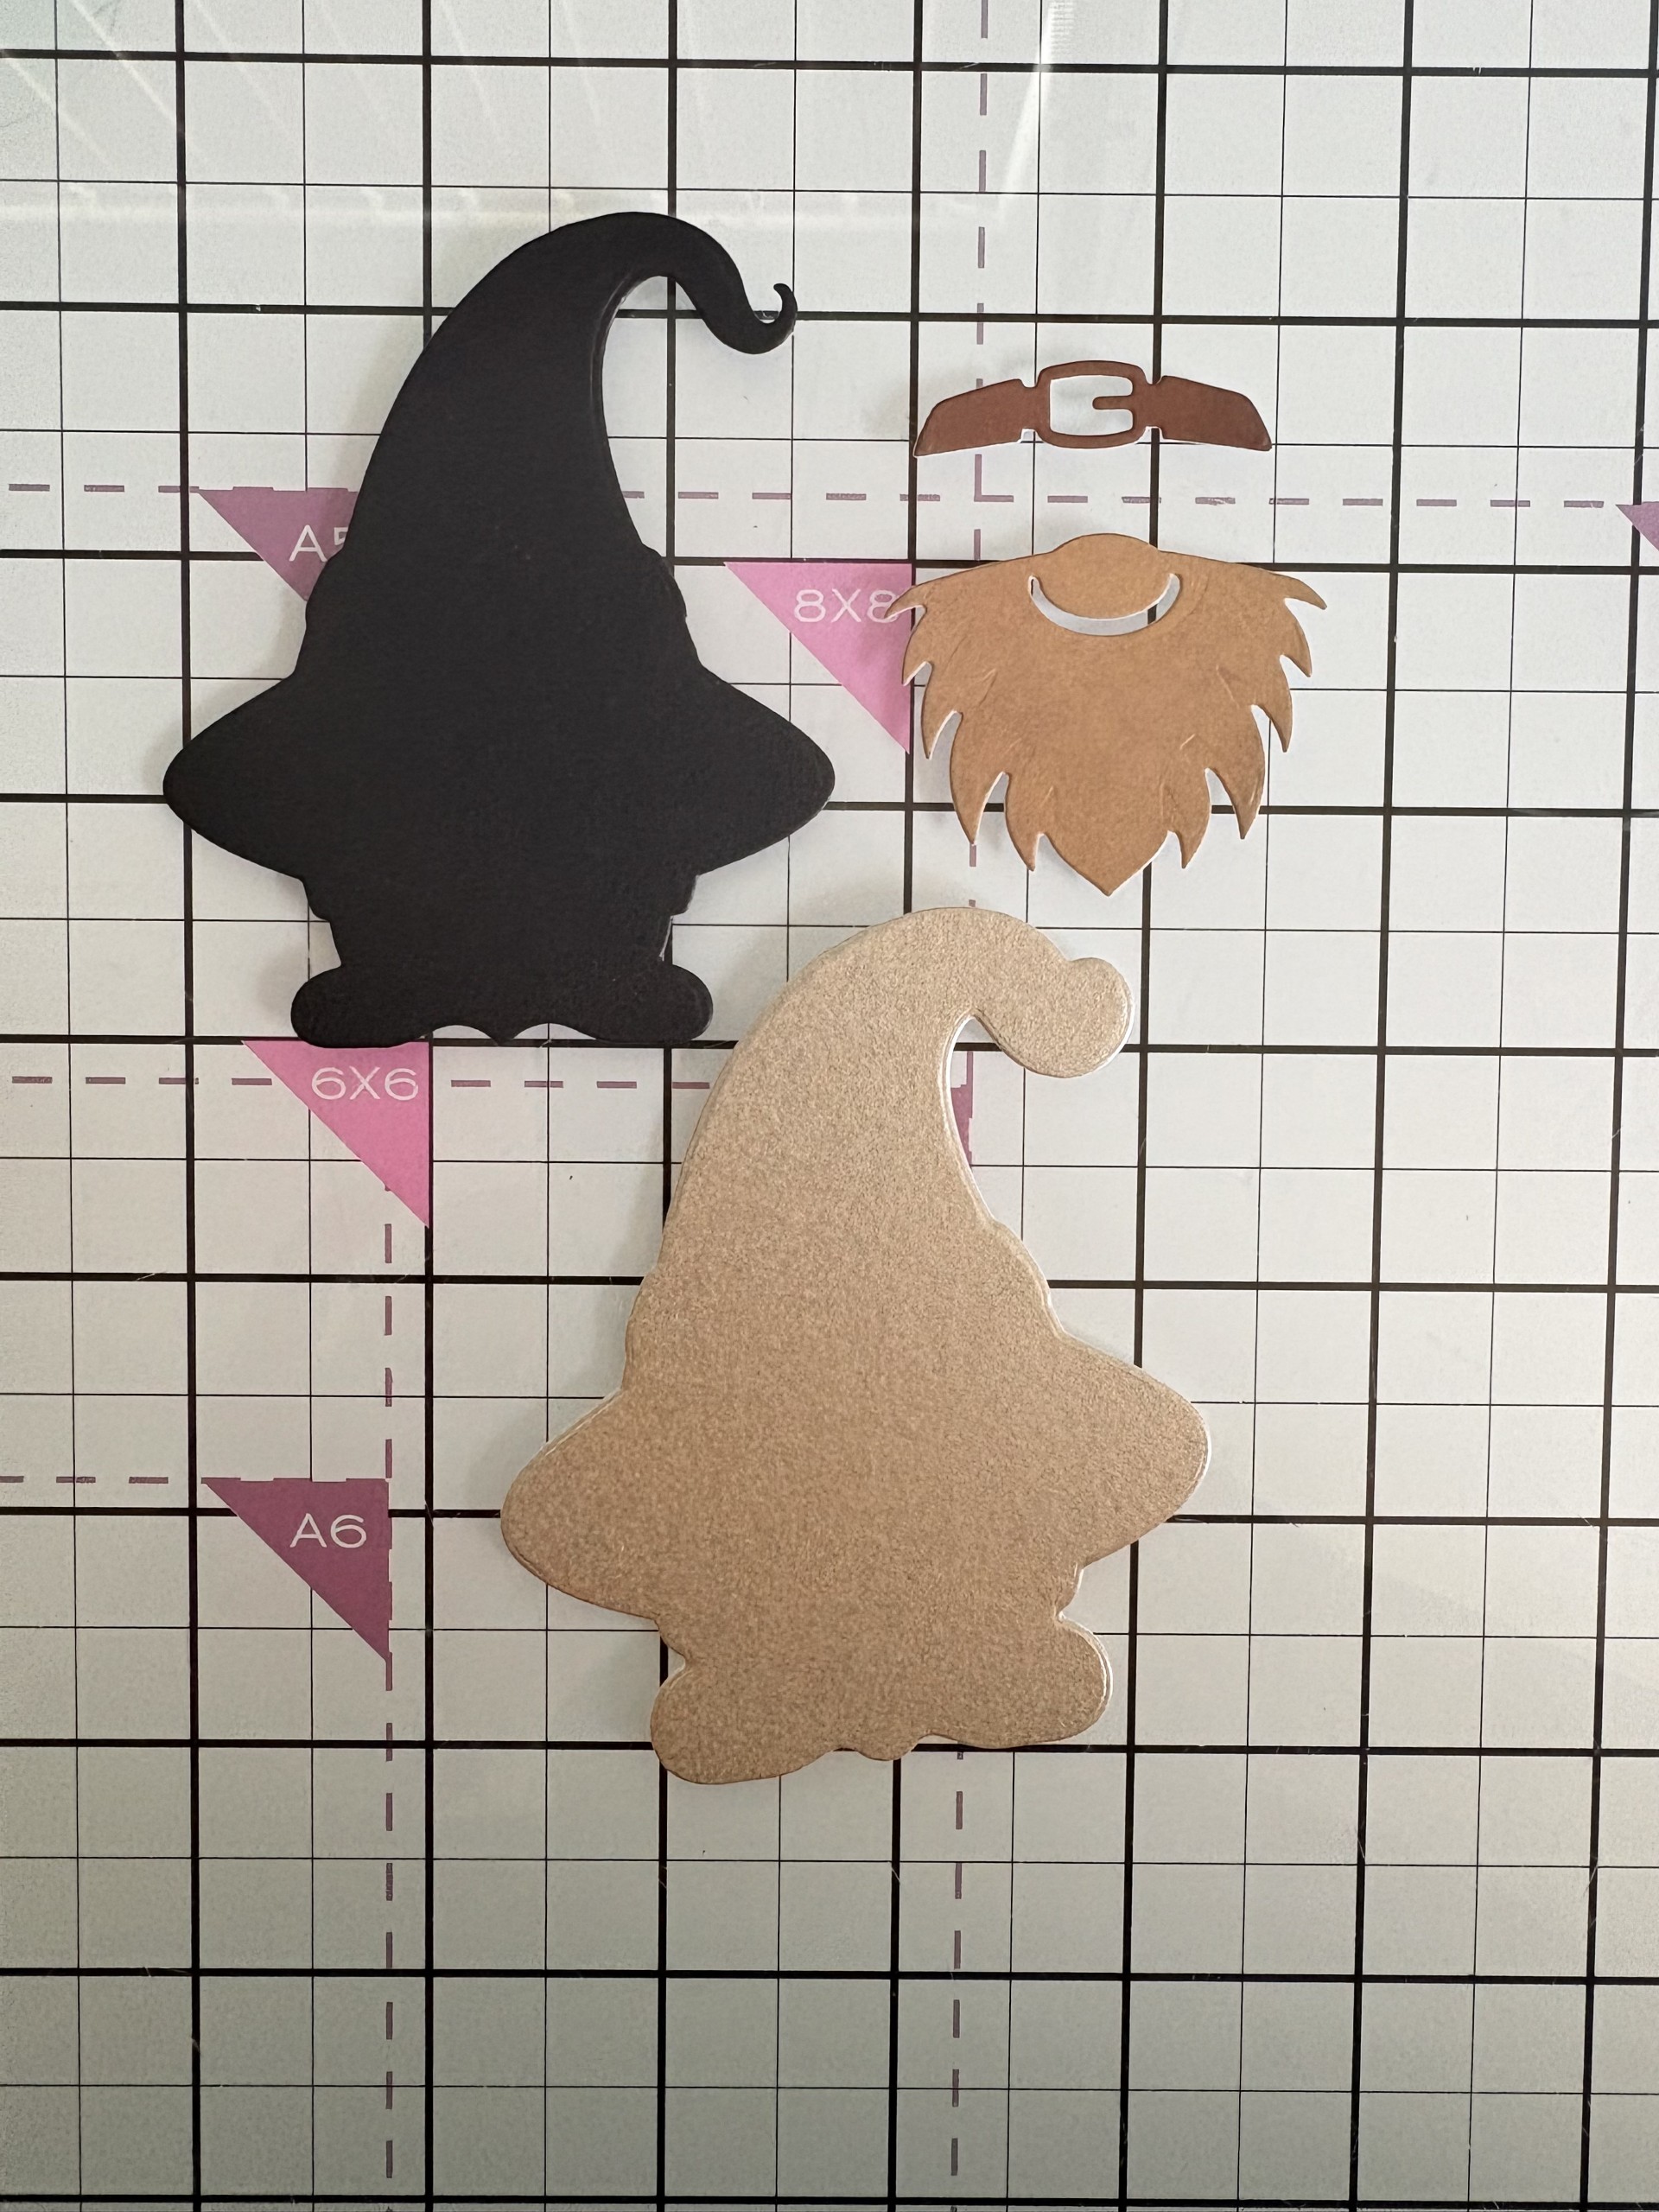
Die cut your Gonk from the Boo Buddies die set. I used black card & natural pearl card for the outline dies and the Texture papers for the beard and hat buckle. Glue them together. |
|
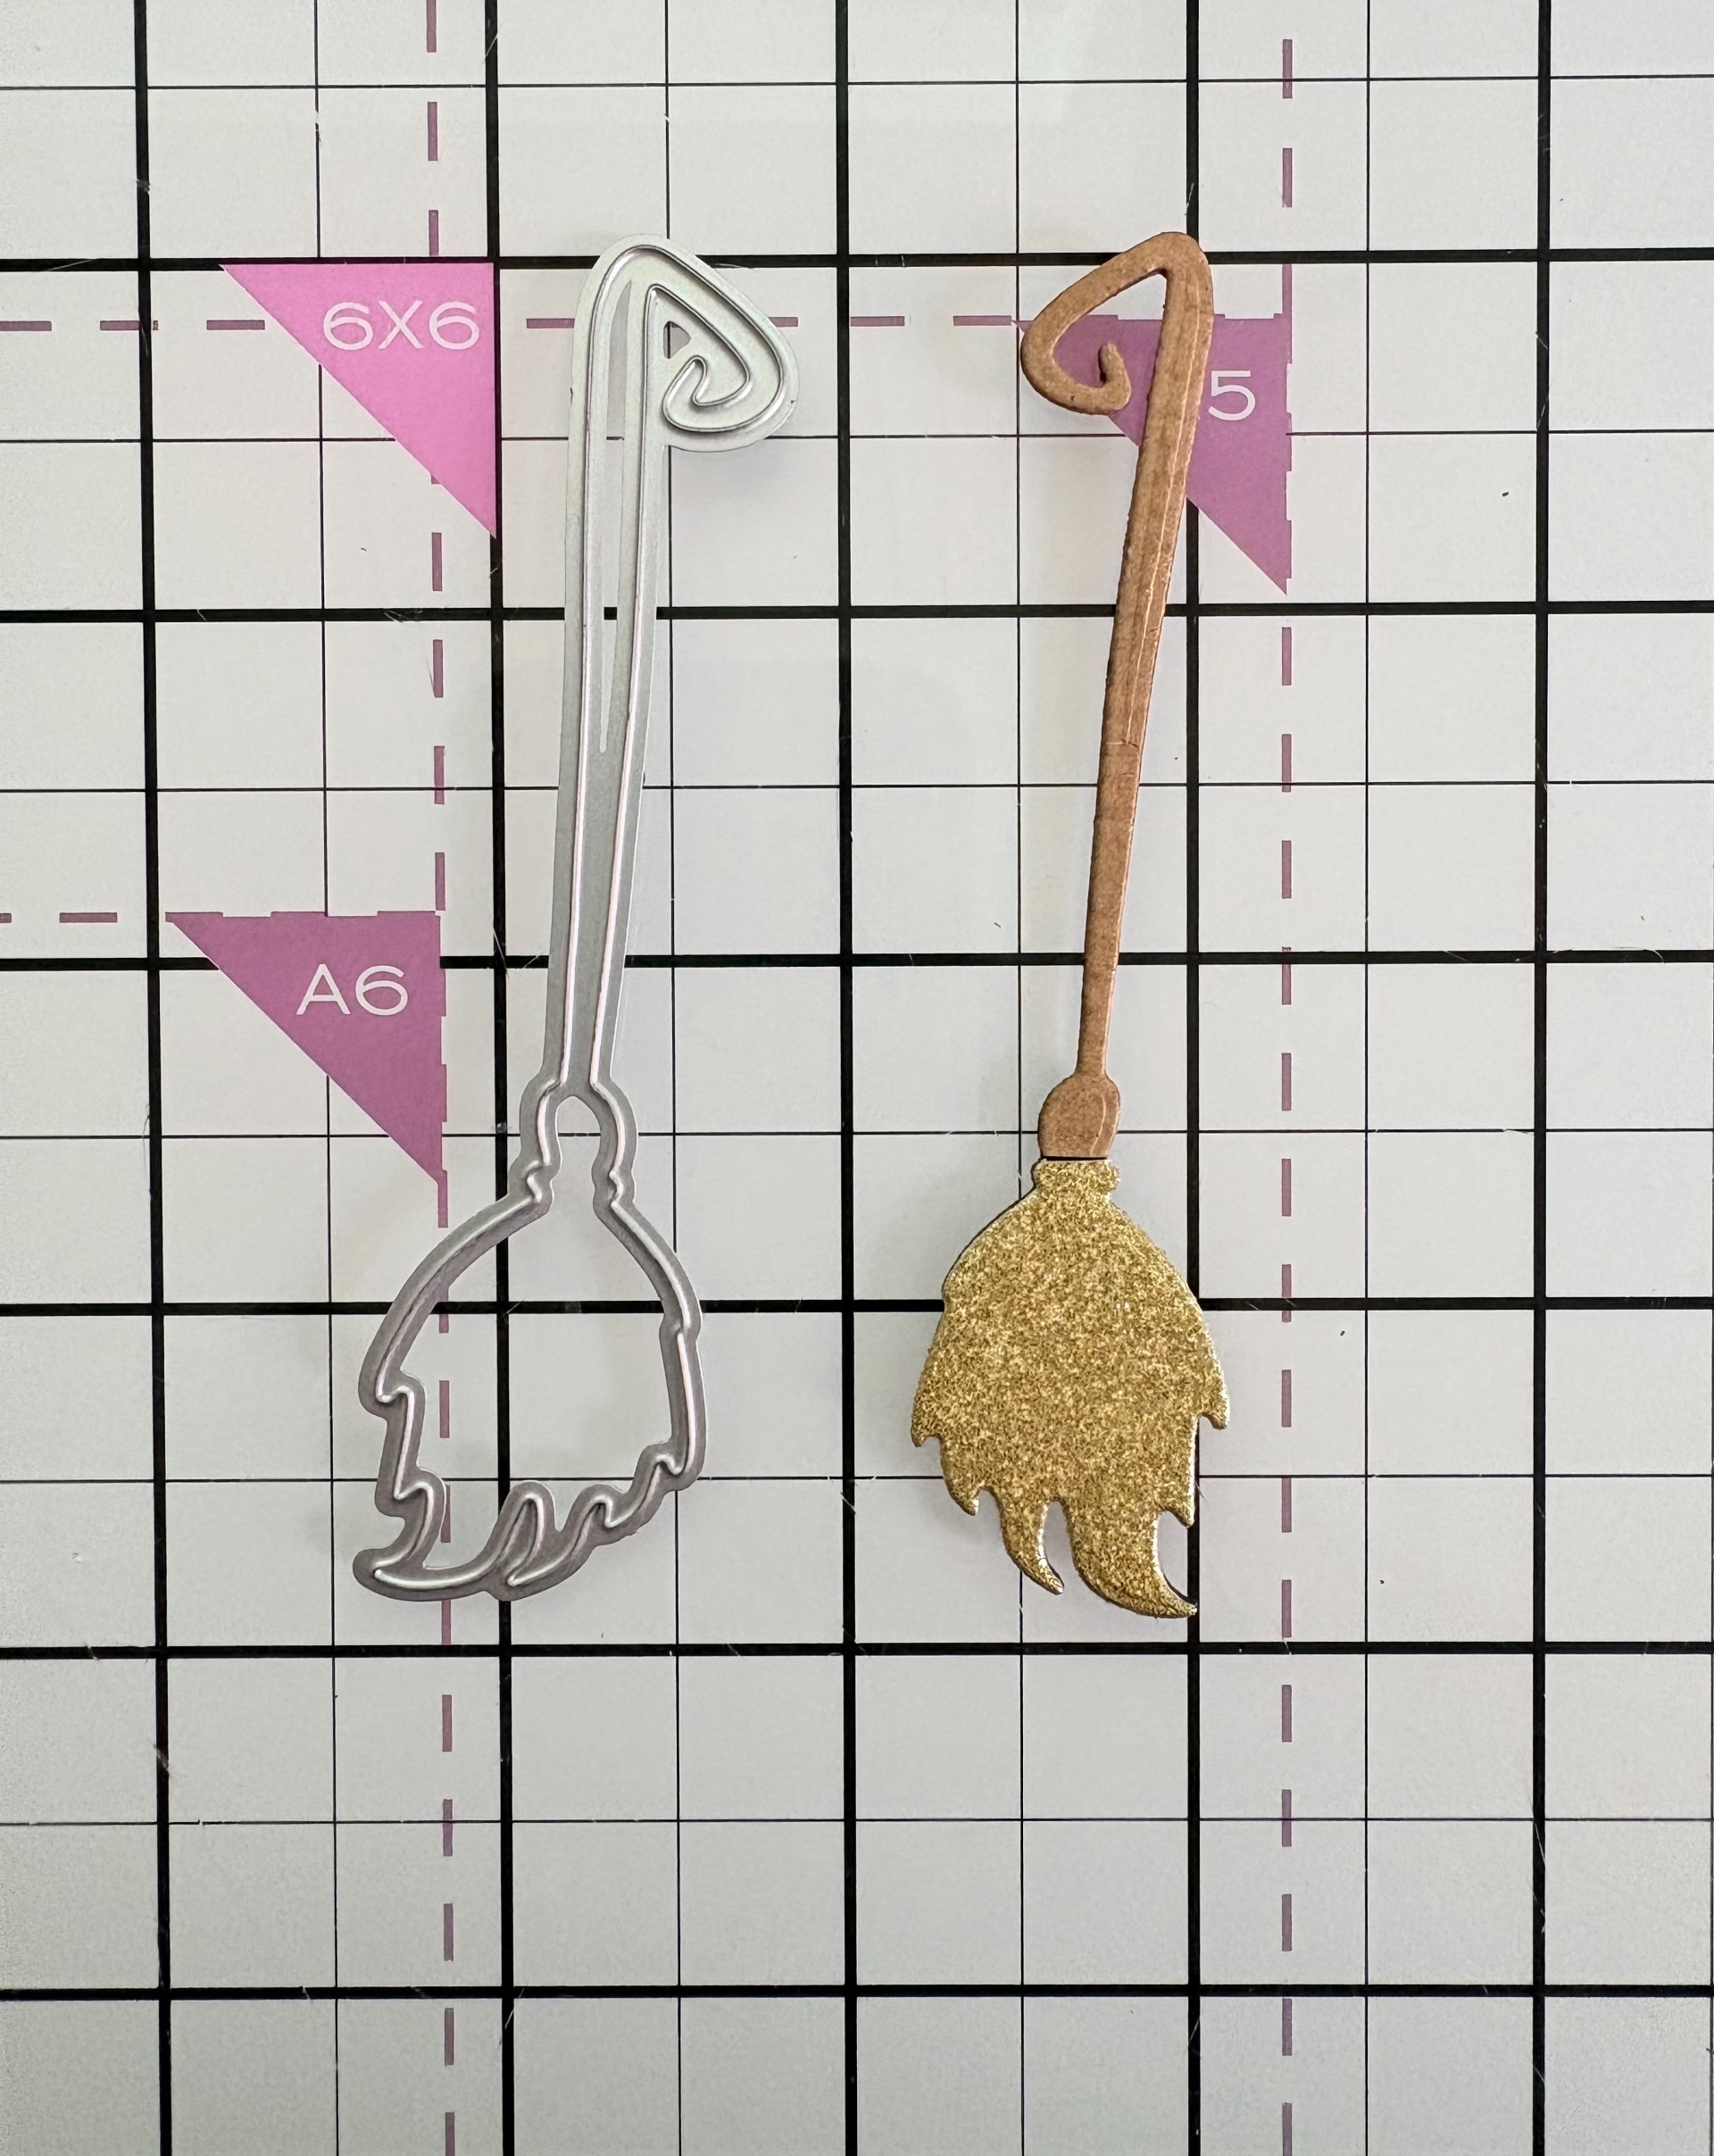
Die cut the mop die from the Jasper, Luna and Matilda set, one in Kraft card and another in gold glitter card. Snip the handle off the gold glitter card mop and then adhere to the Kraft die cut mop. |
|
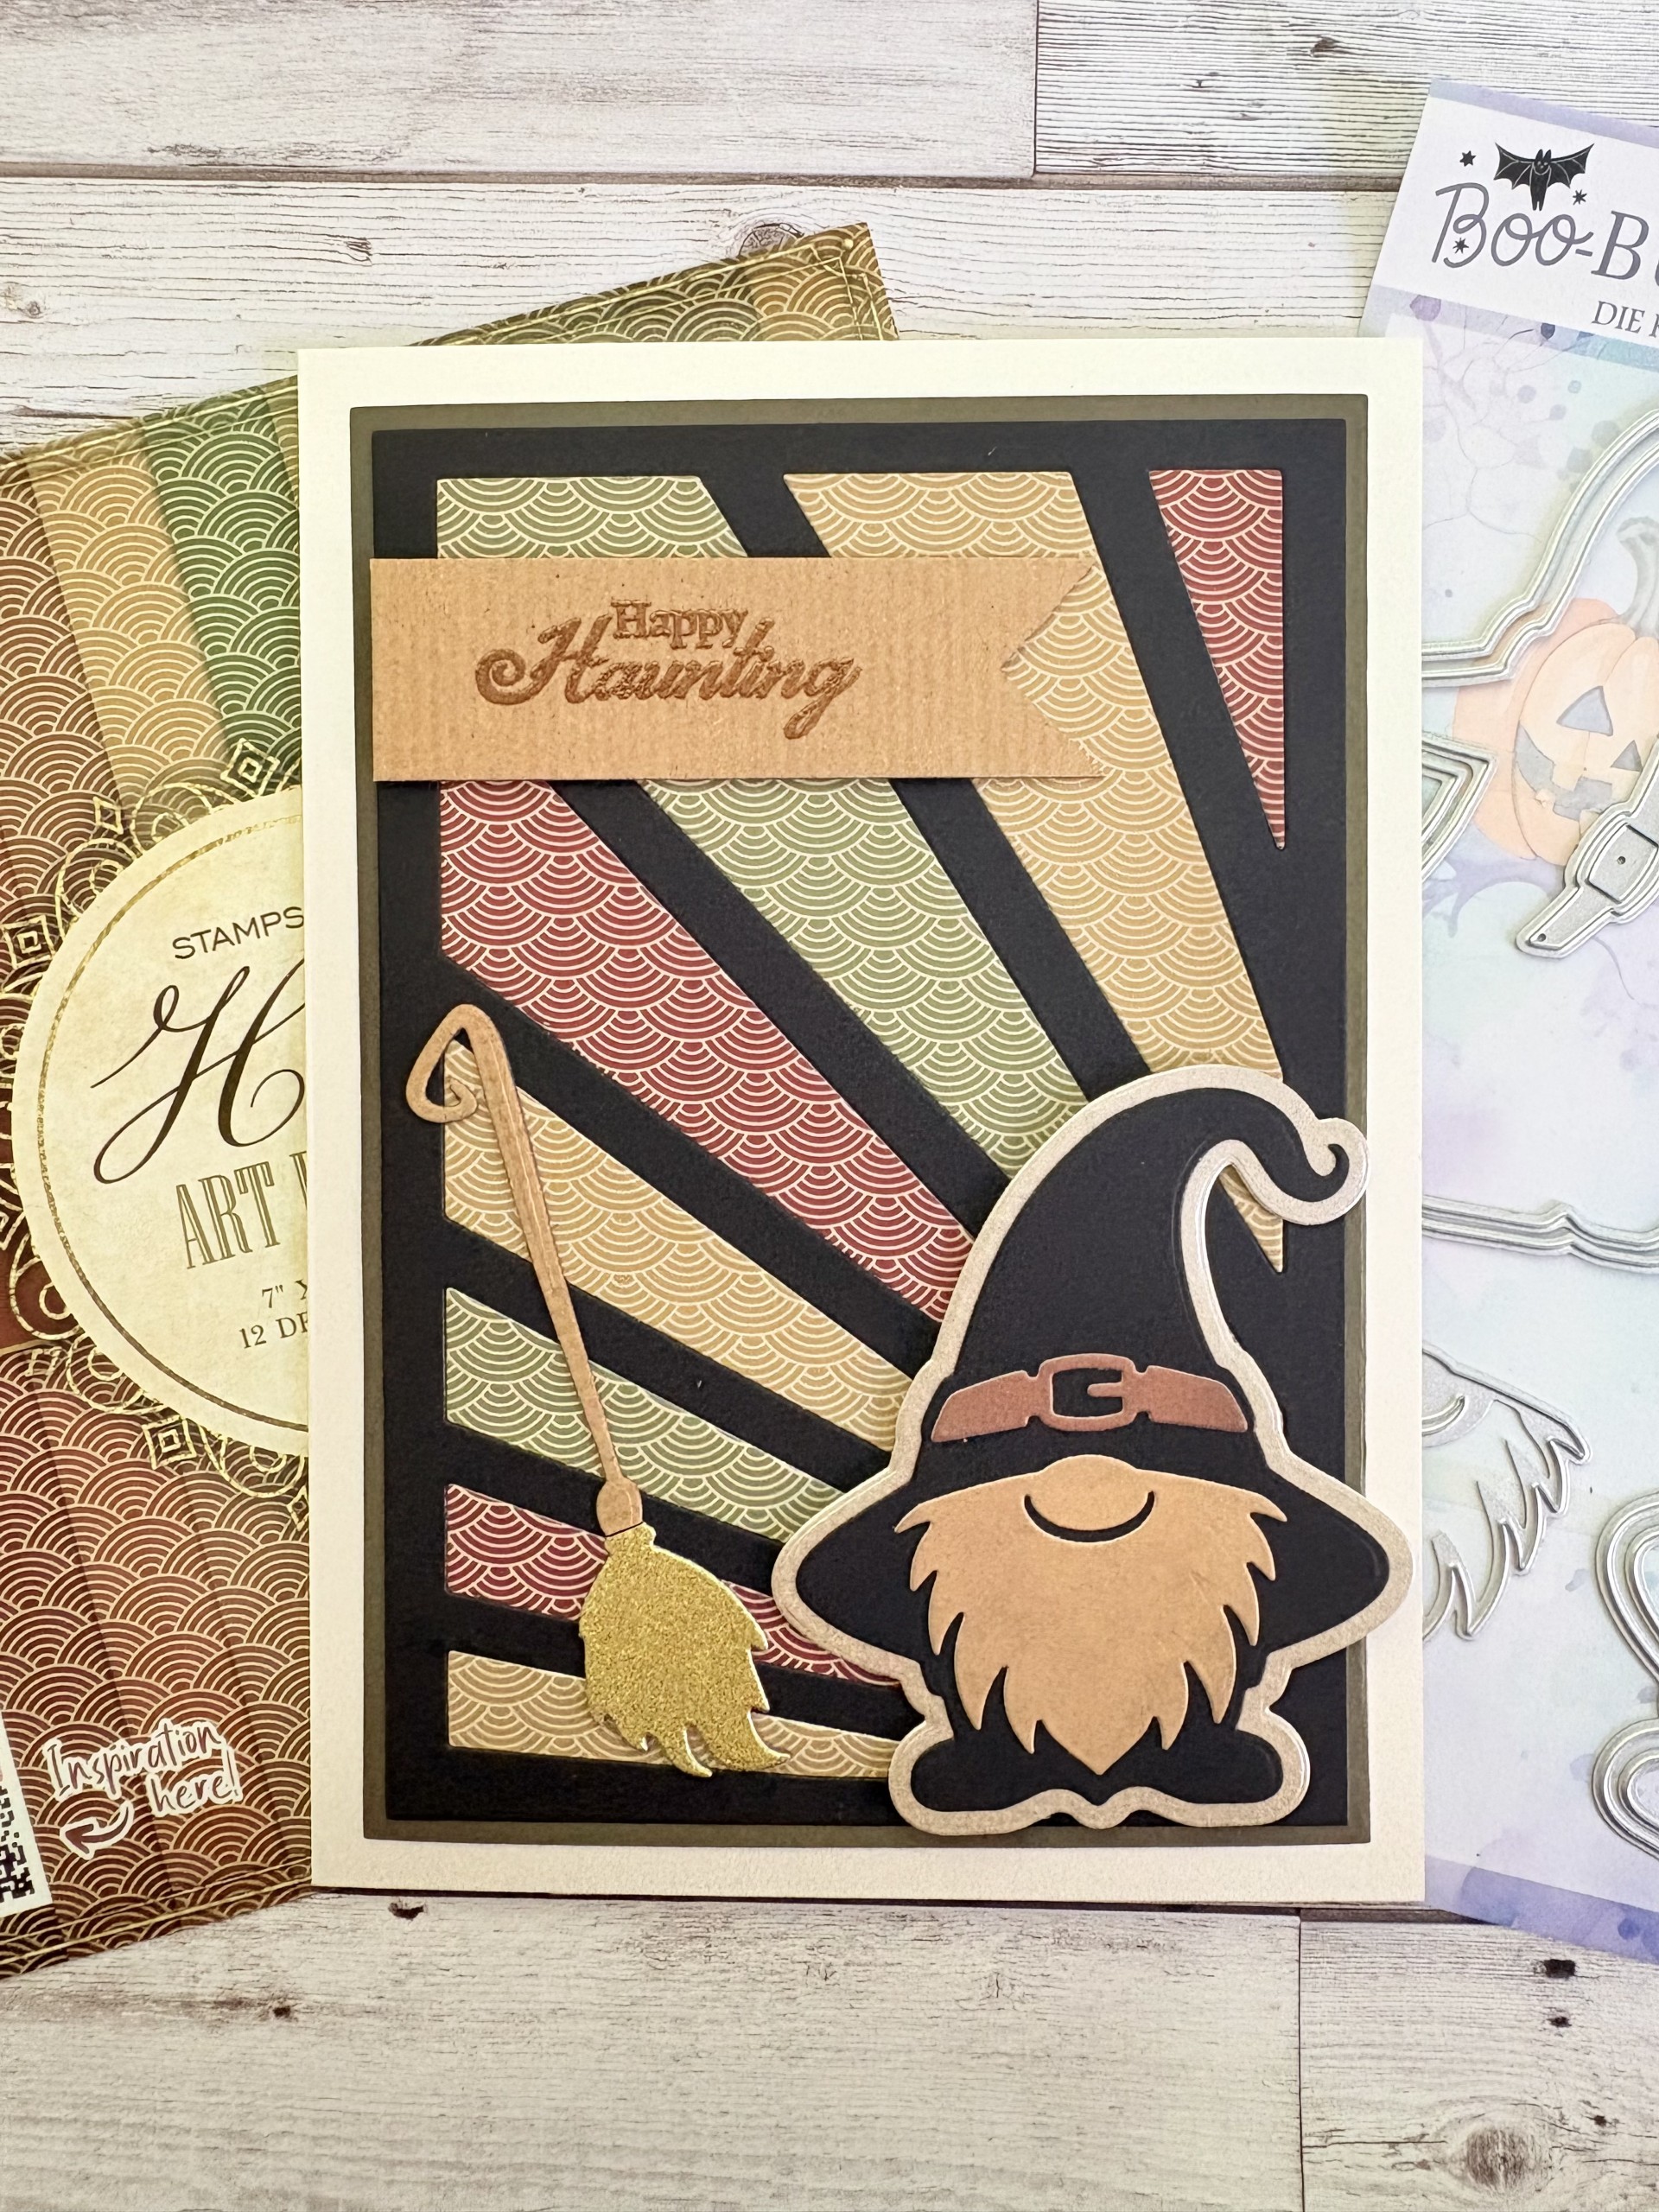
Adhere the panel and die cut pieces to the front of your card blank. Finally heat emboss your sentiment onto Kraft card cut using the banner punch. |