Step 1 of 7
Choose your paper from the paper pack and trim to 4 3/4 x 6 3/4" so it fits onto your 5 x 7" card blank.








Prices change straight away. Languages are translated by Google.
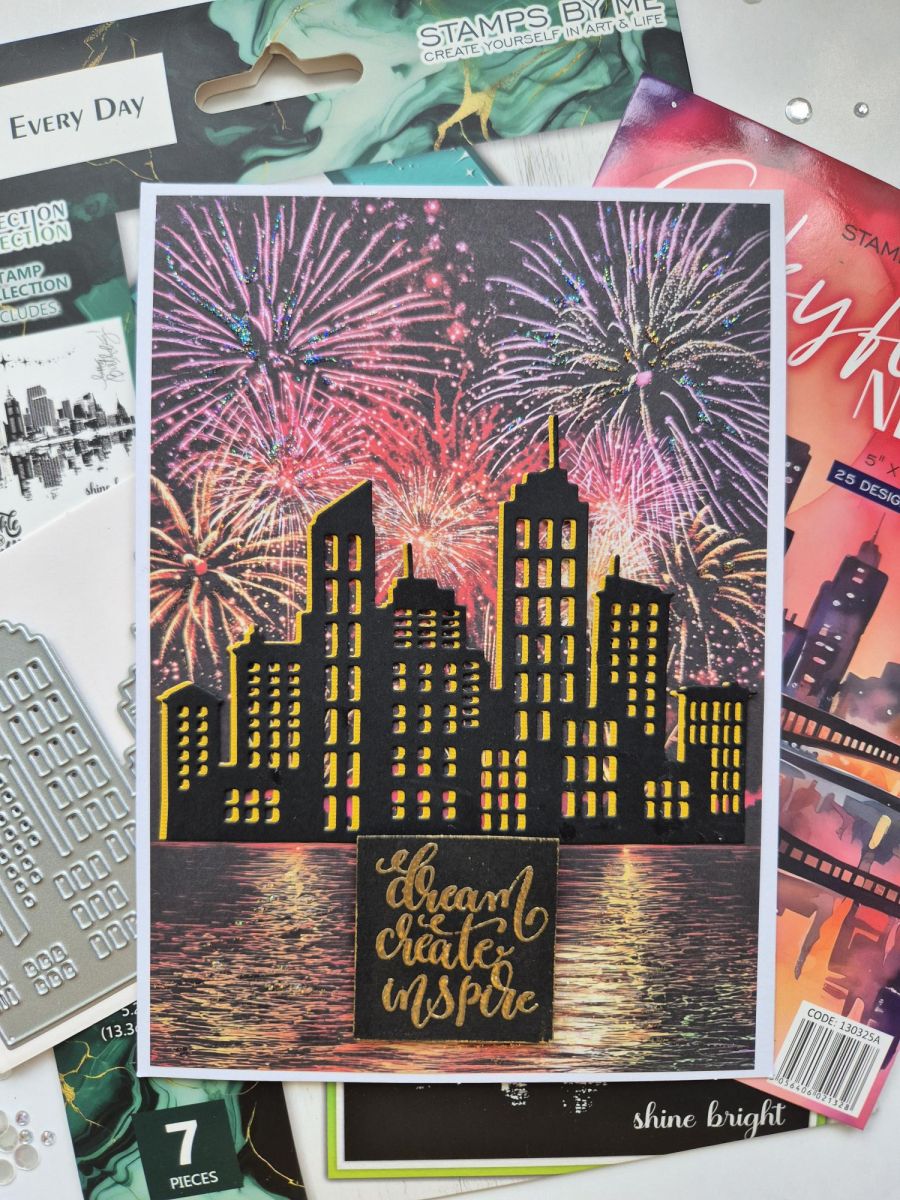
Choose your paper from the paper pack and trim to 4 3/4 x 6 3/4" so it fits onto your 5 x 7" card blank.
Cut two of these dies, one from black and one from yellow cardstock.
Adhere the yellow one behind the black, dropping it slightly down and to the right, to create a drop-shadow.
Adhere your die cut element to the paper, positioning the bottom edge along the water line.
Cut a square of black card, wipe over with the anti-static bag and stamp the sentiment in the sticky WOW embossing ink. Sprinkle with the Gold embossing powder and heat set with your heat tool.
Adhere your sentiment to your paper, then adhere to your card blank.
To complete your card, add lots of glitter and sparkle!!!
Share your make with the Stamps By Me community - and keep this guide for next time.
Prefer the previous layout? Open the old page.