Give your friends $10 off their first order!
Refer a FRIEND








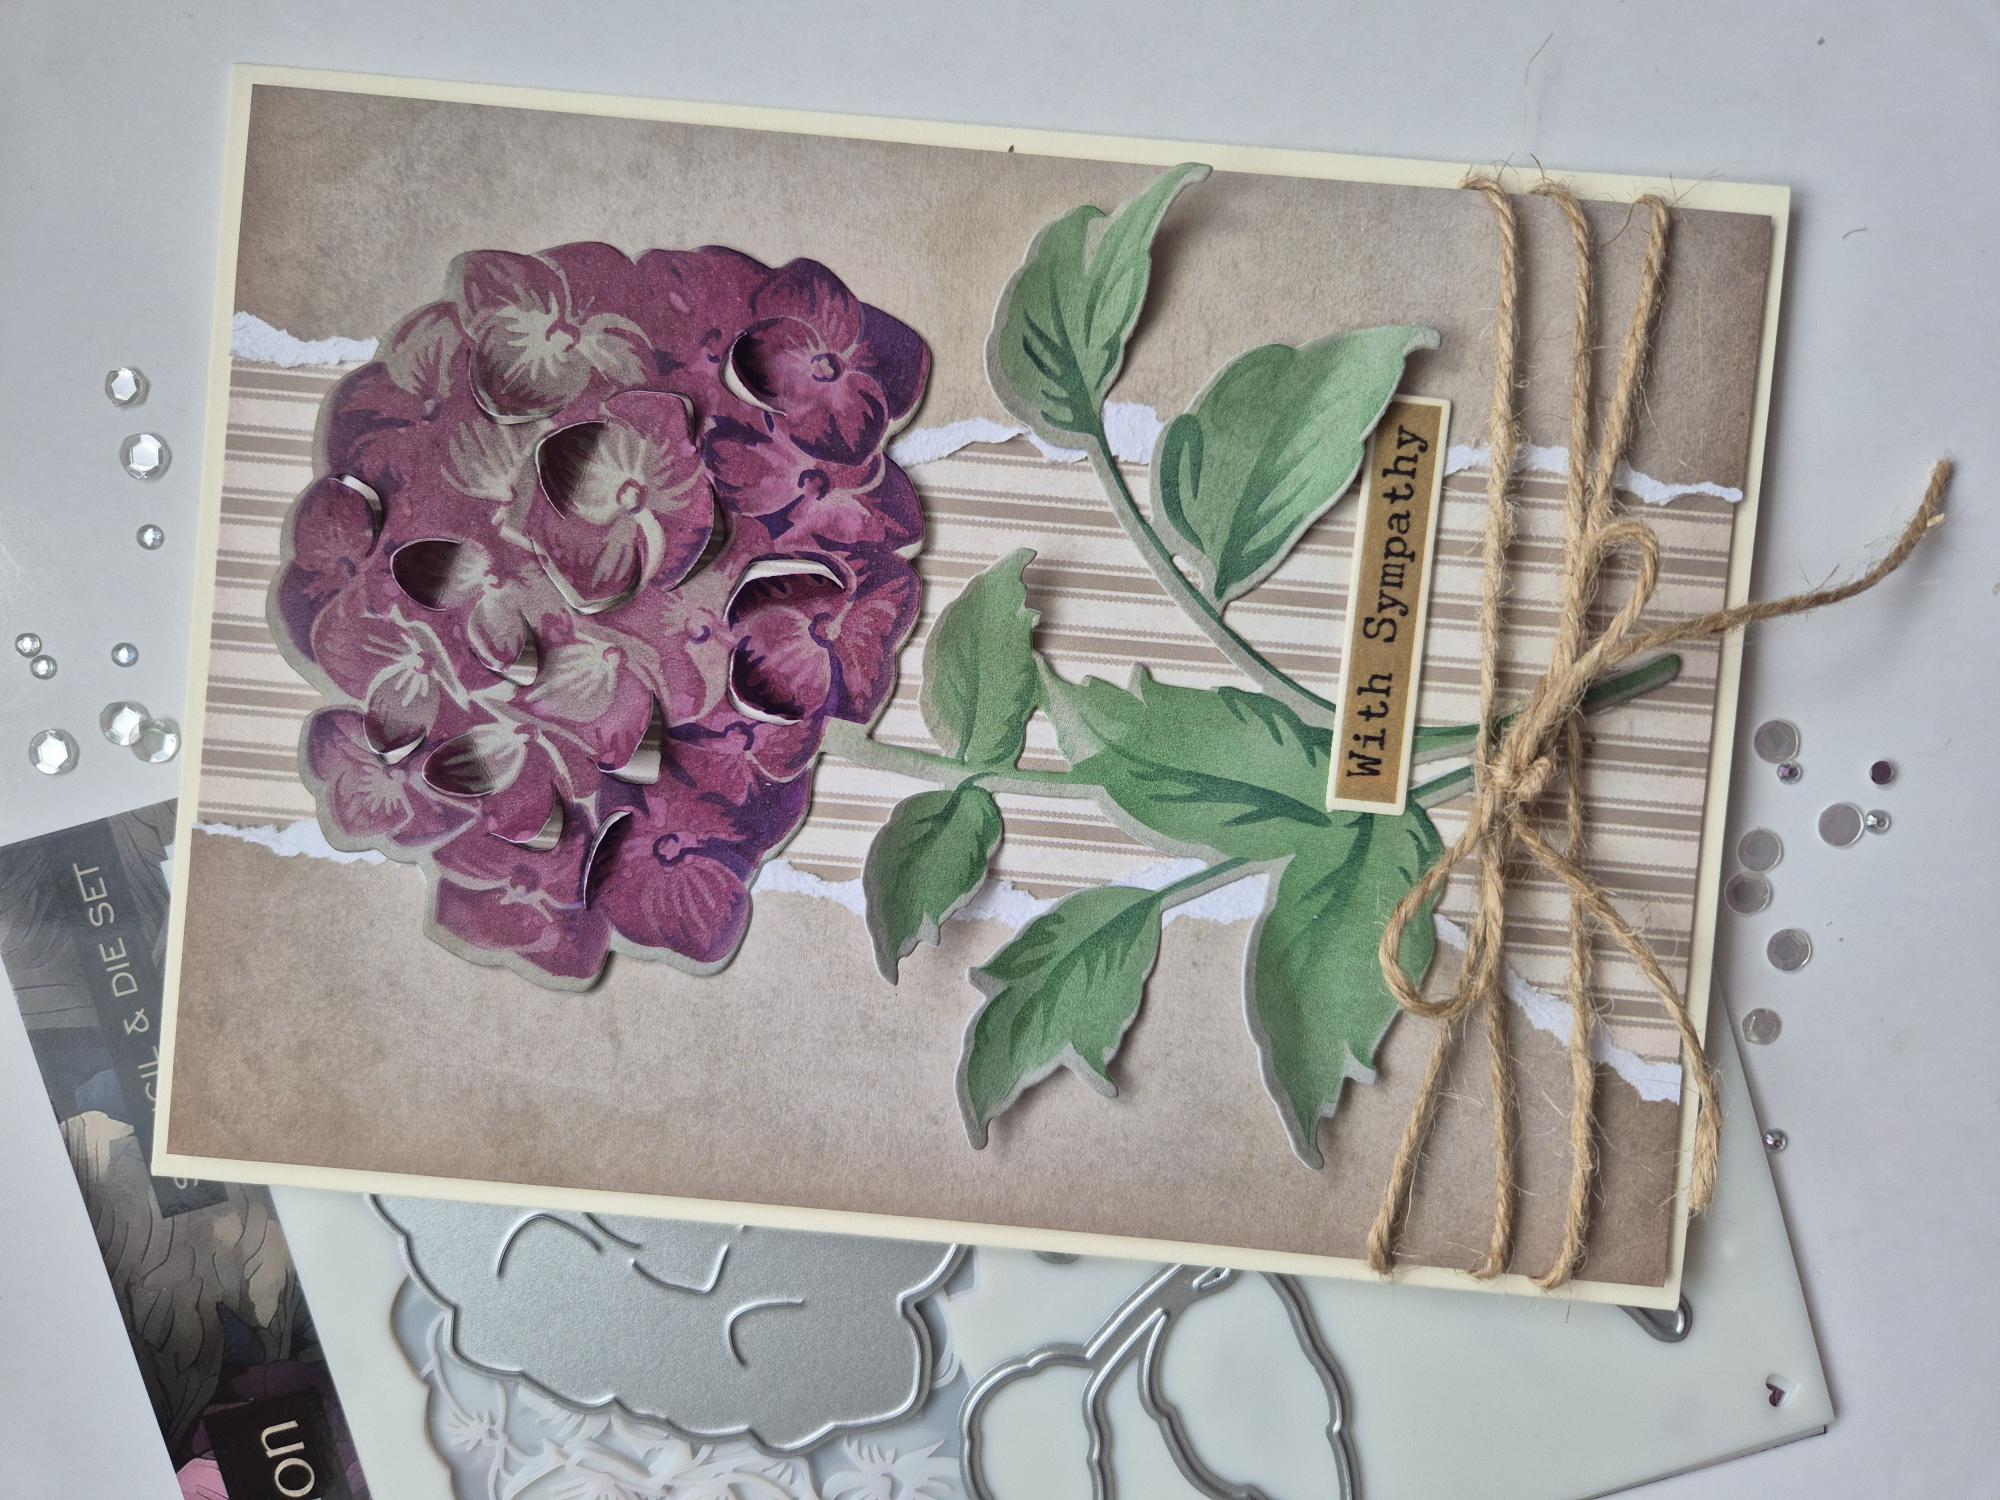
WHAT YOU WILL NEED:
Floral Fusion Stamp and Die Set
Classic Textures Paper Collection
Sepia Washi Tape & Die Set
Cream Card blank 6 x 8" (trim to 5 1/4 x 7 1/4")
Cream cardstock
SBM Dye Ink Pad: Heather, Fandango, Indigo, Hedgerow, Tiffany
Blending brush
Twine
SBM A3 Magnetic glass mat
Paper Trimmer
Glue
Foam pads/3D glue gel
Die Cutting machine
[click image to enlarge] 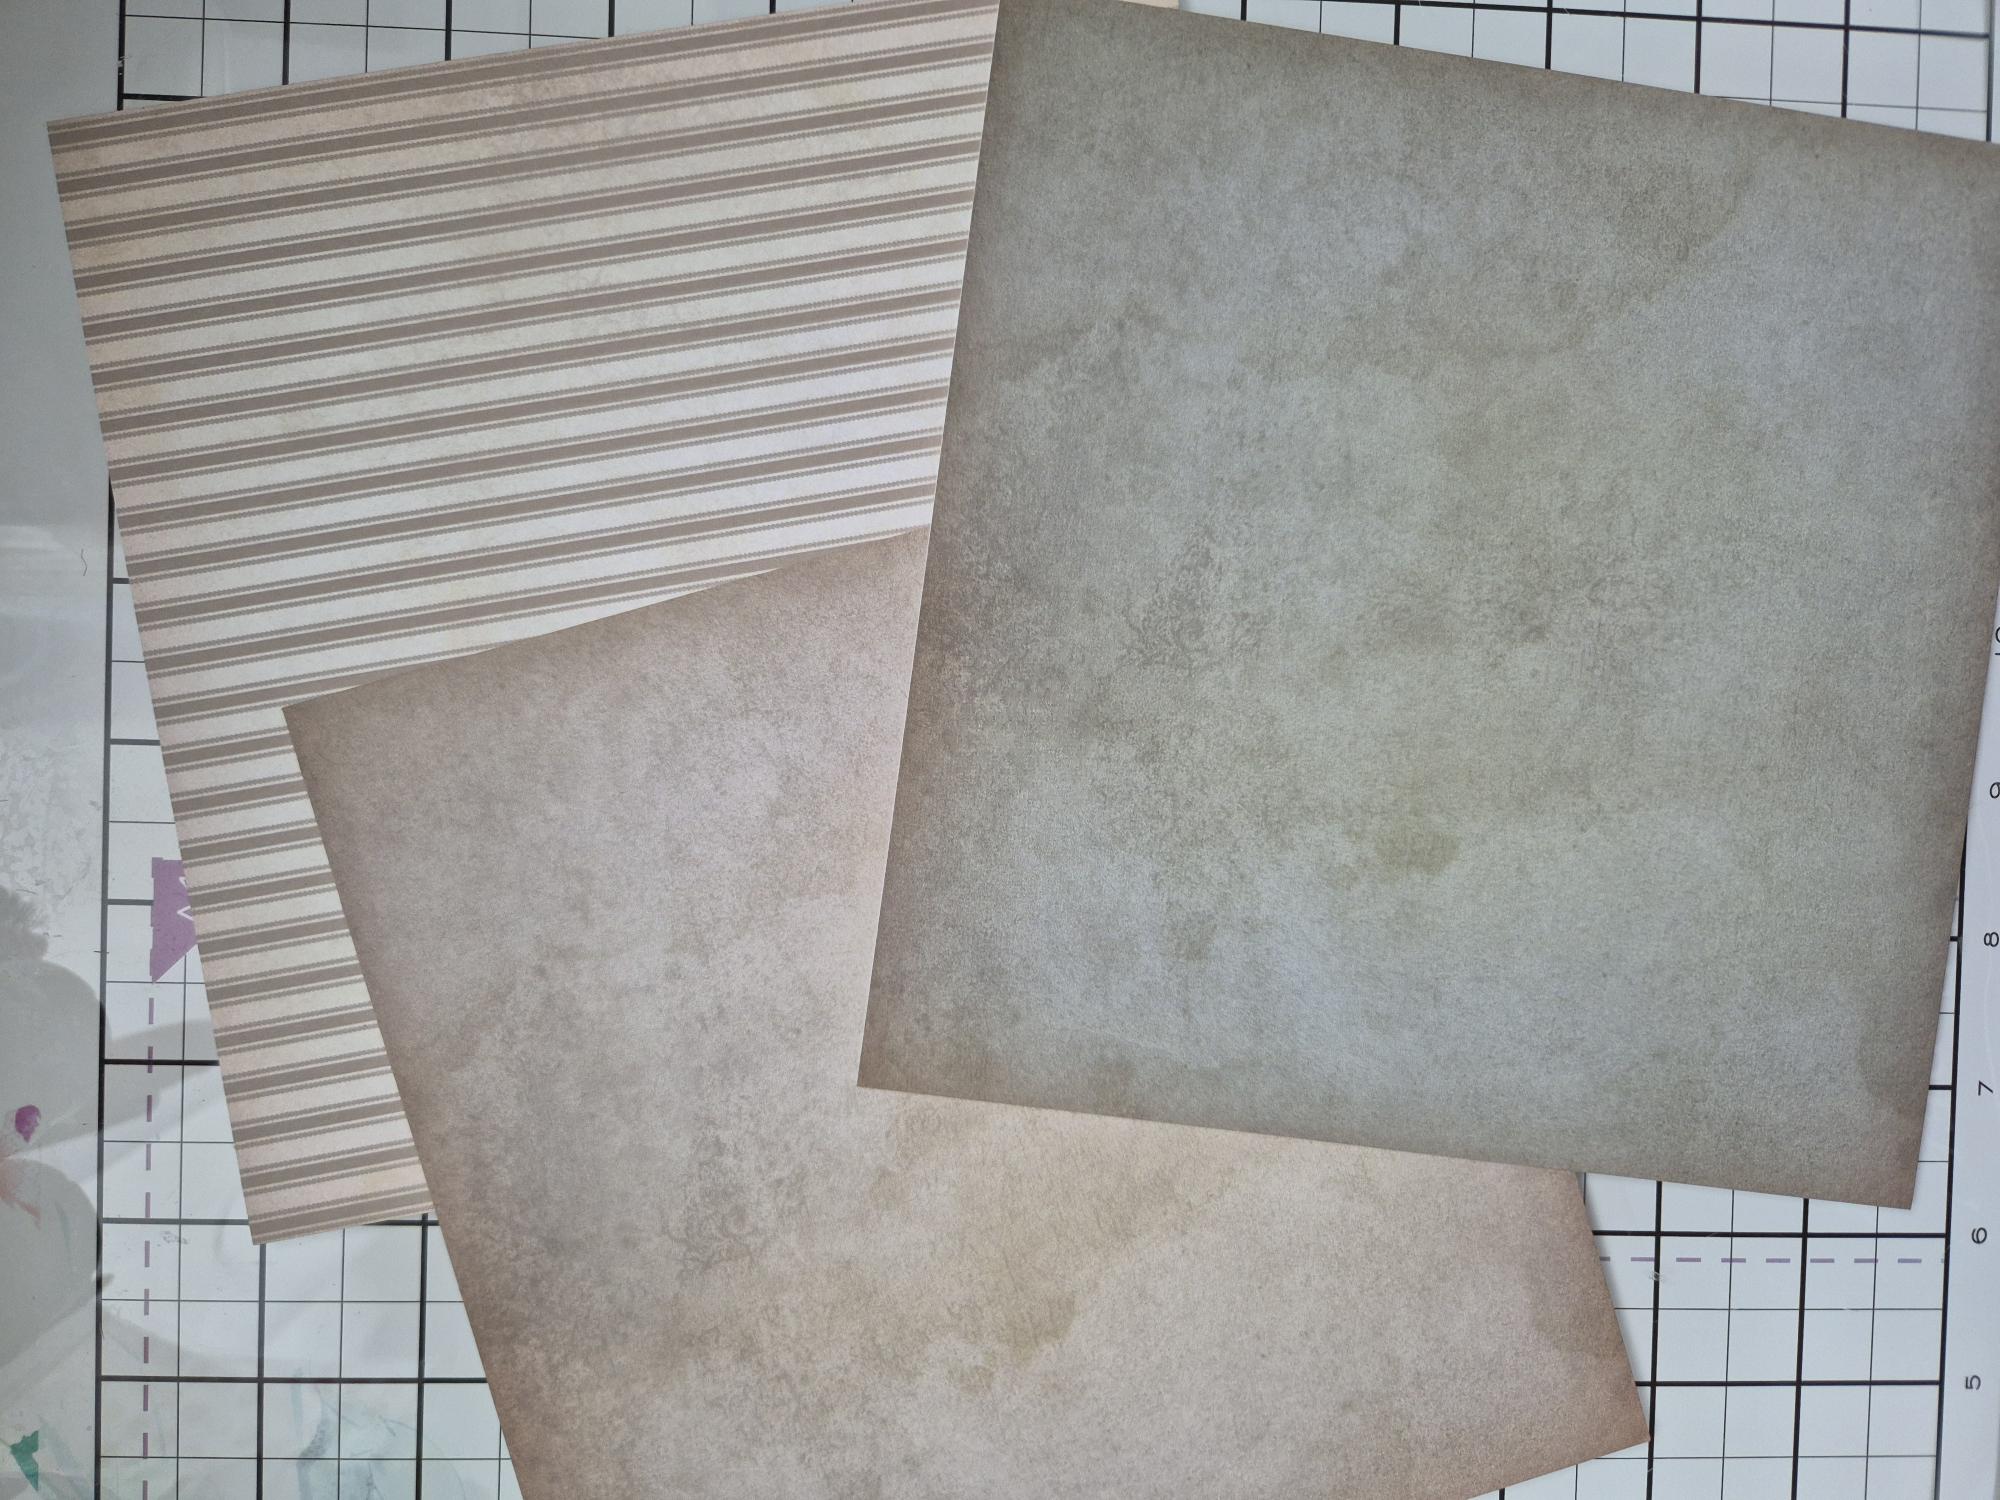
|
Choose 3 coordinating sheets from your Classic Textures collection, including one striped one. |
|
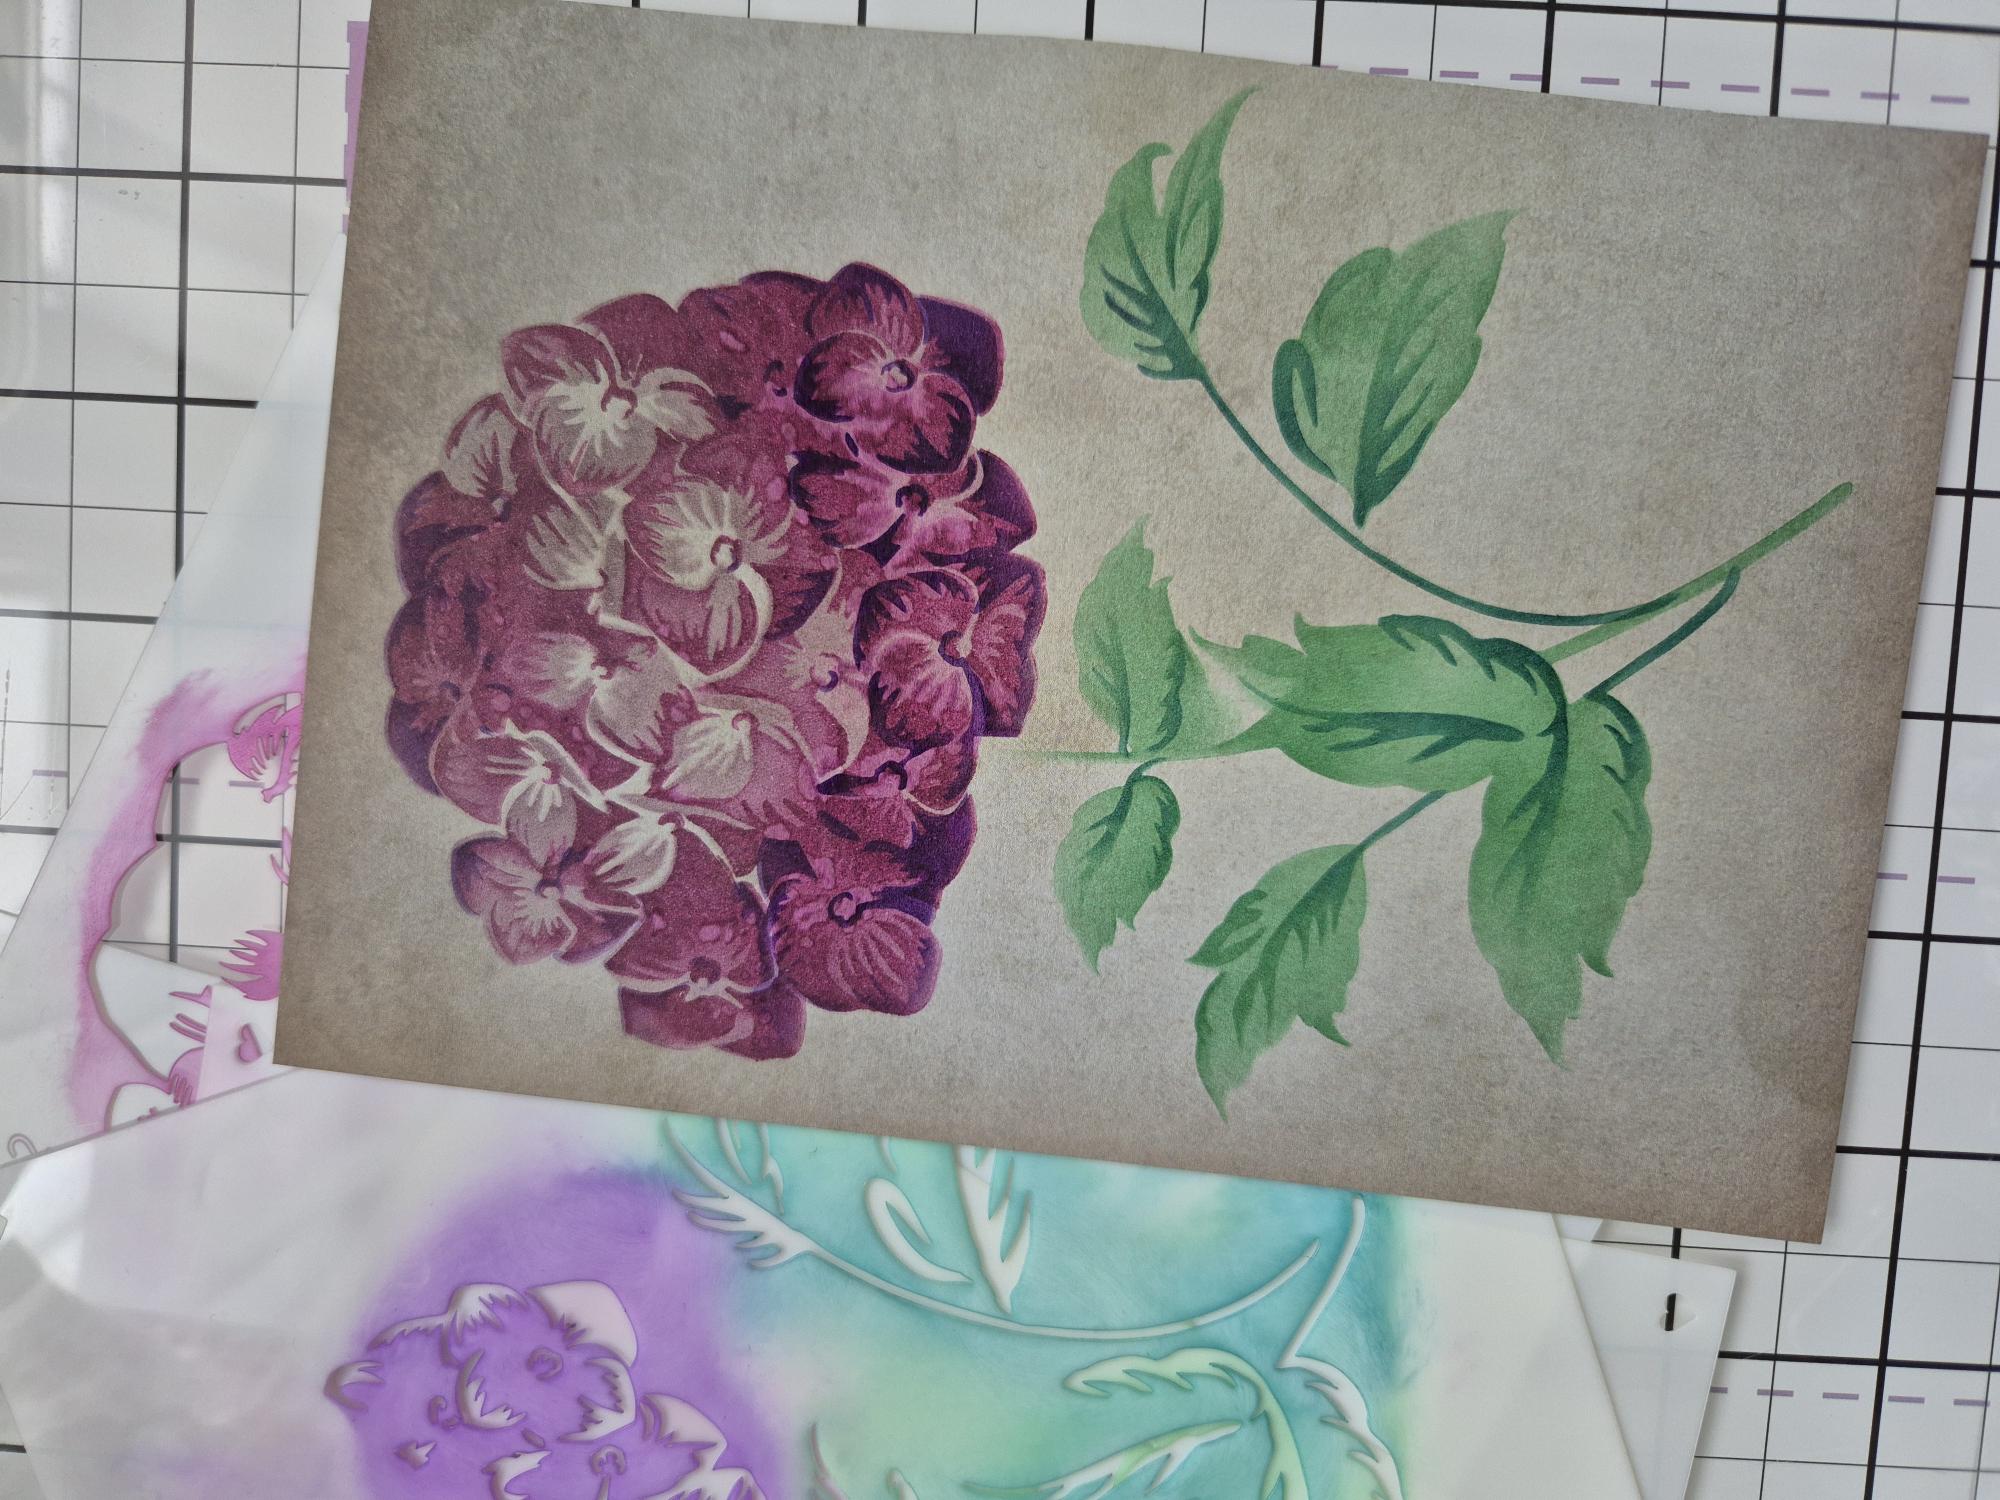
On one of the plainer sheets, secure Floral Fusion stencil 1 in place and blend with Heather. Line up stencil 2 and blend lightly with Fandango. Line up stencil 3 and blend with Fandango then splatter with water. Mop up any excess with a paper towel. Line up stencil 4 and blend with Hedgerow. Line up stencil 5 and blend with both Hedgerow and Tiffany on the foliage areas. Blend with Indigo on the petals.
|
|
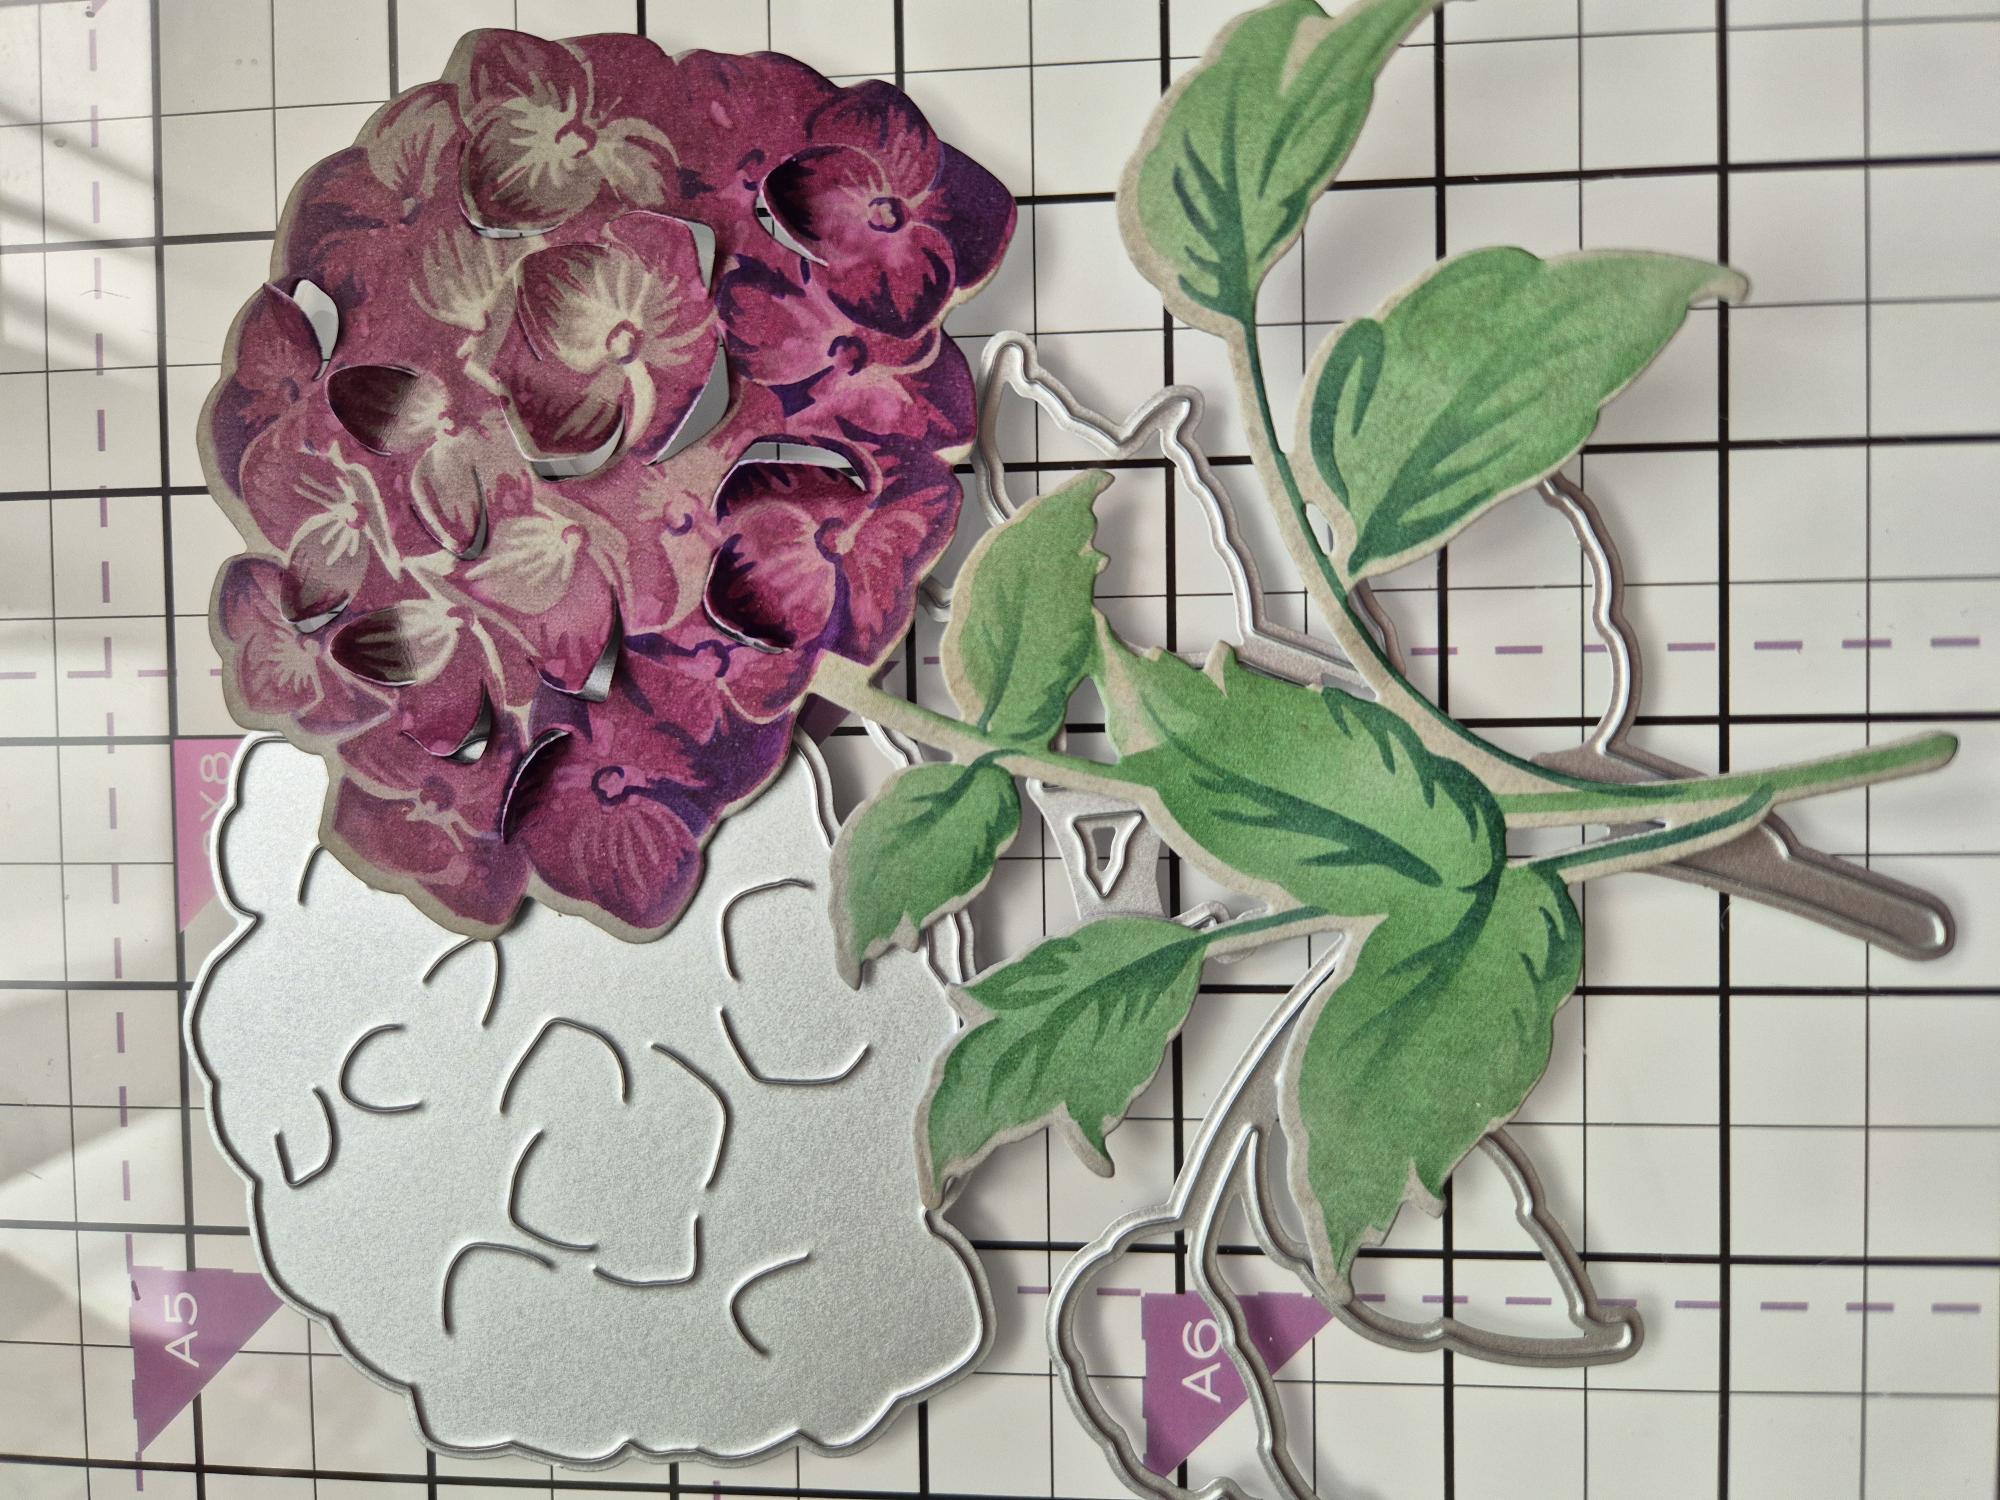
Use the coordinating die to cut it out. |
|
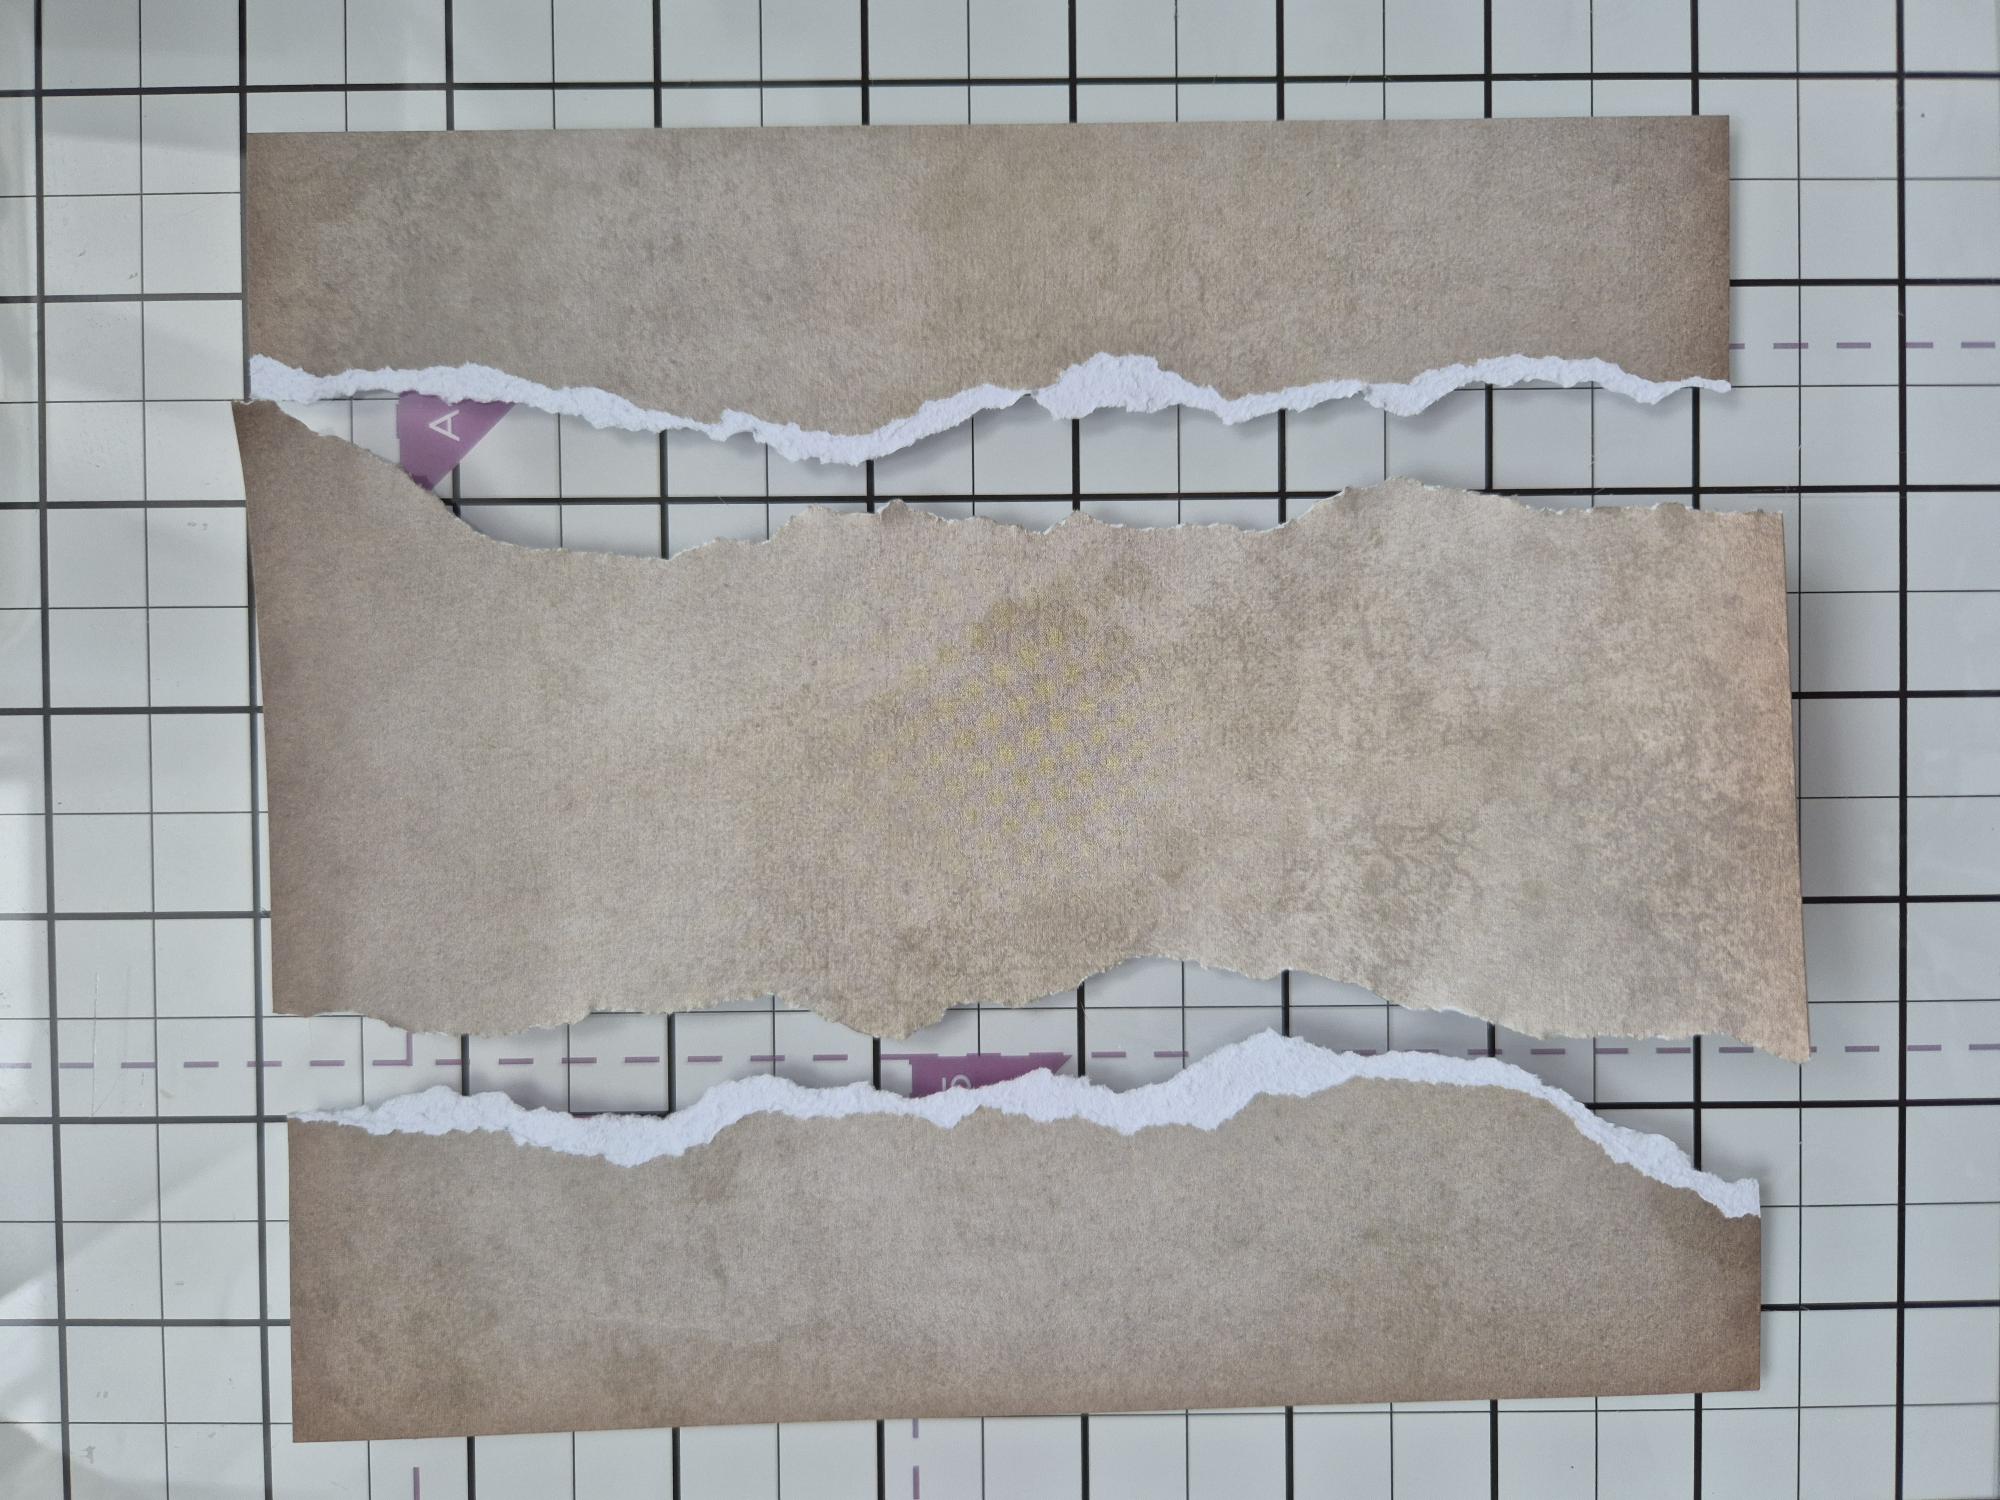
Tear off the two sides of the other plainer paper, like this. |
|
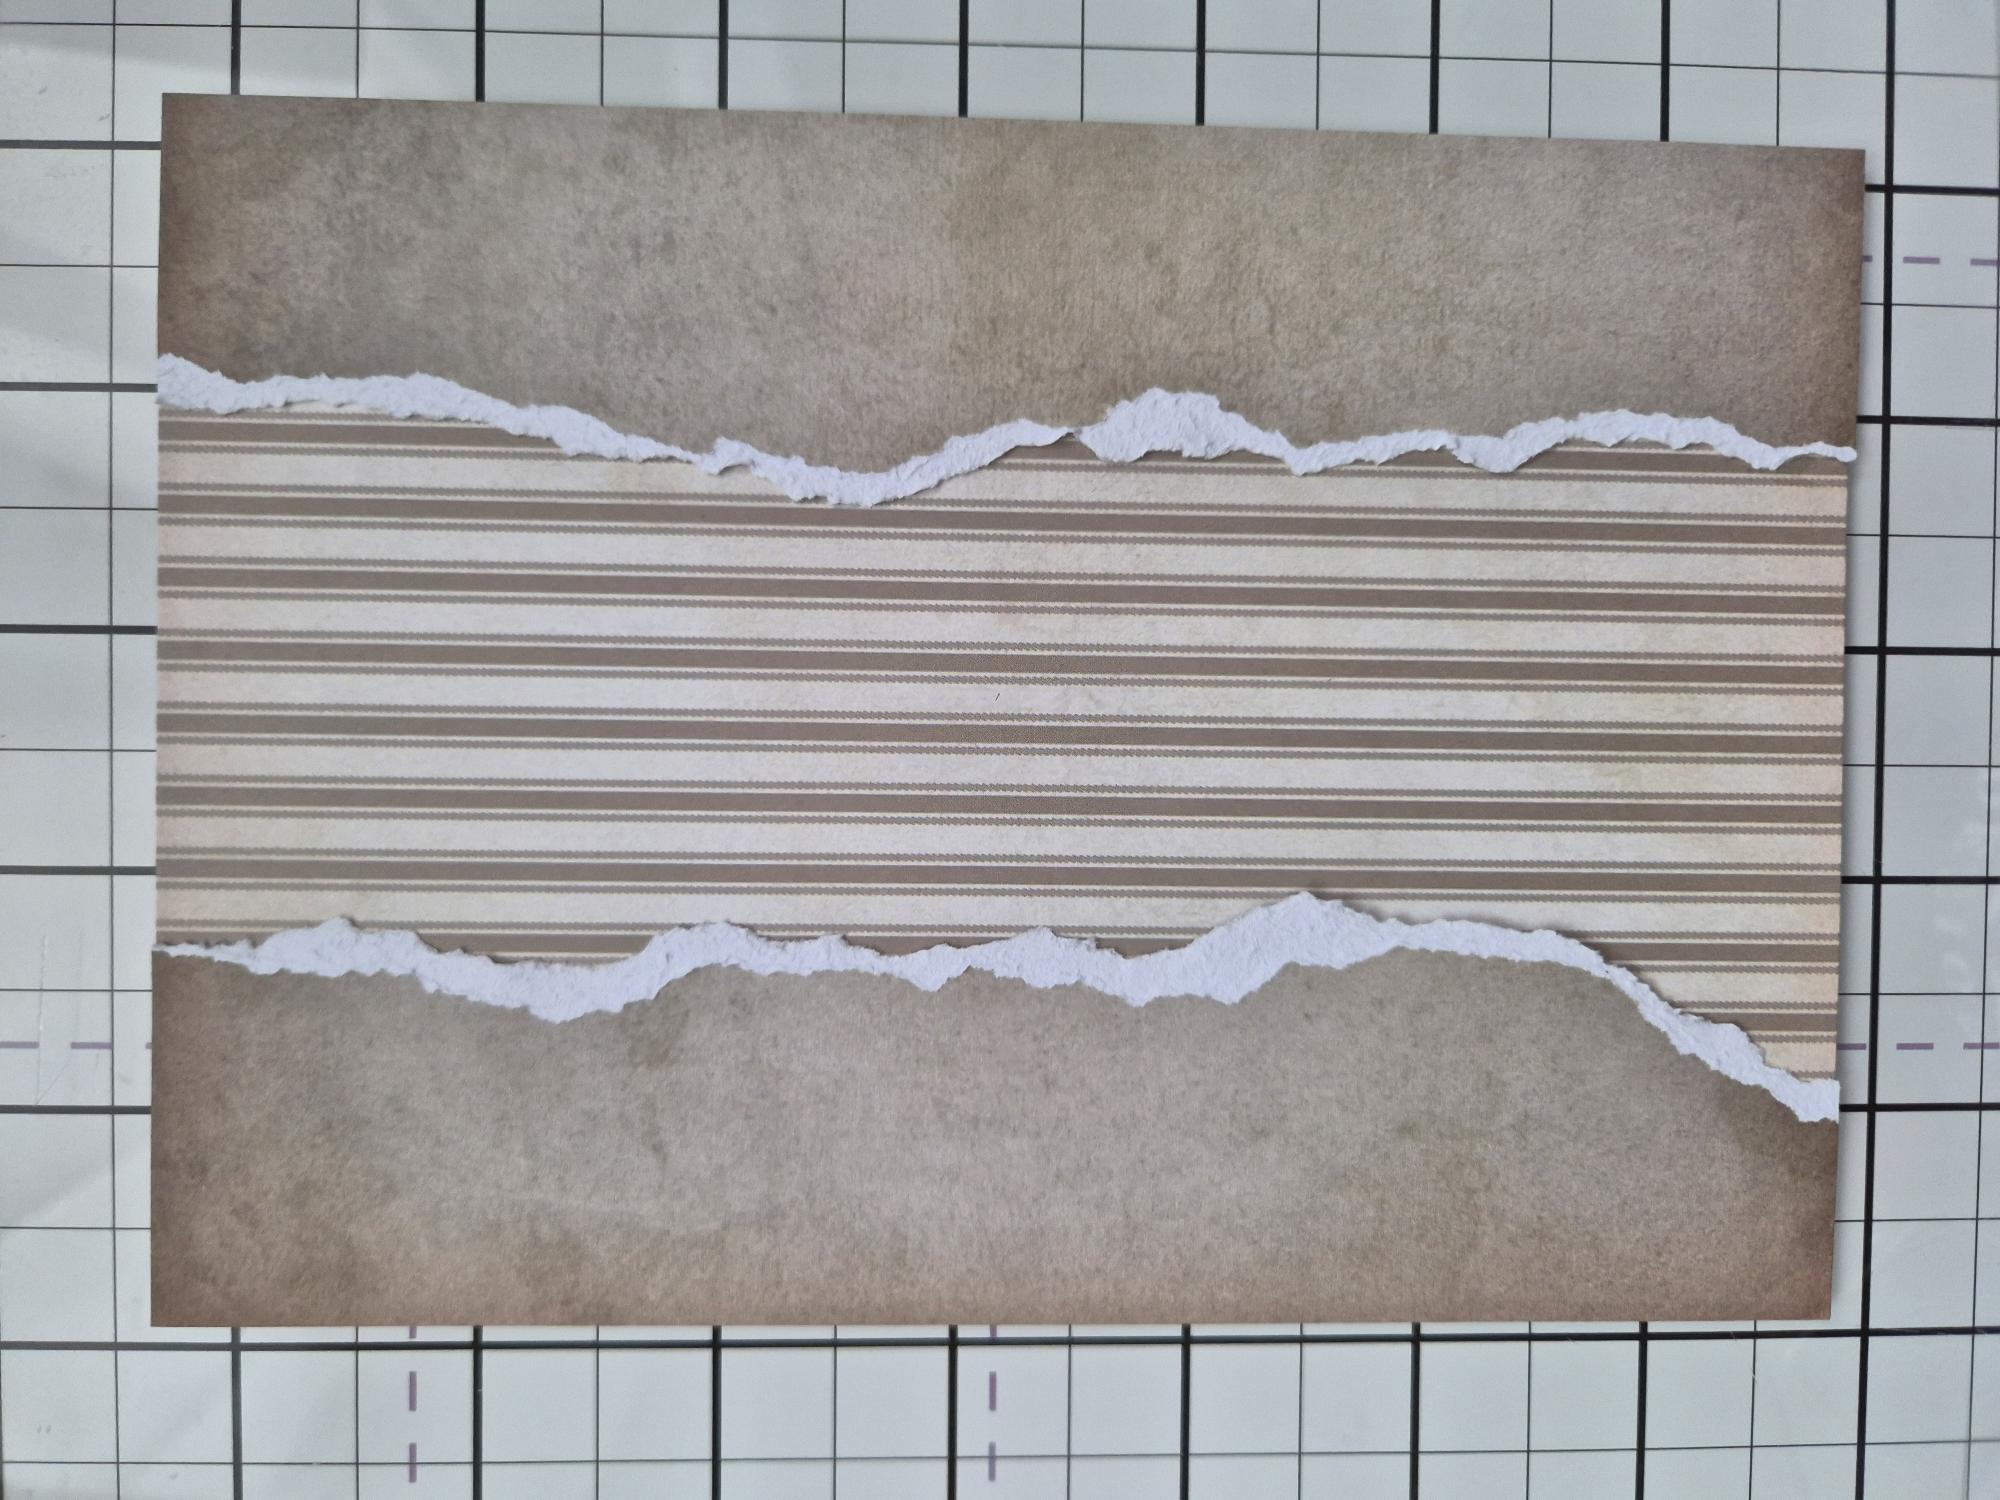
Trim the pinstripes sheet to 5 x 7". Adhere the two torn panels, as shown. |
|
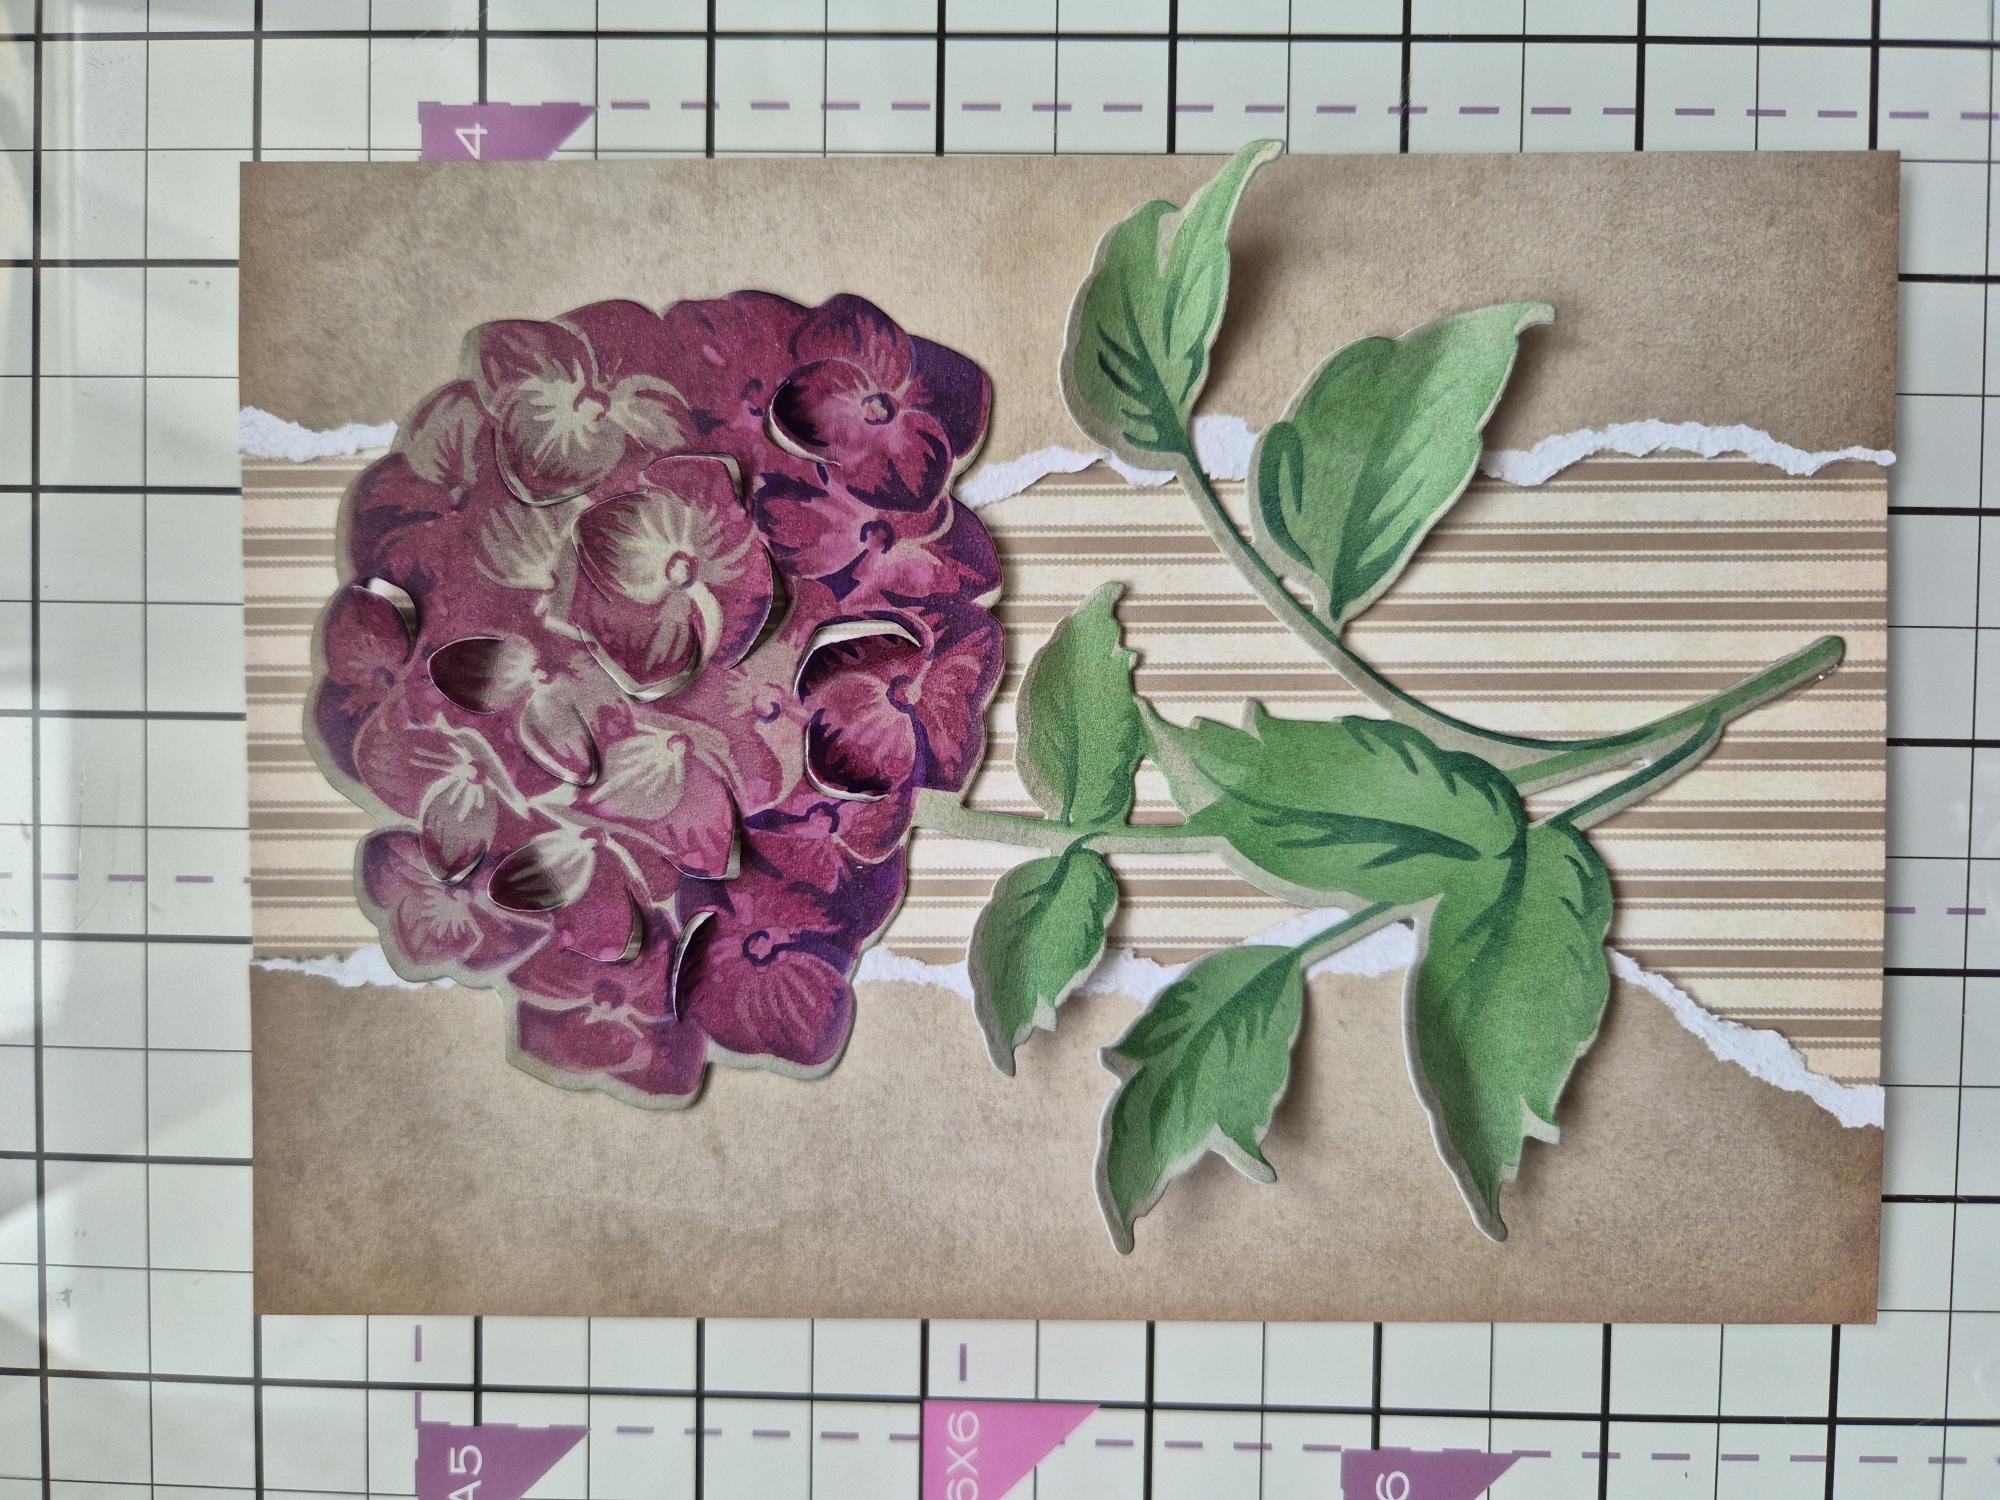
Use foam pads or 3D glue gel to adhere your 3D die-cut flower. |
|
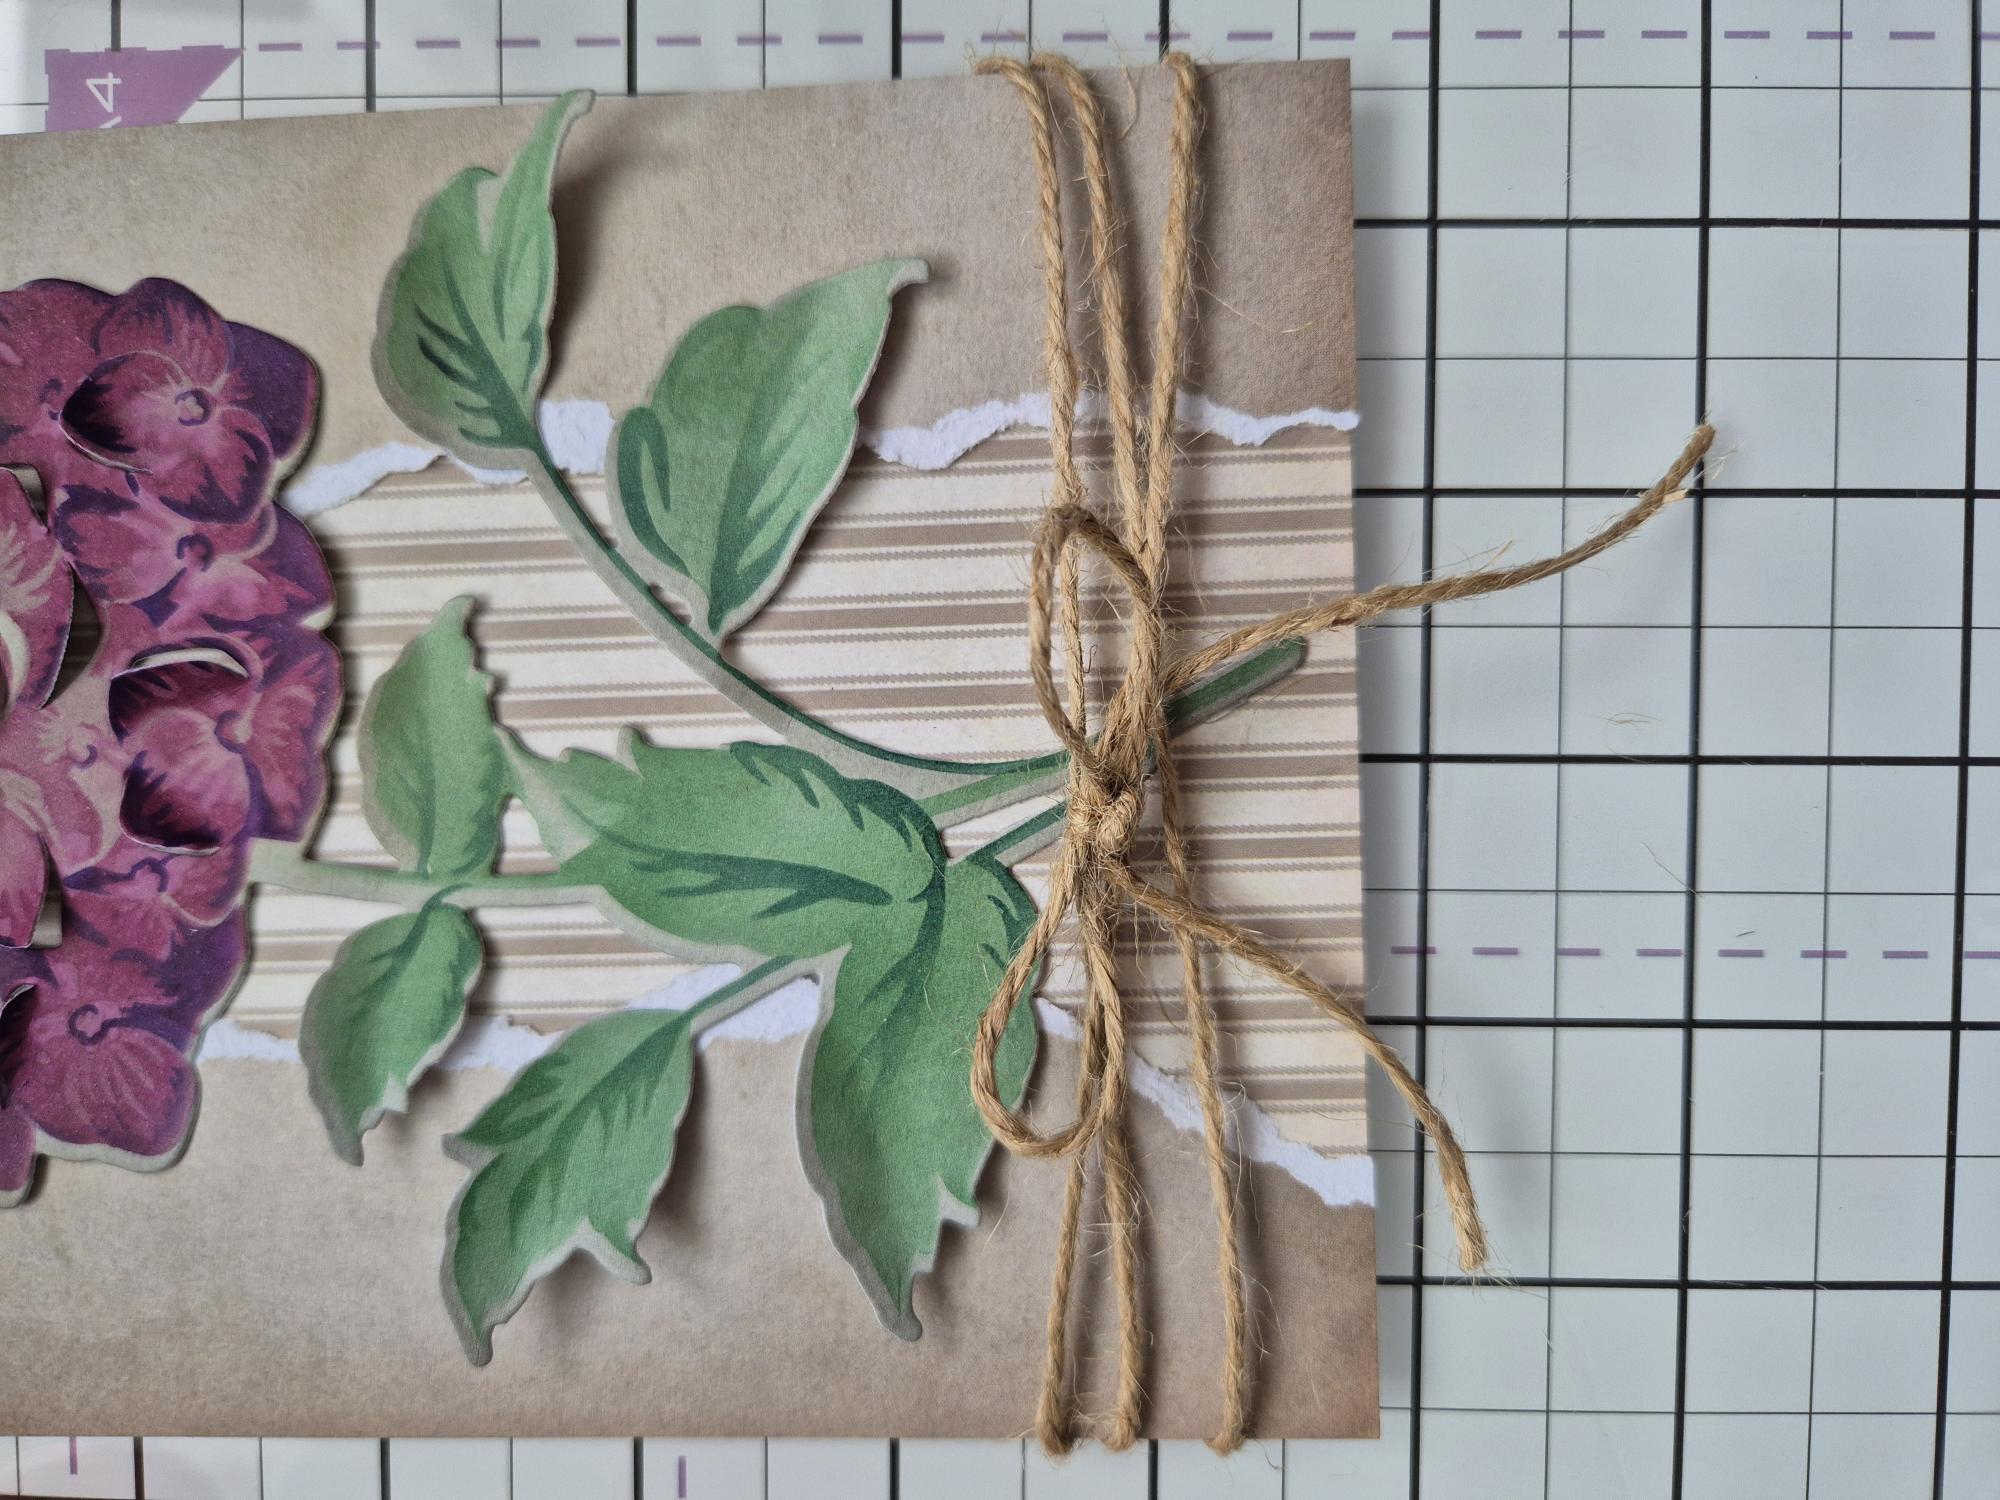
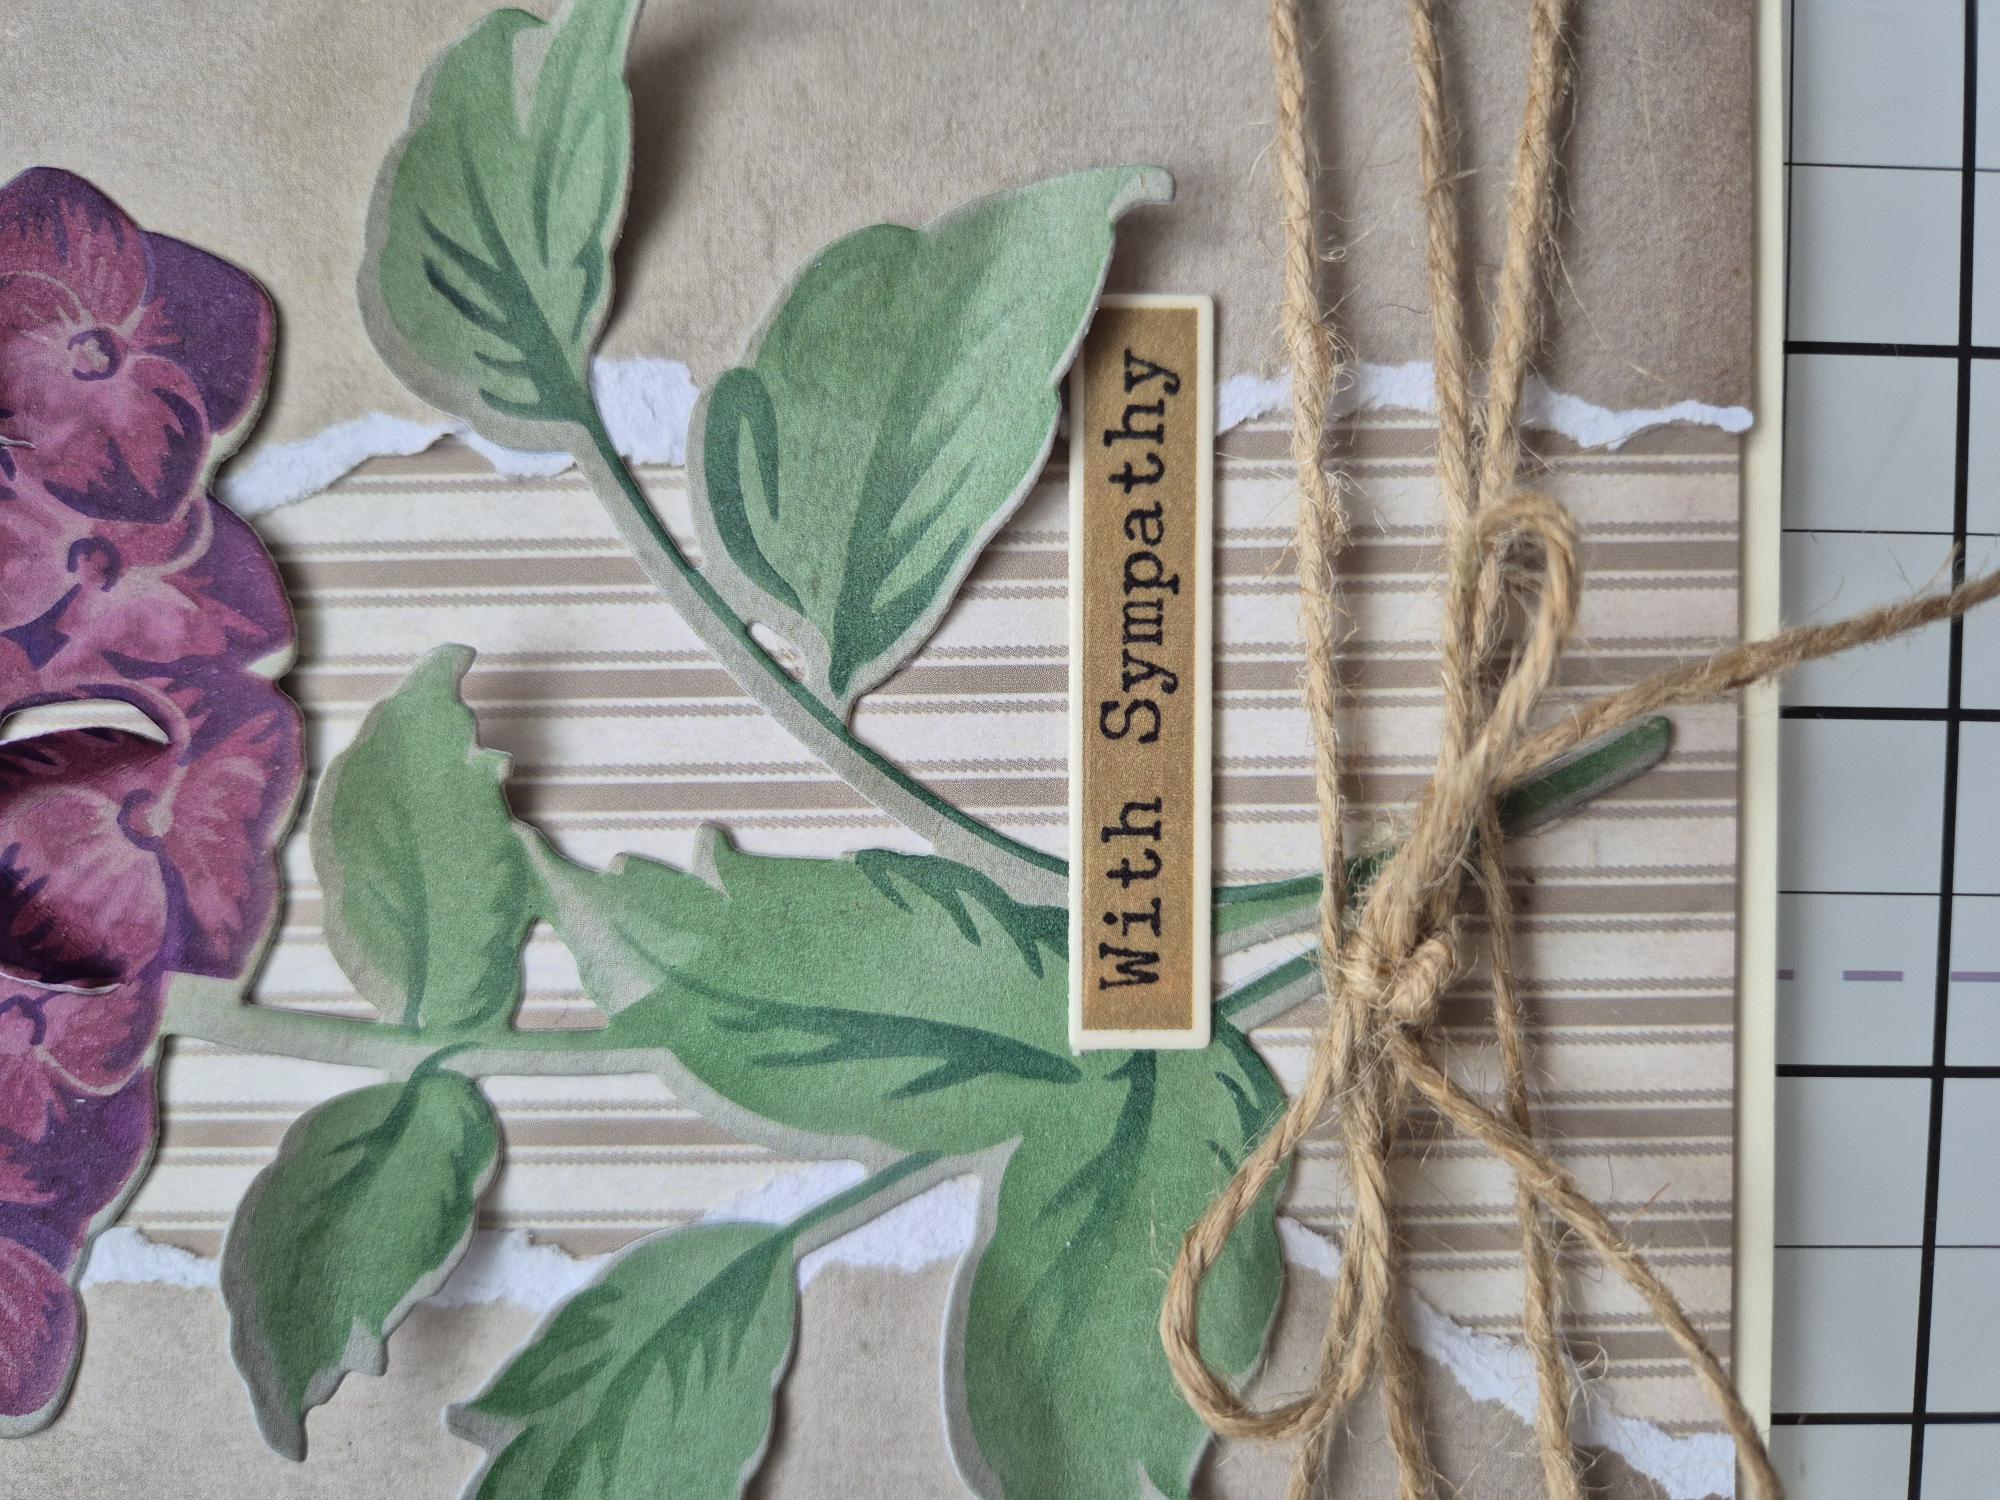
Wrap twine around the bottom and tie with a bow. |
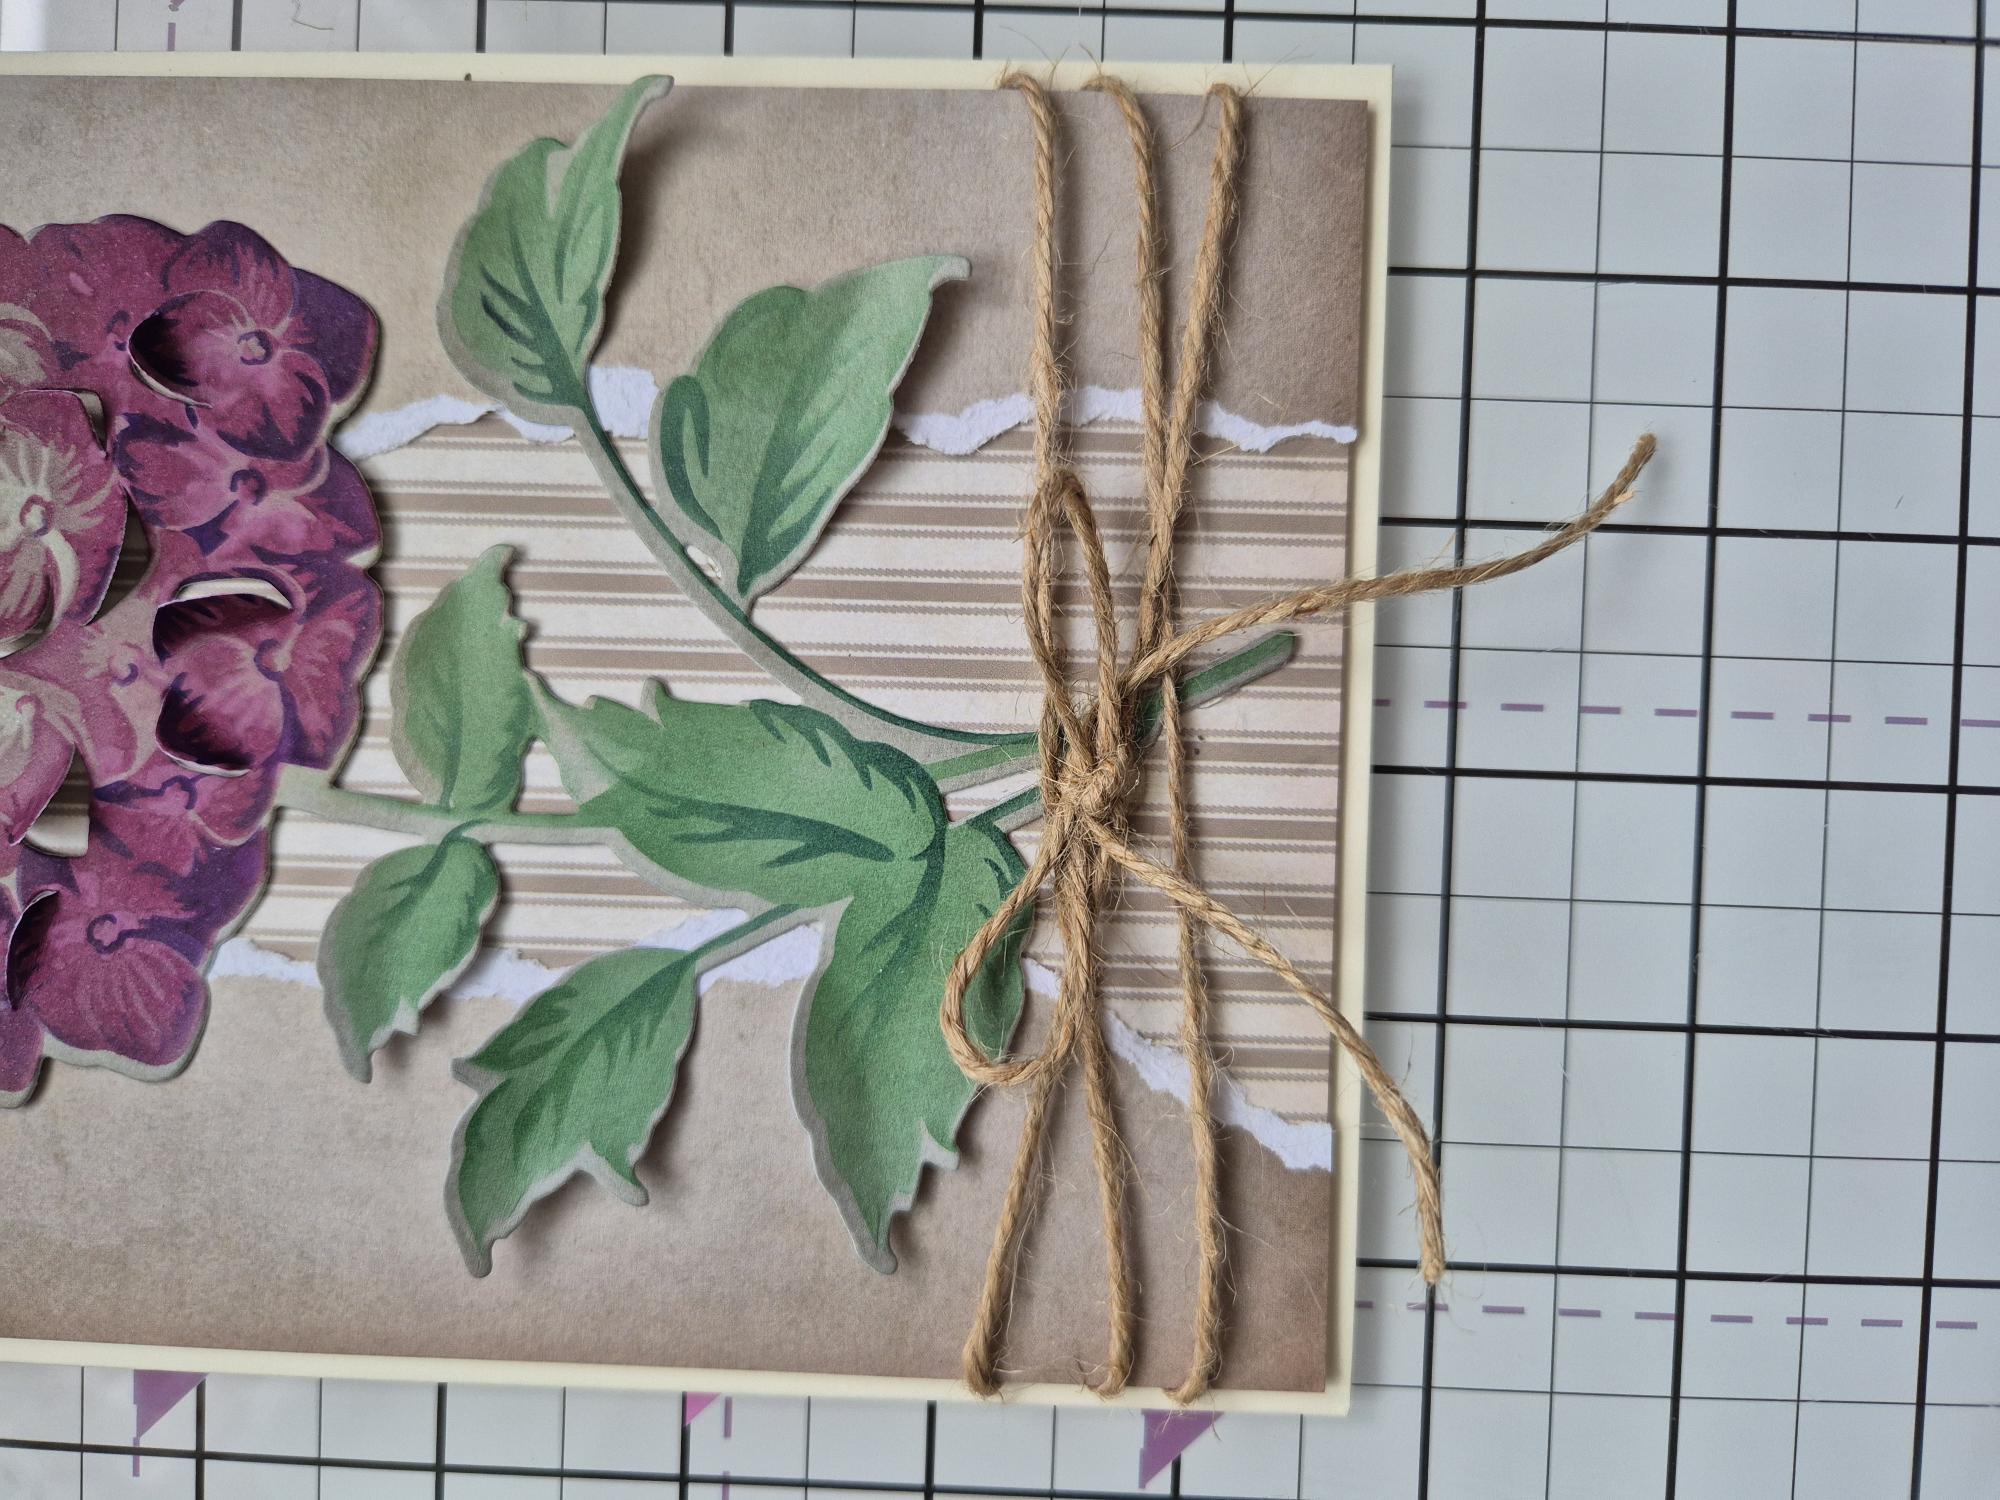
|
Adhere to your cream card blank. |
|
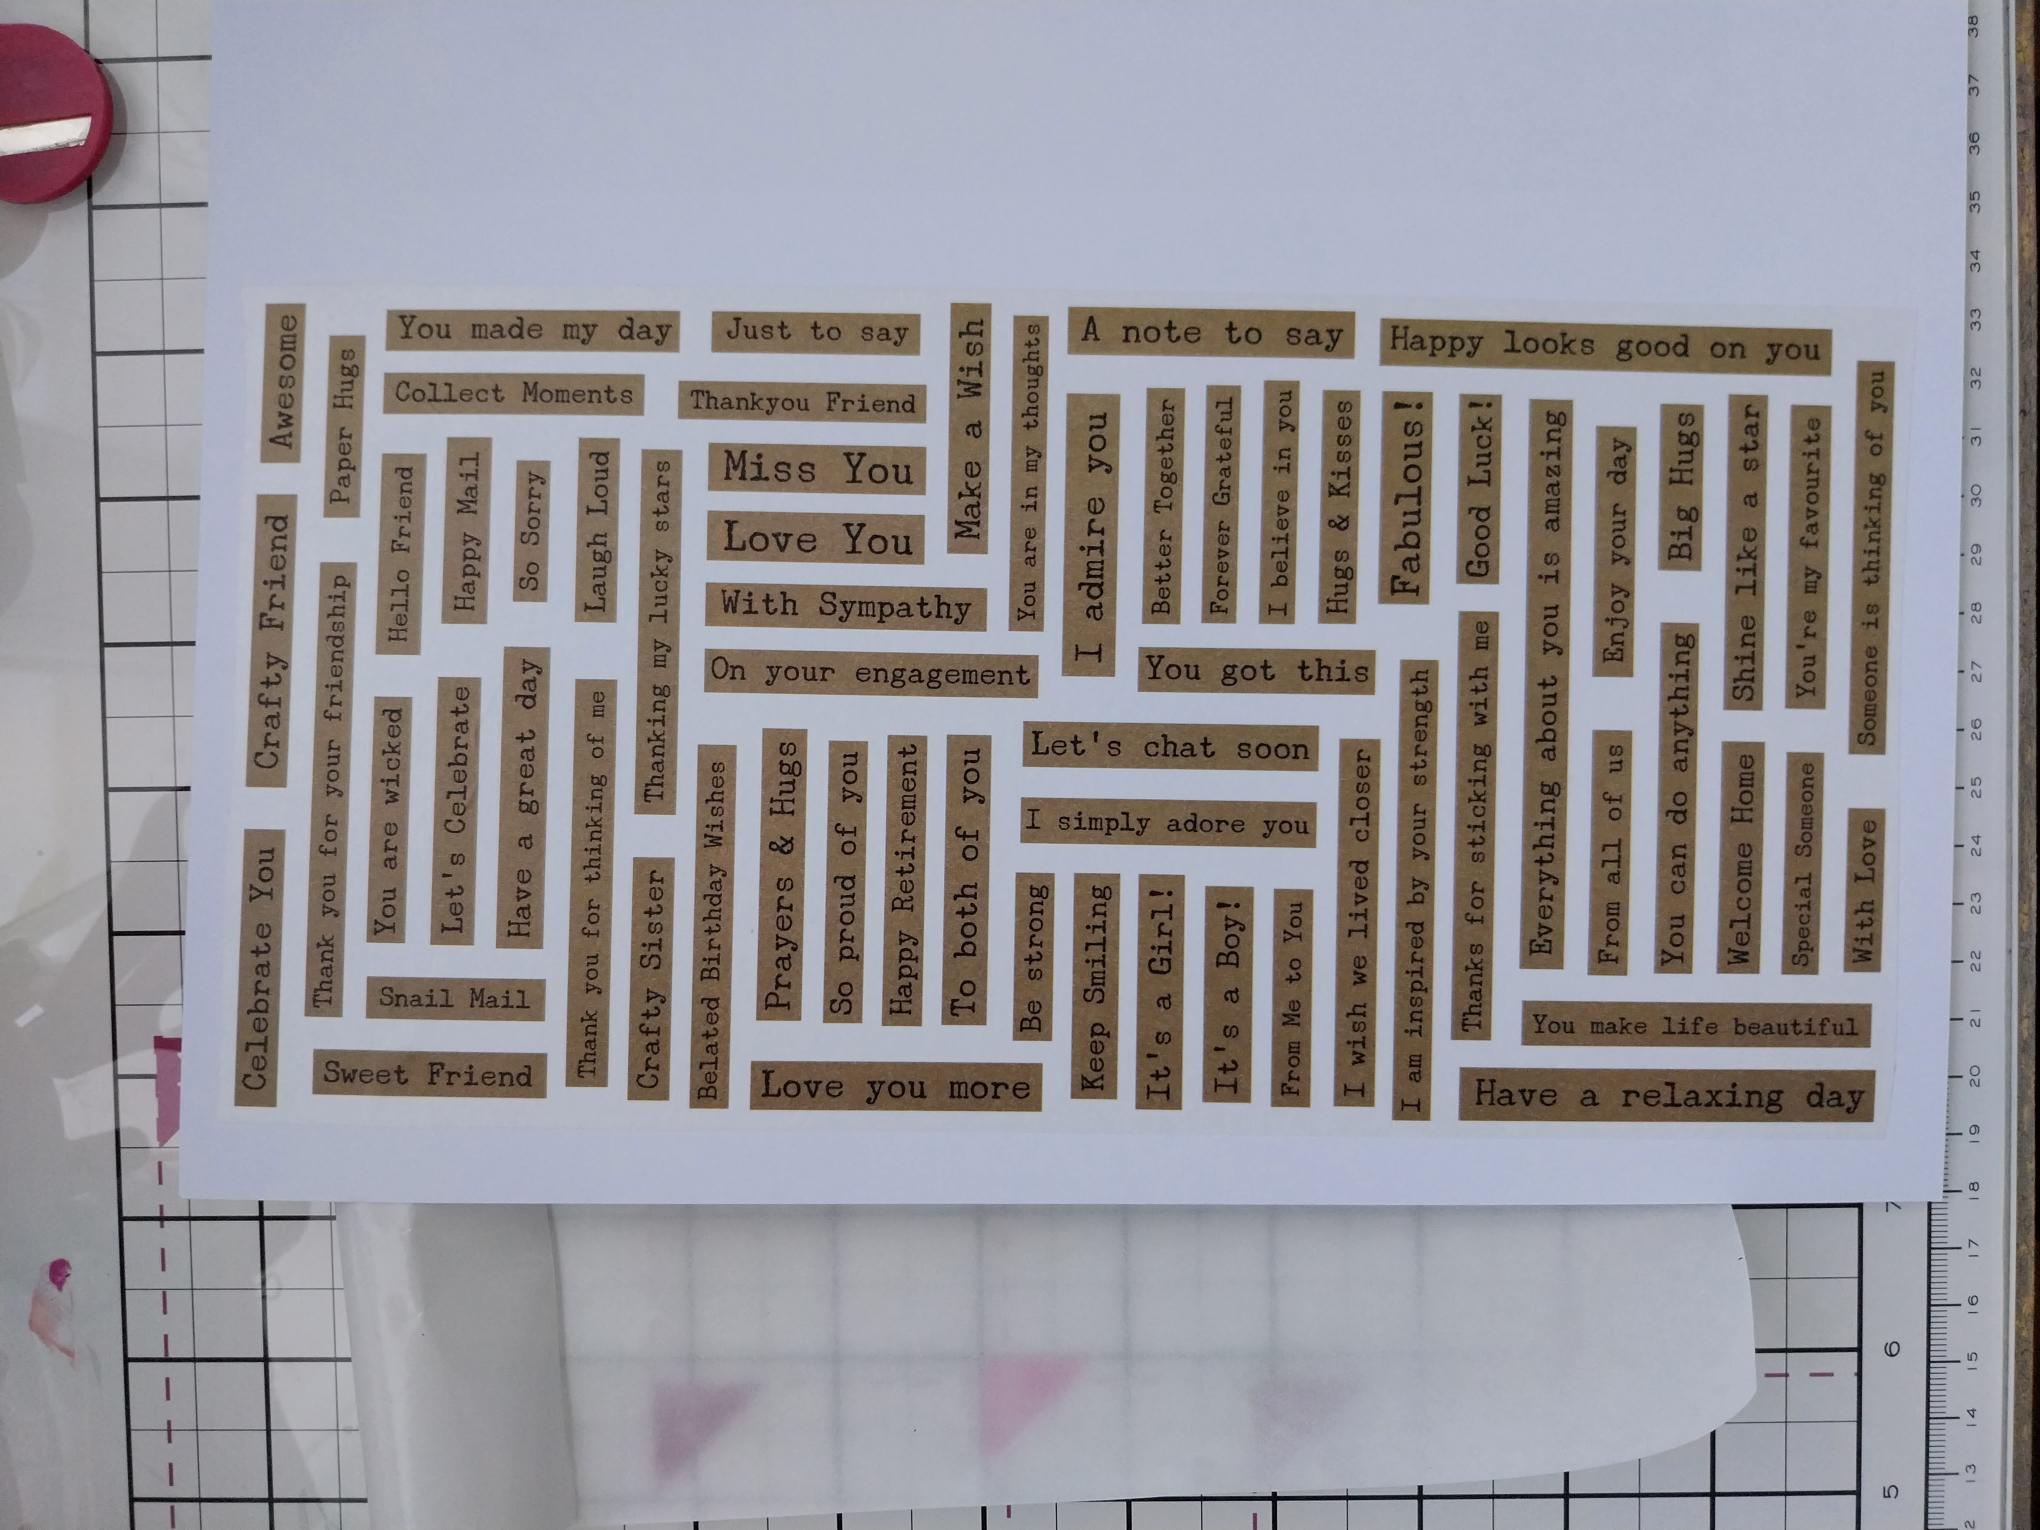
Using the dies as a guide, cut ONE drop from the Sepia washi roll. Lift up the backing sheet along one end of the tape and adhere across the top of an A4 sheet of white card. Slowly peel away the backing, as you use your hand to smooth the washi tape down on to the card. Once the backing has been fully removed, you can burnish the washi to ensure there are no air bubbles or creases. |
|
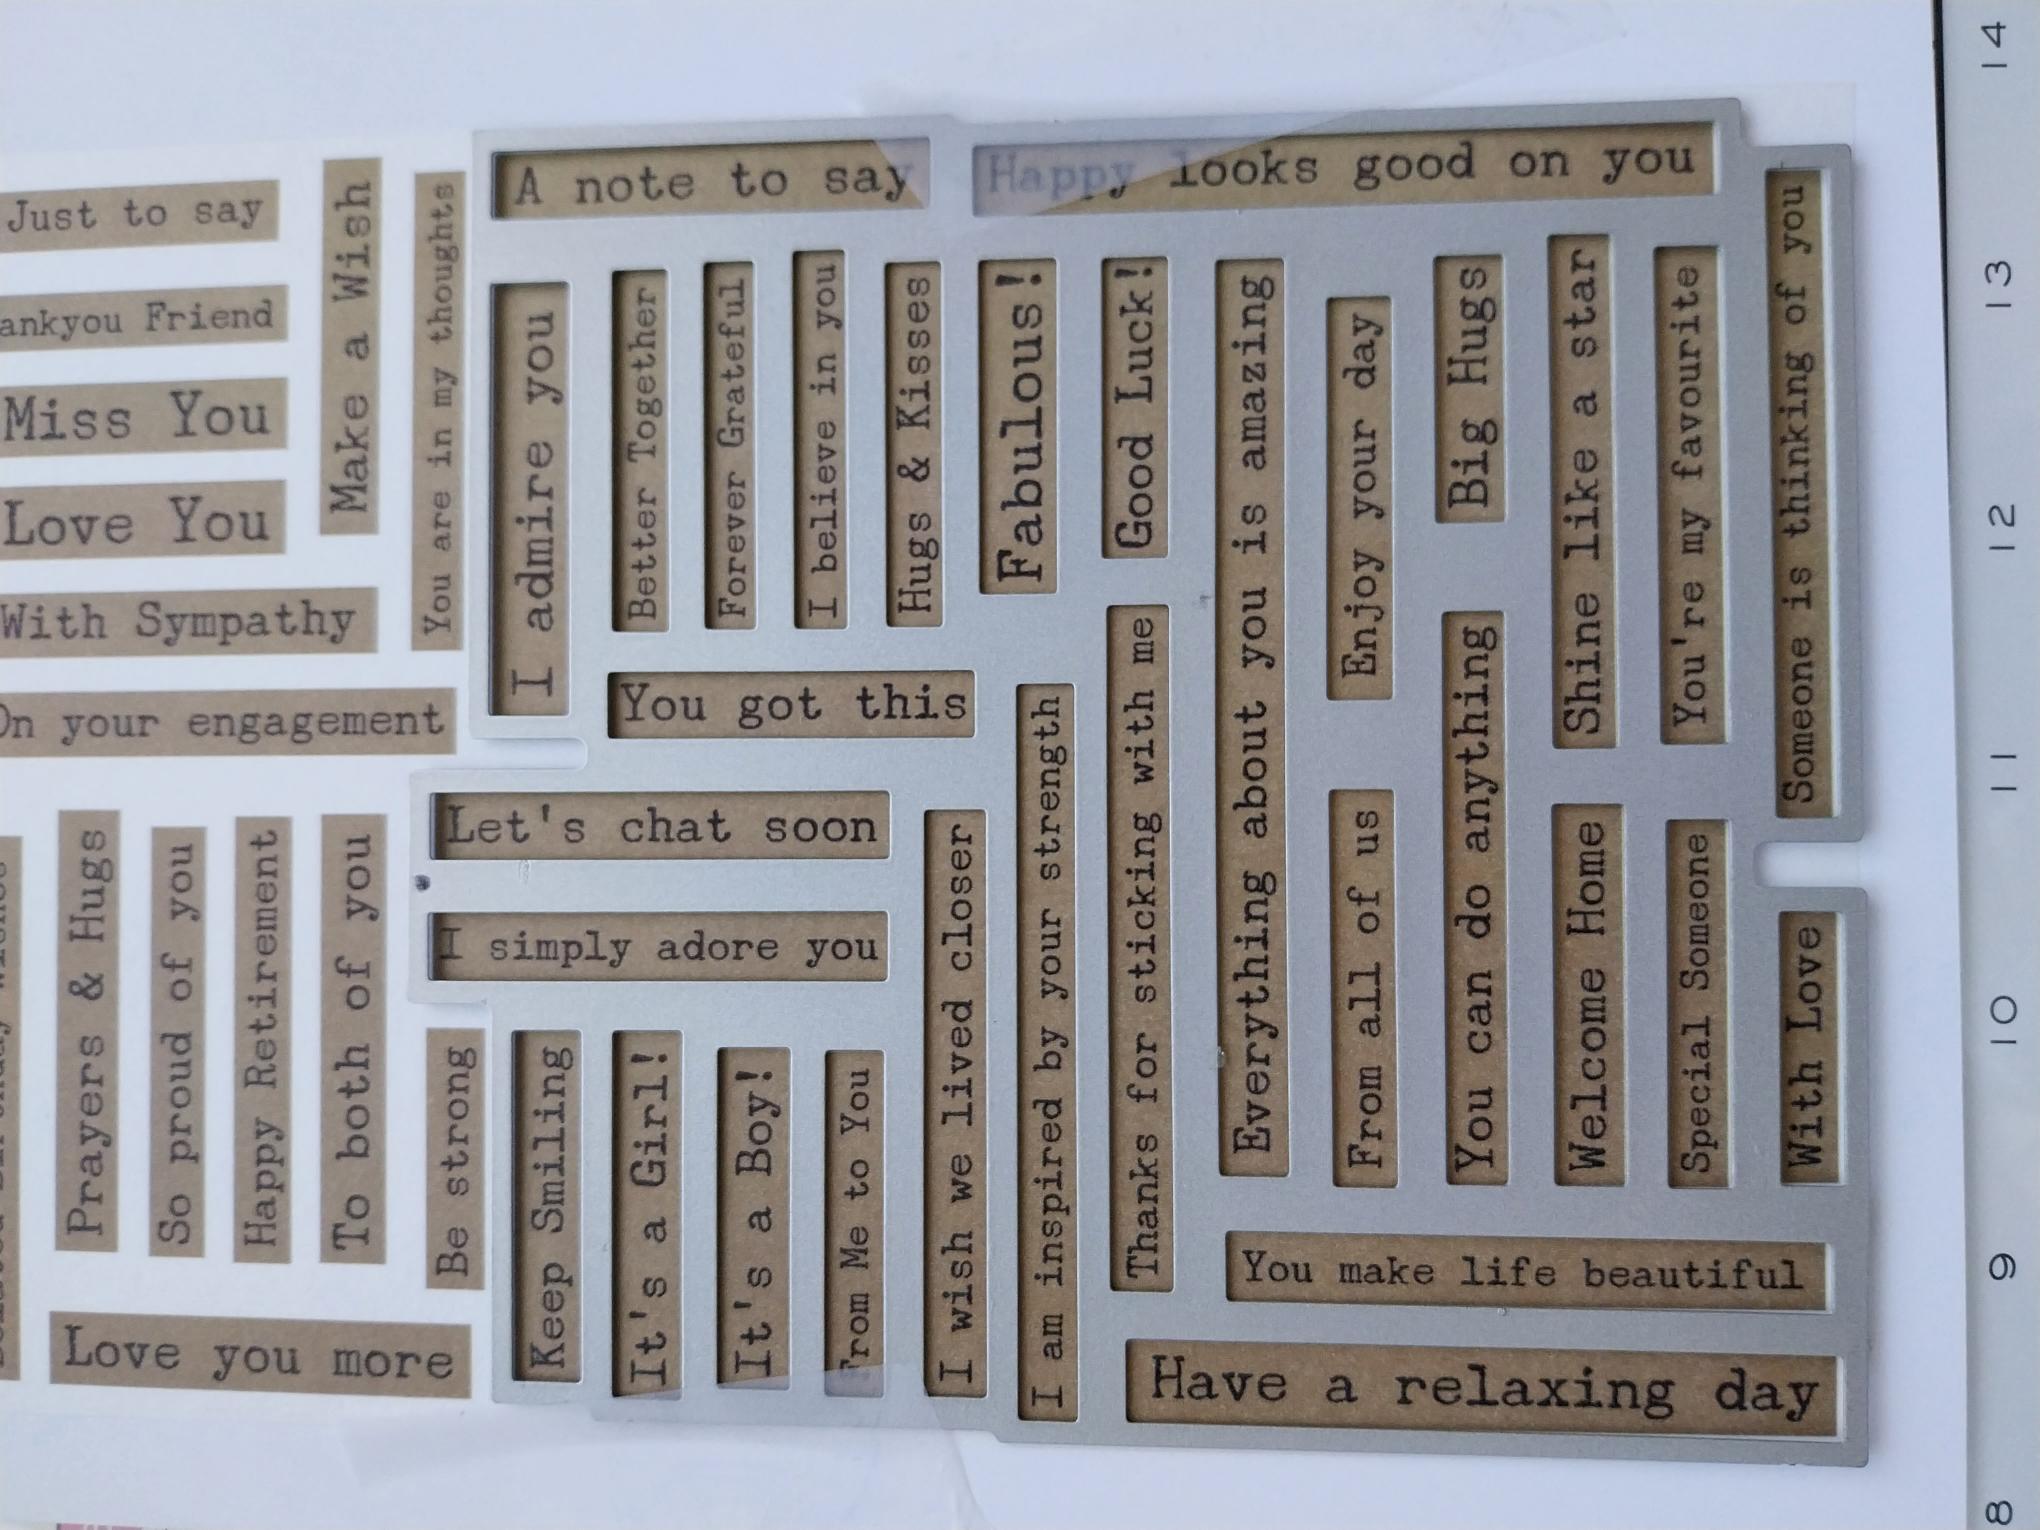
Line up the second die, secure in place and run it through your machine. |
|
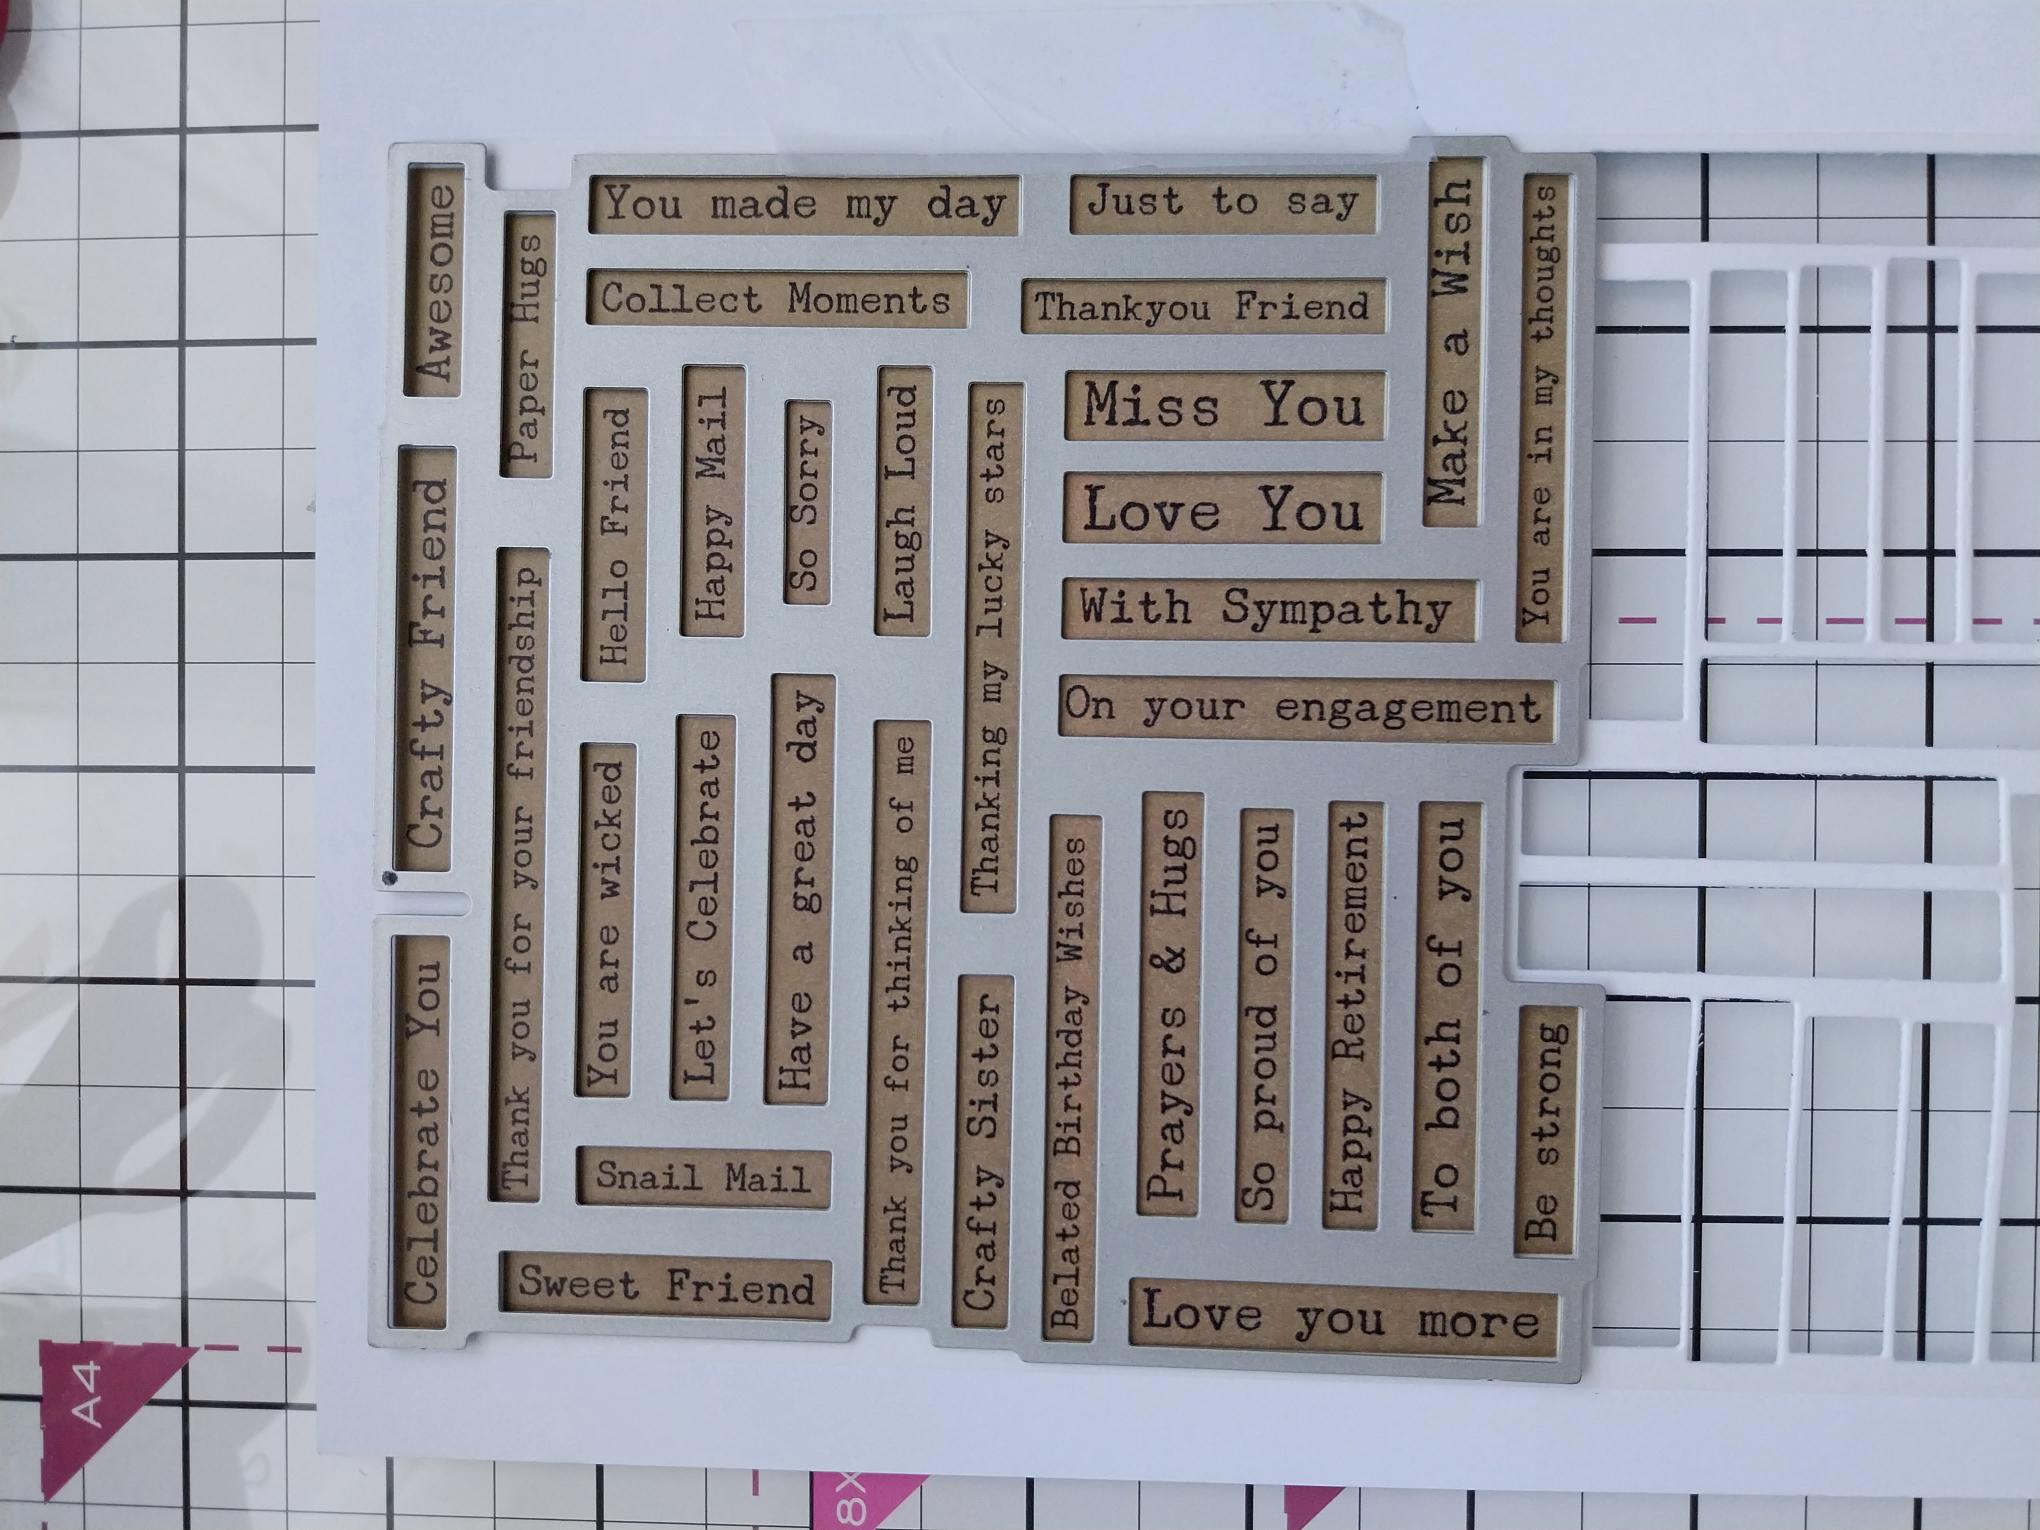
Once all elements are die cut, pop out the sentiments, pick out the one you are using for this project and keep the rest in a tub for future projects. |
|
Secure your chosen sentiment with foam pads, to complete your project. |