


Step 1 of 10
Stamp our dapper gentleman on to the masking sheet (or copy paper) and fussy cut to create a "mask". Place to the left of a piece of white card trimmed to 7 3/4 x 3 3/4".








Prices change straight away. Every language is our own translation, not Google.
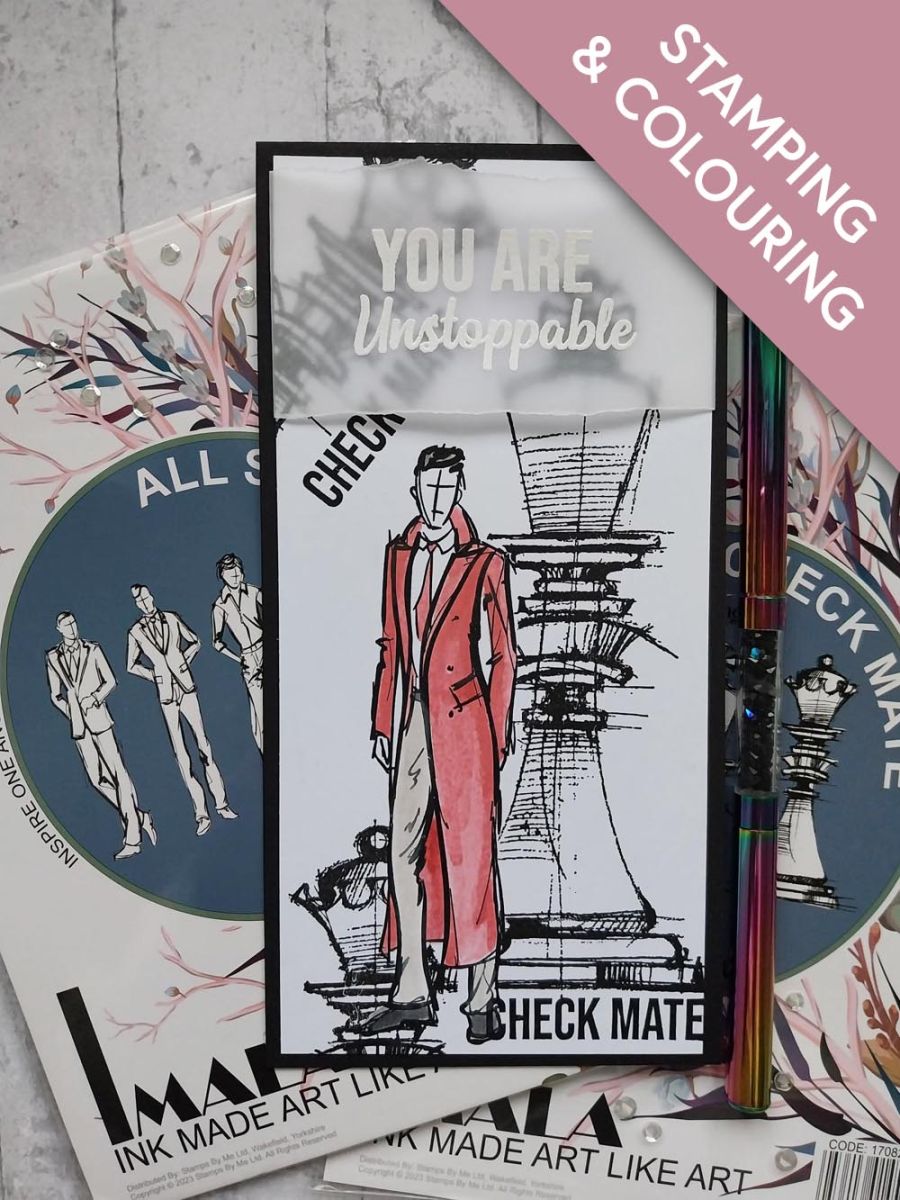
Stamp our dapper gentleman on to the masking sheet (or copy paper) and fussy cut to create a "mask". Place to the left of a piece of white card trimmed to 7 3/4 x 3 3/4".
Stamp one of the Chess pieces, in Midnight, to the right of our gentleman, ensuring you take the image over the right edge of the mask.
Stamp another of the Chess pieces coming up from the bottom left.
Re-ink and stamp going across the top left corner.
Remove the "mask" and stamp your gentleman in position.
Use your coloured inks to paint our dapper gentleman.
Randomly stamp "Check Mate" several times within your artwork.
Tear a panel of vellum slightly wider than your card and deep enough for the sentiment. Wipe over the vellum with your anti-static bag before stamping the sentiment in the WOW sticky embossing ink. Apply the white embossing powder over the stamped sentiment, decanting any excess powder back in to the pot. Get your heat tool good and hot before heat setting the powder.
Lay the embossed vellum across the top of the card, tucking the ends of the vellum over the edges and securing on the reverse with double-sided adhesive tape.
Adhere on to your black DL card blank to finish.
Share your make with the Stamps By Me community - and keep this guide for next time.
Prefer the previous layout? Open the old page.



