


Step 1 of 10
Remove this painted mount from the Floral Bouquet pack.








Prices change straight away. Every language is our own translation, not Google.
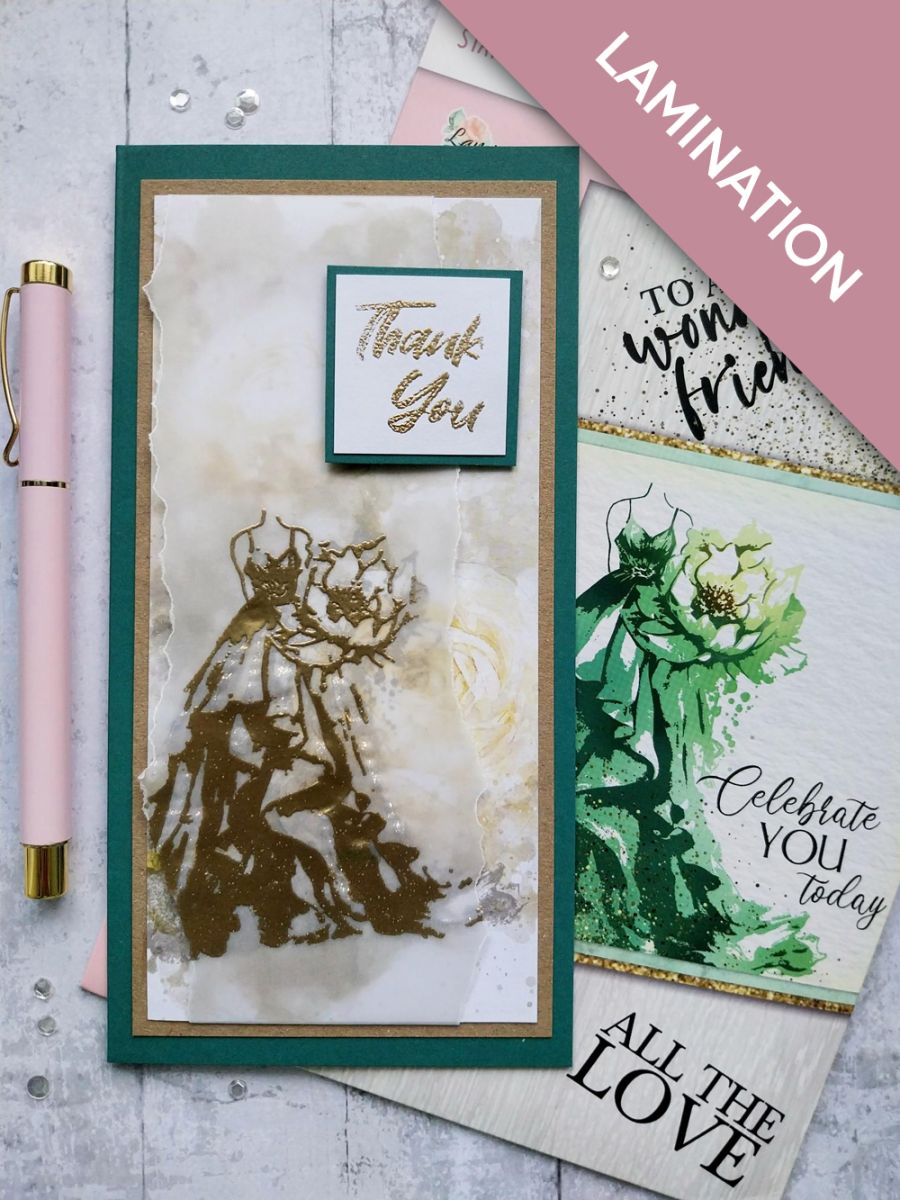
Remove this painted mount from the Floral Bouquet pack.
Ink up the solid stamp from Stay Wonderful, with the Hickory Smoke. Spritz the stamp with water and stamp coming just off the left edge of the painted mount. Blast dry with your heat tool.
Tear a panel of vellum longer than the painted mount and as wide as the gown.
Having wiped over the vellum with your anti-static bag, stamp the detailed gown image in the sticky WOW embossing ink. Apply the Gold embossing powder over the stamped image before heat setting with your heat tool.
Place the embossed vellum over the stamped gown, so both stamped designs are lined up. Tuck the ends of the vellum over the top and bottom of the painted mount and secure on the reverse with the double-sided adhesive tape. Set to one side.
Stamp the sentiment, in the Wow embossing ink, on to a piece of white card, wiped over with the anti-static bag. Apply the Gold embossing powder and heat set as before. Trim the white card around the sentiment.
Cut your Teal card blank down to 4 x 8" (DL), matting the sentiment on to the left over Teal card.
Mat your artwork on to kraft card, 1/4" bigger than the painted mount.
Mat on to your DL Teal card blank.
Affix the sentiment in the top right corner.
Use your Stickles to add sparkle to the embossed gown.
To finish, apply the Stickles around the edges of your sentiment topper, to add an extra touch of sparkle.
Share your make with the Stamps By Me community - and keep this guide for next time.
Prefer the previous layout? Open the old page.



