tap a picture to see it big · tap DONE as you go - this device remembers
Step 1 of 7
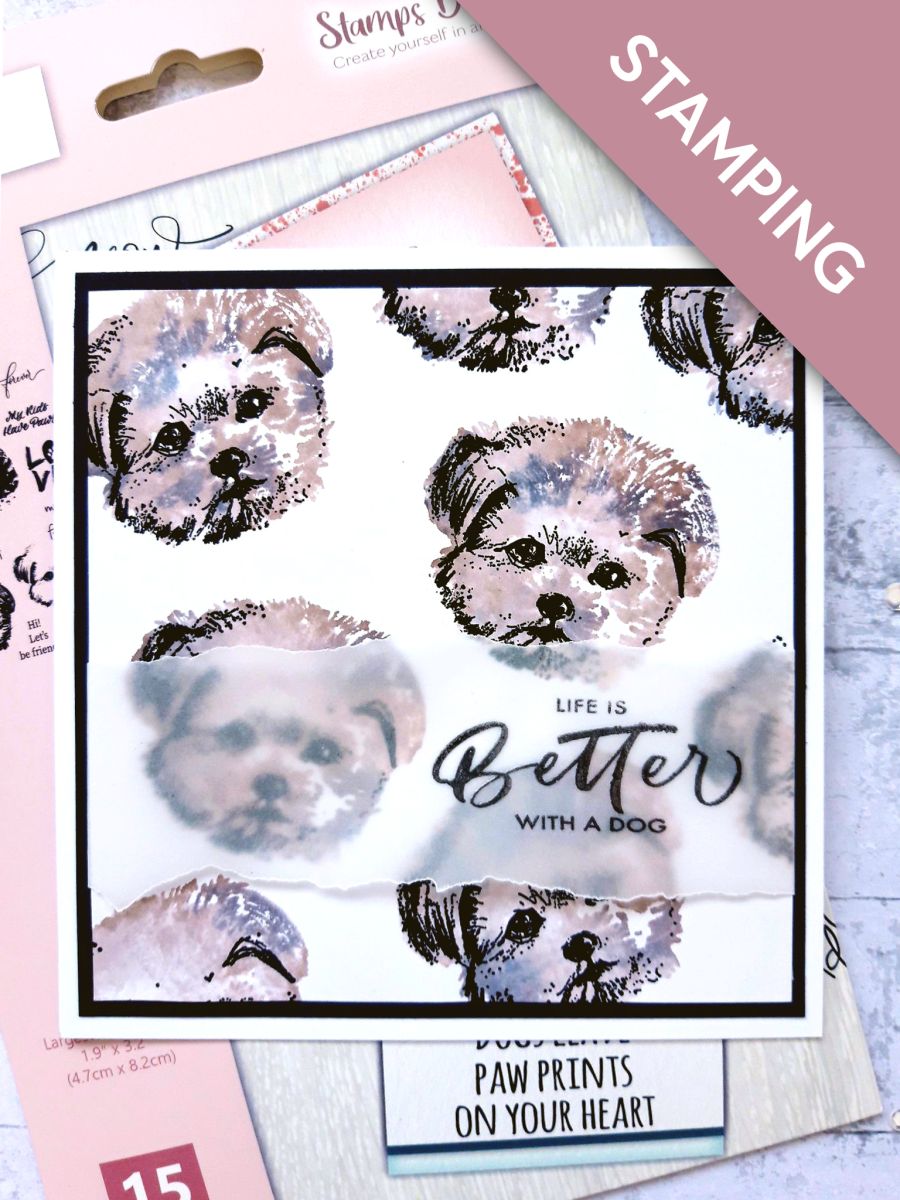
Apply Gossip Watercolour pens 21 and 79 directly on to the solid dog stamp, from Let's Be Friends Lamination Stamp Collection.
Spritz with water and stamp on to the white cardstock (5 1/2 x 5 1/2").
You can reapply the pens and restamp over the stamped image, until you are happy with the effect.
Step 2 of 7
Repeat the first step, stamping the dog randomly over the cardstock, to create a background. Ensure some of the stamped images are taken off the edges of the card.
Dry off your background, before proceeding to the next step.
Step 3 of 7
Ink up the coordinating detailed stamp with the Onyx Black Versafine.
Line it up and stamp over the first stamped image.
Ink the stamp up again, and stamp the detail over each of the stamped images, reinking between each one.
Dry off and set to one side.
Step 4 of 7
Rub the anti static bag all over the vellum strip.
Ink up the sentiment stamp, from the same stamp set, with the Izink Black Embossing Ink.
Stamp on to your strip of vellum, having first worked out where you want your sentiment to go. ( Remember, the ends of the vellum will be tucked behind the card, in the next step).
Apply the clear embossing powder over the top of your stamped sentiment, whilst the ink is still wet.
Heat set with your heat gun, moving the gun quickly, as soon as the powder turns, to avoid burning the vellum.
Step 5 of 7
Lay the vellum strip in place, over your artwork.
Bend the 2 ends of the vellum strip behind the card, and adhere on the back, with double sided tape.
Step 6 of 7
Adhere your artwork on top of the black cardstock.
Step 7 of 7
Adhere this on top of your card blank.
You made it!
Share your make with the Stamps By Me community - and keep this guide for next time.
Hello! I'm Toni's AI craft helper - I know the projects from Toni's shows, our guides and everything in the shop. Ask me anything, like "which dies go with this stamp set?" or "what do I need to start ink blending?"
An AI helper (not Toni herself), answering from Toni's shows and our shop - please check the product page before you buy.