


Step 1 of 9
Smoosh the Indigo ink pad on to your craft mat and spritz with water.
Pick up the ink on to the white cardstock.








Prices change straight away. Every language is our own translation, not Google.
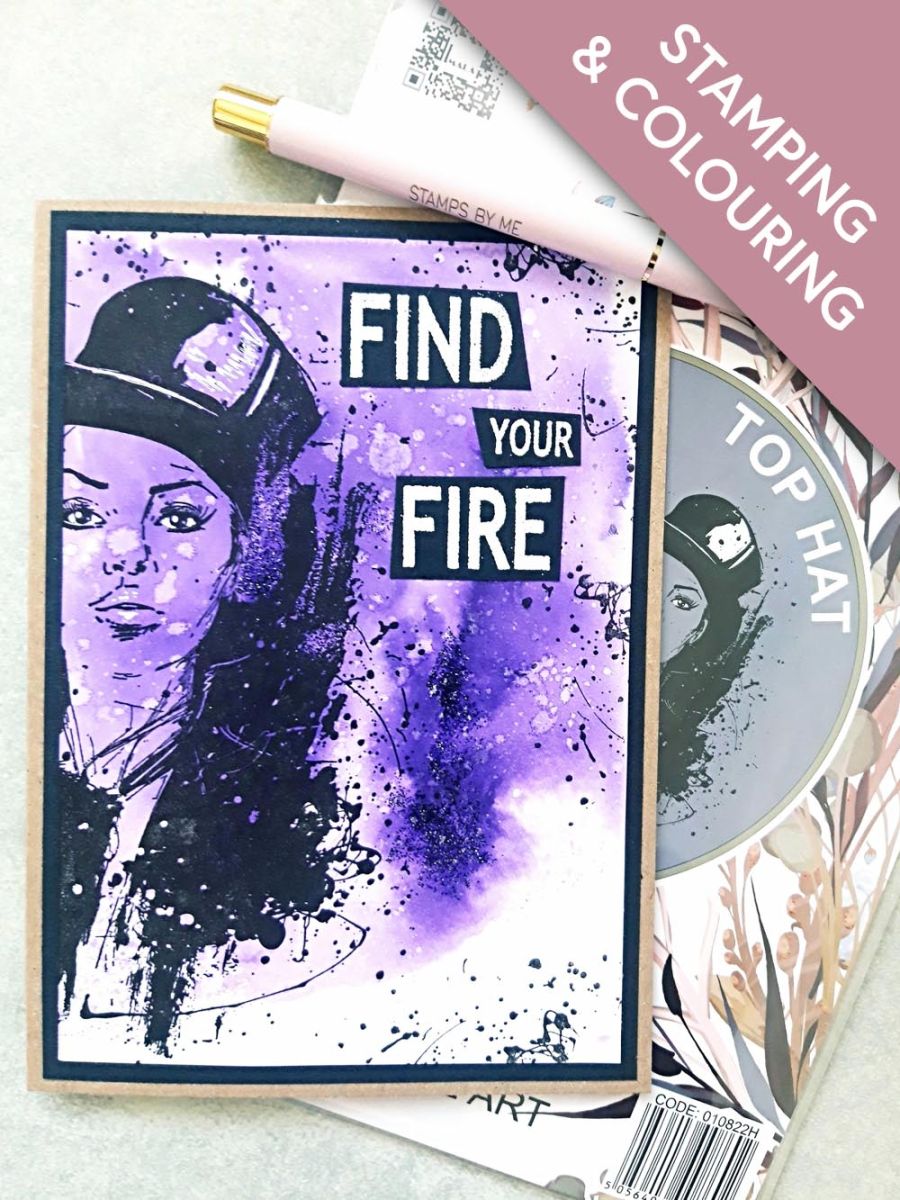
Smoosh the Indigo ink pad on to your craft mat and spritz with water.
Pick up the ink on to the white cardstock.
Whilst the ink is wet, randomly sprinkle the WOW Braveheart embossing powder in to the wet ink.
Heat set with your heat tool.
Swirl and spray the Pearlywinks Glitter Pearl Mist on to your craft mat, then using a paint brush, liberally splatter over your background.
Dry your background thoroughly.
Ink up the stamp from Imala Top Hat, with the Onyx Black Versafine and stamp off the left edge of the background.
Ink up the texture area of the same stamp, with the Versafine and randomly stamp on the right hand side of your background.
Use a white gel pen to add accents and highlights to your stamped image.
Adhere your artwork on to the black card.
Adhere on to the front of your kraft card blank.
Wipe over the black card, cut to 3 x 2", with your anti-static bag.
Ink up the sentiment with the WOW embossing ink and stamp on to the card.
Get your heat tool nice and hot, before heat setting the powder, ensuring you move the tool as soon as it starts to turn, to avoid warping the card.
Cut your embossed sentiment in to strips.
Adhere to the top right of your artwork, to finish.
Share your make with the Stamps By Me community - and keep this guide for next time.
Prefer the previous layout? Open the old page.



