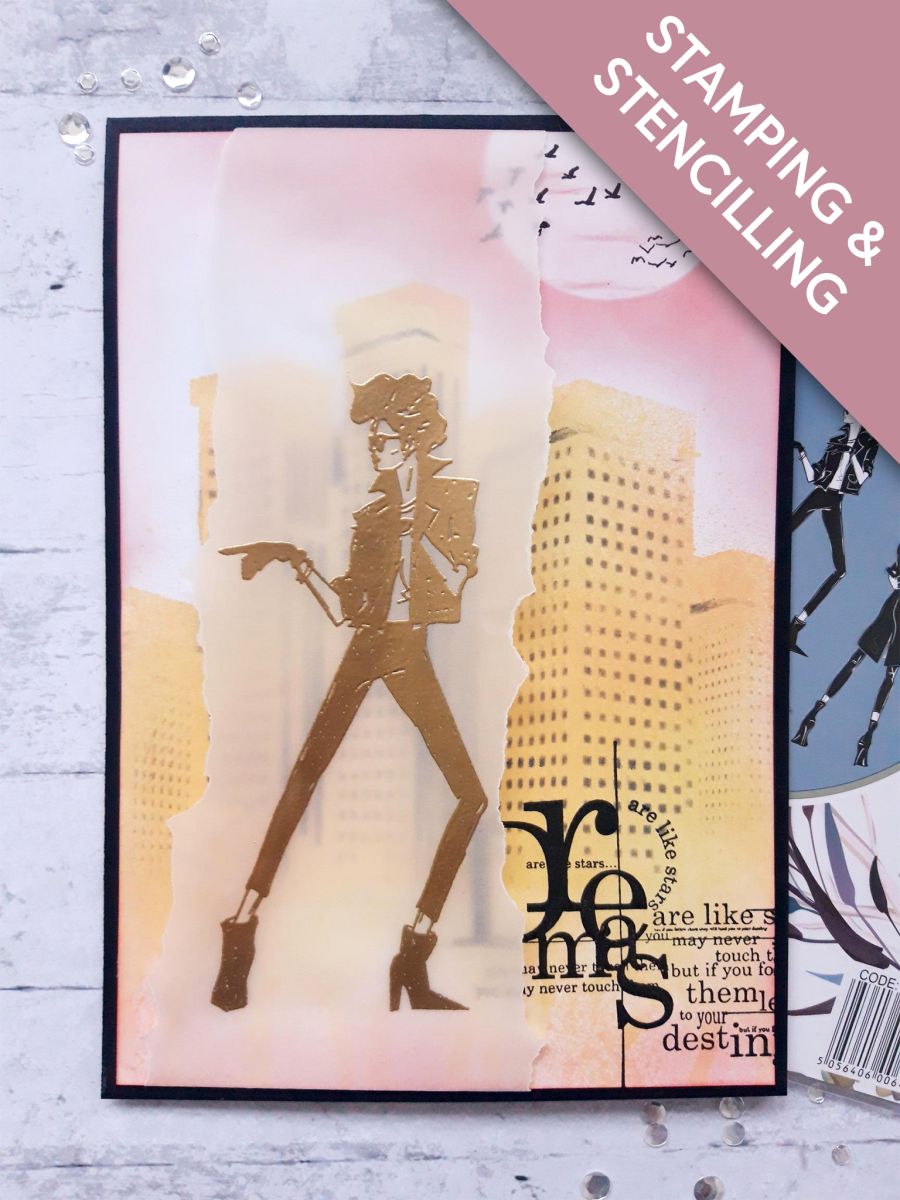
Stamps from Pencil Sketch Elements Stamp Collection
Ink blending brush/tool
Paper Trimmer
Perfect Together Glue
Double sided tape
Tick what you have - this device remembers.
Step by step
tap a picture to see it big · tap DONE as you go - this device remembers
Step 1 of 10
Place the Imala Downtown Stencil in position, on the white card, placing a piece of copier paper over any visible card below the stencil.
Spray the Izink Shiny sprays through the stencil, remove the copier paper and stencil, and allow the ink to drip freely down the card. You can spray water on to the ink to encourage more drips, as required.
Thoroughly dry the ink, before moving on to the next step.
Step 2 of 10
Place the stencil in position, back over your background, and pop the coordinating mask inside.
Blend the Black Soot Oxide through the mask.
Dry your artwork.
Step 3 of 10
Place your circle mask in position, where you want your sun/moon to be. I took mine off the top, right hand side of my card.
Step 4 of 10
Blend the Worn Lipstick Oxide around the edges of your card, and circle mask. The colour should be darker round the edges, fading out as you move inwards.
Remove the circle mask.
Step 5 of 10
Lightly blend the Worn Lipstick Oxide over the sun, to take away the starkness of the white card.
Step 6 of 10
Drag the Worn Lipstick Oxide across the sun, as shown here, to resemble wispy clouds floating past.
Step 7 of 10
Ink up the 2 different flock of bird stamps, from the Pencil Sketch Elements Stamp Collection, with the Onyx Black Versafine.
Stamp them flying across the sun.
Step 8 of 10
Ink up the stamp from Imala Destiny with the Versafine, and stamp off the right hand bottom edge, of your artwork, as shown here.
Set to one side to dry.
Step 9 of 10
Wipe over the torn vellum strip with your anti static bag.
Ink up one of the lady stamps, from Imala Strut Your Stuff, with the Versmark sticky ink, and stamp on to the vellum.
Apply the embossing powder over the sticky ink.
Get your heat gun hot before you heat set the embossing powder. Make sure you move the heat gun as soon as the powder starts to turn, to prevent the vellum from warping.
Step 10 of 10
Lay your vellum strip over your background, fold the top and bottom edges over the card, and secure on the reverse with your double sided tape.
You made it!
Share your make with the Stamps By Me community - and keep this guide for next time.
Hello! I'm Toni's AI craft helper - I know the projects from Toni's shows, our guides and everything in the shop. Ask me anything, like "which dies go with this stamp set?" or "what do I need to start ink blending?"
An AI helper (not Toni herself), answering from Toni's shows and our shop - please check the product page before you buy.