Give your friends $10 off their first order!
Refer a FRIEND








A project from our live show HOBBYMAKER TV - Join us for the latest show - Broadcast 1 p.m. (UK) 8th June 2026 · 06/08/2026 · watch it from 45:00
Create an enchanting fairy card with a mystical woodland theme. Stamp a delicate fairy image in dark ink onto patterned paper, then bring it to life using watercolour pencils blended with water for soft, dreamy washes of colour. The result is an ethereal, magical card perfect for special occasions.
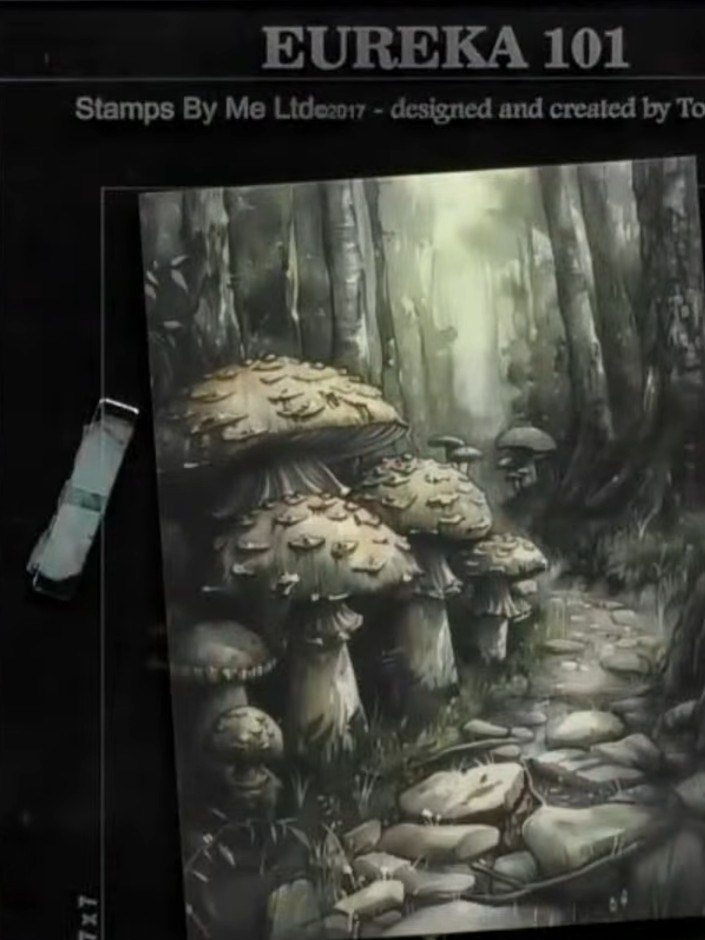
Select the Eureka 101 stamp set featuring the mystical forest scene with mushrooms. This will be used as the main image for your card.
▶ watch this step (45:15)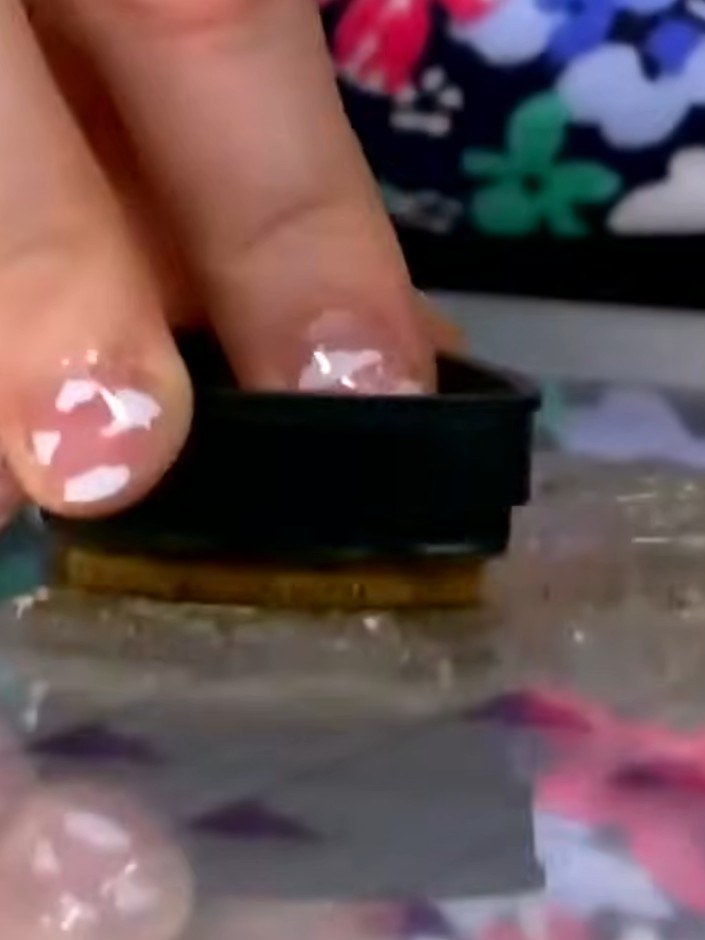
Position the fairy stamp on your card base where you wish her to appear. Hold the stamp in place with your fingers to ensure proper placement before stamping.
▶ watch this step (45:30)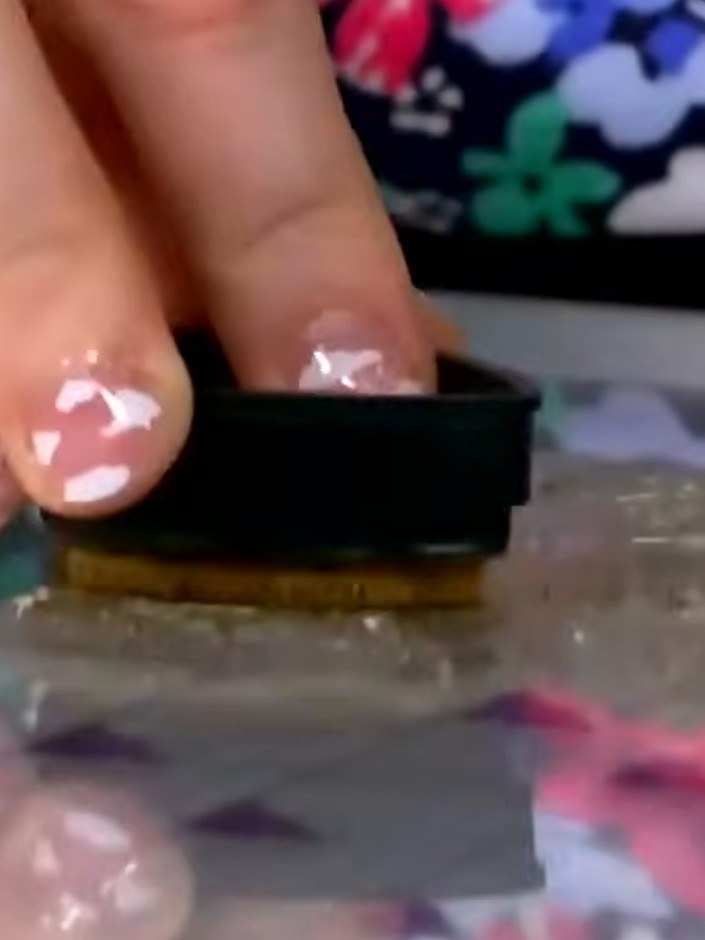
Ink the fairy stamp with dark ink. Stamp the fairy image firmly onto your card base.
▶ watch this step (45:45)
Allow the stamped image to dry completely. The clear embossed design needs to be fully dry before proceeding to the next step.
▶ watch this step (46:00)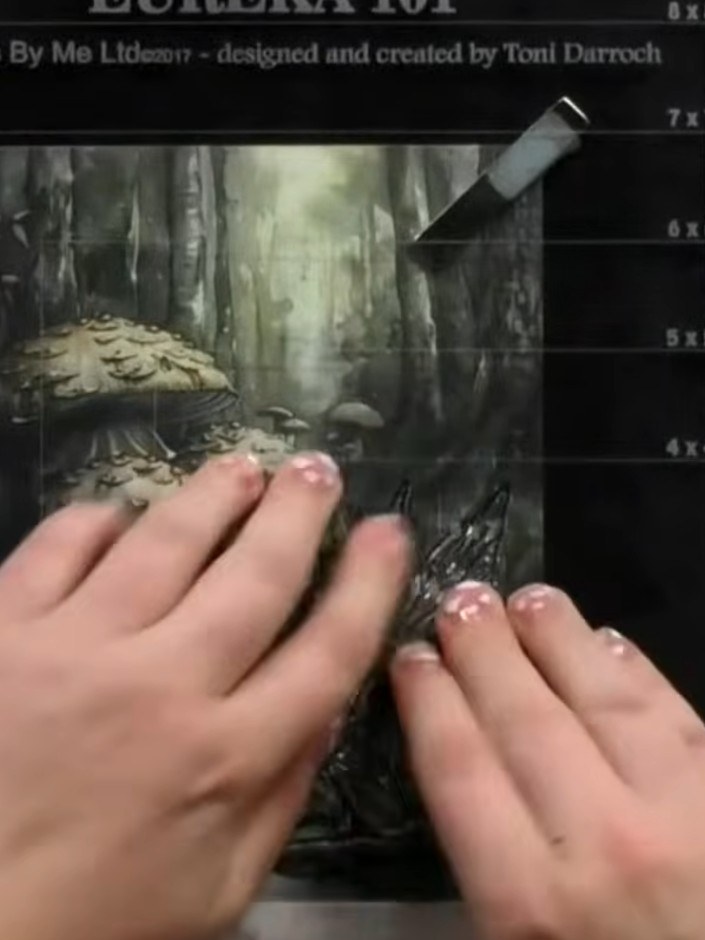
Select watercolour pencils in colours that complement your mystical forest design. Choose darker tones to add depth and shading to the mushrooms and woodland scene.
▶ watch this step (46:15)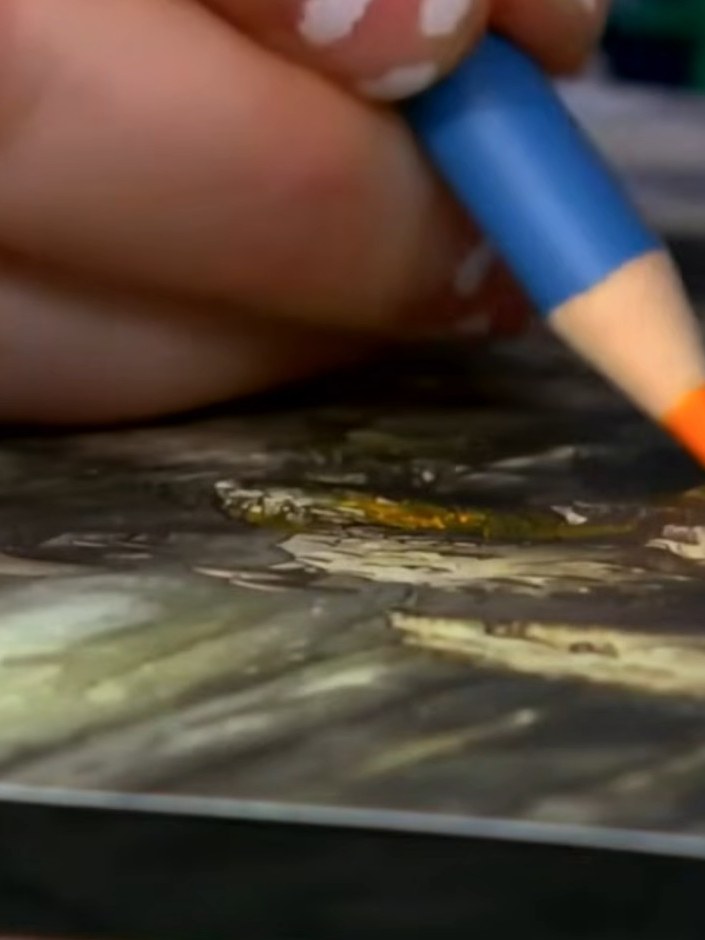
Dip a damp paintbrush into water and blend the watercolour pencil colours on the mushrooms and forest scene to create soft washes.
▶ watch this step (46:45)
Apply watercolour paint around the fairy image using a brush or sponge to create a dreamy, ethereal background effect. Work the colour gently to blend and soften the edges for a mystical appearance.
▶ watch this step (47:15)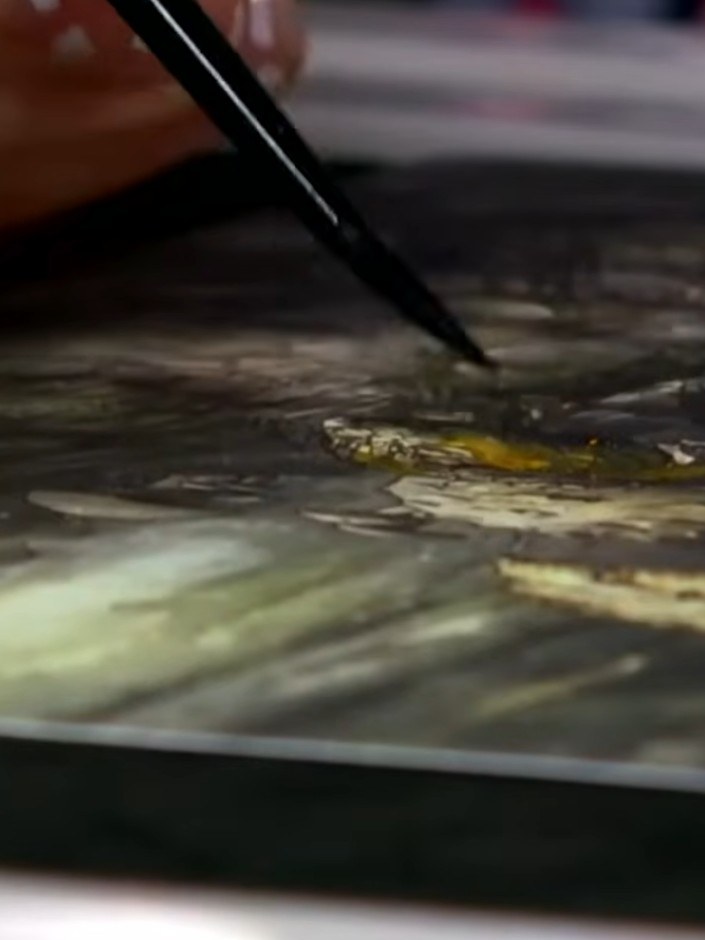
Allow the watercolour to dry completely before handling the card. This ensures the colours set properly and prevents smudging of your mystical design.
▶ watch this step (47:45)Written up from the show itself. See every guide from our shows · free how-to guides · watch live on My Telly