Give your friends $10 off their first order!
Refer a FRIEND








A project from our live show HOBBYMAKER TV - Join us for the latest show - Broadcast 1 p.m. (UK) 8th June 2026 · 06/08/2026 · watch it from 14:30
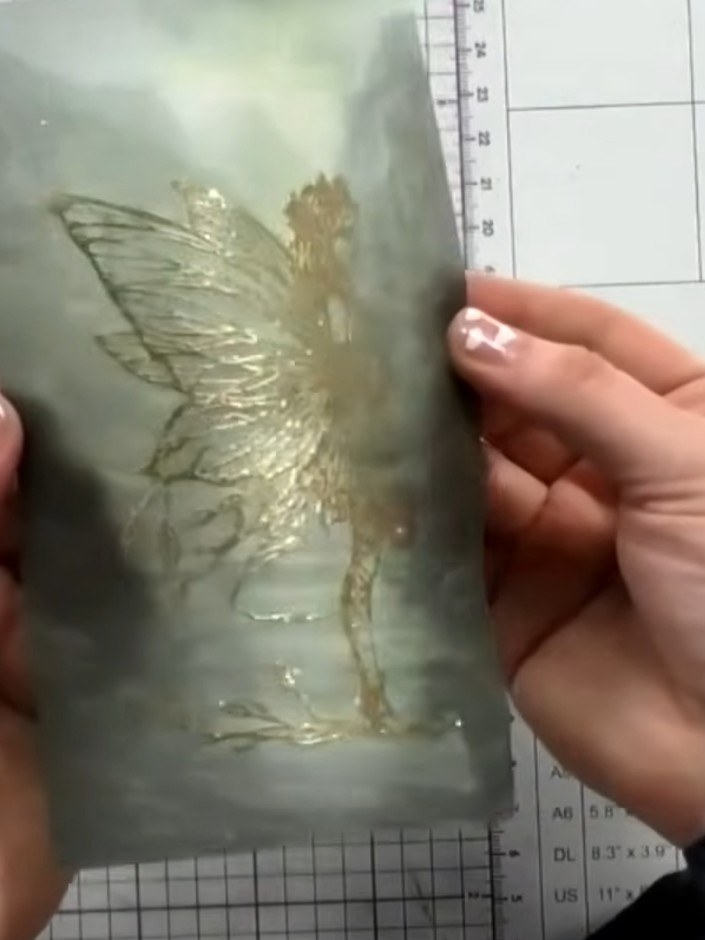
Create a delicate vellum card featuring a beautiful fairy design with shimmering gold heat embossing. This elegant project uses clear embossing ink and gold embossing powder to create a luminous, mystical effect on translucent vellum, layered over white card for a sophisticated finish. Perfect for special occasions, this technique produces an enchanting, ethereal appearance that catches the light beautifully.
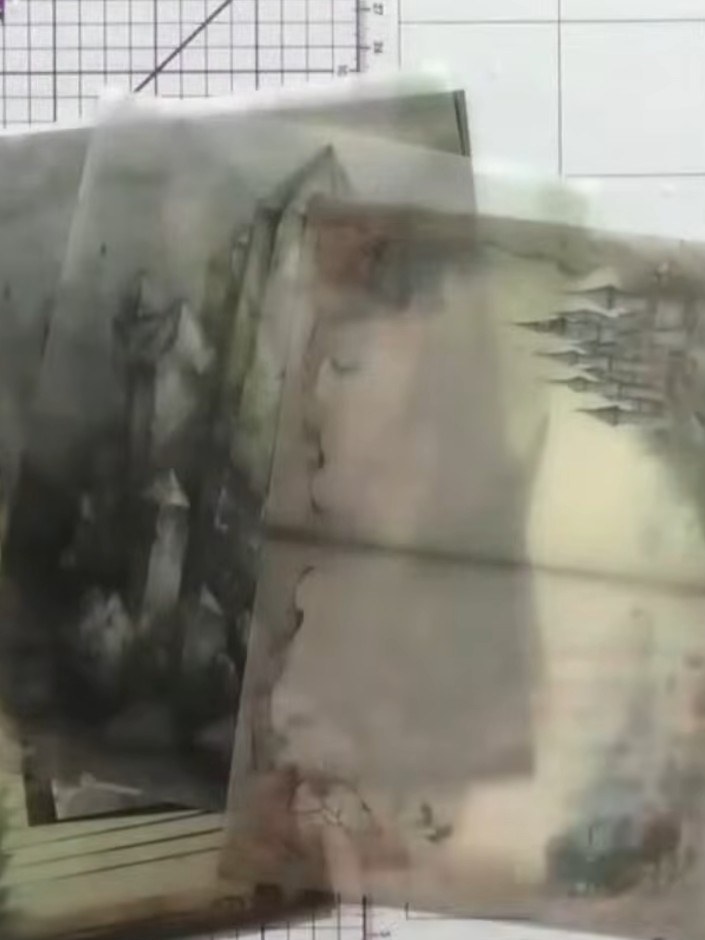
Select a piece of vellum from the Hunkydory Mystic Creative Bundle. Place the vellum sheet on your stamping platform ready for stamping.
▶ watch this step (15:00)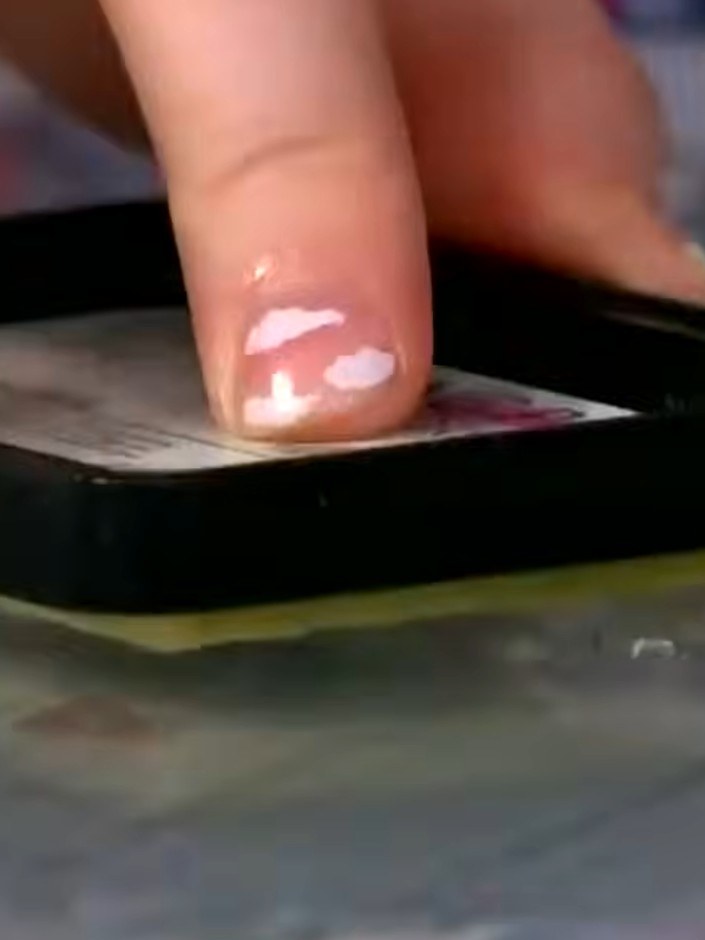
Apply anti-static powder to the vellum sheet using an anti-static pad. Gently tap the pad across the entire surface of the vellum to prevent static cling and ensure even embossing powder coverage.
▶ watch this step (15:15)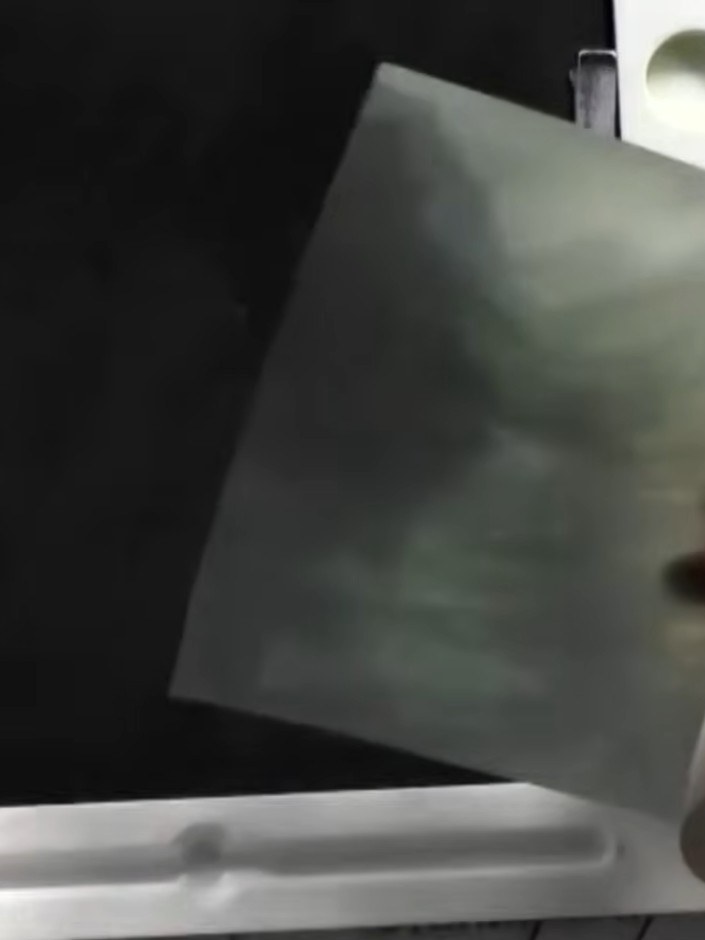
Position the fairy stamp in the centre of the vellum sheet. Hold the stamp firmly in place to ensure accurate placement before stamping.
▶ watch this step (15:30)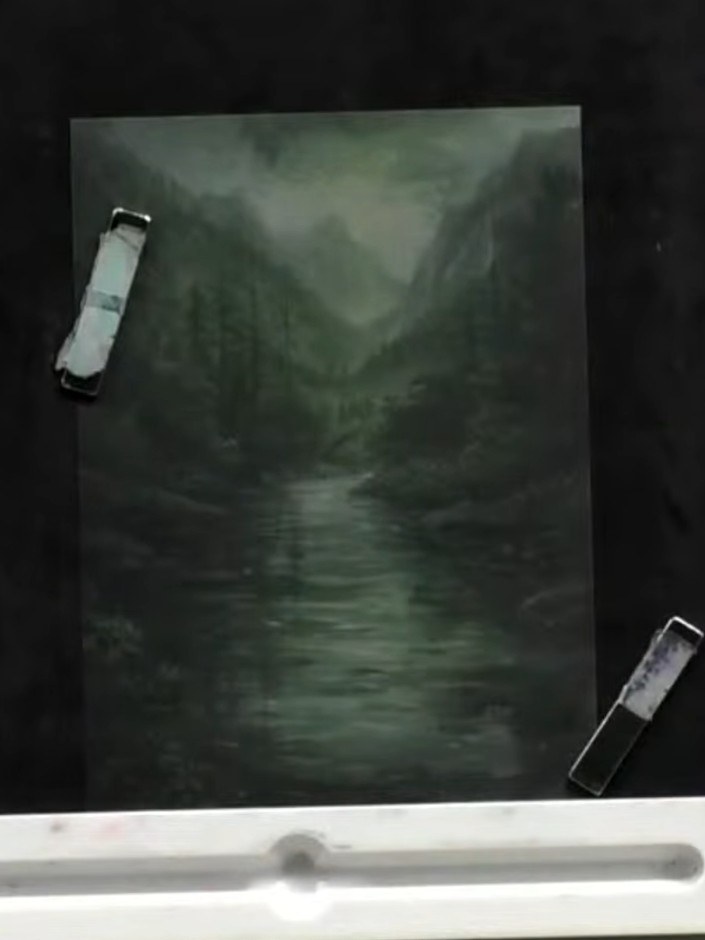
Ink the fairy stamp with clear embossing ink, pressing firmly to ensure all details are covered. The stamp should be evenly coated with the clear ink ready for embossing.
▶ watch this step (16:00)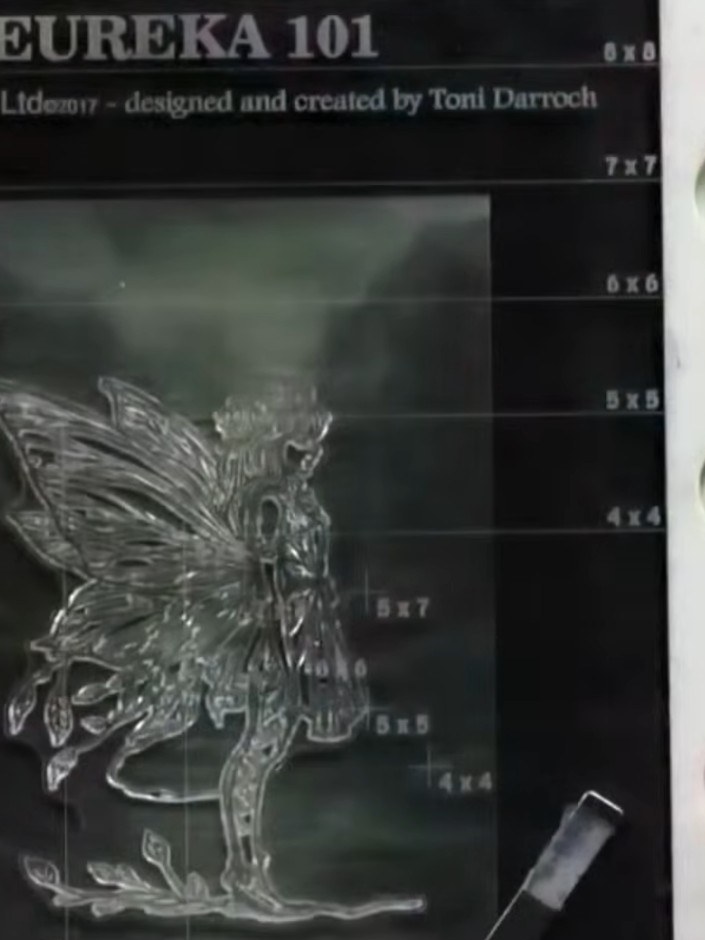
Press the fairy stamp onto the vellum using a tippy-tapping motion to ensure all elements of the design are captured clearly.
▶ watch this step (16:15)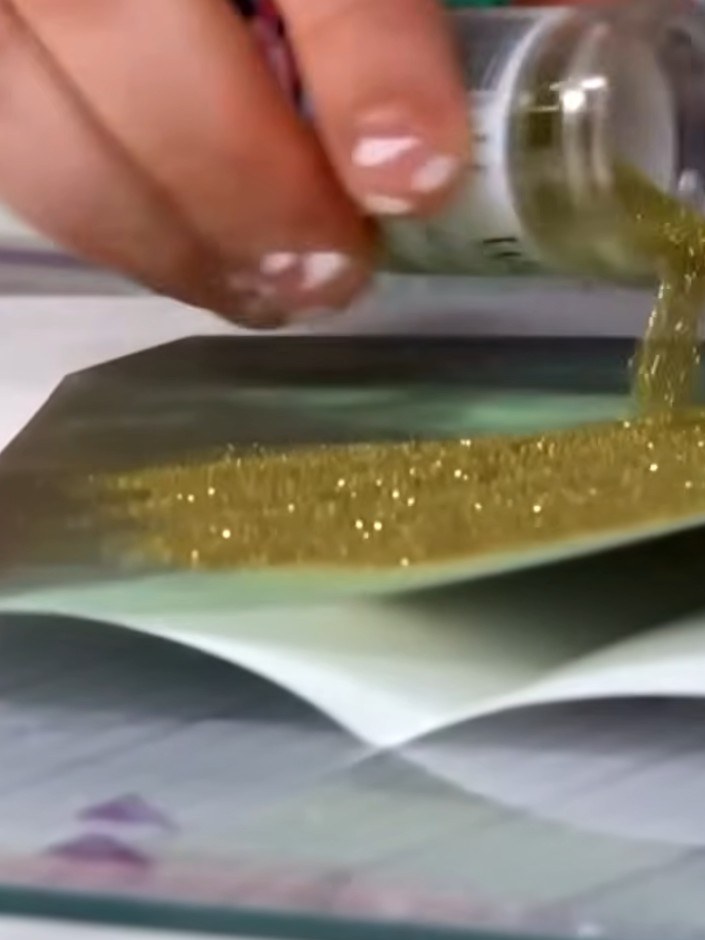
Pour gold embossing powder generously over the stamped image on the vellum, ensuring the entire design is covered. Tap off the excess powder onto a clean surface or back into the pot.
▶ watch this step (16:45)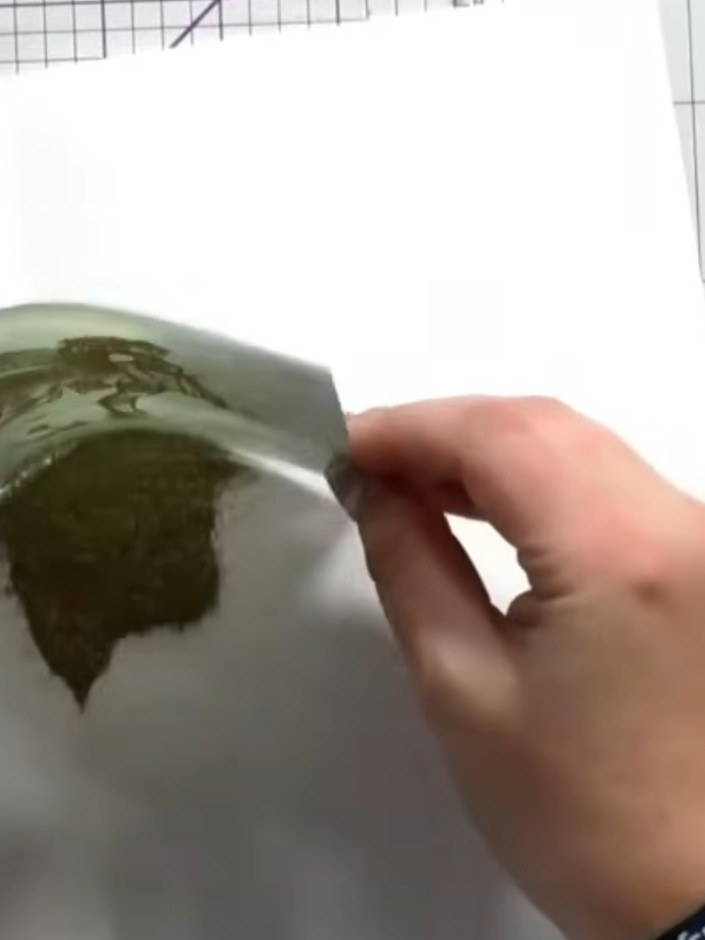
Tap away any excess embossing powder back into the container for reuse. Gently shake the vellum piece to remove loose powder before heat setting.
▶ watch this step (17:00)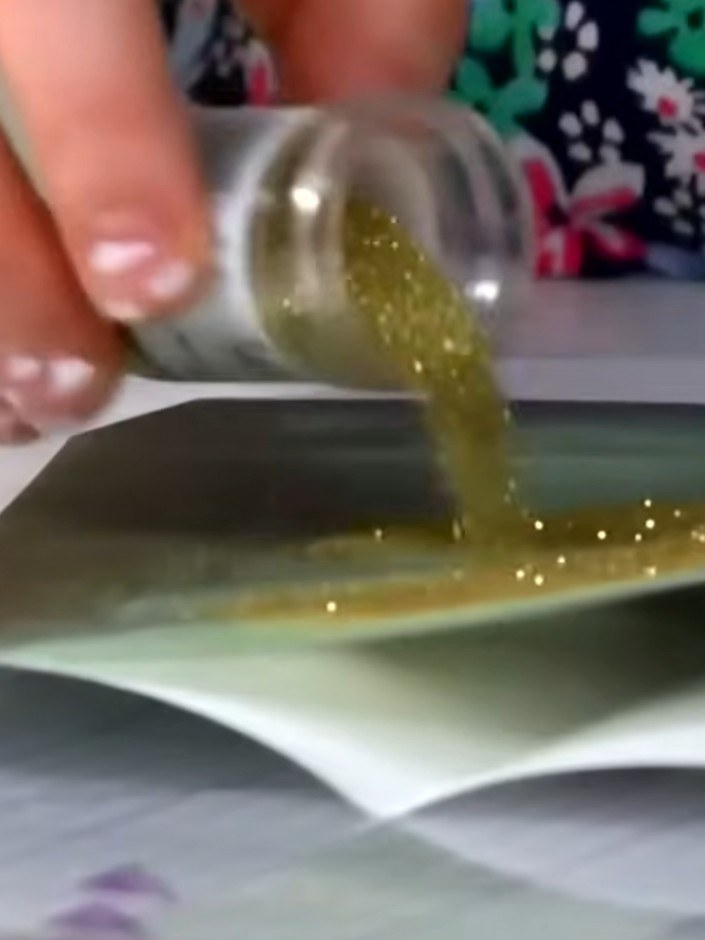
Turn on your heat gun and allow it to warm up for a few seconds. Hold the heat gun over the embossing powder on the vellum, keeping it moving to avoid overheating any one area. The powder will begin to melt and create a raised, glossy finish.
▶ watch this step (17:15)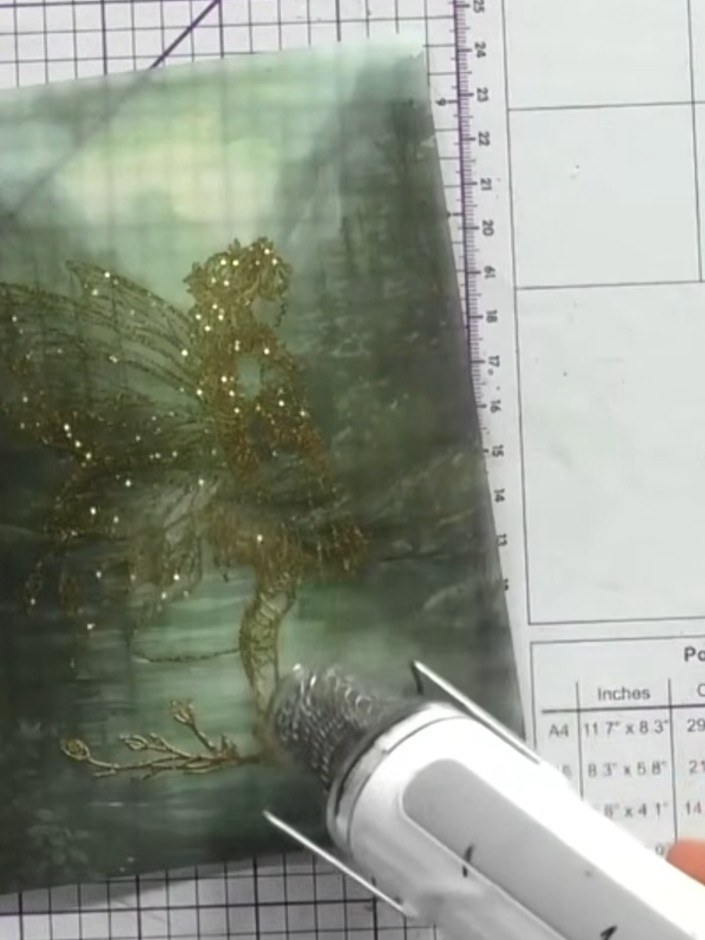
Hold the heat gun over the embossed image, moving it gently until the gold embossing powder melts and fuses to create a shiny raised design on the vellum.
▶ watch this step (17:45)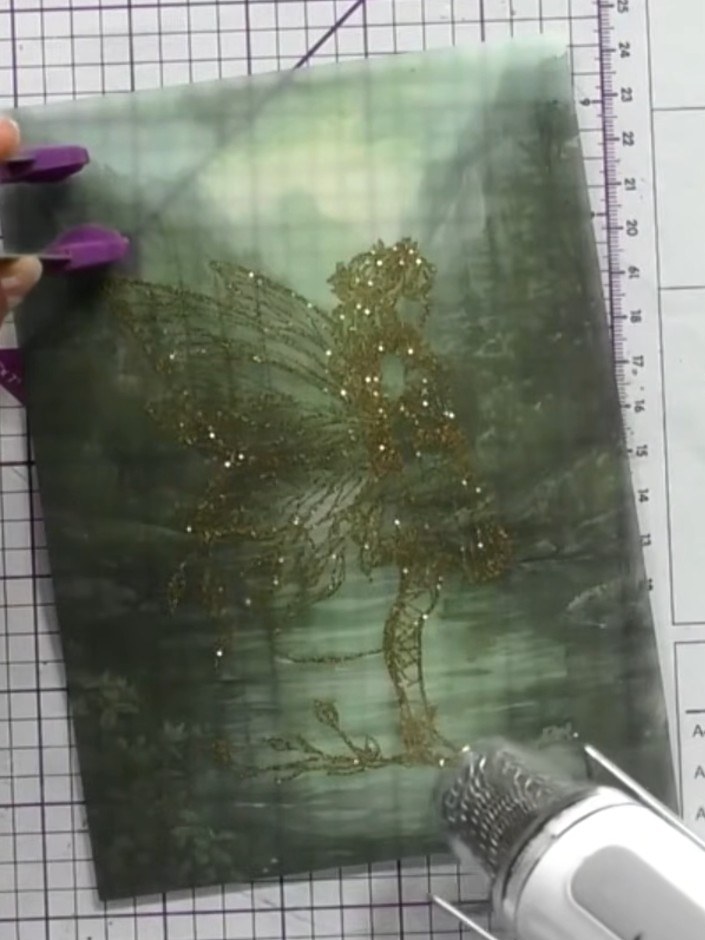
Remove the heat gun once the embossing powder has melted completely and allow the vellum to cool. The gold embossed dragonfly design should now be set on the green vellum background.
▶ watch this step (18:00)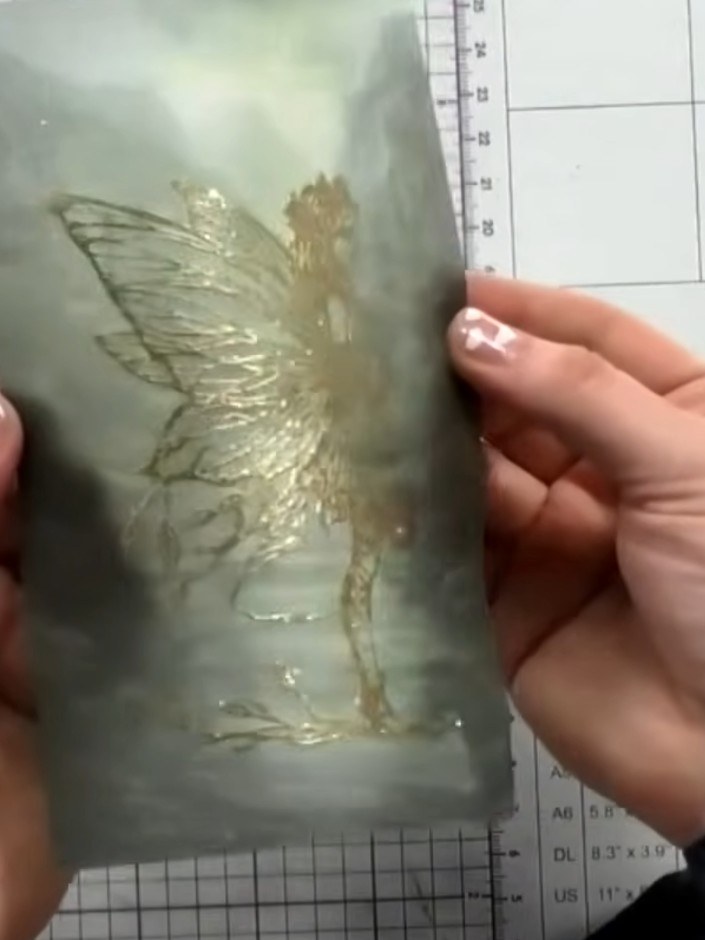
Carefully tear or rip the vellum around the fairy image to create a soft, organic edge. Hold the vellum with both hands and gently tear to achieve the desired shape.
▶ watch this step (18:30)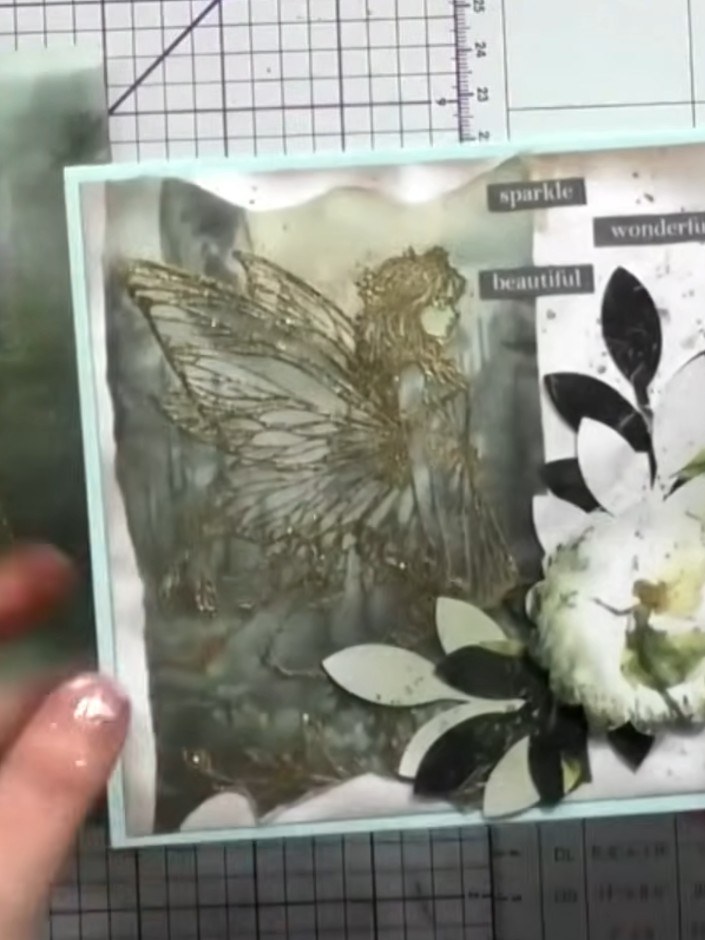
Layer the heat embossed vellum piece over a white card base to enhance and showcase the deep gold embossing effect.
▶ watch this step (19:00)Written up from the show itself. See every guide from our shows · free how-to guides · watch live on My Telly