Give your friends $10 off their first order!
Refer a FRIEND








A project from our live show HOBBYMAKER TV - Join us for the latest show - Broadcast 1 p.m. (UK) 8th June 2026 · 06/08/2026 · watch it from 20:00
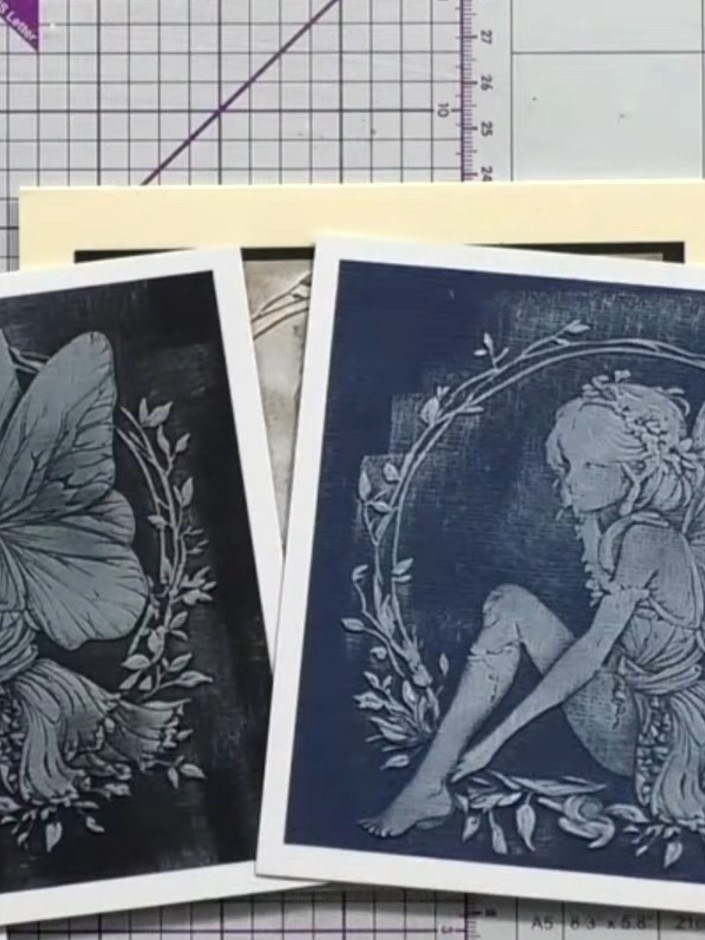
Create an elegant embossed card featuring a beautiful fairy design surrounded by a delicate floral wreath. Using an embossing folder and ink rubbing technique, you'll achieve a stunning vintage effect with silvery-grey tones against a deep navy or black background. This sophisticated card showcases the intricate details of the embossed image, reminiscent of traditional grave rubbings with a magical, enchanting twist.
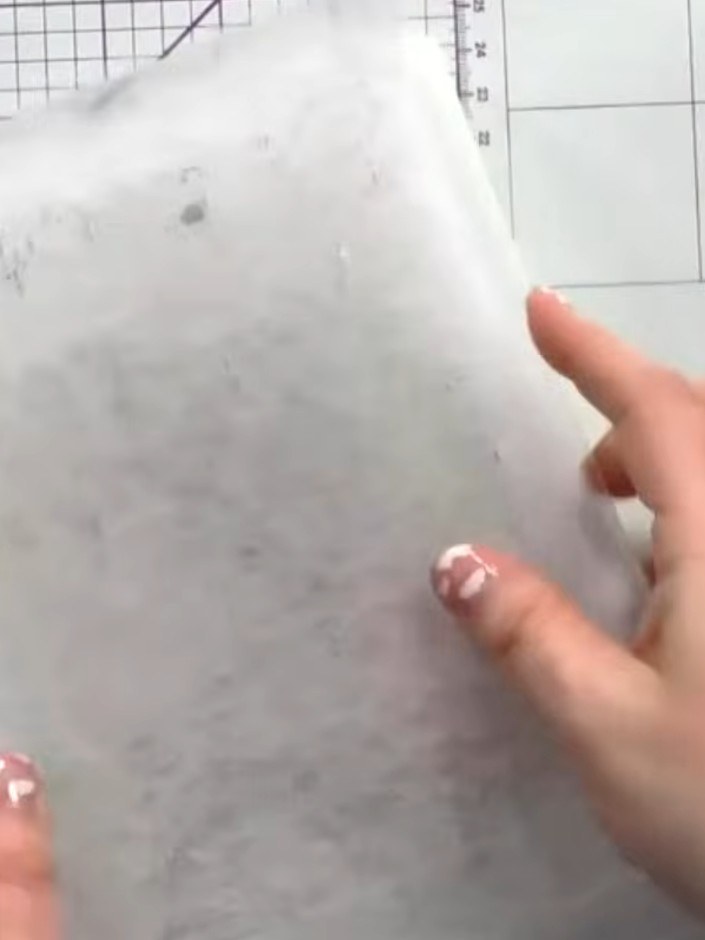
Place your white card into the embossing folder. If using coloured card, position it inside the folder ready for embossing.
▶ watch this step (20:15)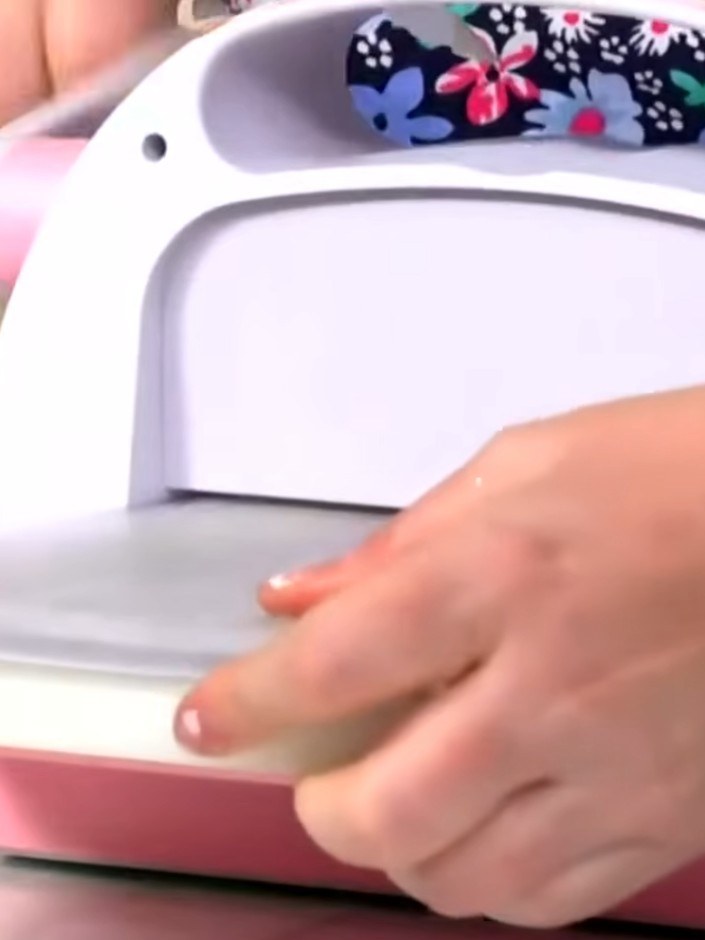
Close the embossing folder with your card inside and run it through your die-cutting machine to emboss the design onto the card.
▶ watch this step (20:30)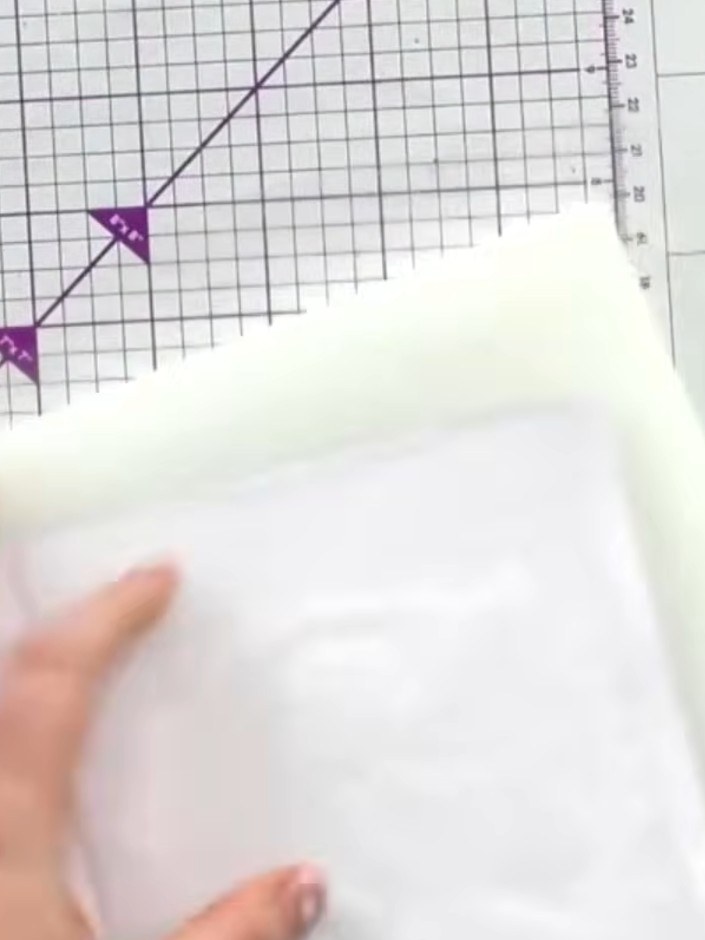
Remove the card from the die-cutting machine and examine both sides to see the embossed and debossed effects created by the embossing folder.
▶ watch this step (20:45)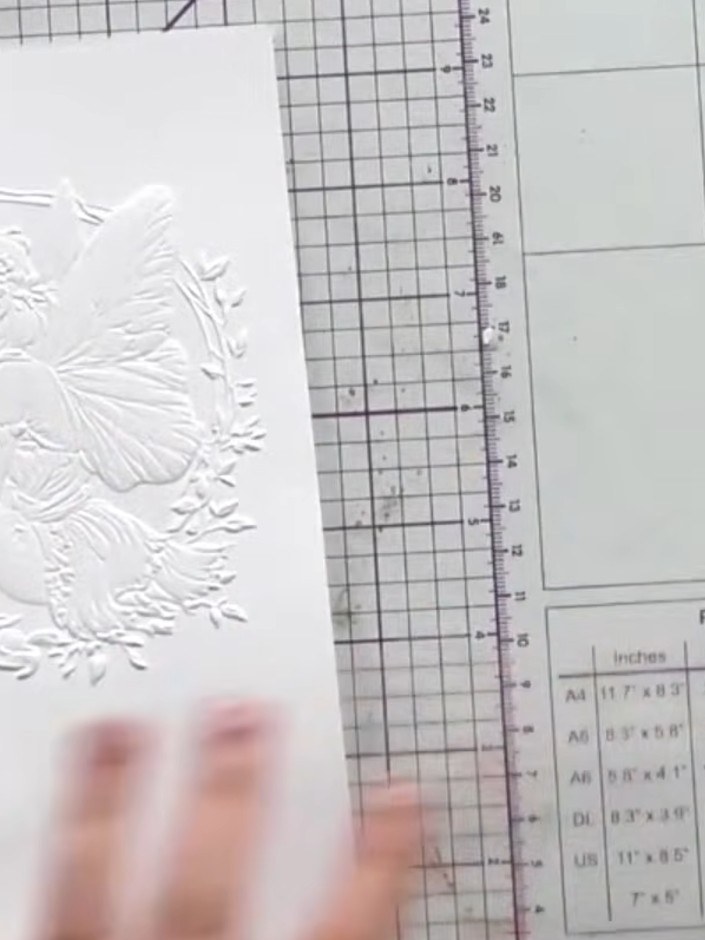
Select an ink colour that complements your card design. Place the embossed card into your die-cutting machine to prepare for the next step.
▶ watch this step (21:00)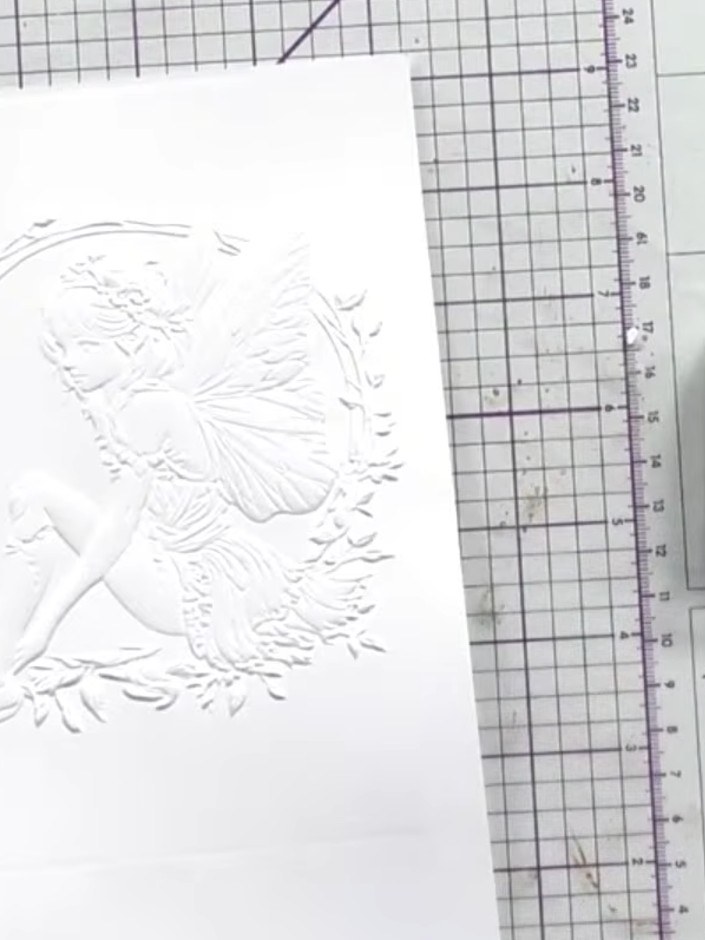
Using a sponge or dauber, gently rub the Aladine Izink Pigment Metal ink over the raised embossed areas of the card front.
▶ watch this step (21:15)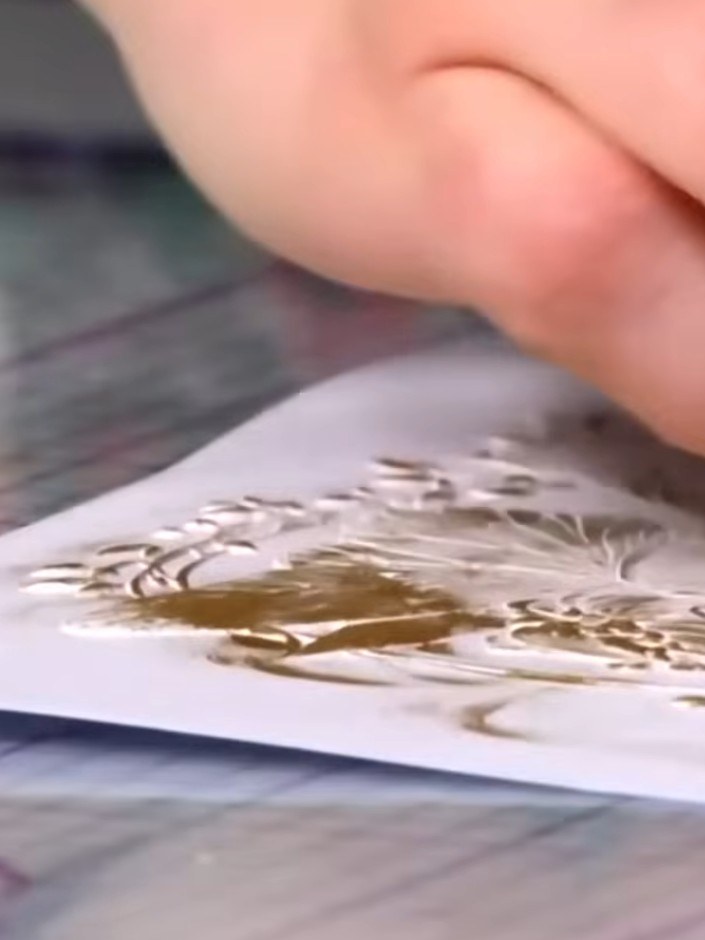
Continue building up the gold ink on the embossed design, working it into the raised areas. Use a dabbing motion to gradually intensify the metallic finish, allowing the embossed details to become more prominent.
▶ watch this step (21:45)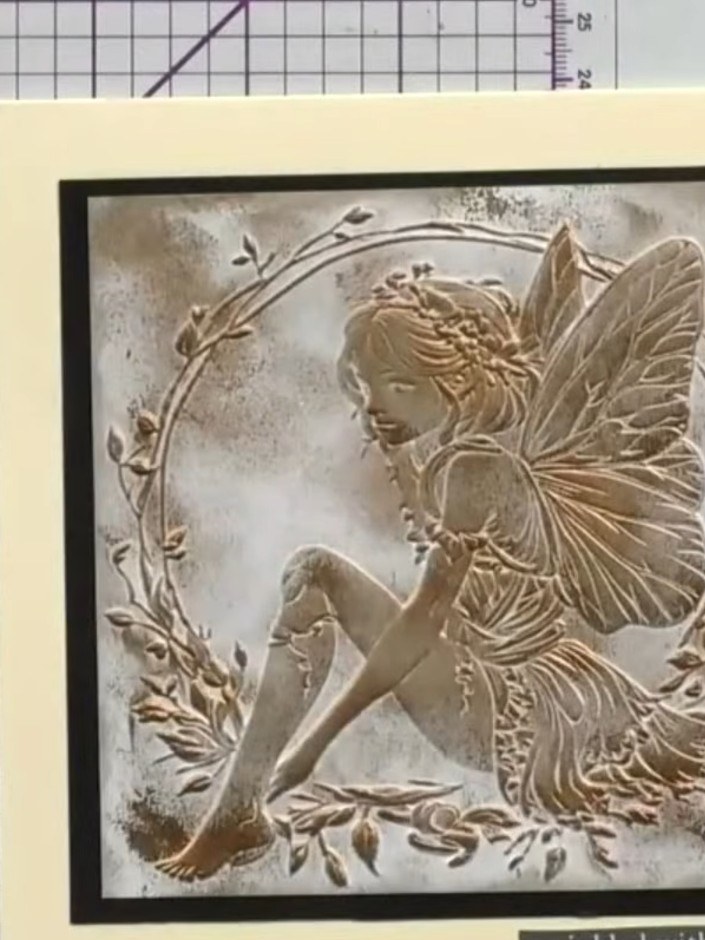
Allow the ink to dry completely. The embossed fairy design should show through with gold and bronze metallic tones against the grungy background, with stardust sprinkled over the surface.
▶ watch this step (22:15)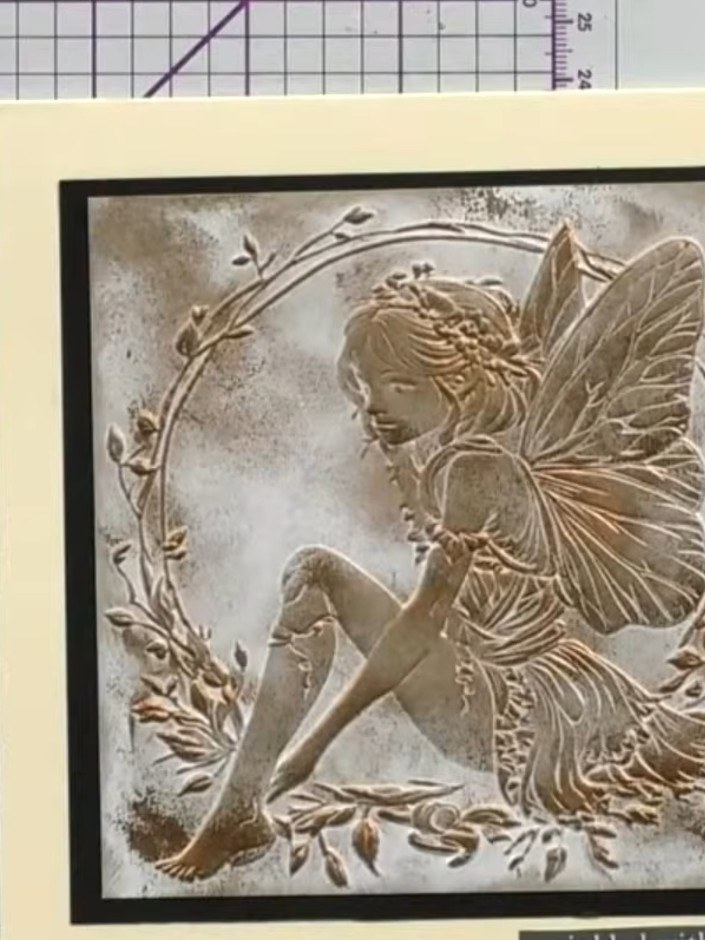
If desired, use a white gel pen to add highlights to certain embossed elements of the fairy design, such as the wings or floral details, to create extra dimension and visual interest.
▶ watch this step (22:30)Written up from the show itself. See every guide from our shows · free how-to guides · watch live on My Telly