Give your friends $10 off their first order!
Refer a FRIEND








A project from our live show CREATE AND CRAFT TV - Join Toni for her brand new launch show 2 - broadcast 25th Oct 23 · 10/25/2023 · watch it from 52:00
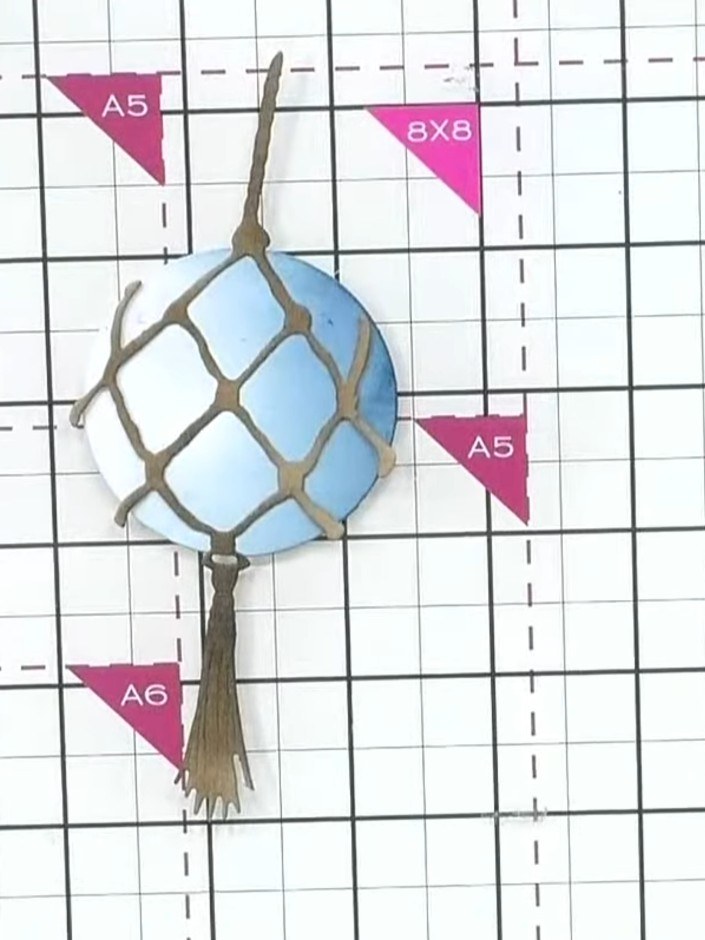
Create a stunning three-dimensional bauble ornament using hand-painting techniques on a circular die-cut. This project combines teal ink for the highlighted areas and brown for the shadows, producing a realistic shiny sphere effect with beautiful depth and dimension. The finished piece makes a perfect decorative element for cards or festive crafts.
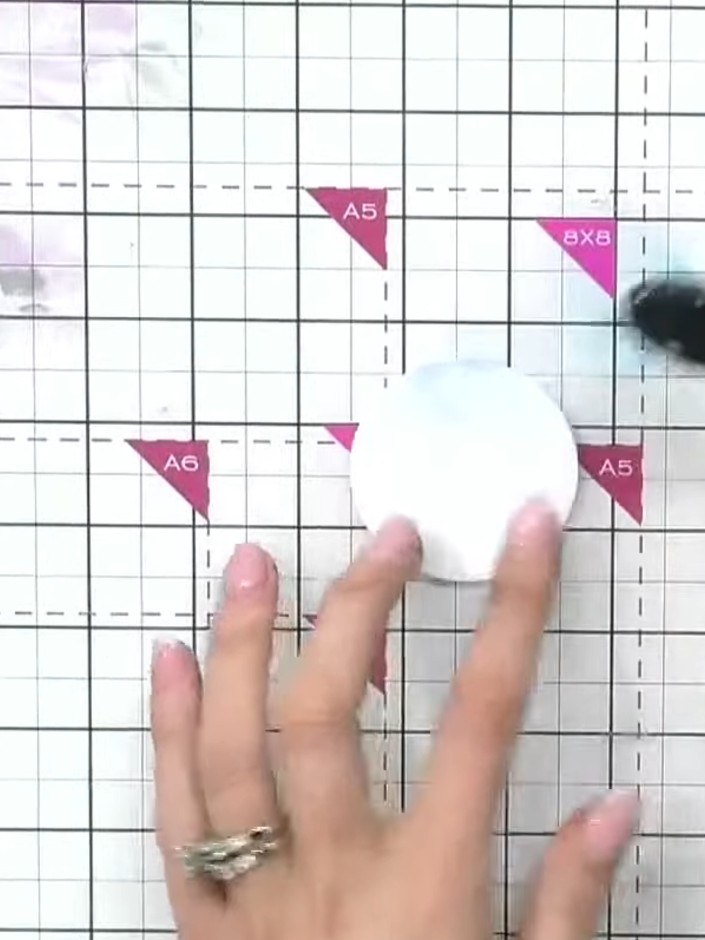
Die-cut a circle from white card stock using the bauble die from the Decorative Baubles die set.
▶ watch this step (52:00)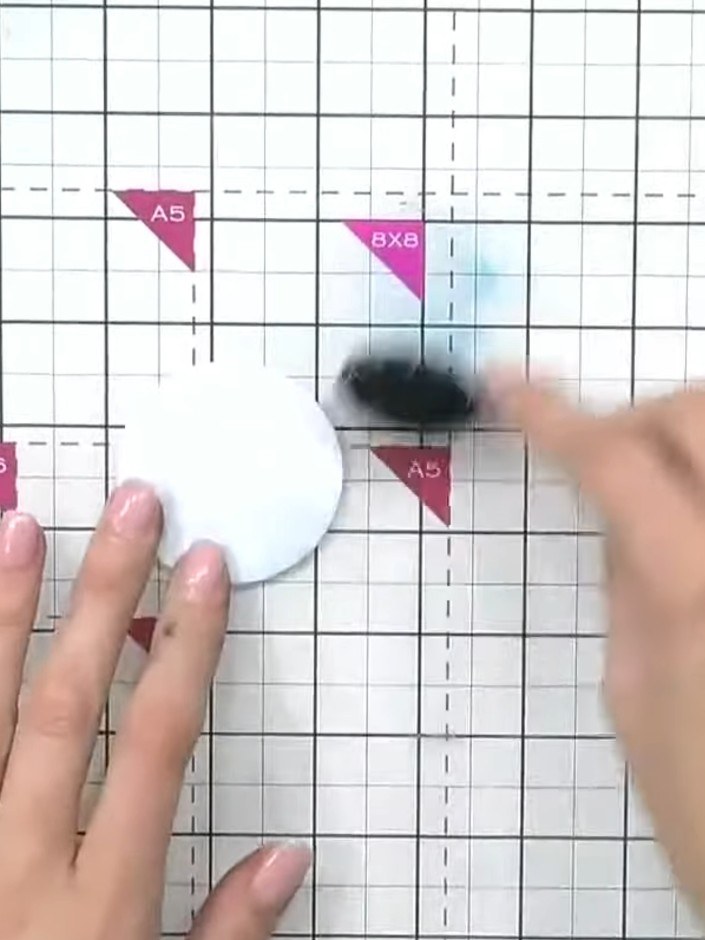
Using a brush, apply light teal ink all over the white circle to create an even base colour.
▶ watch this step (52:15)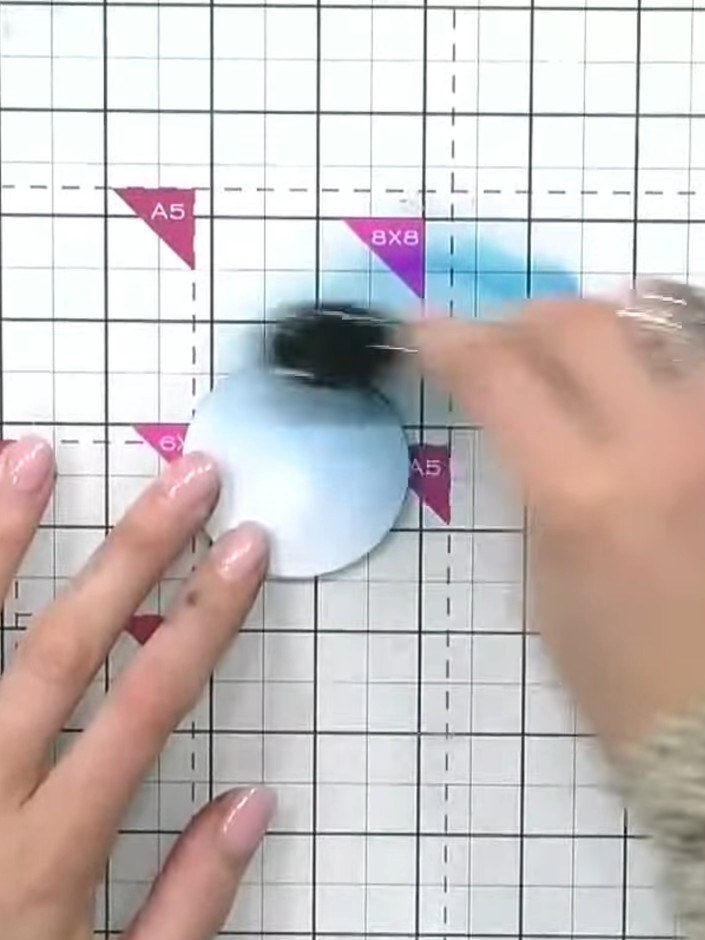
Apply darker teal ink to one side of the circle to create shadow and dimension. Blend the ink to form a gradient effect from darker to lighter.
▶ watch this step (52:30)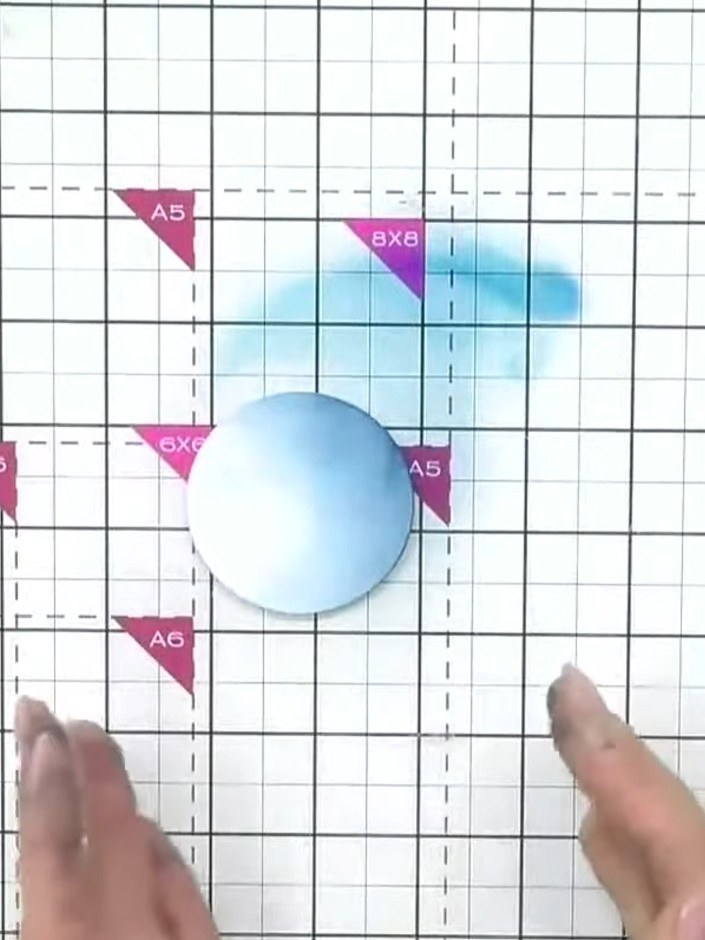
Visualise the circle as a moon in shadow form to guide your shading placement. This will help you understand where to apply darker and lighter tones when painting the bauble.
▶ watch this step (52:45)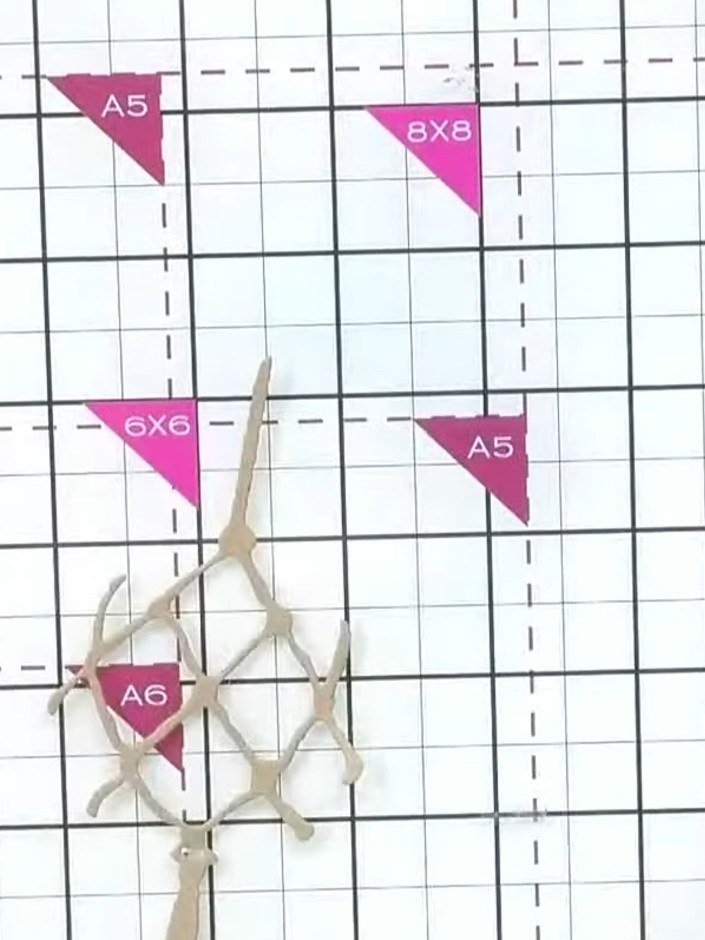
Die-cut the coordinating tassel and wrap detail from cream cardstock using the decorative baubles die set. The dies are designed to create decorative elements that complement the bauble shape.
▶ watch this step (53:00)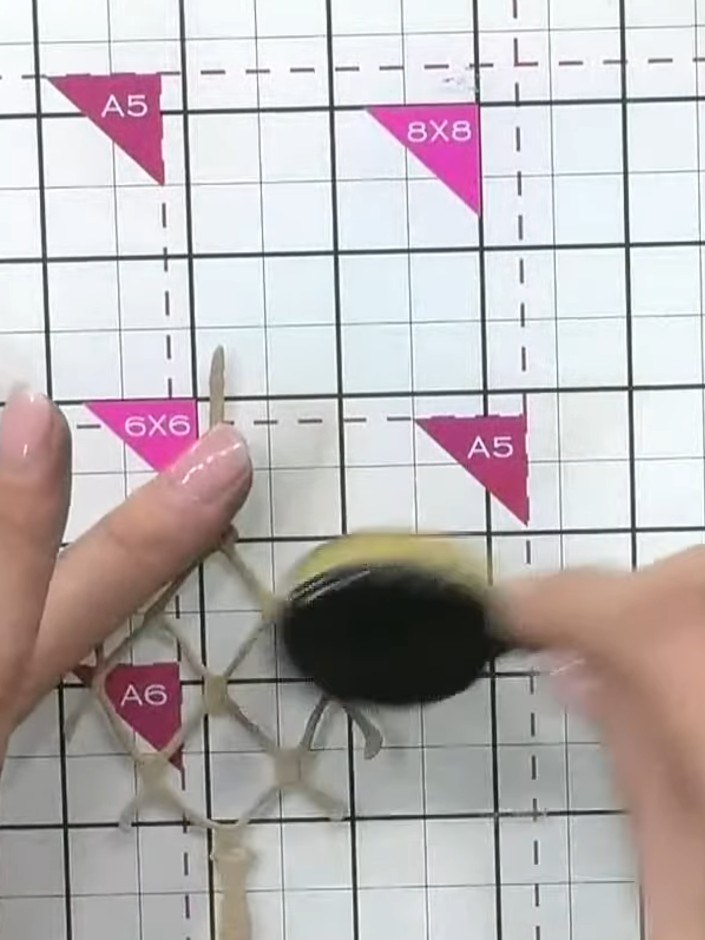
Using a brush, apply brown ink to the tassel and wrap pieces to add definition and shading.
▶ watch this step (53:15)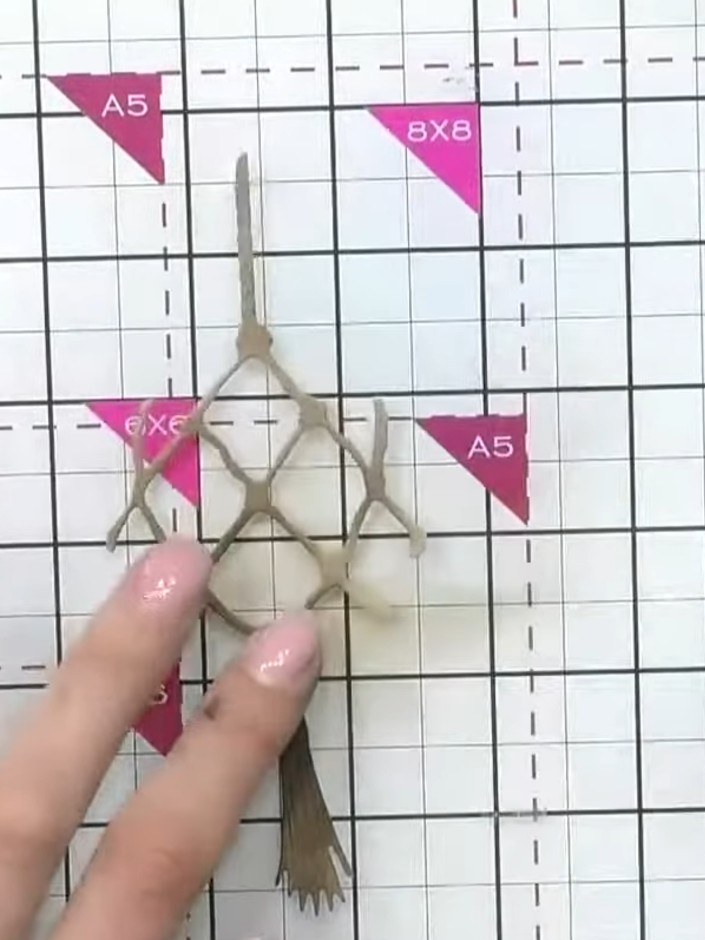
Glue the tassel to the top of the bauble circle. Position it centrally at the top point of the bauble design.
▶ watch this step (53:30)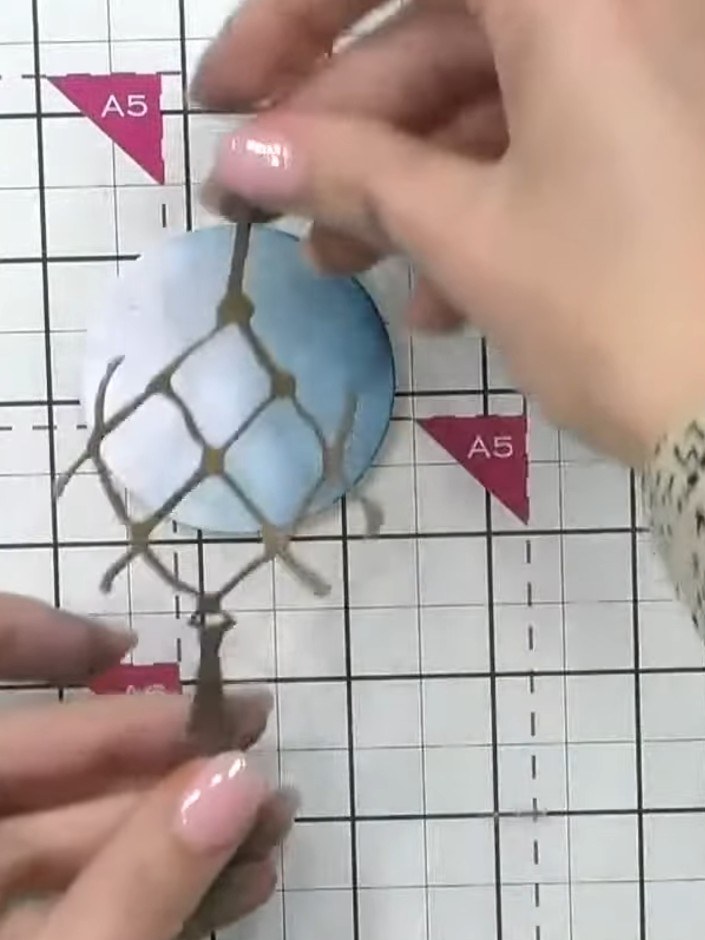
Glue the wrap piece around the bauble, ensuring the decorative knobbles extend beyond the circle edge to create a realistic wrapped effect.
▶ watch this step (53:45)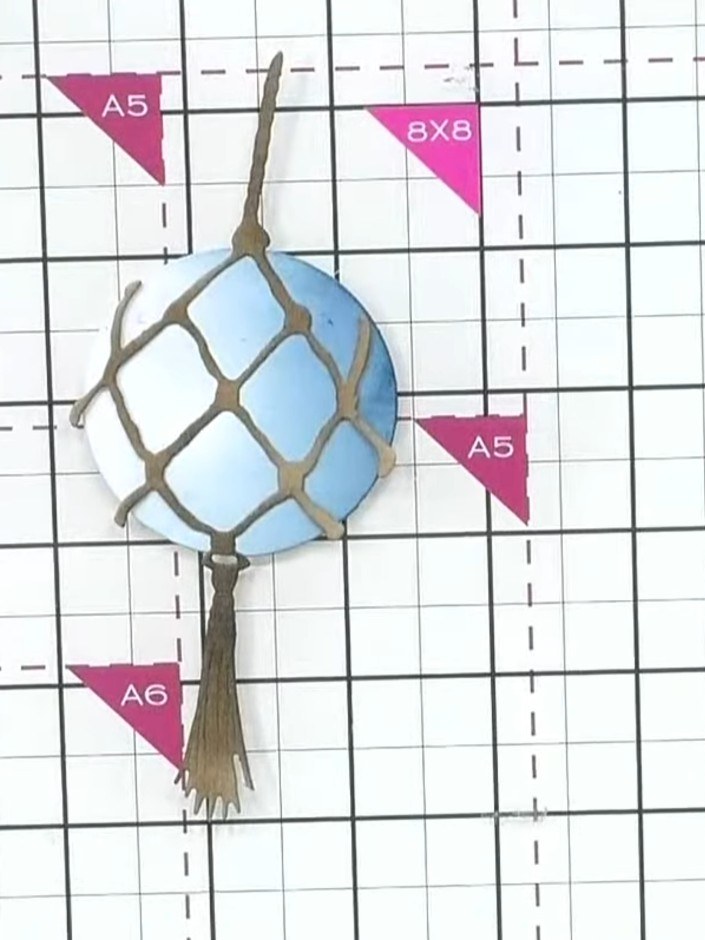
Position the finished bauble with the teal and brown lattice design onto your card base. The bauble can be mounted as a centrepiece or used as a standalone embellishment for your project.
▶ watch this step (54:15)Written up from the show itself. See every guide from our shows · free how-to guides · watch live on My Telly
