Give your friends $10 off their first order!
Refer a FRIEND








A project from our live show CREATE AND CRAFT TV - Join Toni for her brand new launch show 2 - broadcast 25th Oct 23 · 10/25/2023 · watch it from 38:15
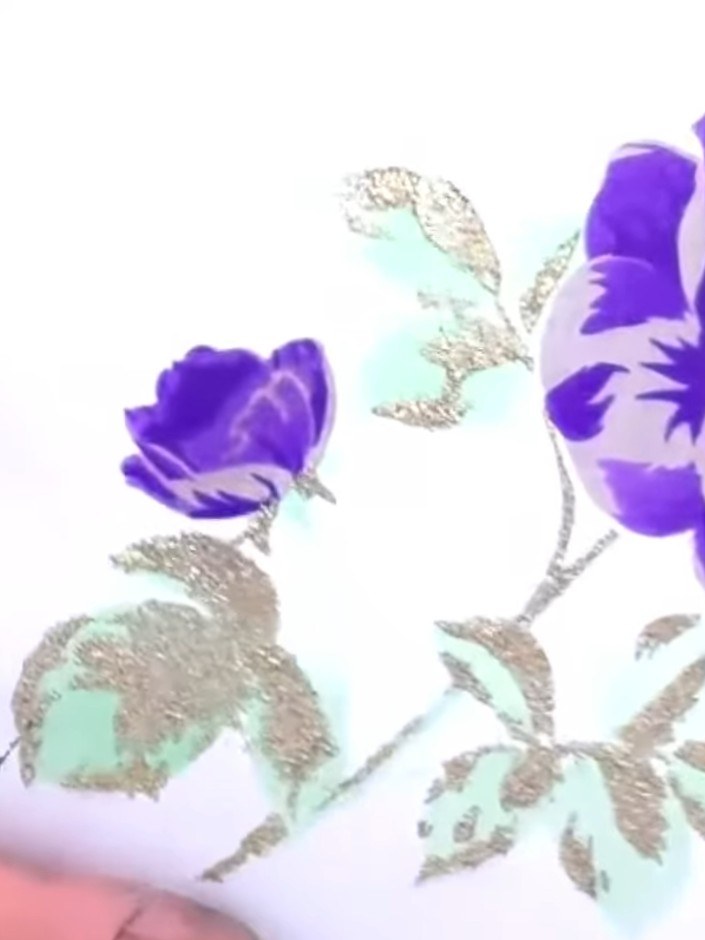
Create a stunning layered floral card featuring vibrant purple roses with gold and mint accents. Using the Stamps By Me layering stencil system with iZink dye inks, you'll build up beautiful dimensional flowers with numbered stencils and registration marks. The finished piece showcases elegant roses with shimmering metallic leaves on a clean white background.
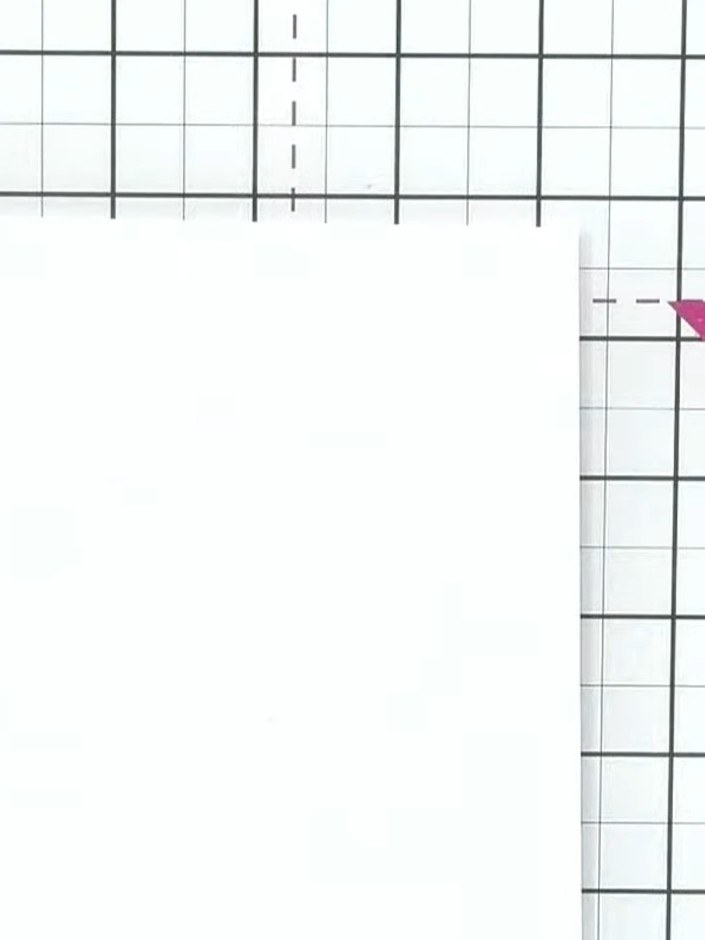
Select layer one of your stencil system (marked A4 in the corner) and position it on your white card stock on your craft mat.
▶ watch this step (38:15)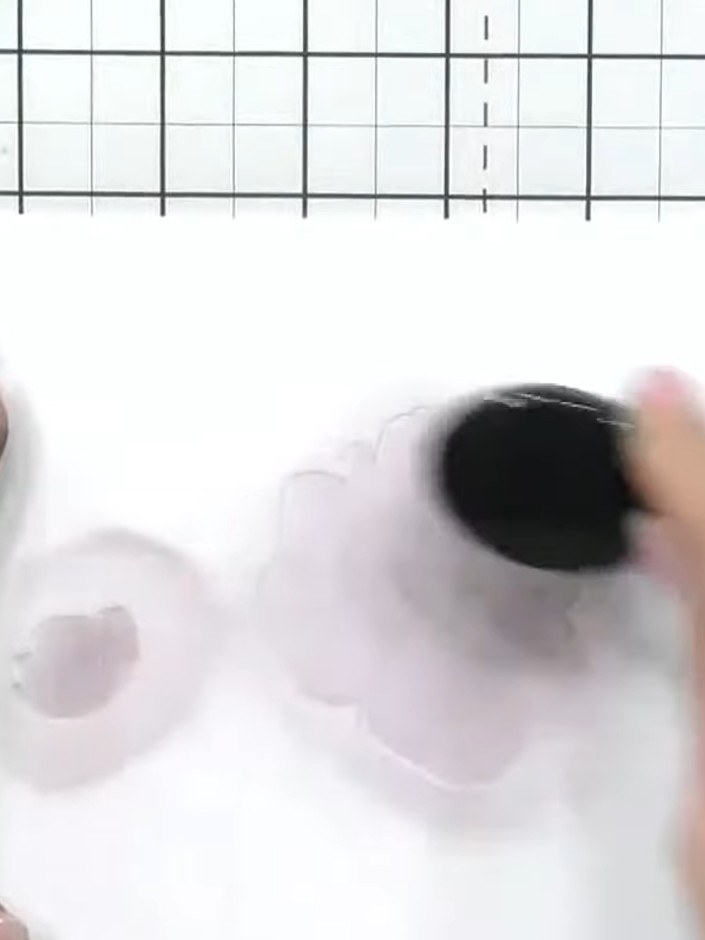
Carefully remove the stencil from the card and set it aside. Allow the ink to dry completely before proceeding to the next step.
▶ watch this step (38:45)
Place the second layer stencil on top of your work, using the heart registration marks in the corners to line it up precisely with the first layer.
▶ watch this step (39:00)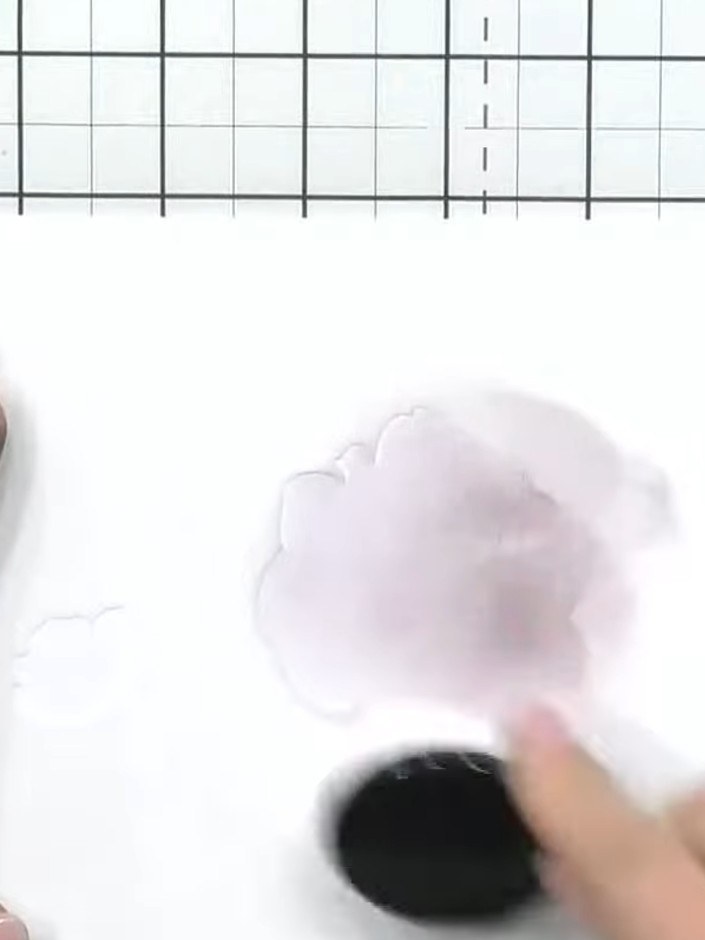
Using a darker shade of lilac ink, tap colour through the stencil layer with a blending brush to add shading and depth. Build up the colour gradually to achieve the desired intensity.
▶ watch this step (39:15)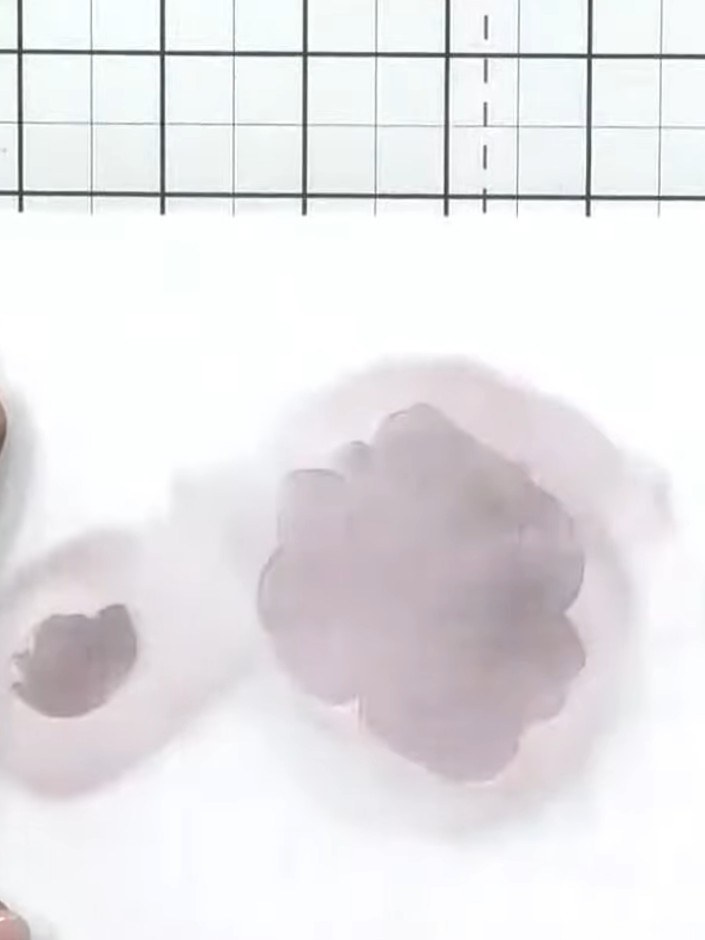
Apply the darker purple ink through the third layer of the rose stencil, concentrating the colour in the centre to build dimension and depth.
▶ watch this step (39:45)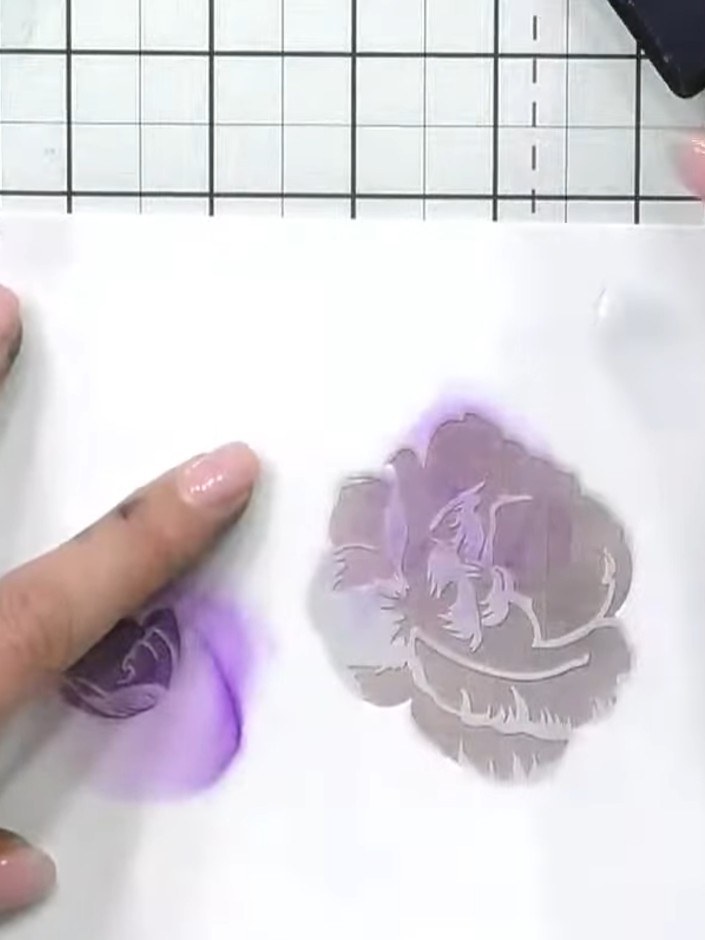
For the fourth layer, swap to a green ink pad. Lightly tap the green ink through the stencil to add colour to the leaves and foliage areas of the design.
▶ watch this step (40:30)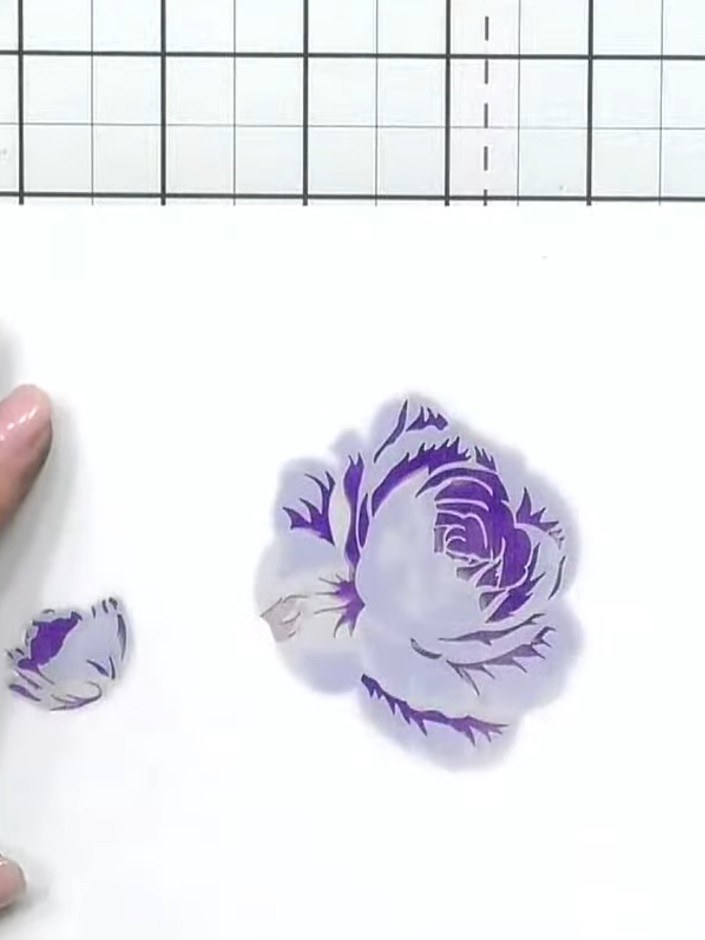
Apply purple ink to the stamped rose images using an ink pad, blending the colour over the entire design to create depth and shading.
▶ watch this step (41:00)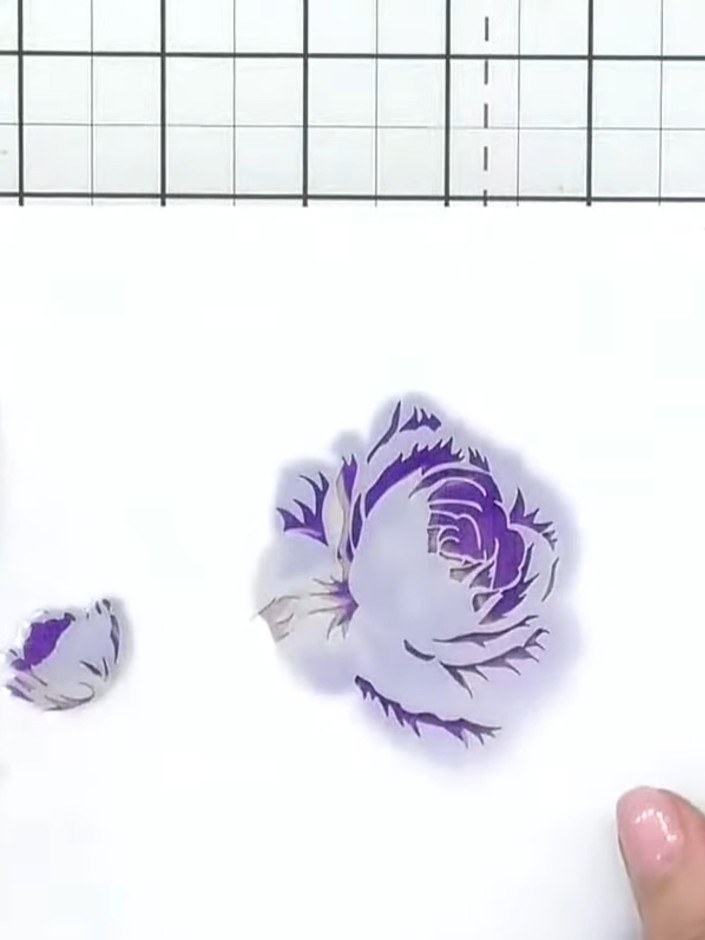
Carefully peel away the final stencil to reveal your completed three-dimensional purple rose with detailed petals and leaves.
▶ watch this step (41:30)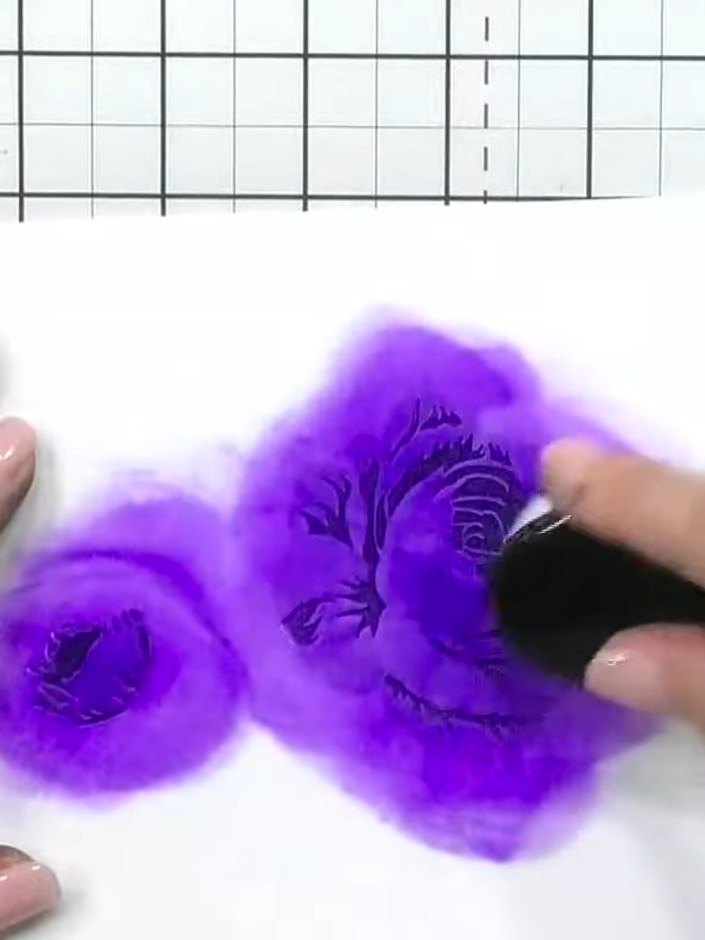
Mount the finished purple rose onto your card base or use it as a standalone piece of artwork. Position it centrally and secure with adhesive.
▶ watch this step (42:00)Written up from the show itself. See every guide from our shows · free how-to guides · watch live on My Telly
