Give your friends $10 off their first order!
Refer a FRIEND








A project from our live show CREATE AND CRAFT TV - Join Toni for her brand new launch show 2 - broadcast 25th Oct 23 · 10/25/2023 · watch it from 17:45
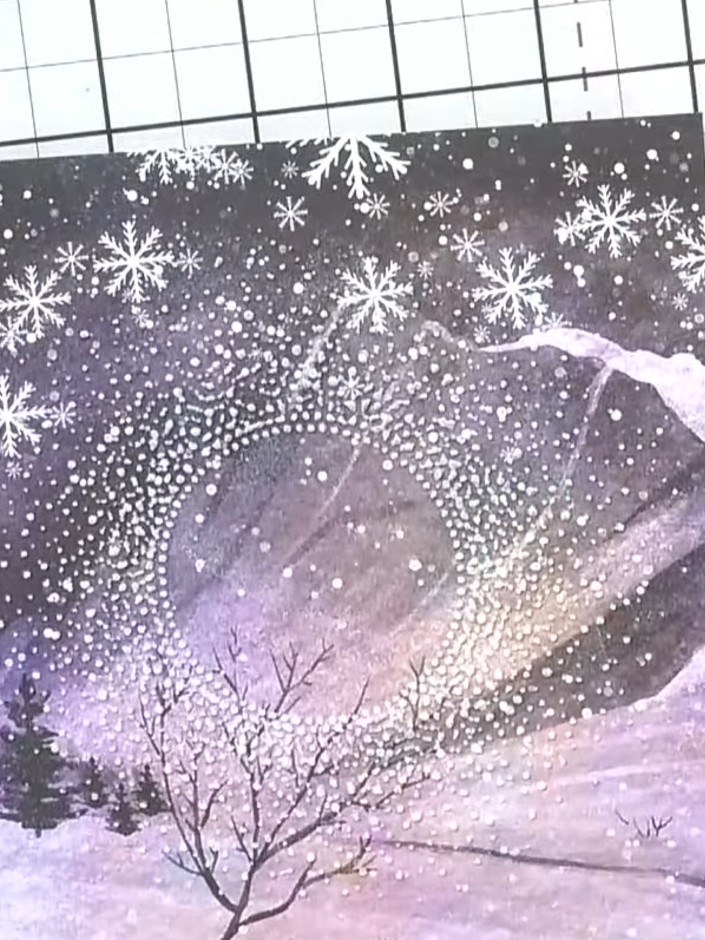
Create a stunning winter card featuring an embossed snow burst pattern on atmospheric purple and grey patterned paper. The embossed design is enhanced with white ink highlights that make the snowflakes and mandala-style pattern shimmer and stand out beautifully. This technique combines heat embossing with ink blending to create a dimensional, frosty scene perfect for festive greetings.
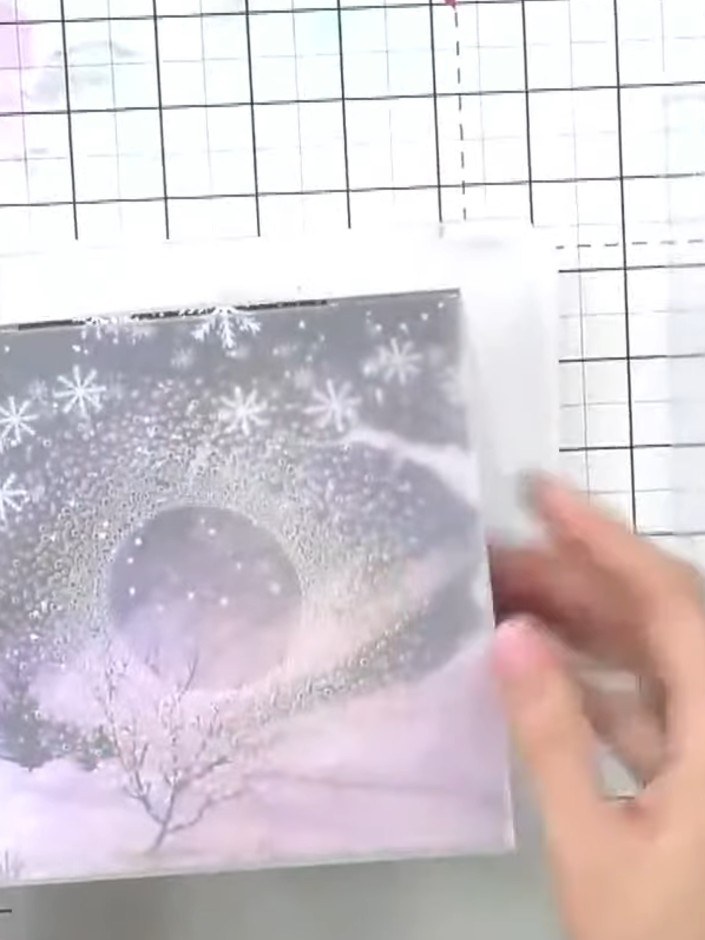
Select a piece of patterned paper featuring a winter scene with trees and snowflakes in purple, pink and grey tones.
▶ watch this step (17:45)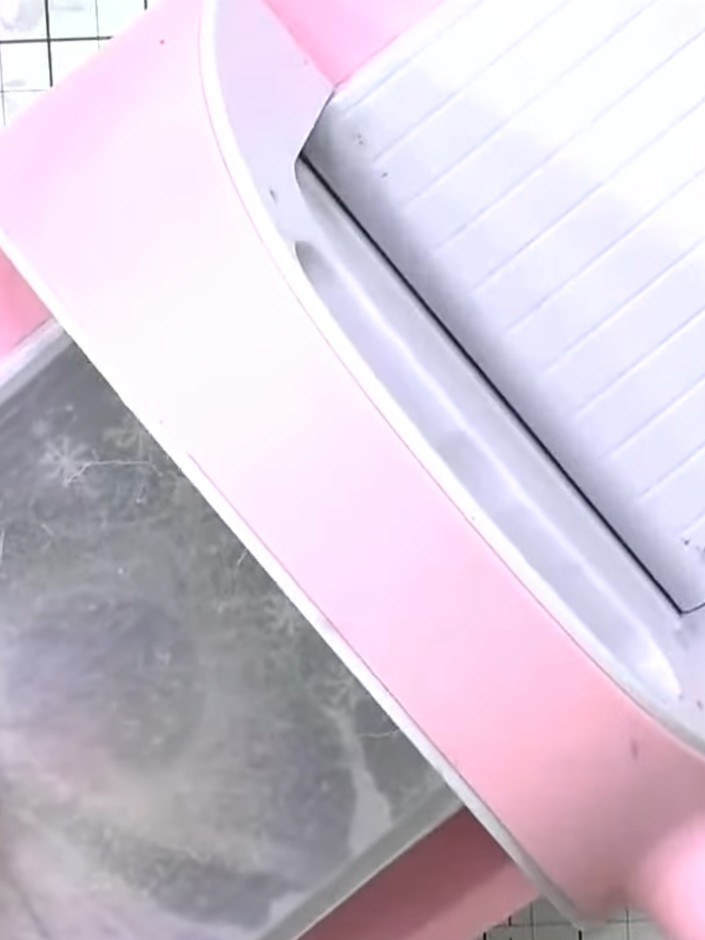
Place your patterned paper inside the embossing folder and run it through your die-cutting machine to create the raised snowflake pattern.
▶ watch this step (18:00)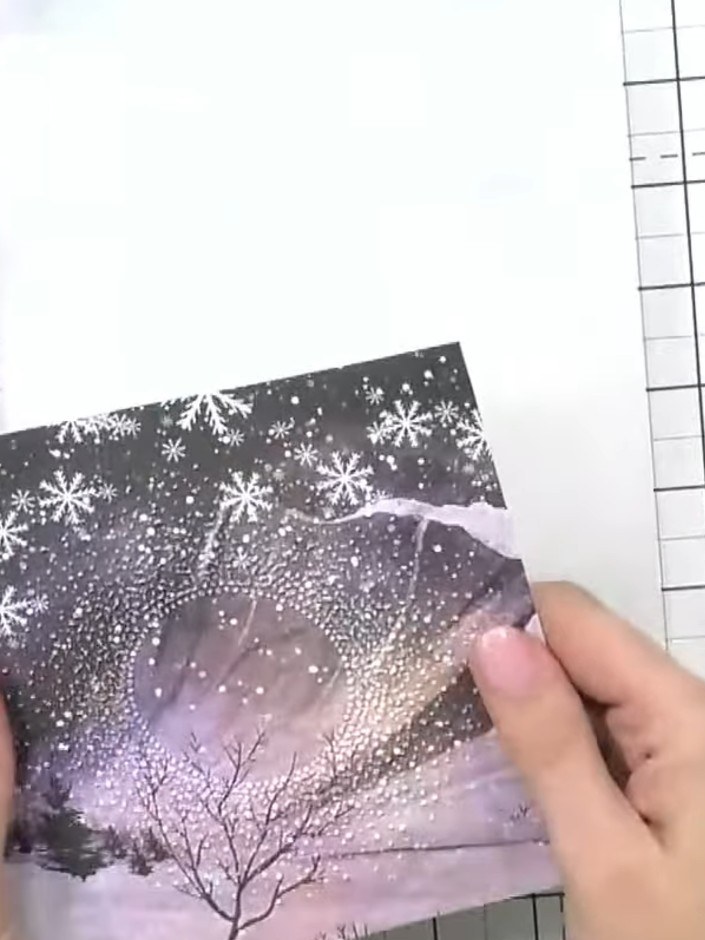
Observe the embossed pattern on the patterned paper. Note that the embossing appears faint due to the existing printed design on the paper.
▶ watch this step (18:30)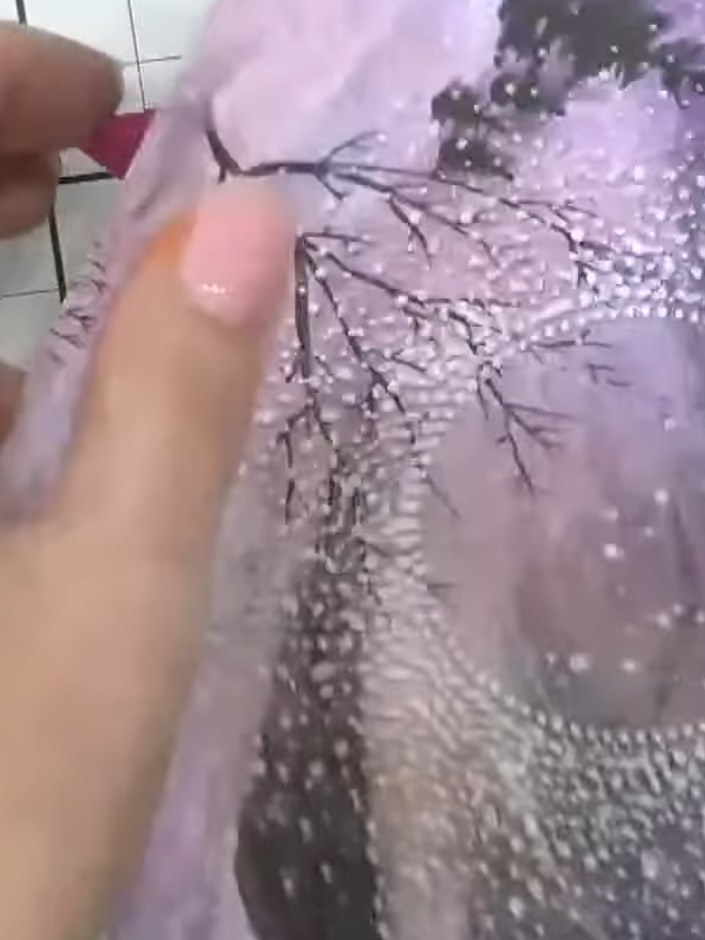
Tap a white ink pad gently over the embossed surface to highlight all the raised snowflakes, dots and tree branches. This will make the embossed design stand out against the purple and grey watercolour background.
▶ watch this step (19:00)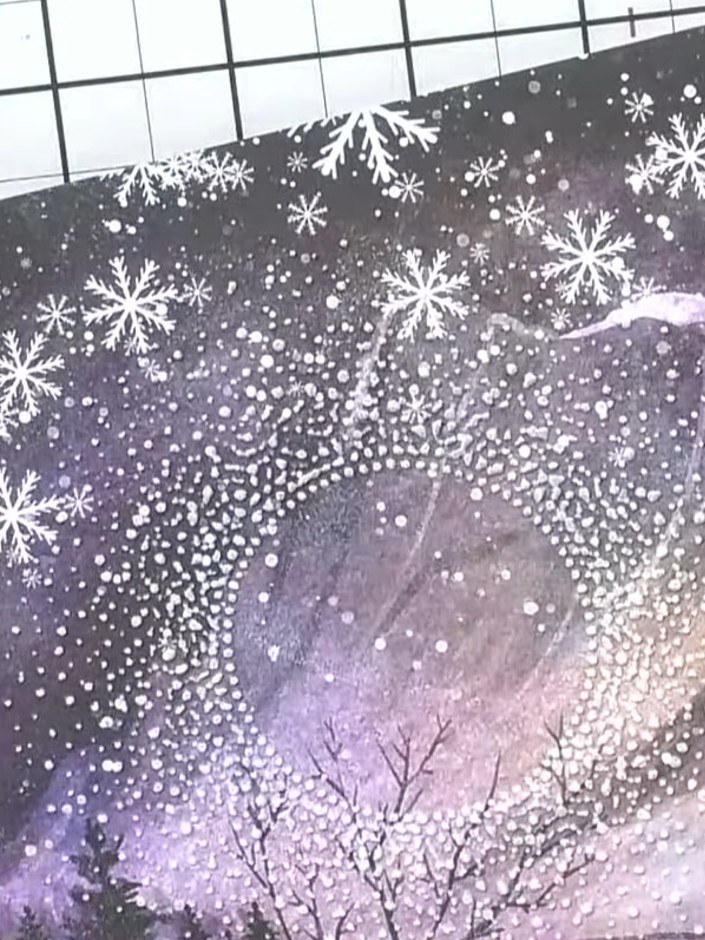
Using a small brush, blend white ink around the edges of the circular area to create a soft vignette effect. This will draw the eye towards the centre of the design and add depth to the snowy scene.
▶ watch this step (19:15)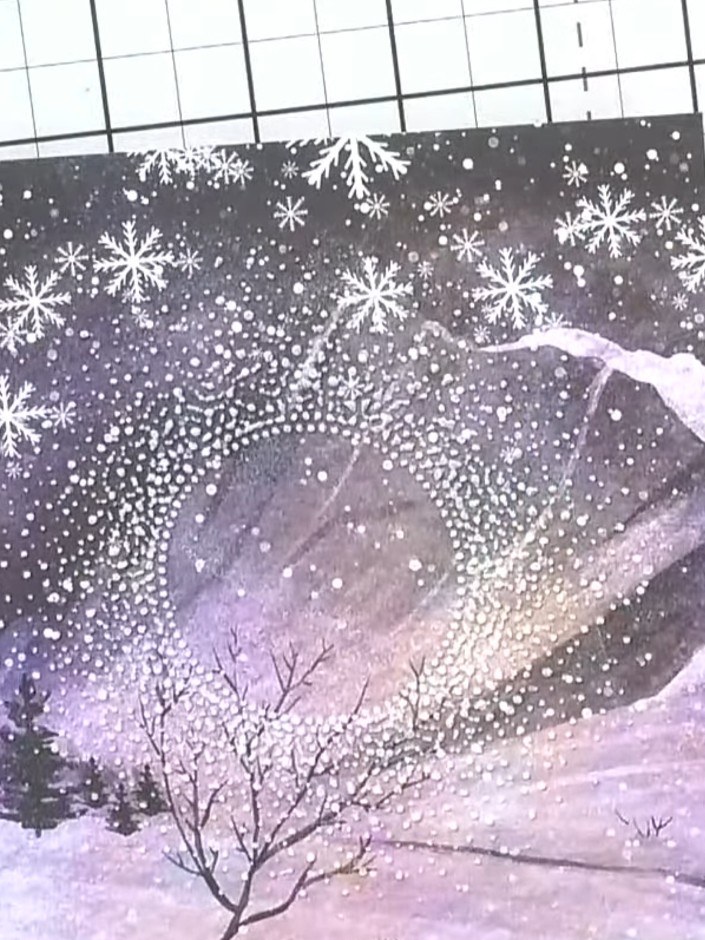
Mount the finished embossed winter scene onto a card base. Add a sentiment to complete your card.
▶ watch this step (19:30)Written up from the show itself. See every guide from our shows · free how-to guides · watch live on My Telly