Give your friends $10 off their first order!
Refer a FRIEND








Prices change straight away. Every language is our own translation, not Google.
A project from our live show HOBBYMAKER TV - Join Toni for her brand new launch - Broadcast 9th December 2025 · 12/09/2025 · watch it from 51:00
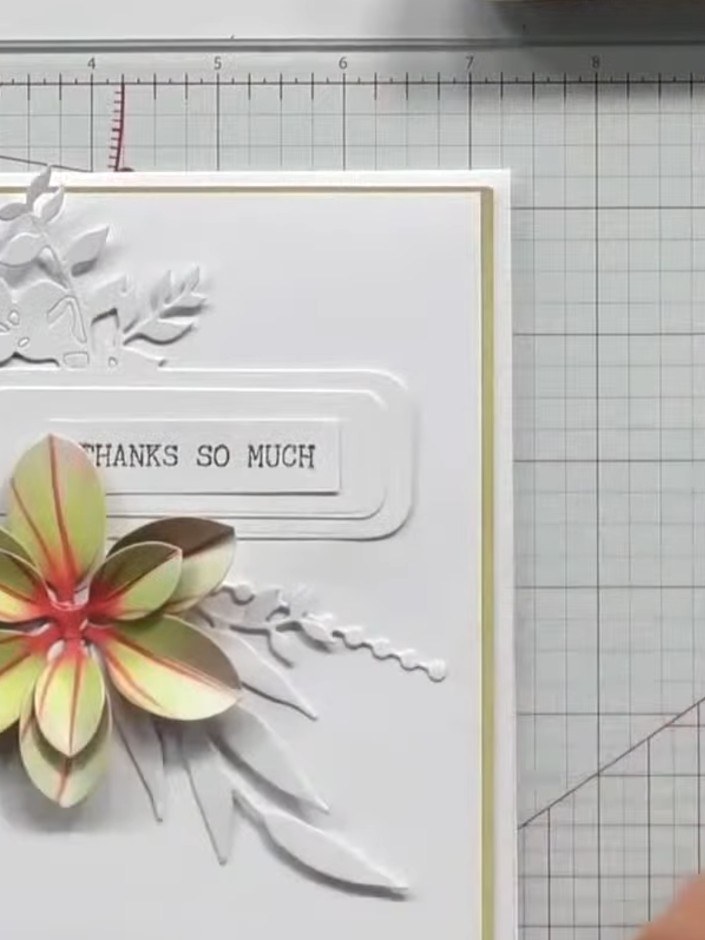
Create a simple yet elegant gift tag or card using a pre-painted mount as your base. This sophisticated design features a white card with a gold border, perfect for adding a sentiment and optional embellishments. The minimal effort required makes this an ideal project for quick, professional-looking gift tags.
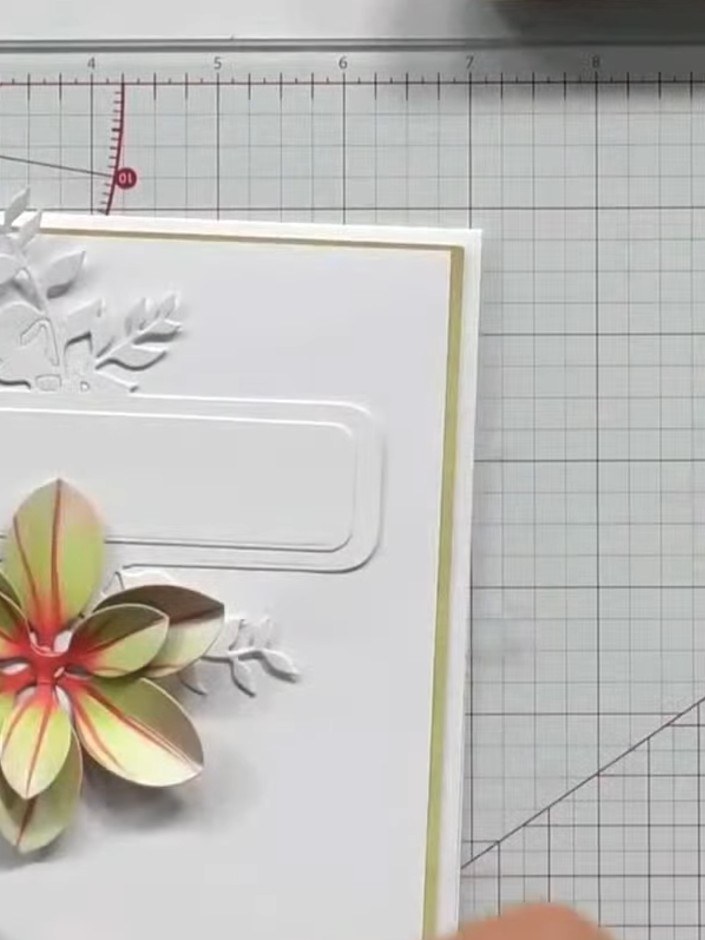
Select a pre-painted mount from the Stamps By Me Vintage Frames Paper Bundle. The mount features an embossed floral design in white.
▶ watch this step (51:15)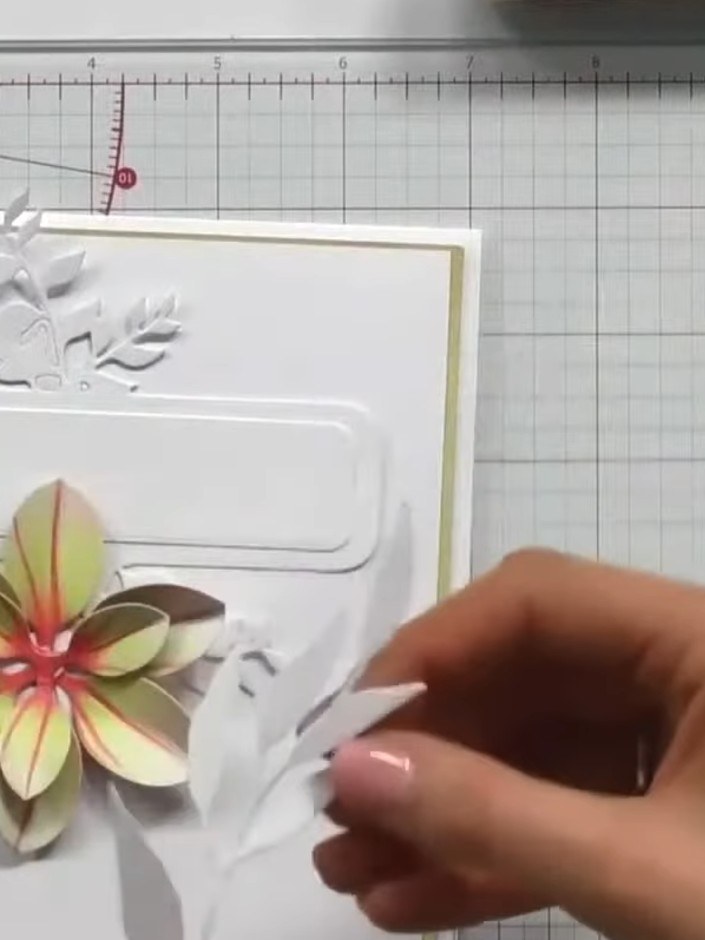
Stamp or write your chosen sentiment onto the white rectangular mount panel on the card front. Position it centrally within the frame, leaving space for the decorative flower element.
▶ watch this step (51:30)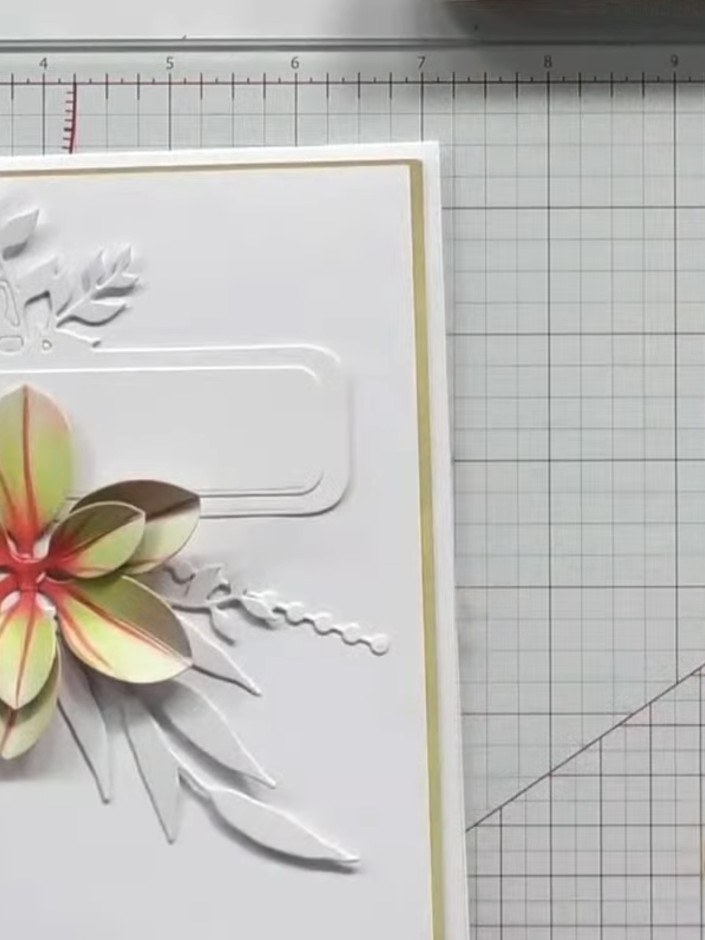
If desired, add a small decorative bow or embellishment to the corner of the white rounded rectangle mount for extra detail.
▶ watch this step (51:45)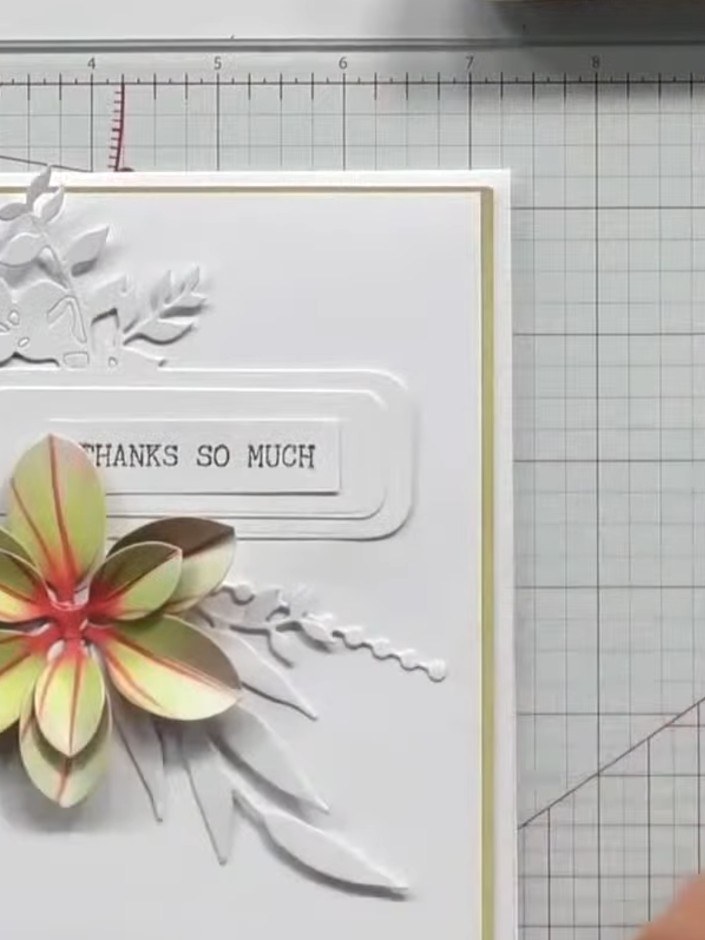
Attach the completed layered flower mount to your card blank using foam pads or adhesive. The mount can be used on a card front or as a standalone gift tag.
▶ watch this step (52:00)Written up from the show itself. See every guide from our shows · free how-to guides · watch live on My Telly



