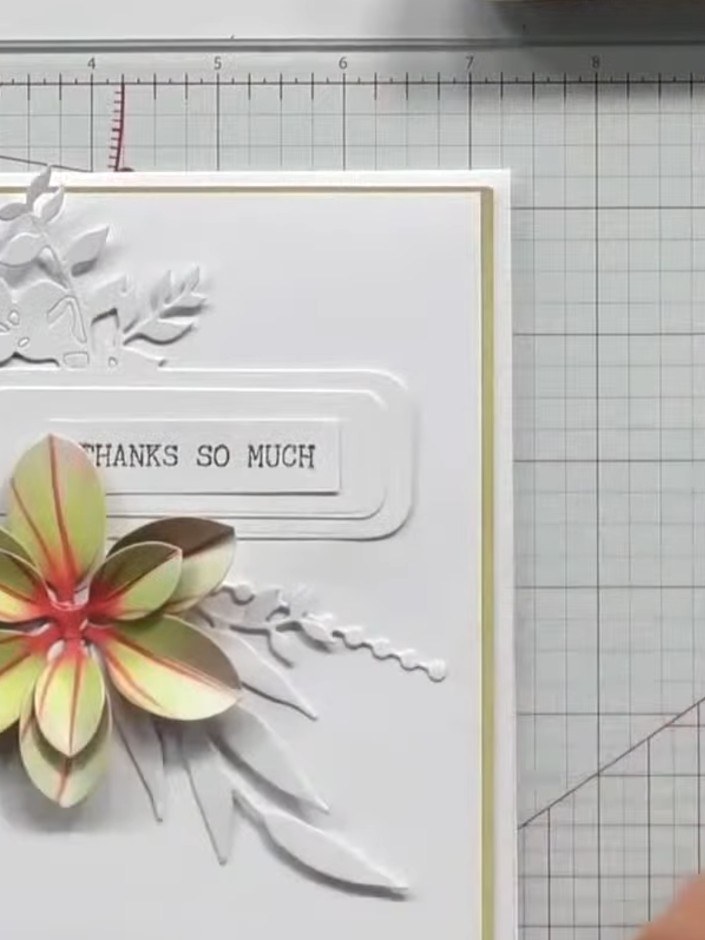
Give your friends $10 off their first order!
Refer a FRIEND








Prices change straight away. Every language is our own translation, not Google.
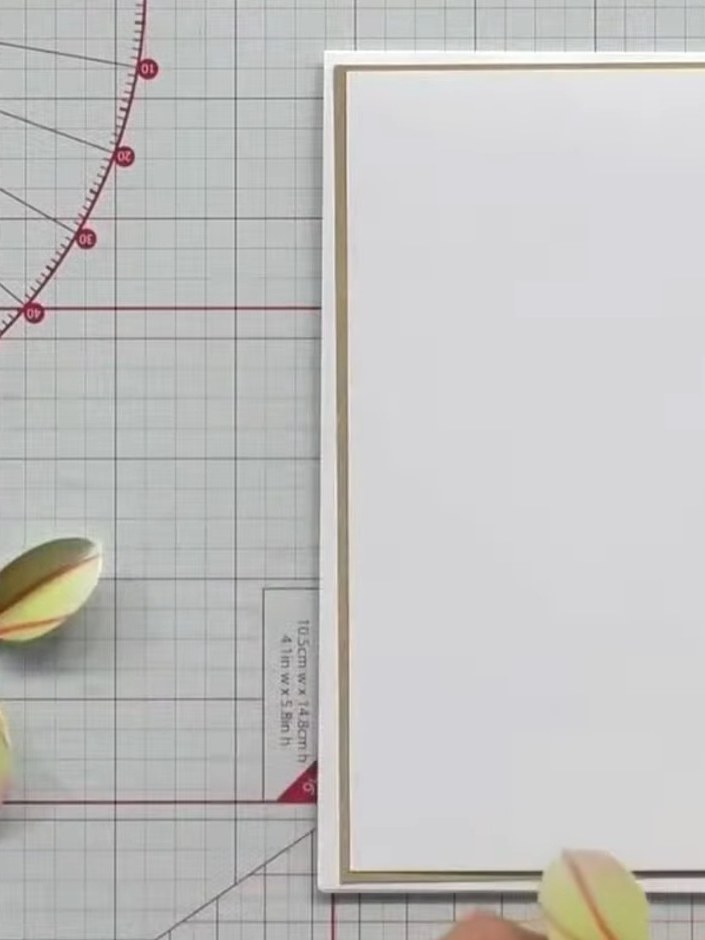
A project from our live show HOBBYMAKER TV - Join Toni for her brand new launch - Broadcast 9th December 2025 · 12/09/2025
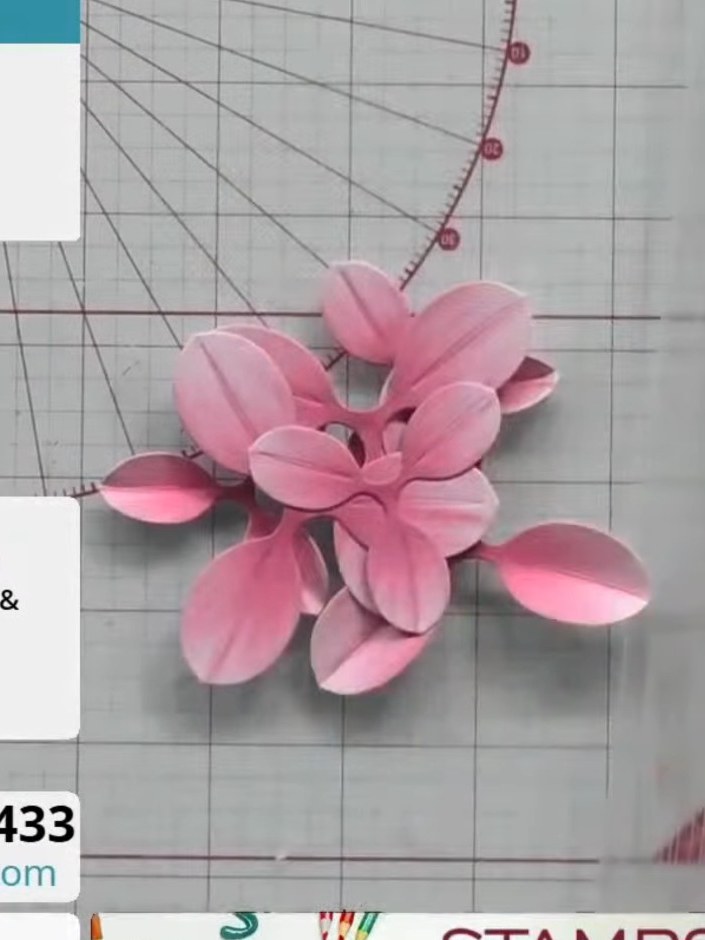
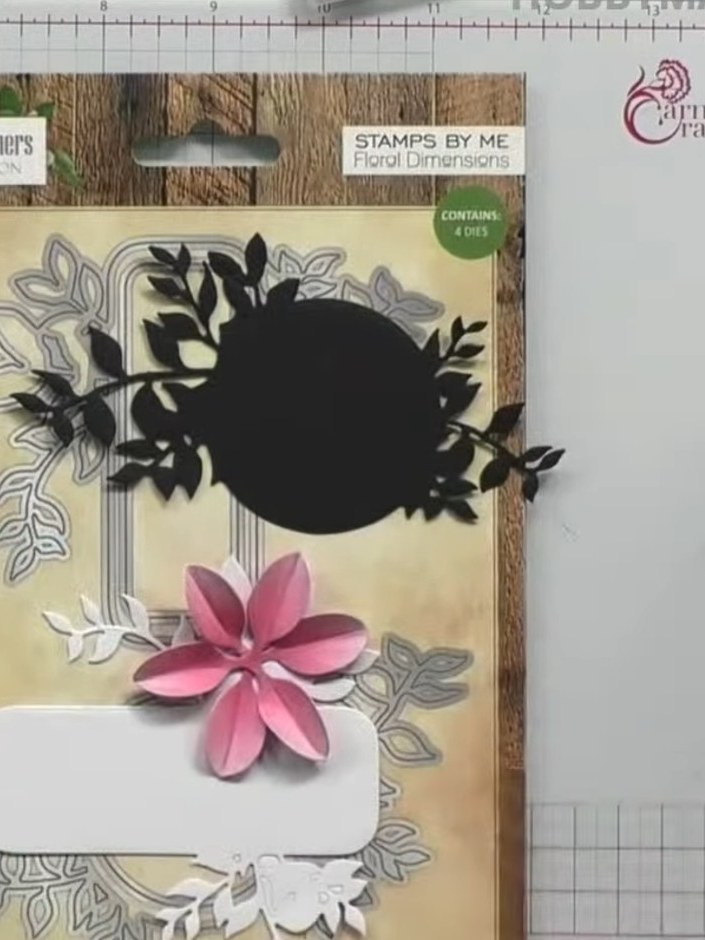
Create an elegant card featuring a graceful foliage banner with soft curves and delicate filler elements. The design showcases a beautiful paper flower in warm coral and green tones, positioned on a white card base with a subtle gold border. This project combines die-cutting techniques with stamping to create a luxurious handmade greeting card perfect for any special occasion.
 1
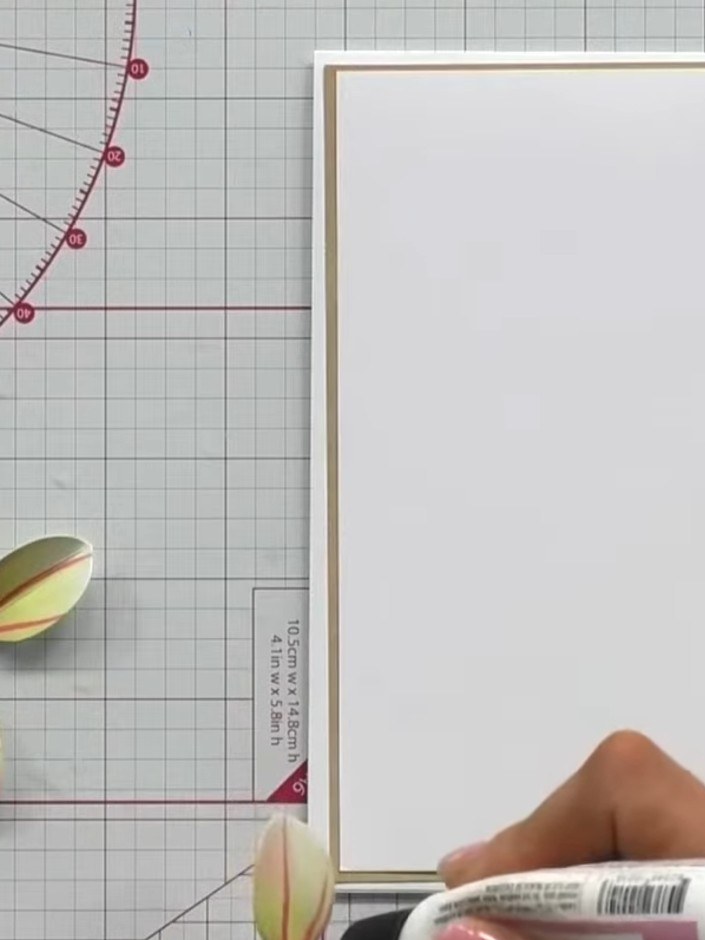
Stamp a sentiment onto the white card base using a black ink pad. Position the sentiment in your desired location on the card front.
 2
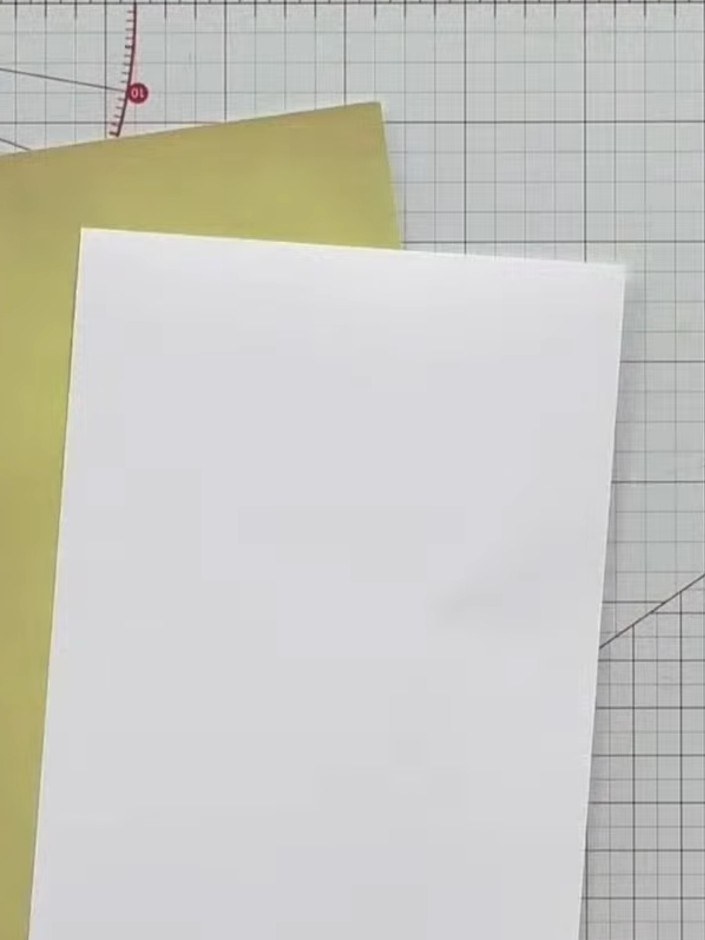
Select a white card blank as your base. Layer a piece of yellow pattern paper and a white panel on top to create your card background.
 3
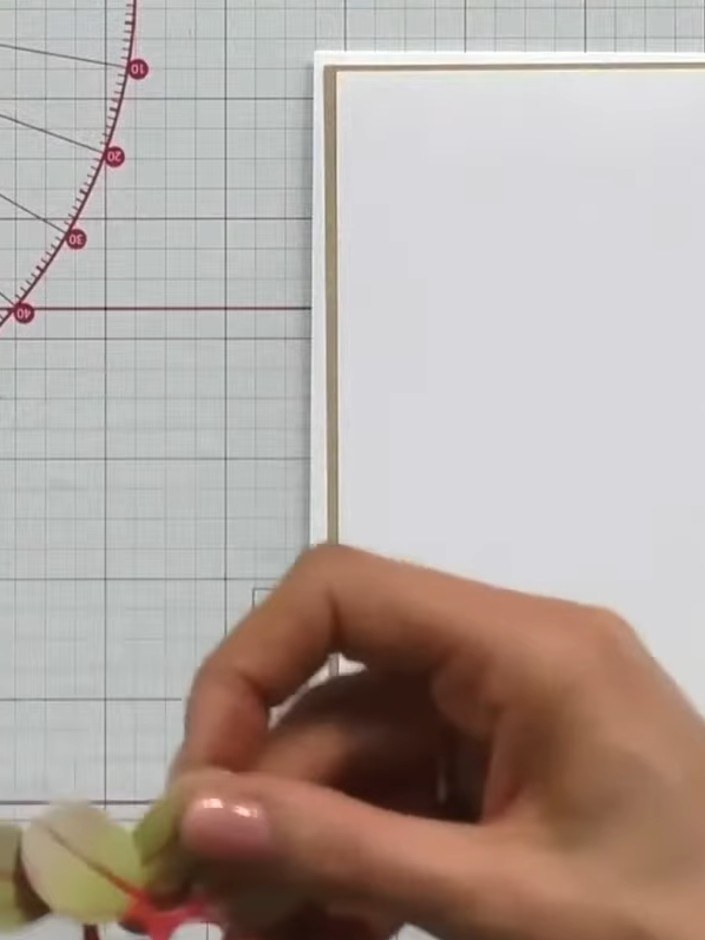
Position the foliage banner die onto white or coloured card stock, ready for die-cutting.
 4
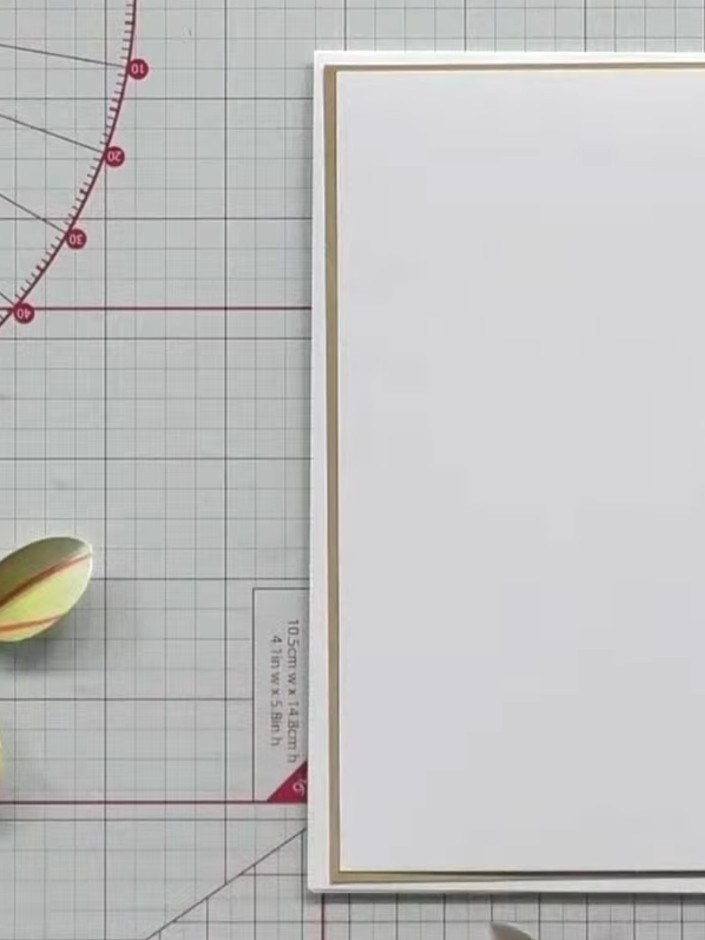
Run the die and card stock through your die-cutting machine to cut the banner shape. Use white card stock for the banner base.
 5
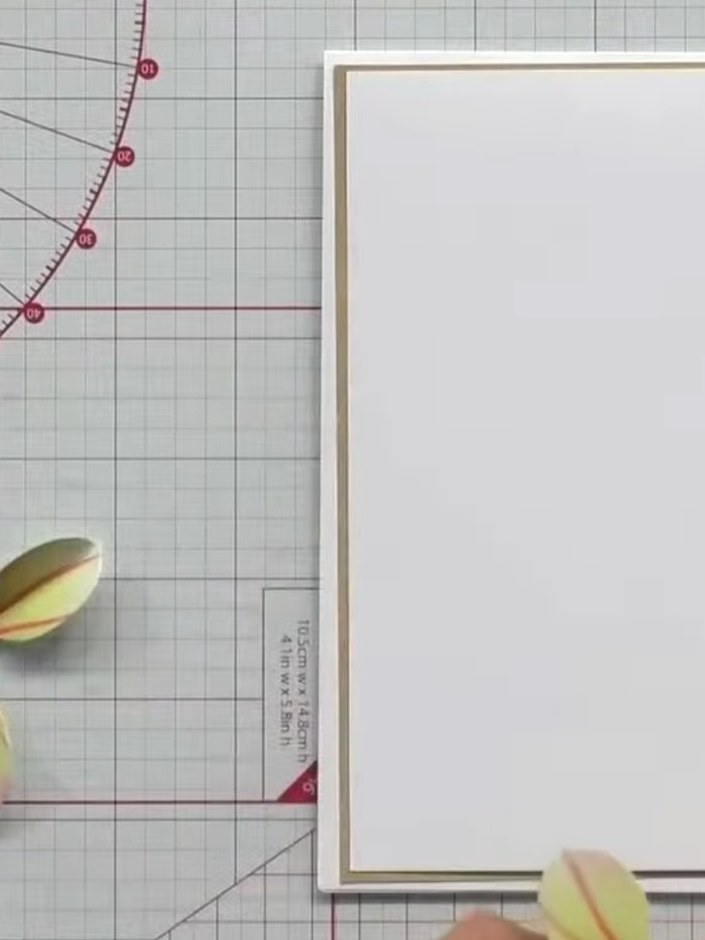
Pop out the banner piece from the die-cut foliage. Separate the small circle centre piece from the banner, leaving the four petals attached to form a decorative element. Optionally, cut a circle from contrasting cardstock in silver, gold, or an alternative shade to create a plaque effect for the centre of your banner.
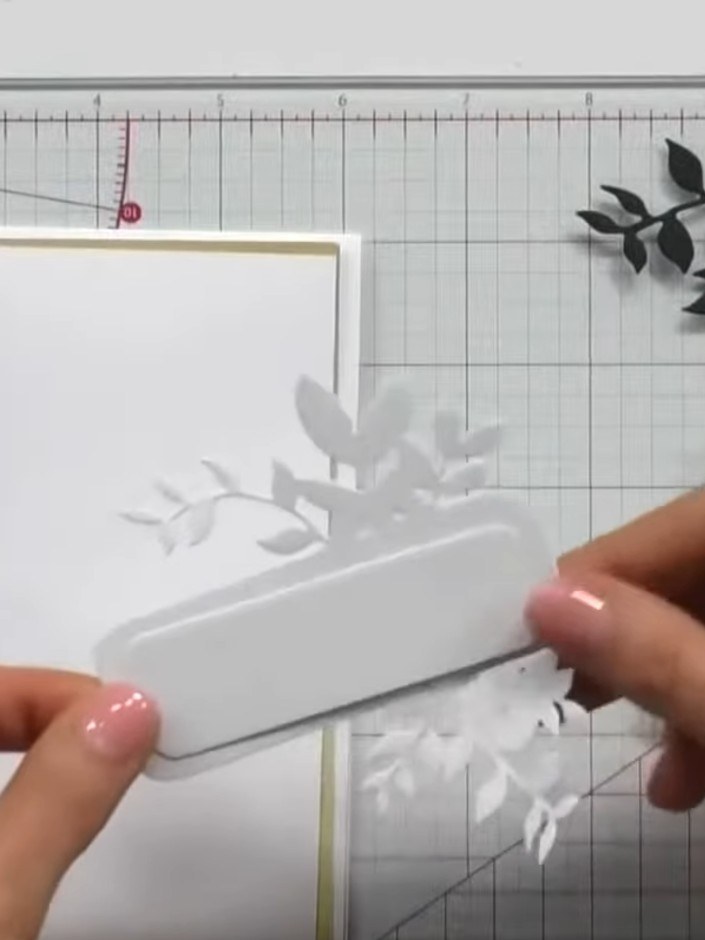 6
Stamp a design onto the white circle centre piece using white ink for an elegant tone-on-tone effect. The white-on-white stamping creates a subtle, sophisticated look.
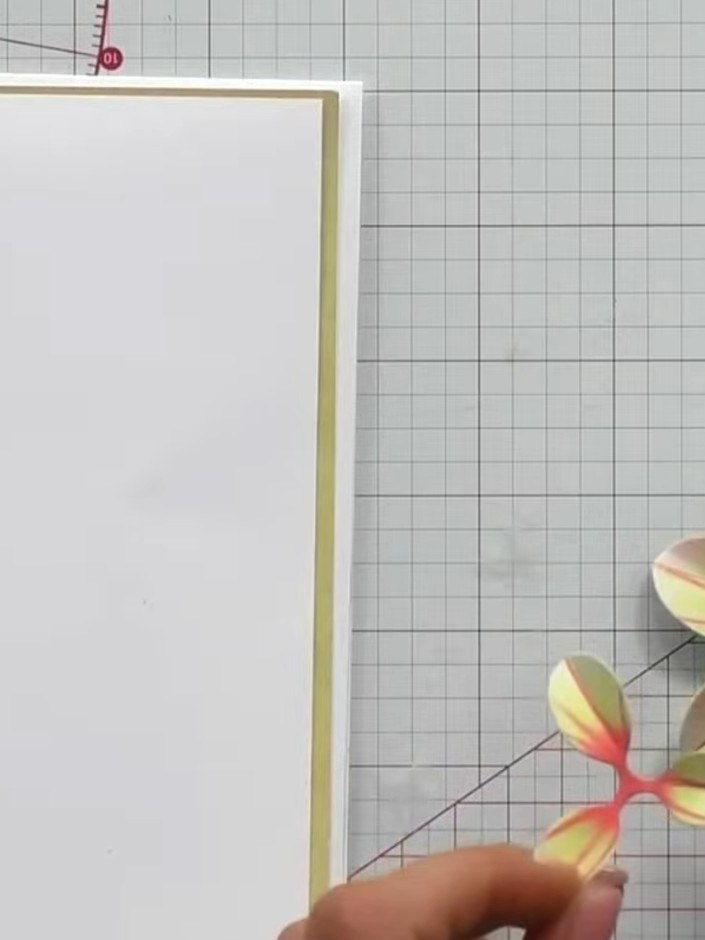 7
Apply dry clear glue to the back of the foliage banner. Position and adhere the banner onto the white card base with the gold border, placing it diagonally as shown.
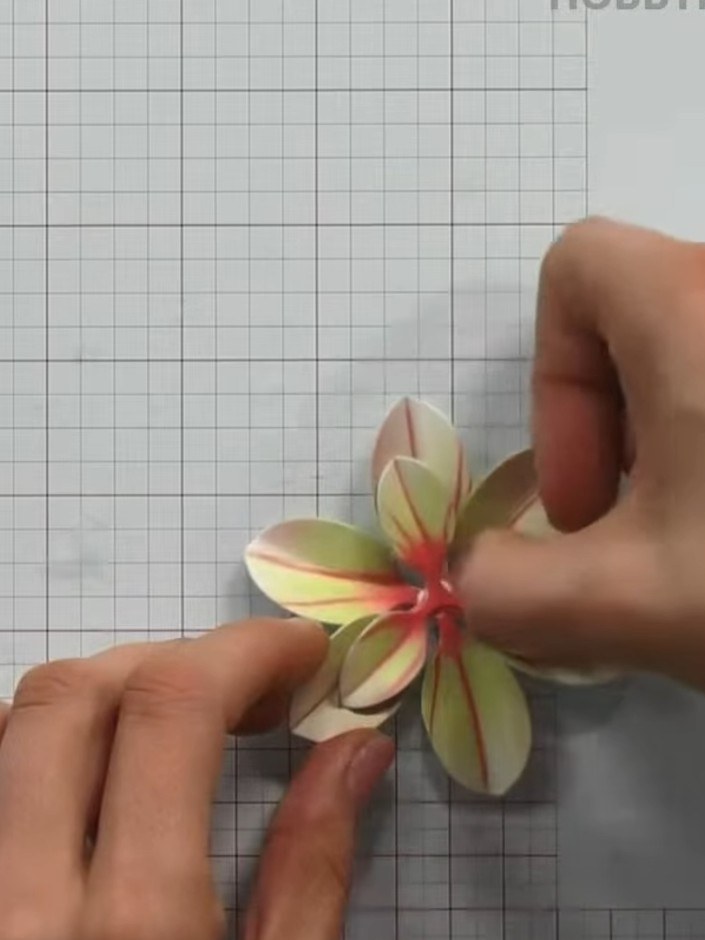 8
Glue the layered foliage circle piece into the centre opening of the banner card, positioning it carefully to fill the aperture.
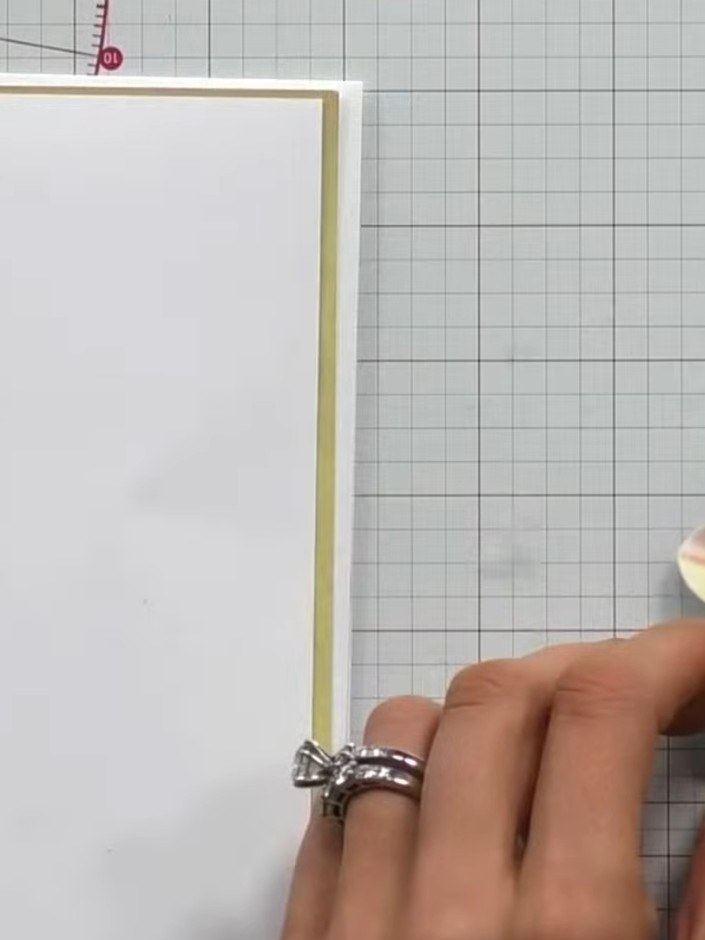 9
Add embellishments such as gems or additional decorative elements to complete your foliage banner card. Position them where desired to enhance the overall design.
Share your make with the Stamps By Me community - and keep this guide for next time.
Written up from the show itself. See every guide from our shows · free how-to guides · watch live on My Telly · the previous layout