Give your friends $10 off their first order!
Refer a FRIEND








Prices change straight away. Every language is our own translation, not Google.
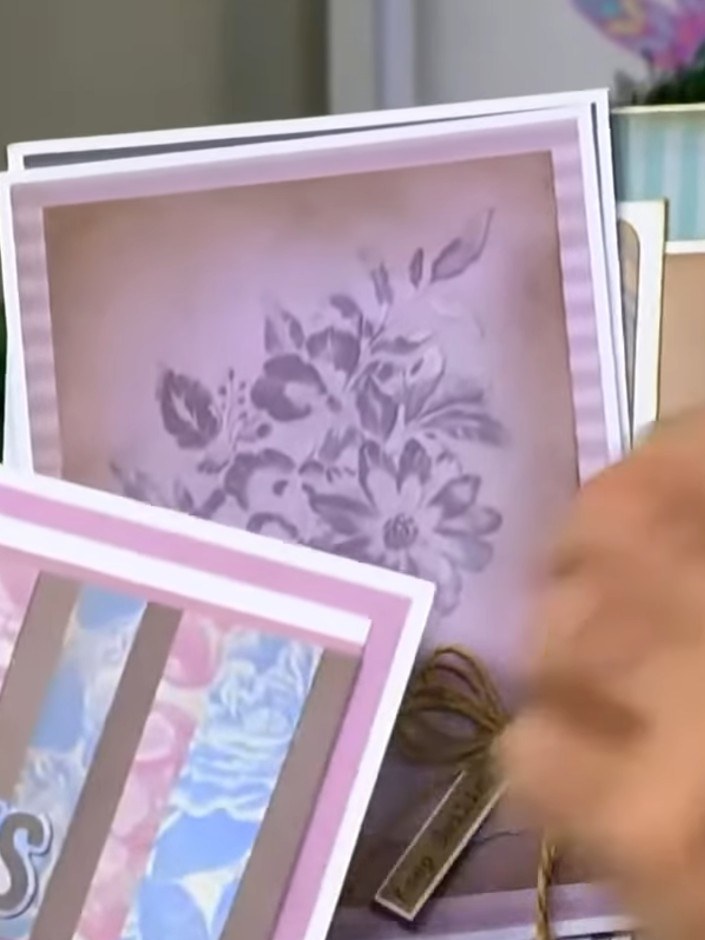
A project from our live show HOBBYMAKER TV - Join Toni for her brand new launch - Broadcast 9th December 2025 · 12/09/2025
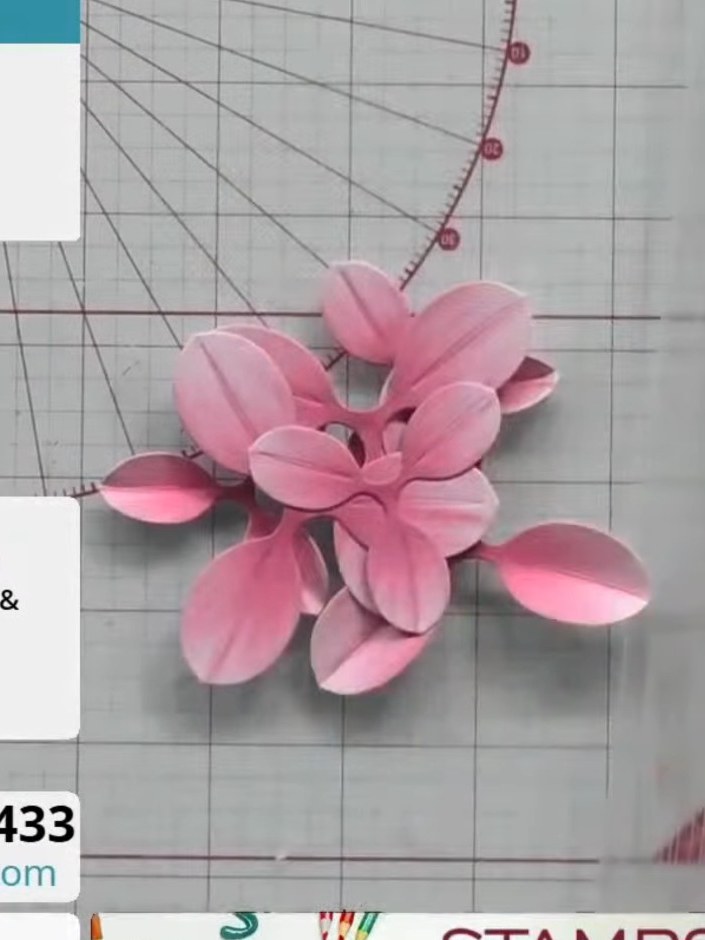
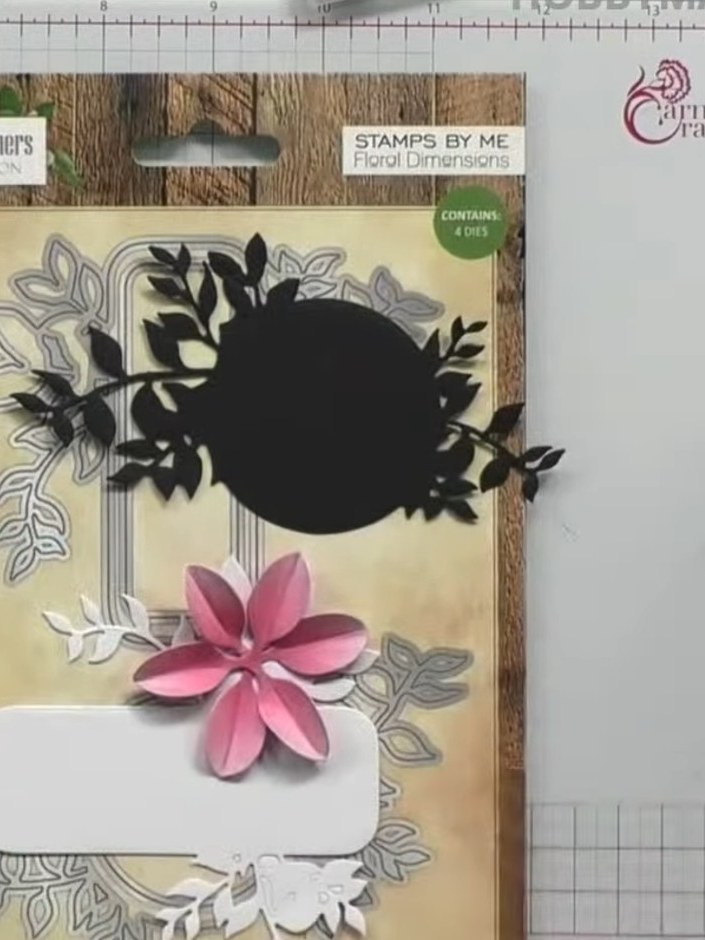
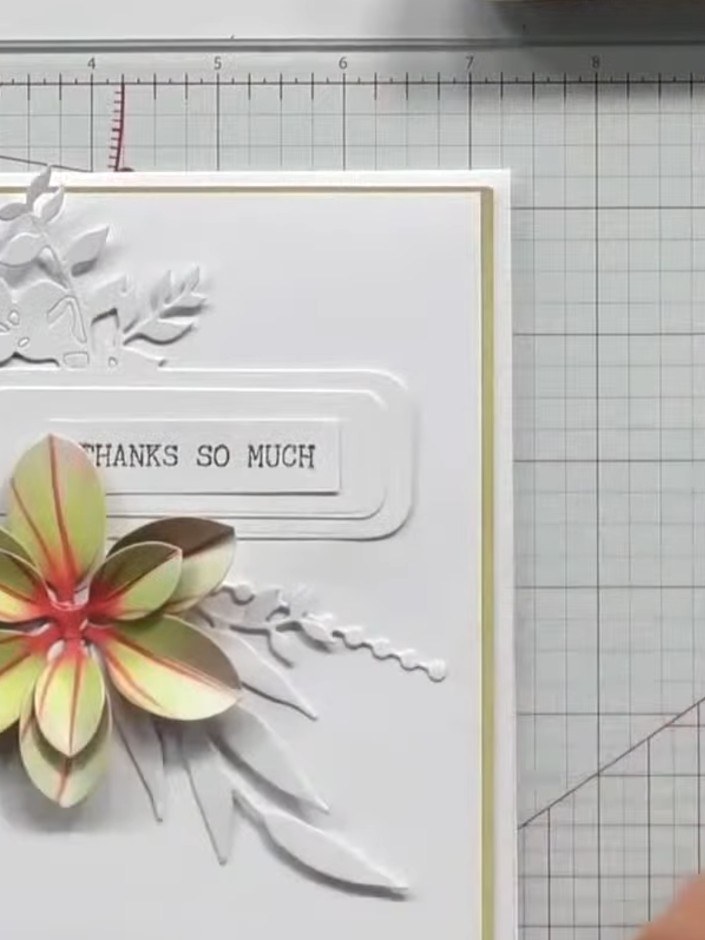
Create a stunning 3D chrysanthemum flower card using pre-shaded die-cut petals in soft pink and cream tones on a kraft background. The flowers are double-sided with shading on both front and back, allowing you to build dimensional blooms quickly and easily without any colouring required. This elegant floral design combines layering and dimensional techniques to create a beautiful handmade card.
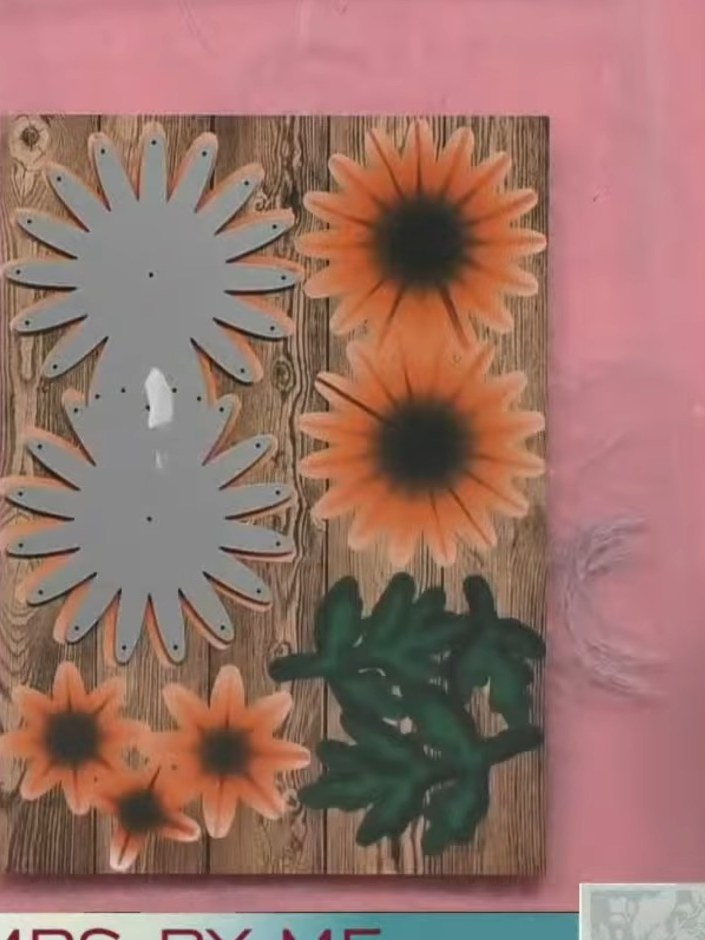
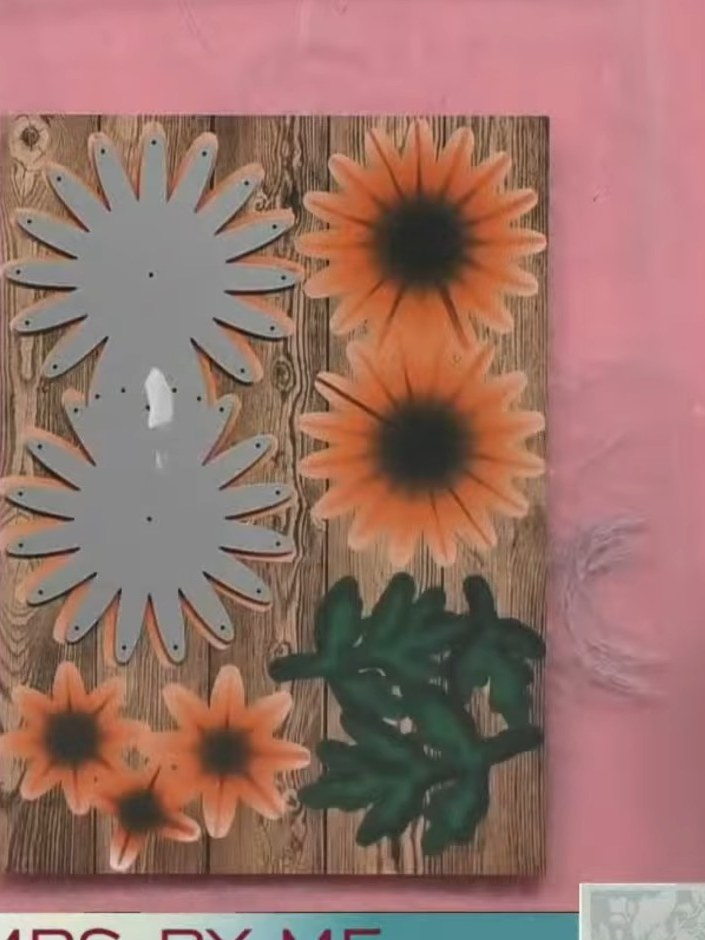 1
Position the grey die-cut flower shape onto the pre-printed wood-effect card with orange chrysanthemum flowers, ensuring the die aligns properly with the printed design.
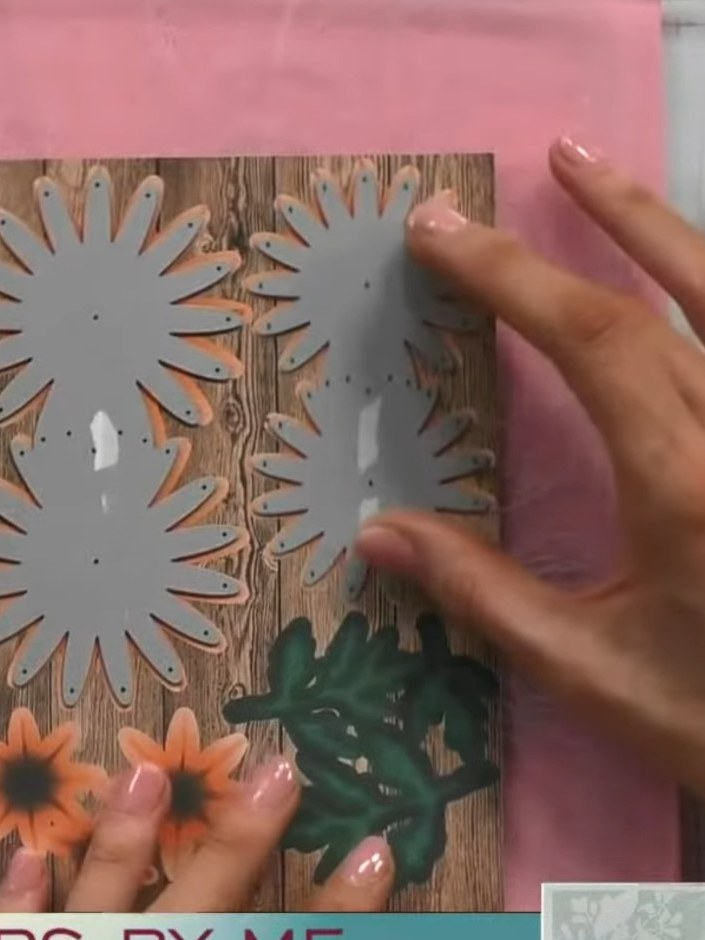 2
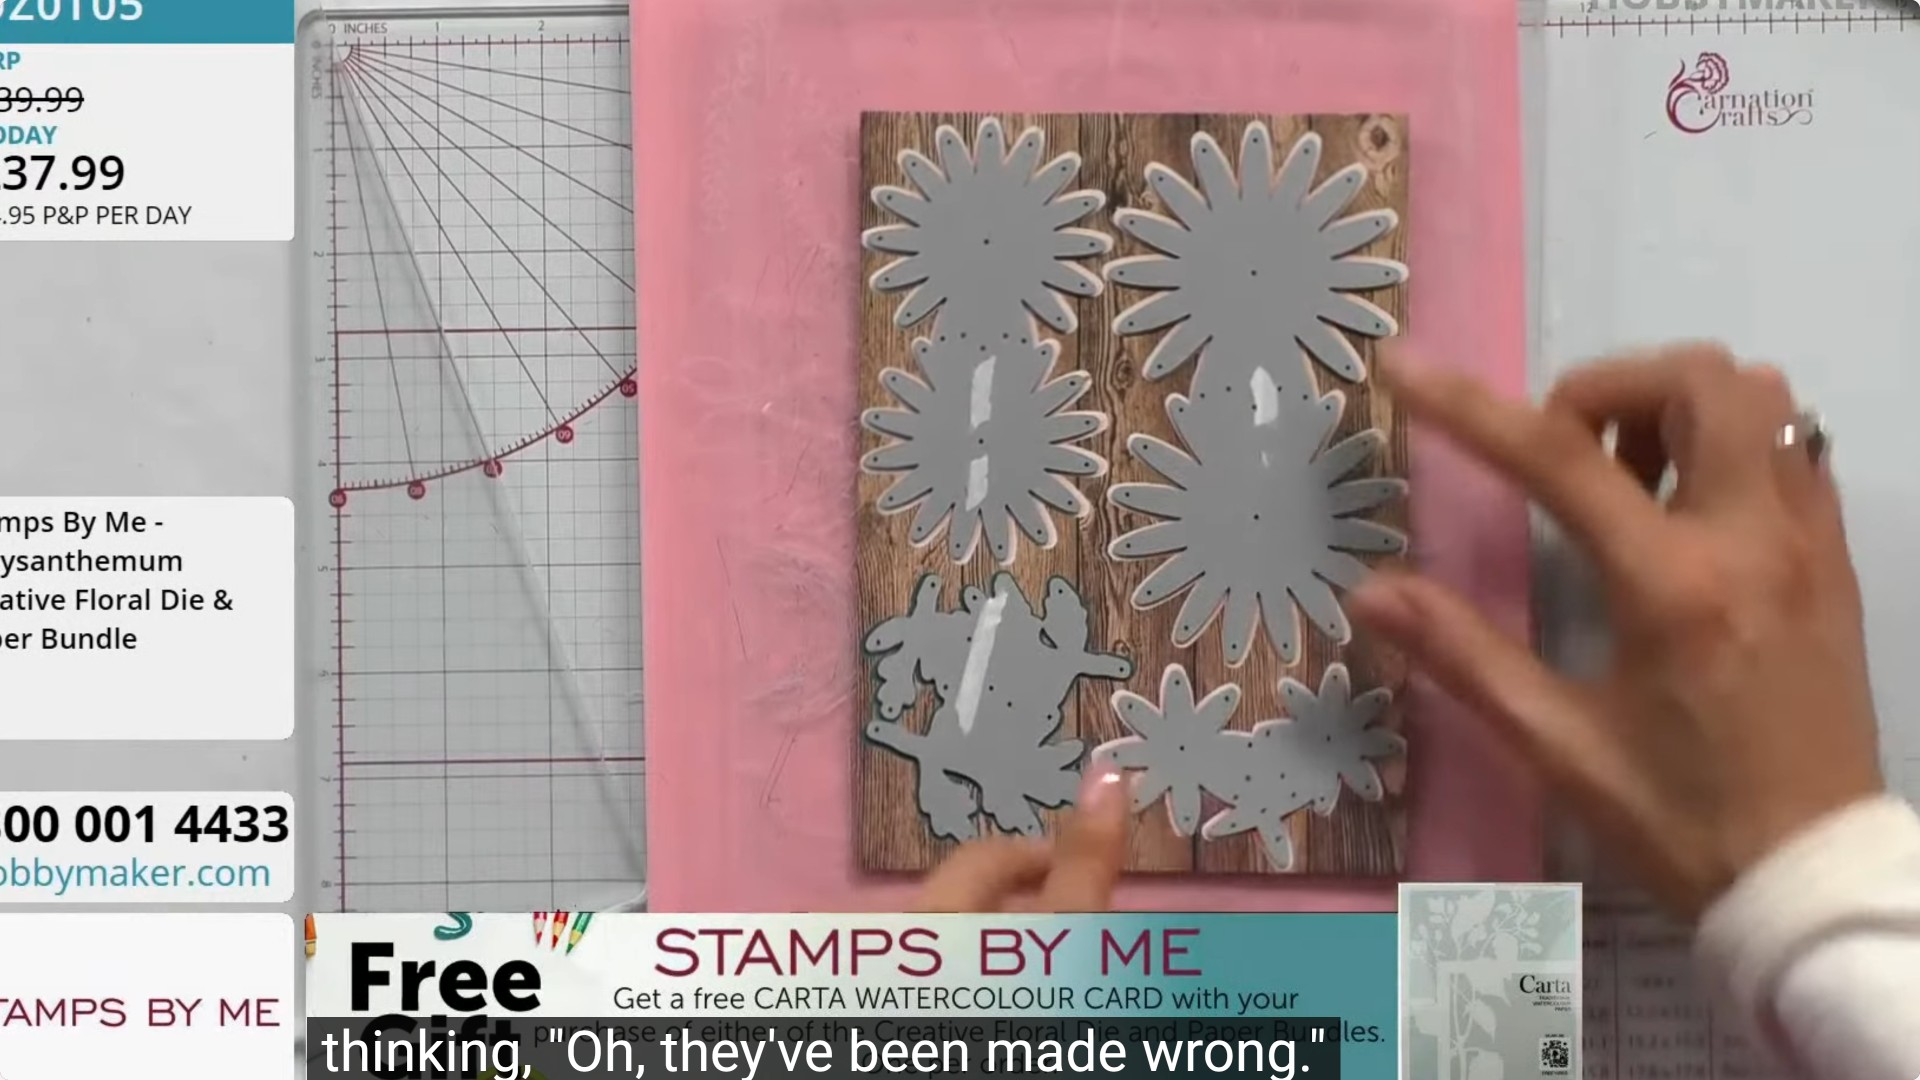
Position the die-cut chrysanthemum pieces on the wood-effect card base. If the die doesn't align properly, flip the card stock over to use the reverse side, as the dies are double-sided but not symmetrical.
 3
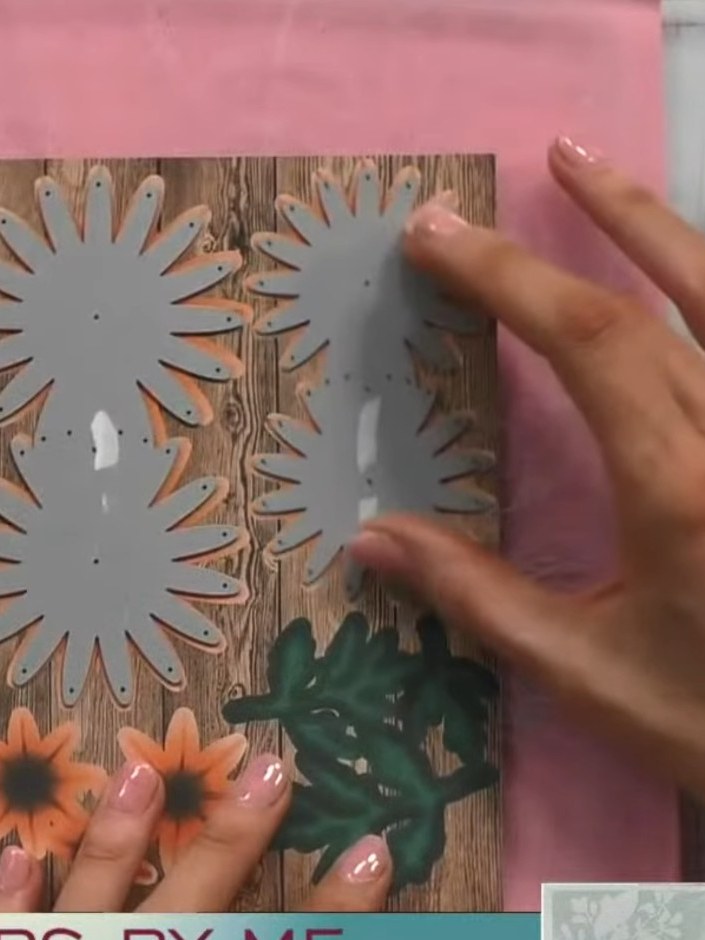
Run the die and card stock through your die-cutting machine. The grey die-cut flower shapes will be released from the woodgrain patterned card stock, along with the orange and green decorative elements.
 4
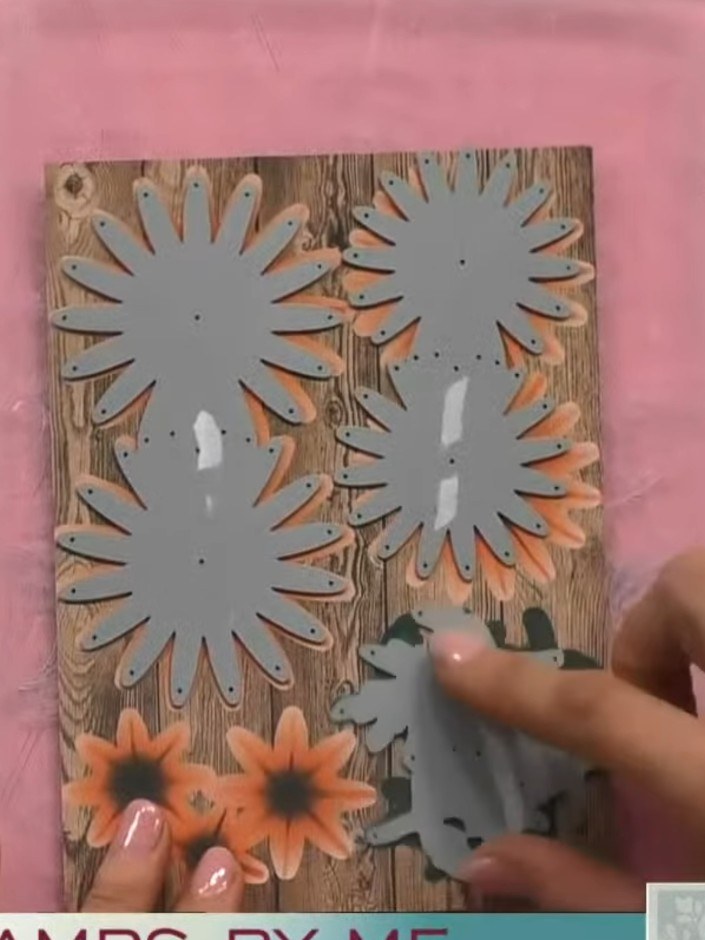
Pop out the cut flower pieces from the die-cut card using a pokey tool. Carefully remove the grey chrysanthemum shapes and the smaller orange and white flower pieces from the backing.
 5
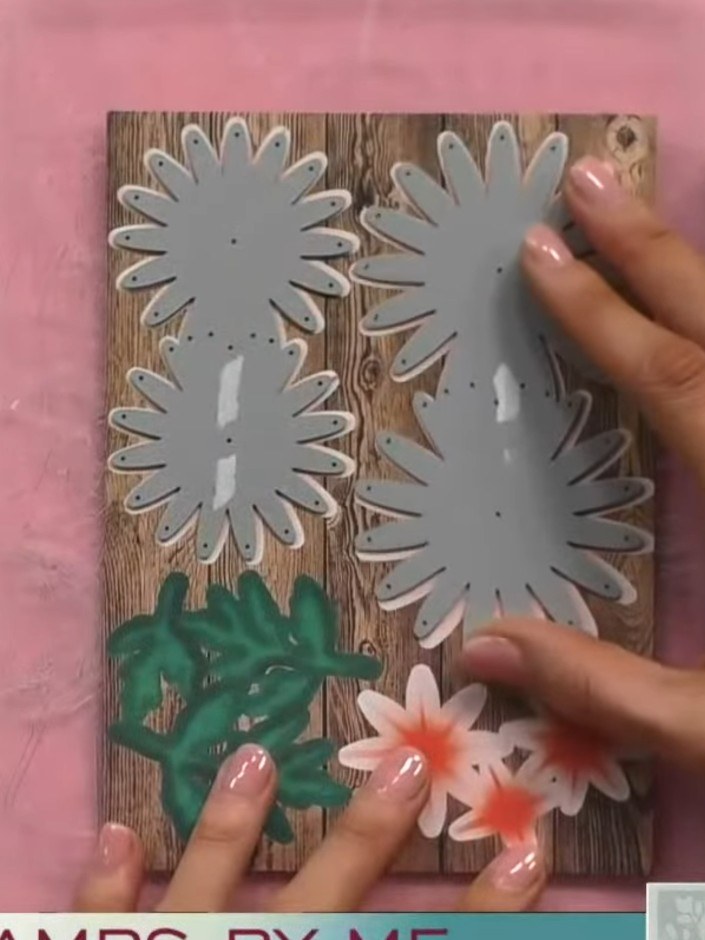
Select die-cut chrysanthemum pieces in different sizes. Layer them together on your card, choosing either the light or dark shaded side as desired. Position the green foliage pieces at the bottom with the flowers above.
 6
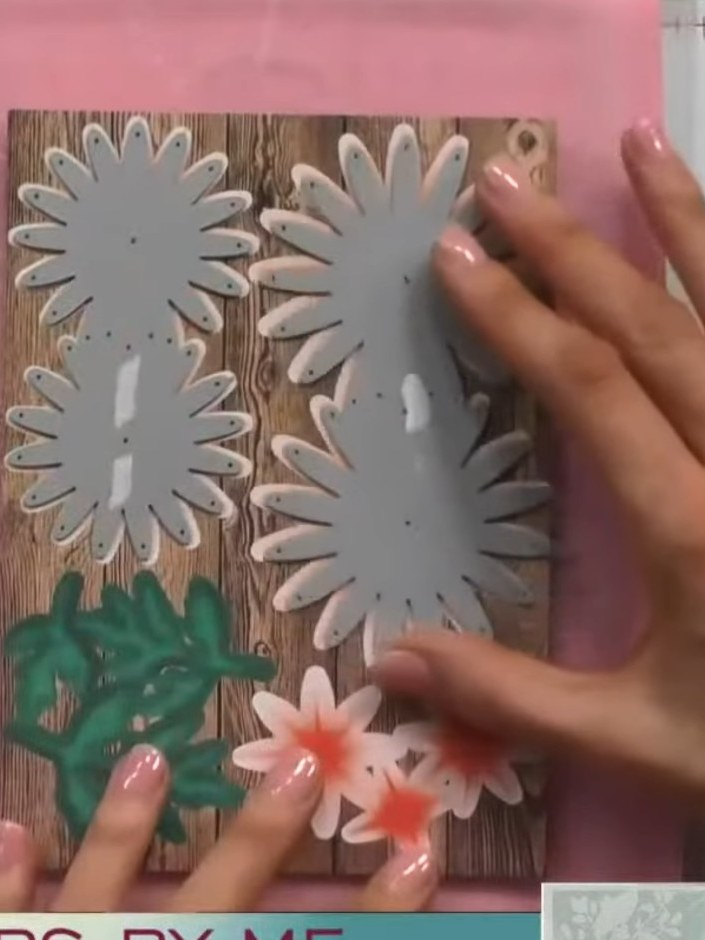
Layer the die-cut chrysanthemum flowers together using dry clear glue, building up dimension by stacking the grey petals on the wood-effect background. Add the green foliage layer and smaller flower elements to create a 3D floral arrangement.
 7
If desired, gently shape the petals with your fingers or use ball tools to create a more dimensional effect on your chrysanthemum flowers.
Share your make with the Stamps By Me community - and keep this guide for next time.
Written up from the show itself. See every guide from our shows · free how-to guides · watch live on My Telly · the previous layout