Give your friends $10 off their first order!
Refer a FRIEND








A project from our live show ONE DAY SPECIAL - Join Toni for brand new launch - Broadcast 22nd November 24 · 11/22/2024 · watch it from 38:45
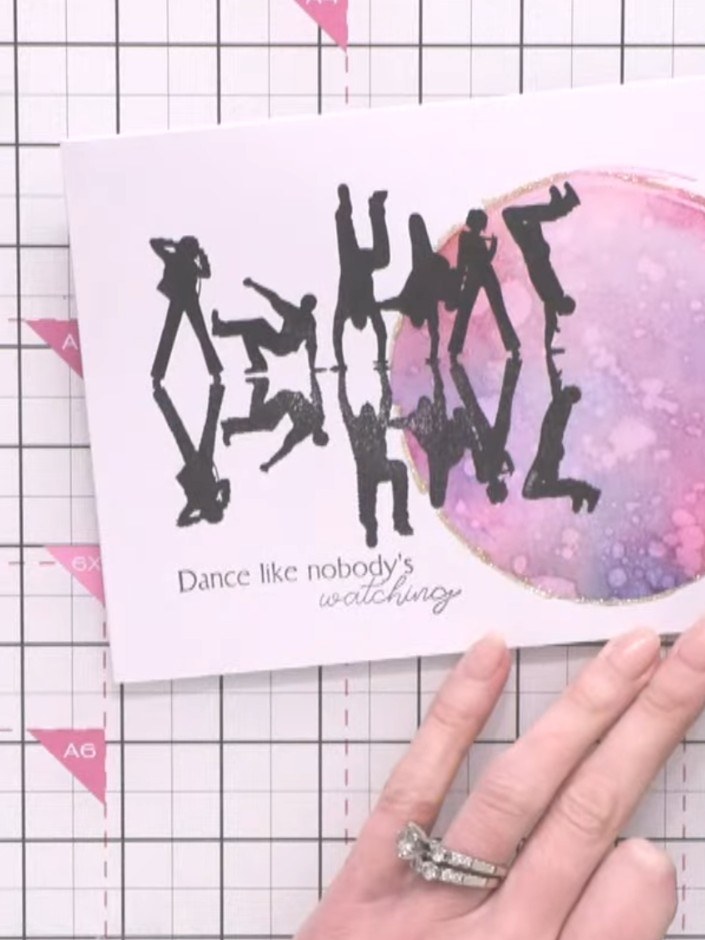
Create a vibrant landscape-oriented birthday card featuring a watercolour circle stencil background in soft pinks and purples, with a striking dance crew silhouette stamp. This project uses water-blending techniques to achieve beautiful colour transitions, combined with bold stamped imagery for a dynamic, artistic finish. Perfect for celebrating someone who loves to dance and stand out from the crowd.
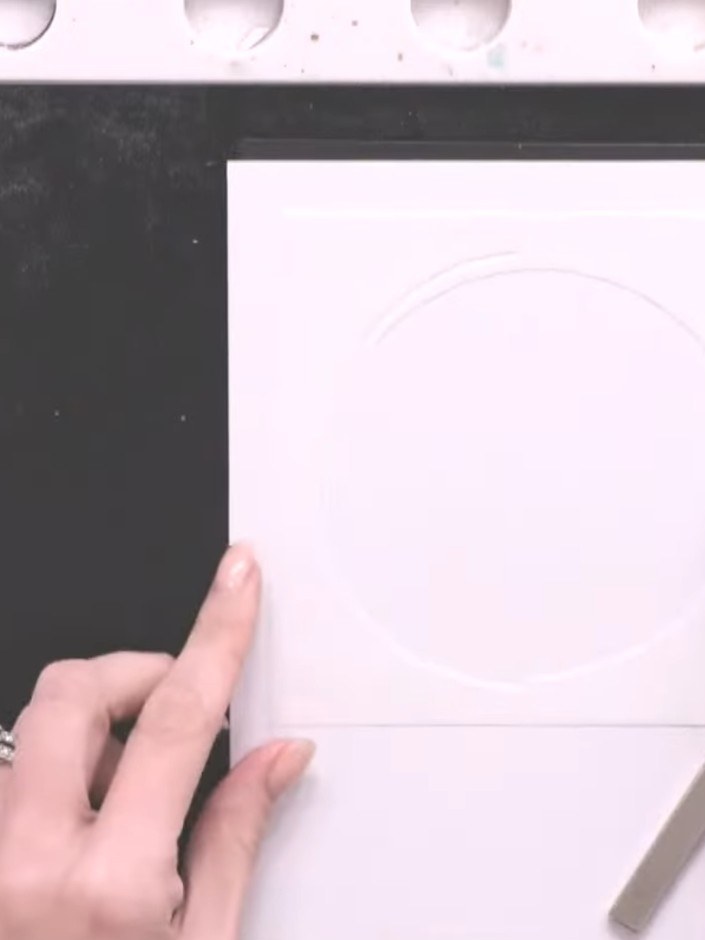
Take your card blank and position it in landscape orientation on your craft mat.
▶ watch this step (39:15)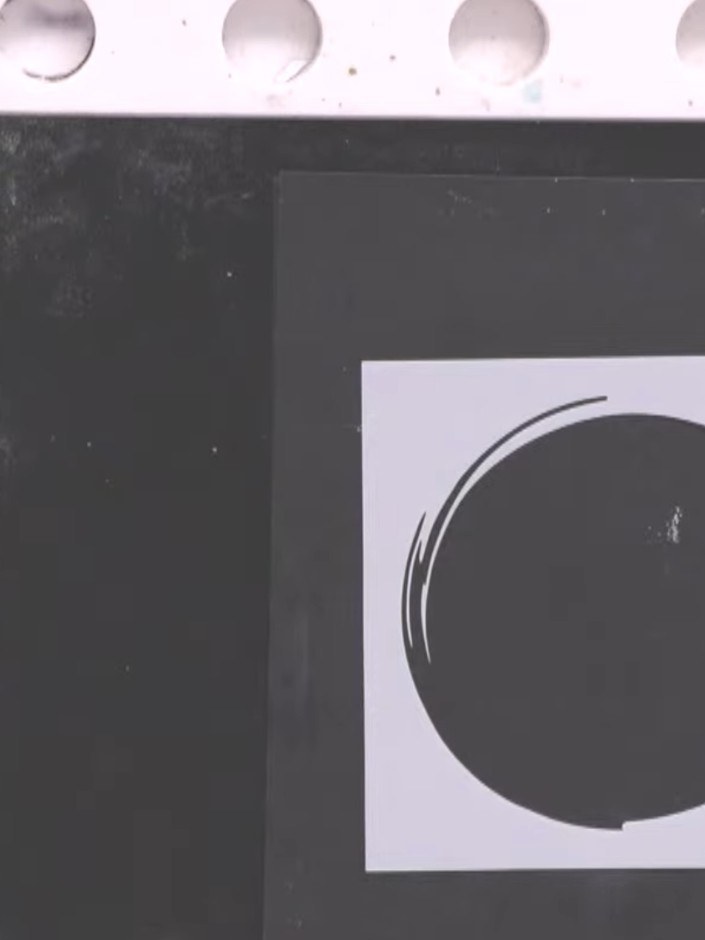
Position the circle stencil high up in the centre of the white card panel.
▶ watch this step (39:30)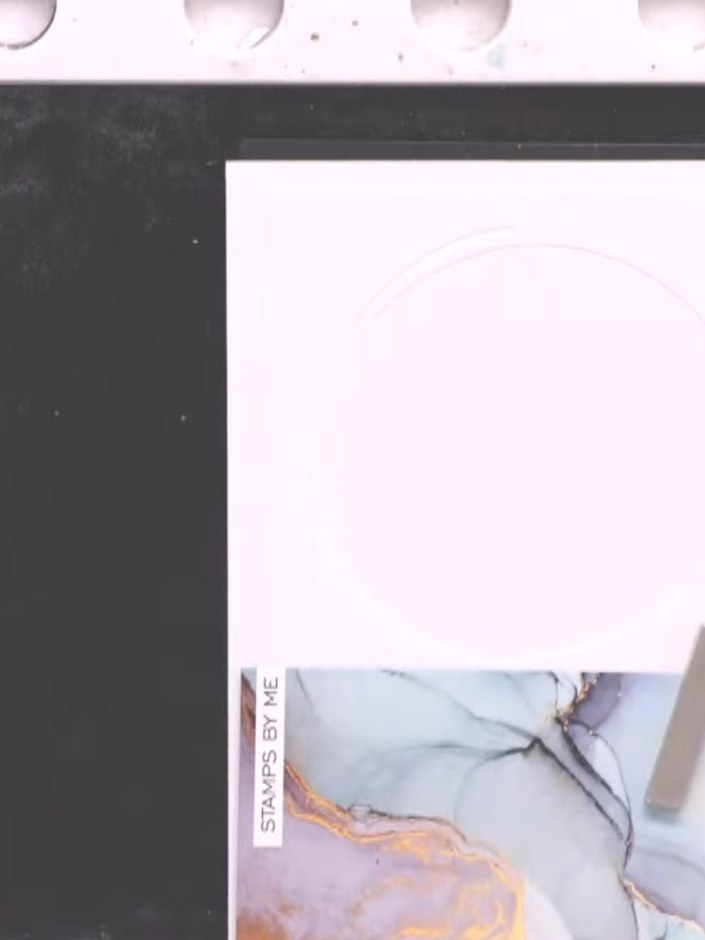
Place scrap paper at the bottom of your white card panel to protect it from ink spillage during stencilling.
▶ watch this step (39:45)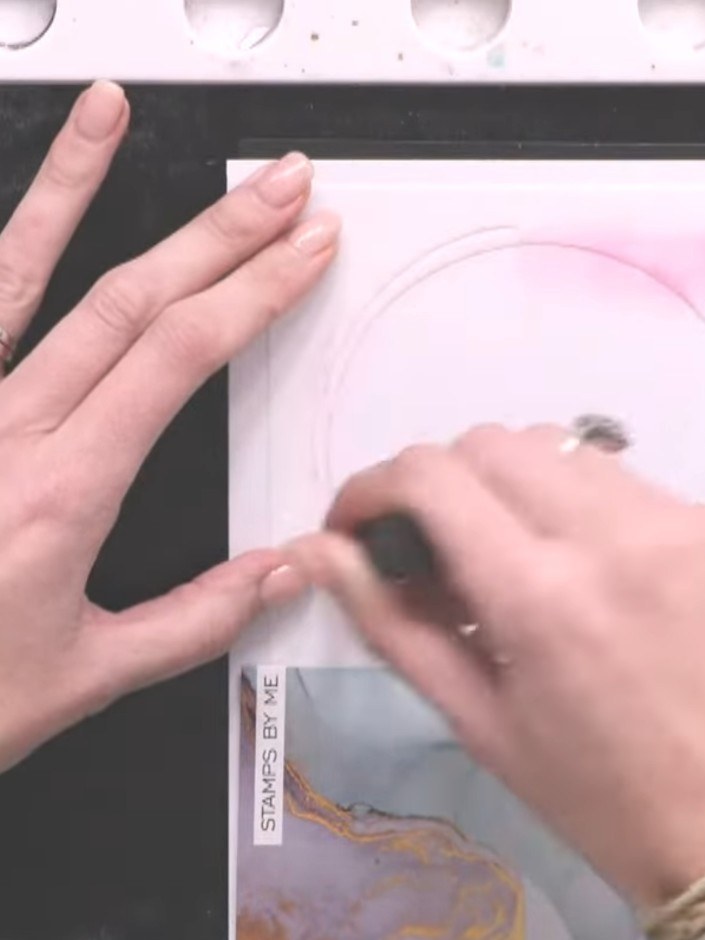
Apply pink ink to a blending brush and dab the colour inside the stylized circle stencil, following the design lines to build up the pink tones.
▶ watch this step (40:00)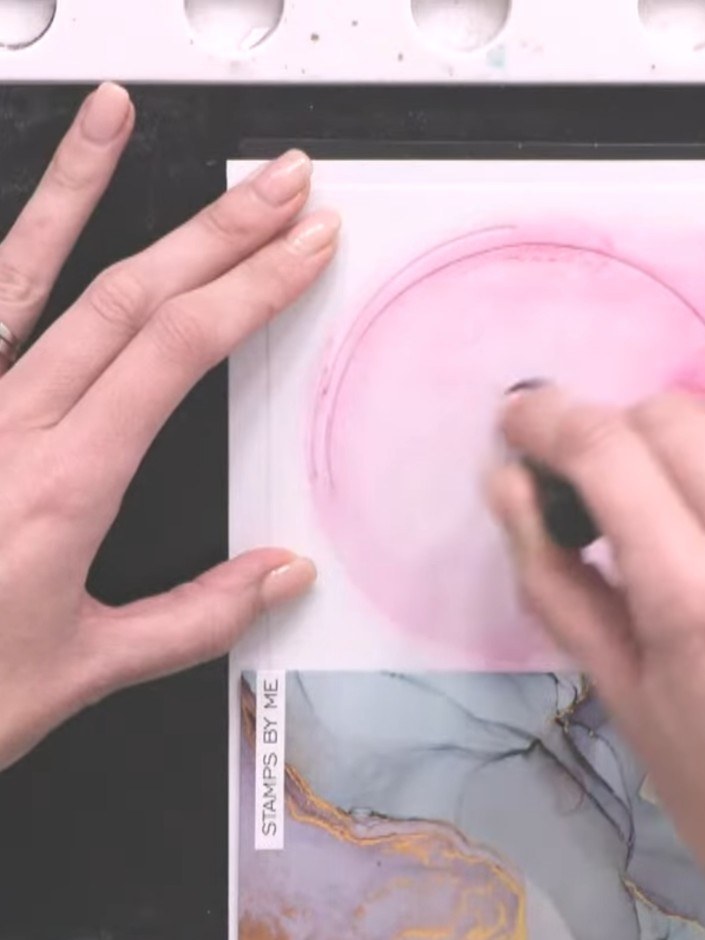
Add touches of orange ink through the circle stencil in some areas, not covering the entire design. Use a blending tool to apply the colour lightly.
▶ watch this step (40:30)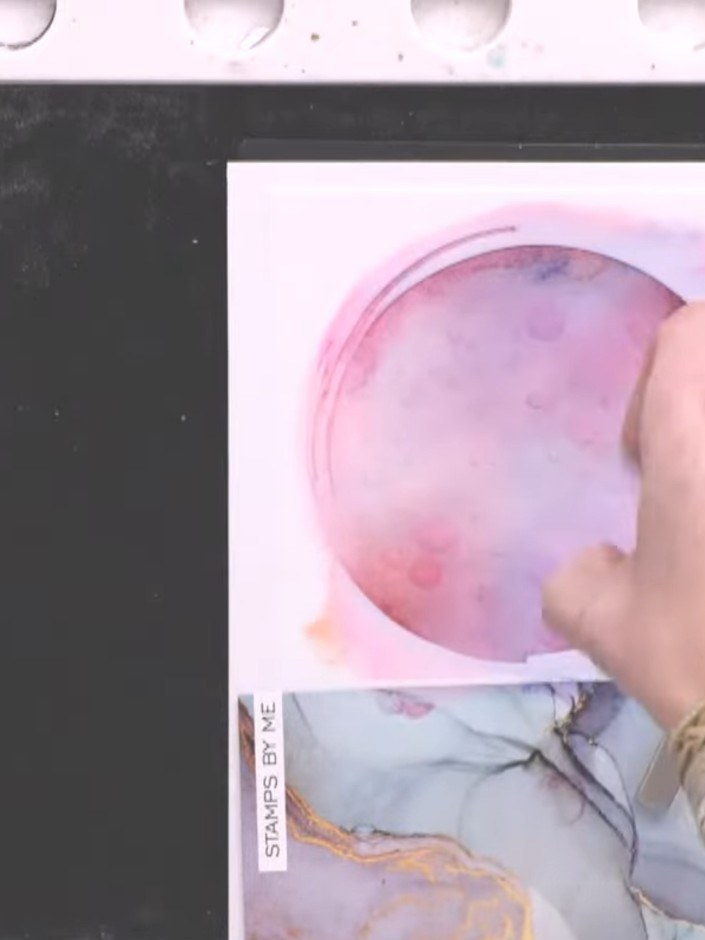
Create a puddle of water on your hand and flick it onto the inked stencil circle to blend the pink and purple colours together.
▶ watch this step (43:15)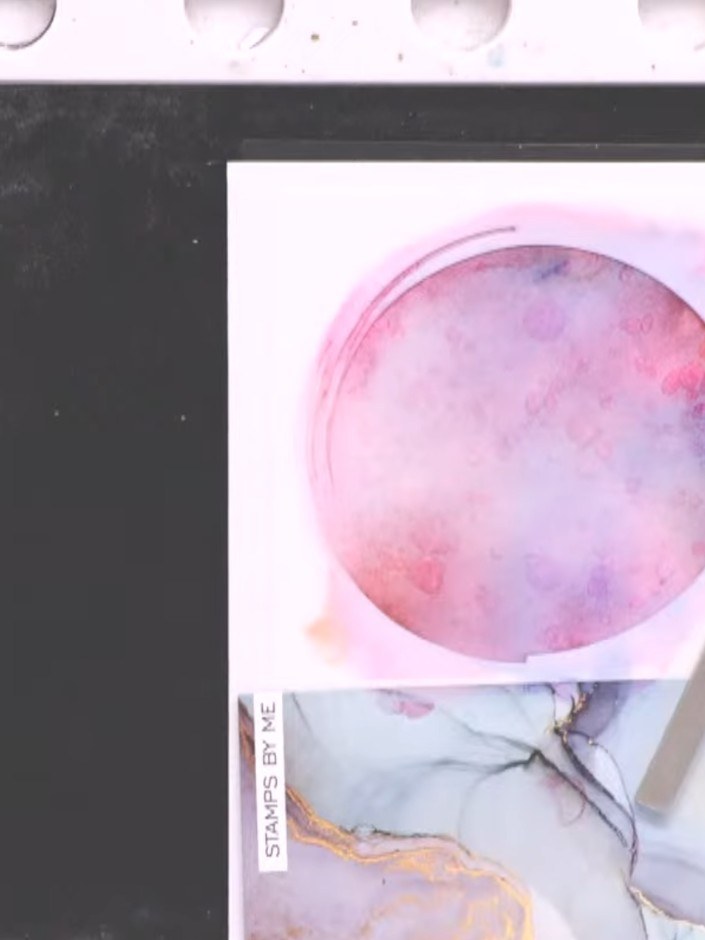
Use a tissue to dab up excess water from the stamped image. This will lift some of the ink to create texture and dimension in your watercolour effect.
▶ watch this step (43:30)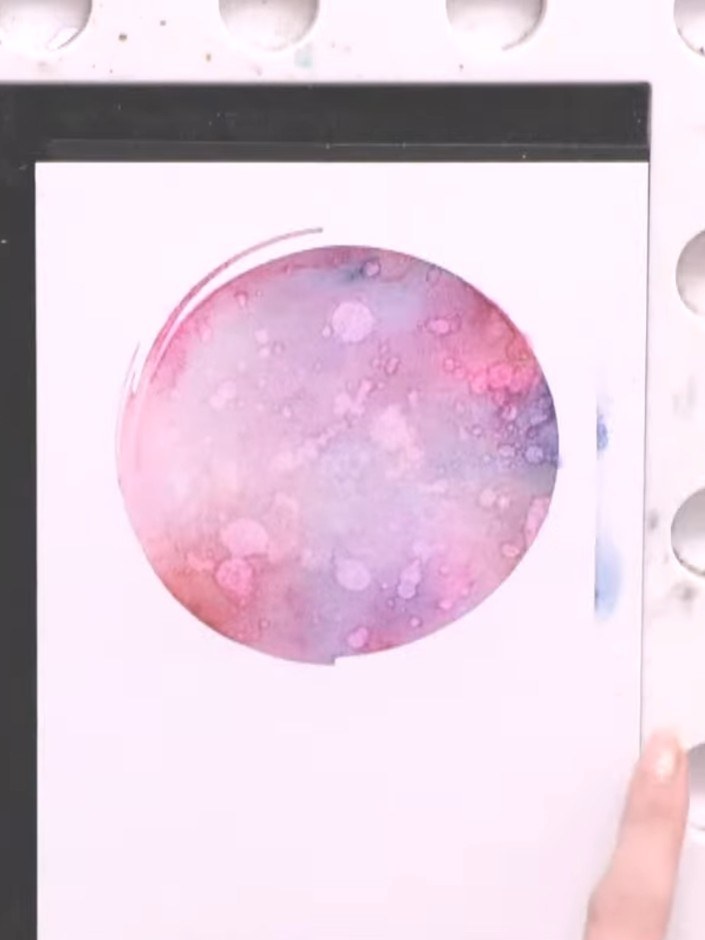
Allow the card to dry completely. You can use a heat tool to speed up the drying process if desired.
▶ watch this step (44:00)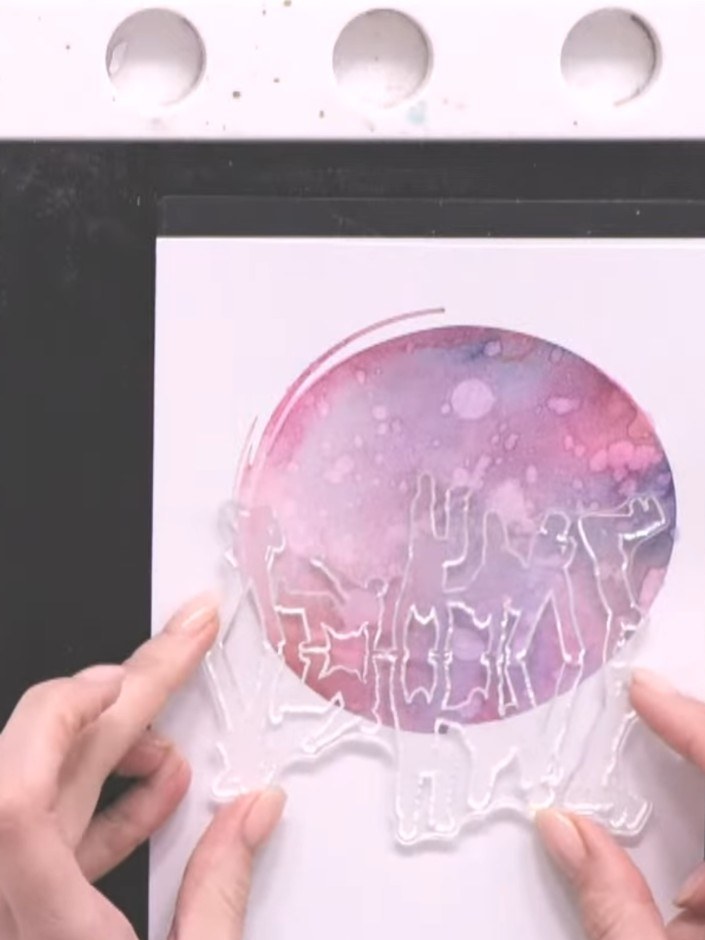
Ink up the full dance crew stamp with black ink using your ink pad.
▶ watch this step (46:30)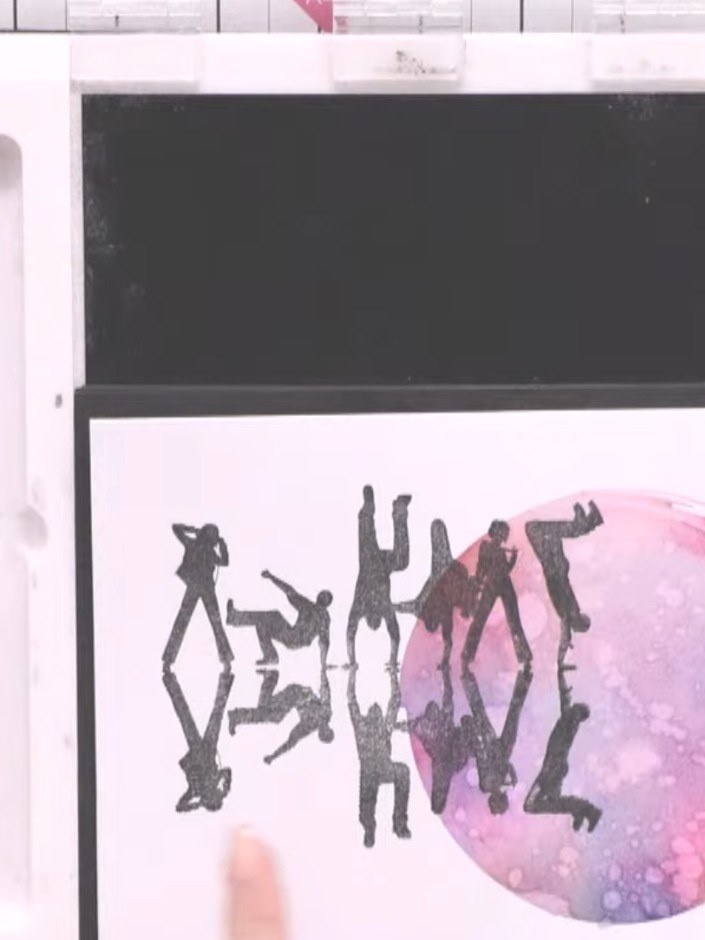
Stamp the dance crew silhouettes from the Friends Forever stamp set half on and half off the left edge of the card for a dynamic landscape composition. Position the figures so they overlap slightly with the watercolour circle.
▶ watch this step (48:00)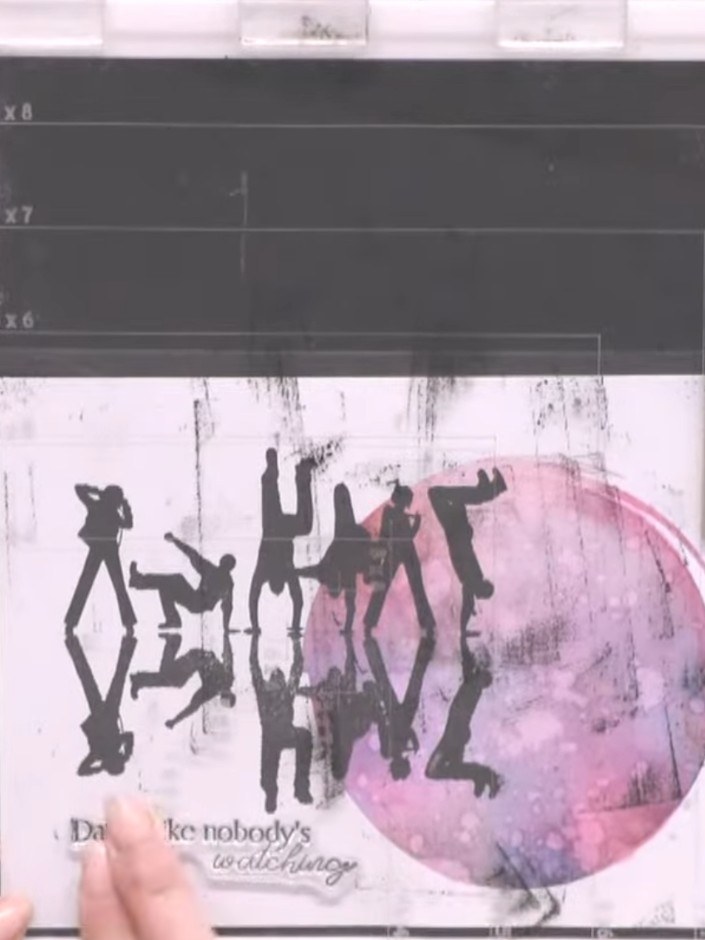
Add a sentiment from the stamp set, positioning it below the dance crew silhouettes to complement the design. The sentiment shown reads 'Don't let nobody's to all change'.
▶ watch this step (50:00)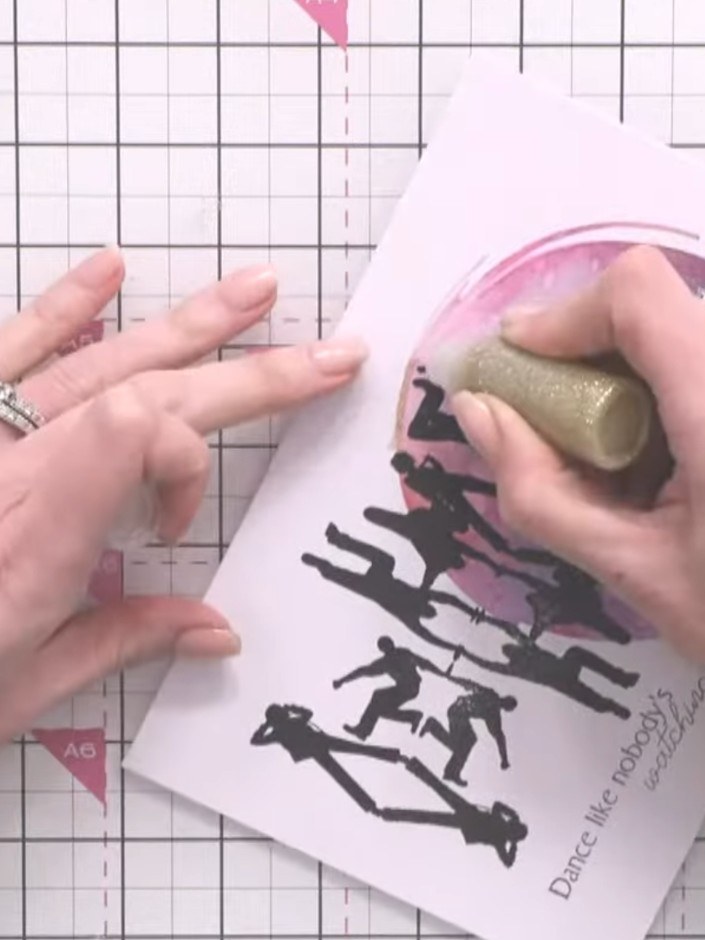
Optional: Apply gold glitter glue in a halo around the stamped dancers, avoiding the black ink. This adds a subtle shimmer to highlight the design.
▶ watch this step (50:45)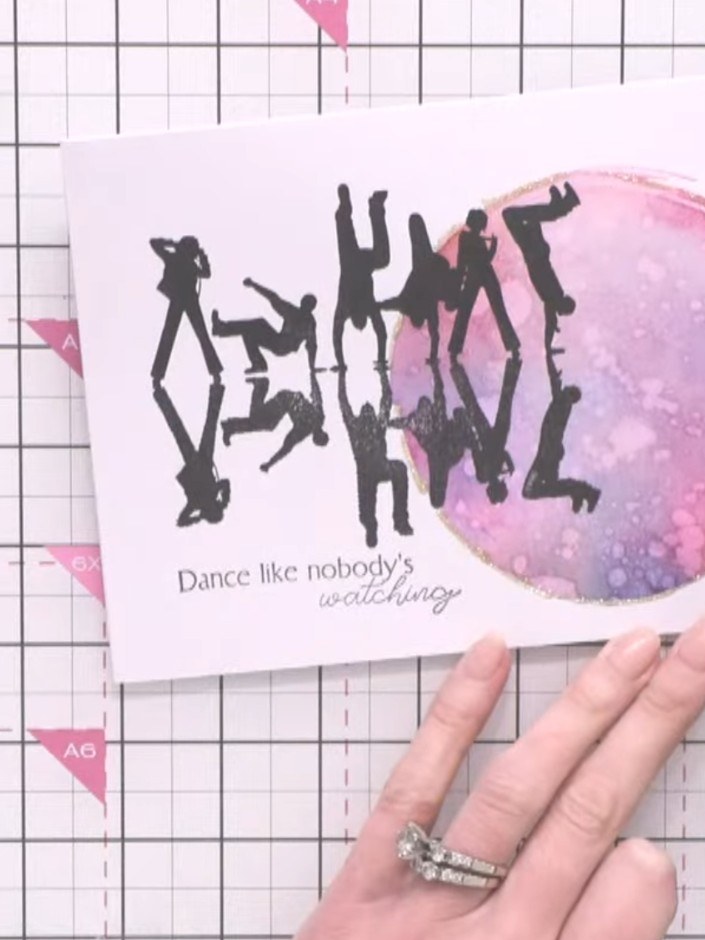
If desired, add white gel pen or sparkle pen details to enhance the dancers and add highlights to the watercolour circle, being careful not to obscure the design.
▶ watch this step (51:30)Written up from the show itself. See every guide from our shows · free how-to guides · watch live on My Telly
