Give your friends $10 off their first order!
Refer a FRIEND








A project from our live show ONE DAY SPECIAL - Join Toni for brand new launch - Broadcast 22nd November 24 · 11/22/2024 · watch it from 25:15
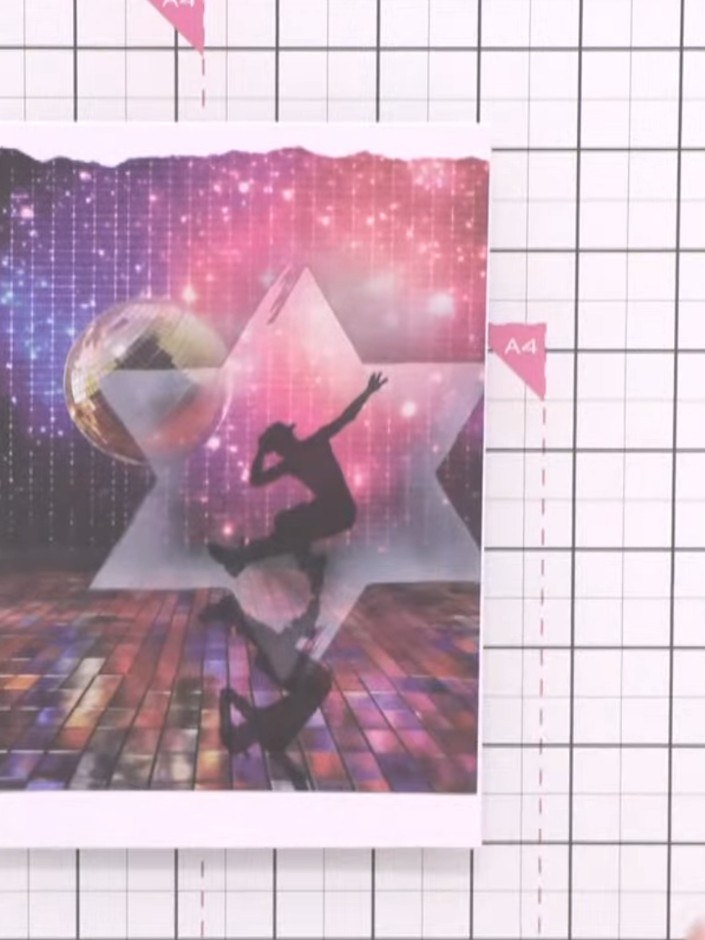
Create a striking card featuring a dancer stamp with a white star stencil halo on a disco-themed background. The reflection stamp technique creates depth and dimension with minimal effort, perfect for making multiple cards quickly. This eye-catching design combines vibrant pink and purple tones with a dramatic silhouette for a truly unique greeting card.
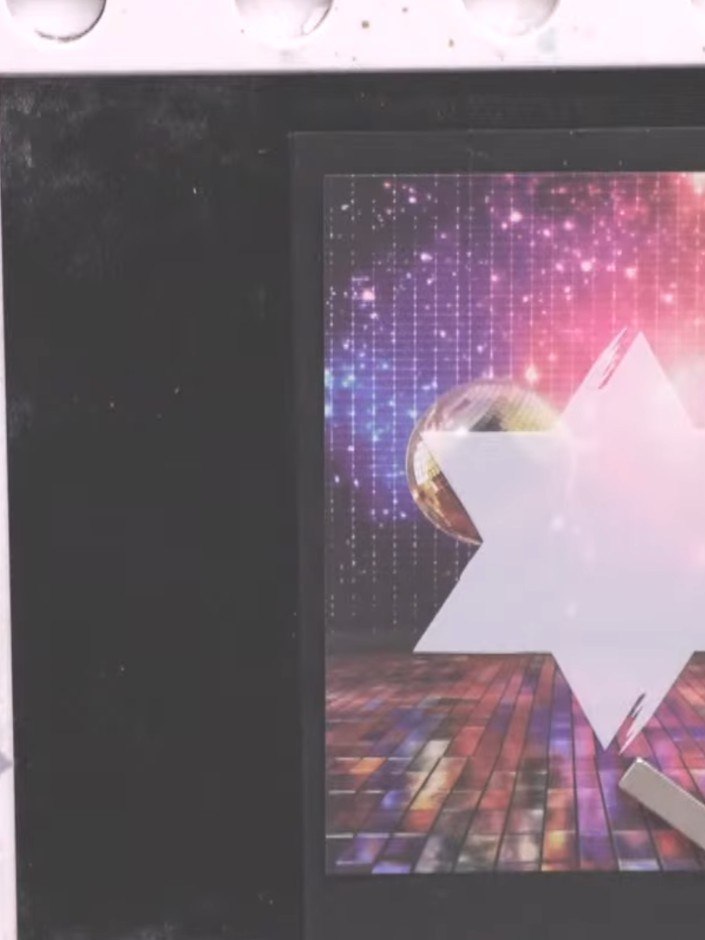
Select a piece of Disco Fever paper featuring the glitter ball background design to use as your card base.
▶ watch this step (26:15)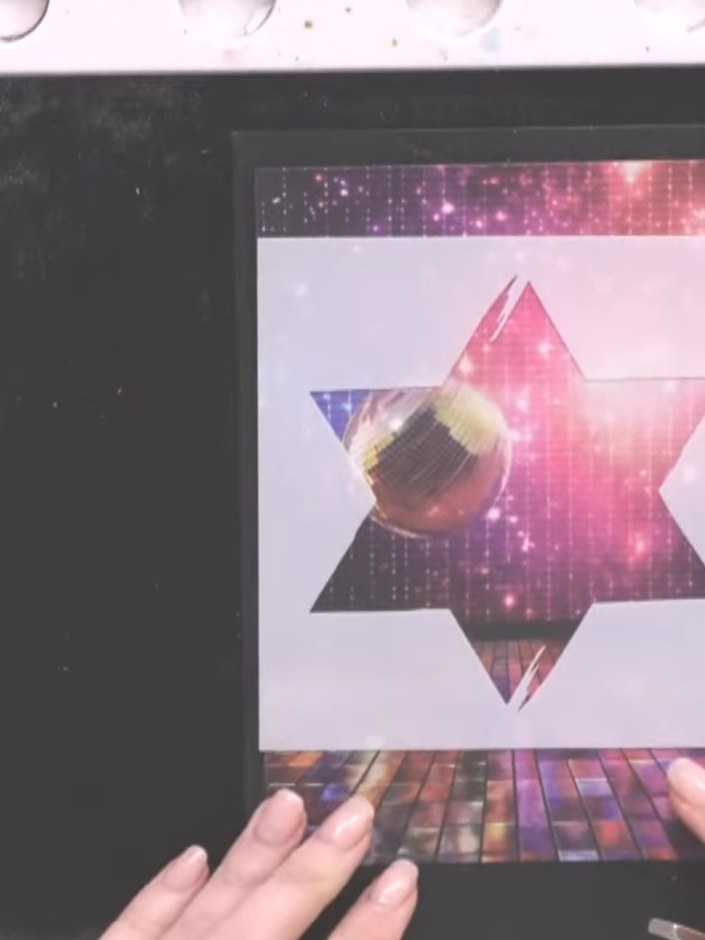
Position the star stencil over the disco ball image on your card front, placing it slightly off-centre to create a halo effect around the disco ball.
▶ watch this step (26:45)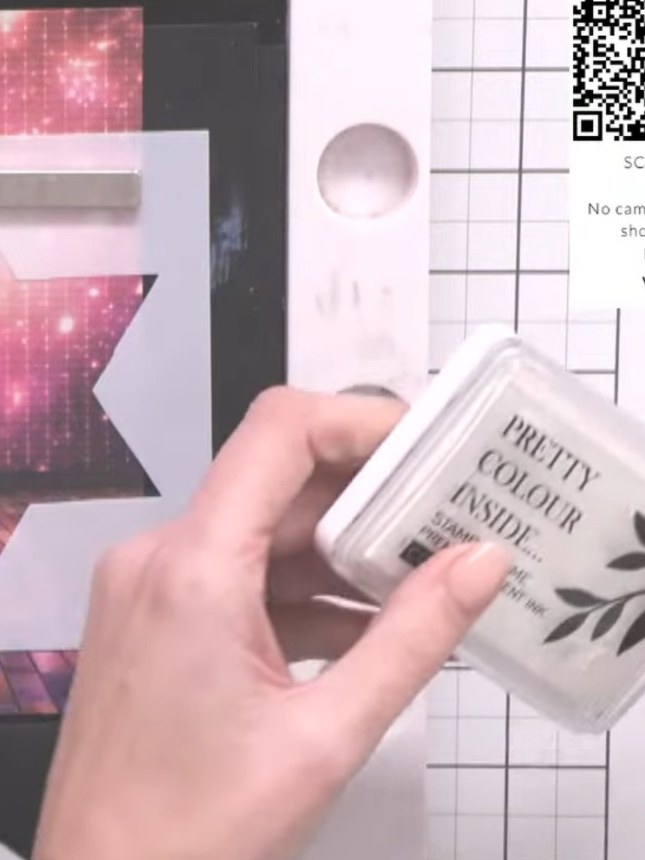
Apply white ink to a blending brush and tap off the excess ink before use.
▶ watch this step (27:00)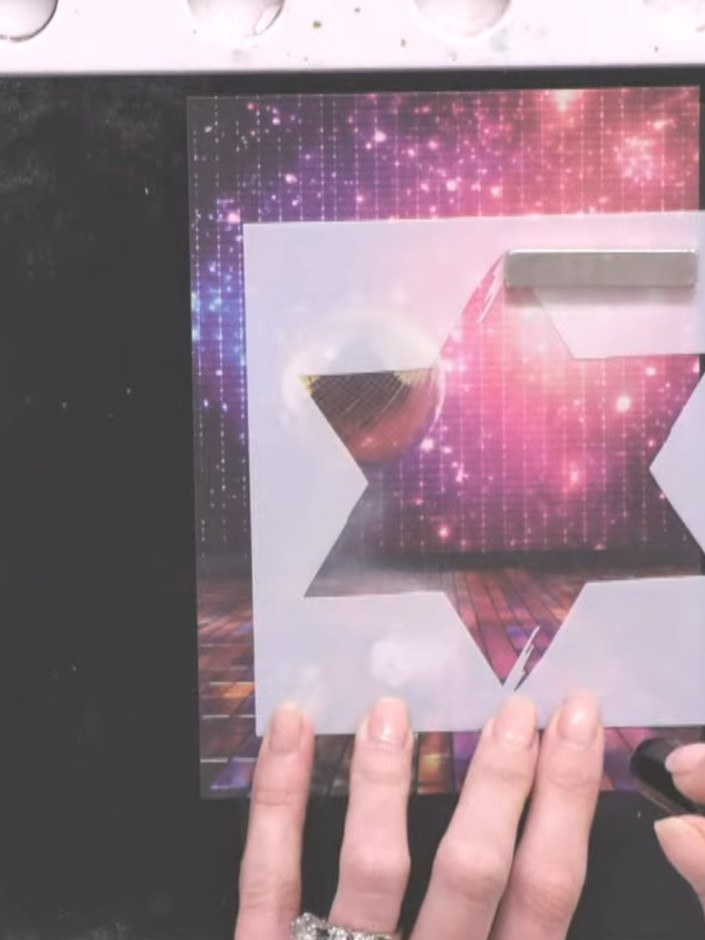
Using a brush with white ink, dab around the perimeter of the star stencil to create a halo effect. Tap off any excess ink before applying to ensure even coverage.
▶ watch this step (27:30)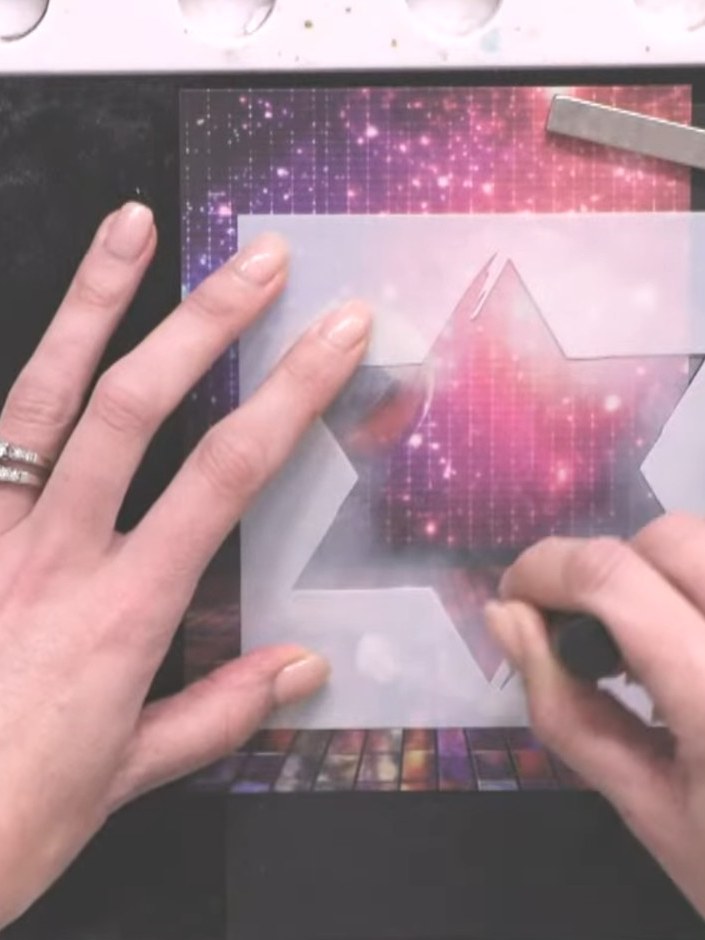
Build up the white colour gradually around the star stencil using the blending brush. Continue working all the way around the star until you achieve your desired brightness and halo effect.
▶ watch this step (29:45)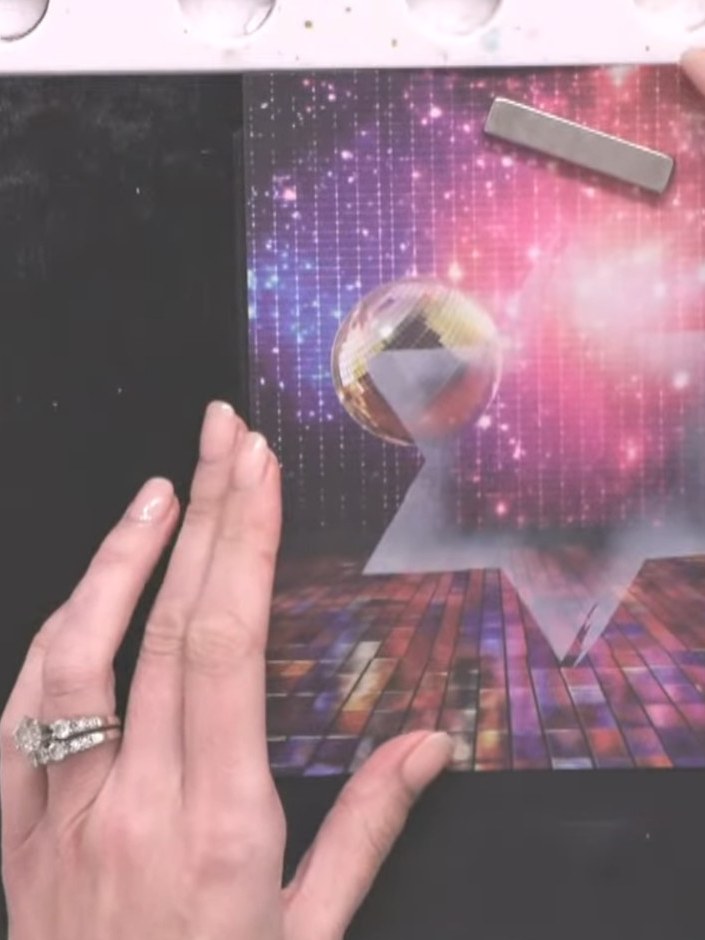
Carefully remove the star stencil from the card, lifting it straight up to avoid smudging the galaxy background.
▶ watch this step (30:30)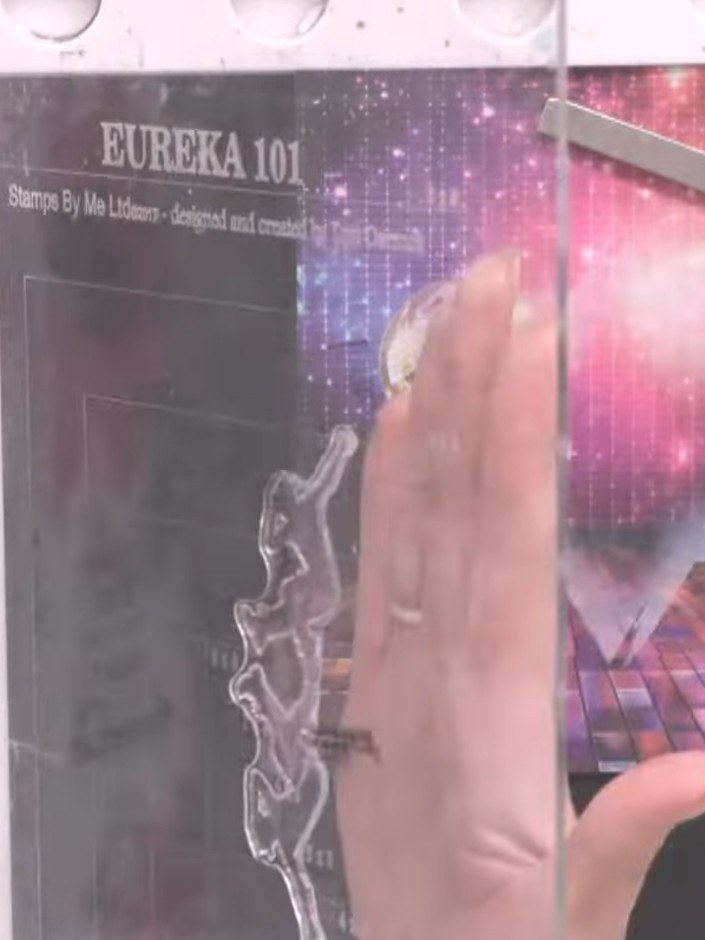
Ink up the entire reflection stamp with black ink and stamp it firmly onto the black card. Position the image centrally on the right side of the card to create a darker background effect.
▶ watch this step (31:00)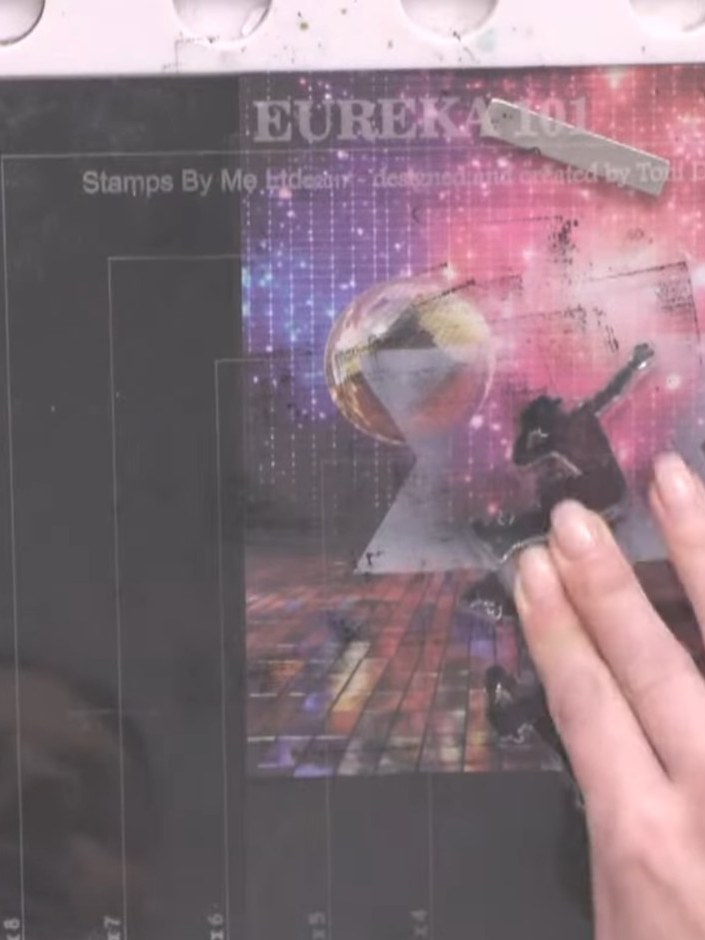
Re-ink only the top portion of the Reflection stamp with black ink to create darker detail at the top of the image.
▶ watch this step (31:45)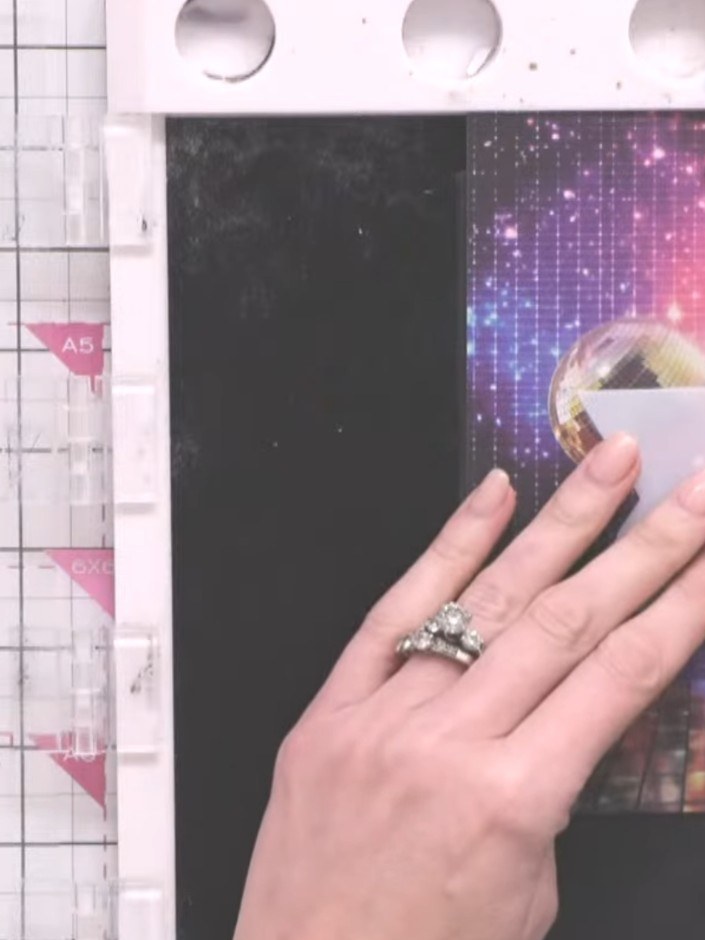
Position the reflection stamp over the top portion of the disco ball image and stamp again to enhance the reflection effect. Use the same ink to maintain consistency with the first stamping.
▶ watch this step (32:30)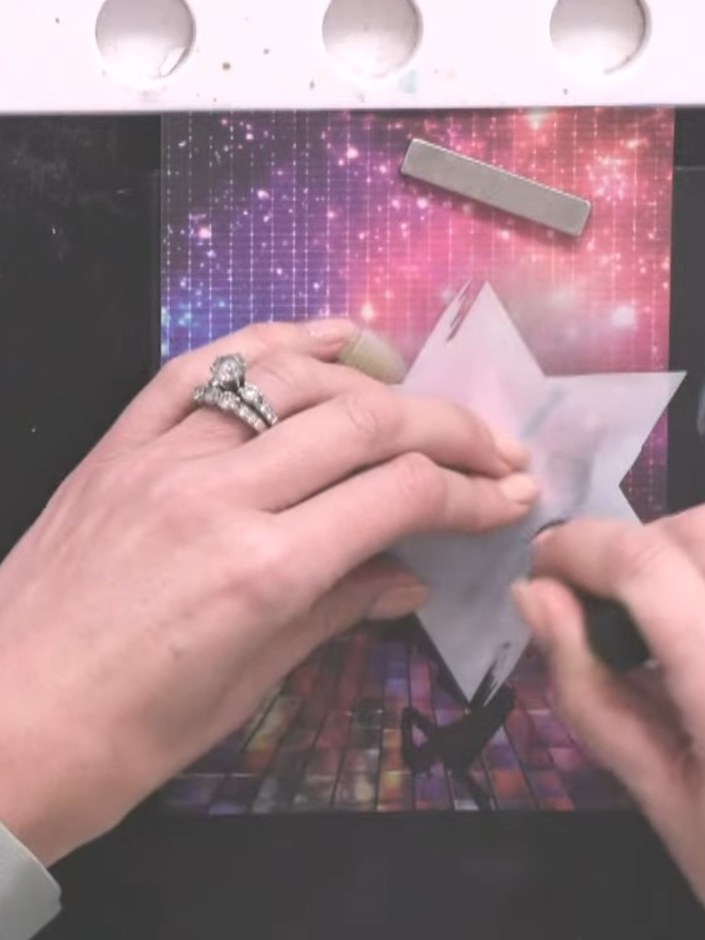
Trim the stamped panel down slightly and tear across the top edge for a natural, less predictable finish.
▶ watch this step (34:00)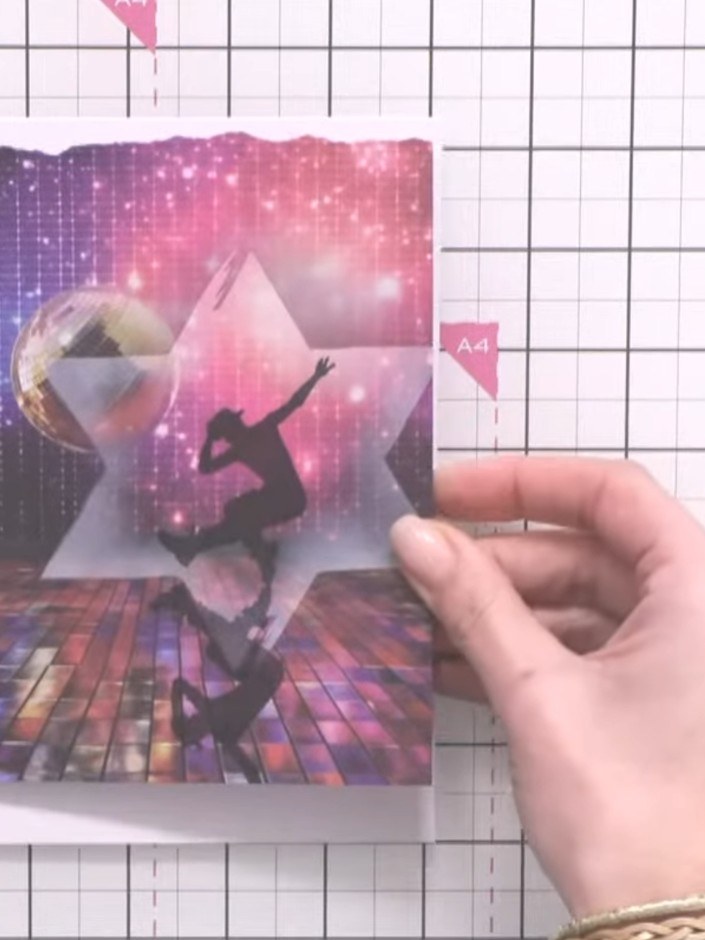
Mount the torn panel onto a pink card blank using double-sided tape, positioning it centrally on the card front.
▶ watch this step (36:45)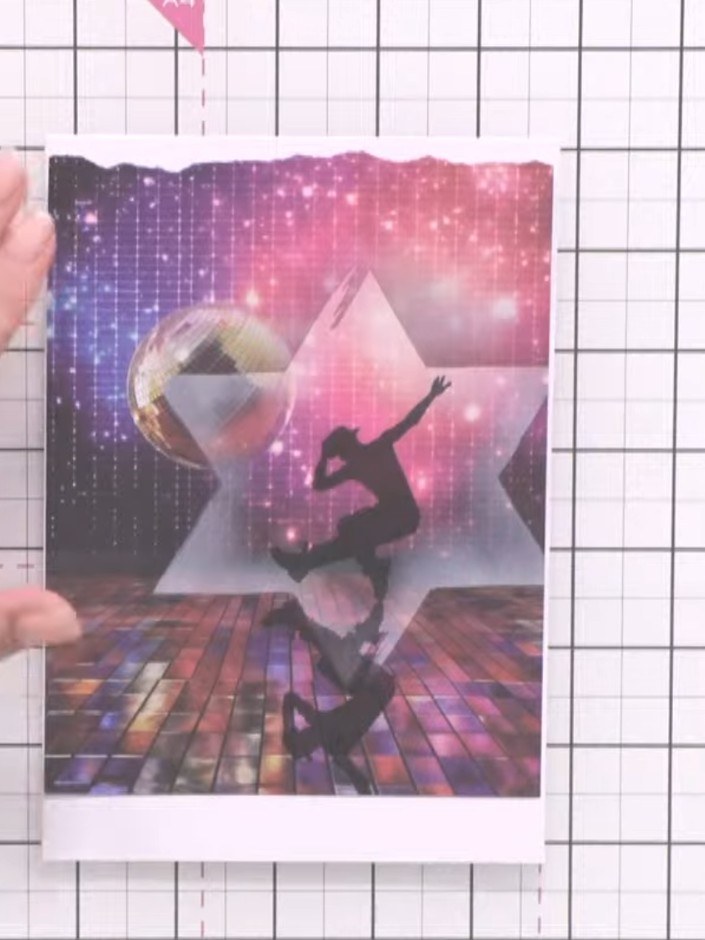
Add a sentiment from the stamp set, positioning it neatly alongside the stamped reflection design on your card.
▶ watch this step (37:00)Written up from the show itself. See every guide from our shows · free how-to guides · watch live on My Telly

