Give your friends $10 off their first order!
Refer a FRIEND








Prices change straight away. Every language is our own translation, not Google.
A project from our live show HSN PRODUCT INSPIRATION - Join me for a fun filled show broadcast 18th August 2026 · 08/18/2026 · watch it from 56:45
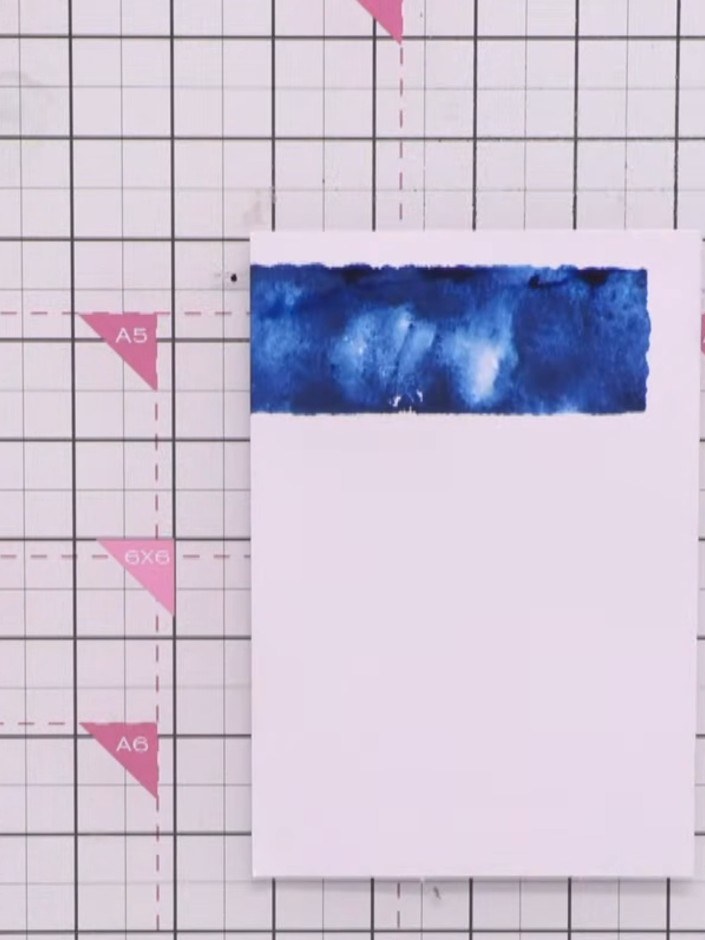
Create a contemporary Christmas card with a textured inky background in blues and greys, featuring layered die-cut florals and foliage. This project uses acrylic blocks, ink pads, and water spray to build depth and visual interest, finished with a 'merry and bright' sentiment. The technique offers a modern alternative to traditional patterned papers whilst creating beautiful atmospheric effects.
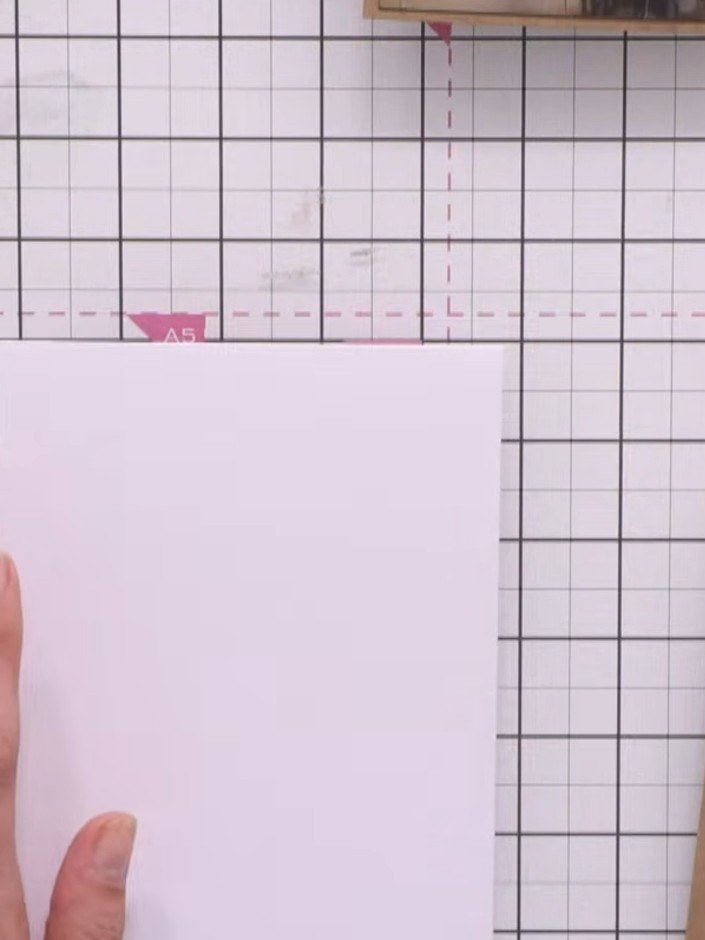
Start with a white A5 card blank and a piece of white cardstock. Position the white cardstock to layer on top of the card blank. Ink up an acrylic block with a teal or blue ink pad. Apply the ink colour to one side of the acrylic block, ensuring even coverage. Spray the inked block lightly with water to activate the ink and create texture.
▶ watch this step (56:45)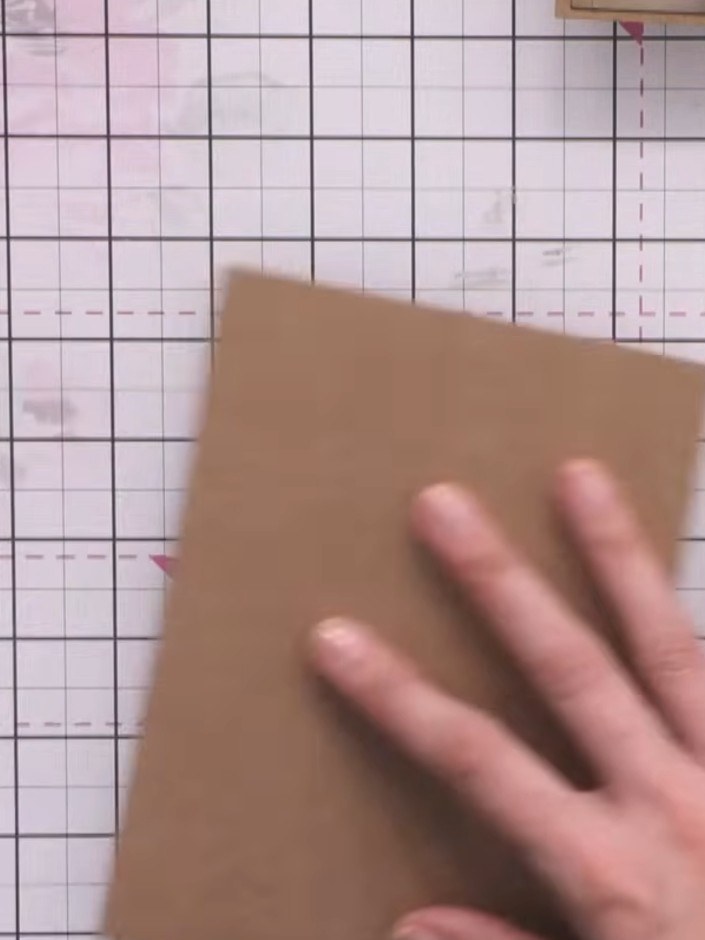
Press the wet inked block onto your white cardstock at an angle. Lift the block away to reveal a textured ink impression on the card. Continue inking, spraying, and pressing the stamp across the kraft cardstock multiple times. Vary the placement of each impression and leave gaps between them to create an interesting textured pattern.
▶ watch this step (57:30)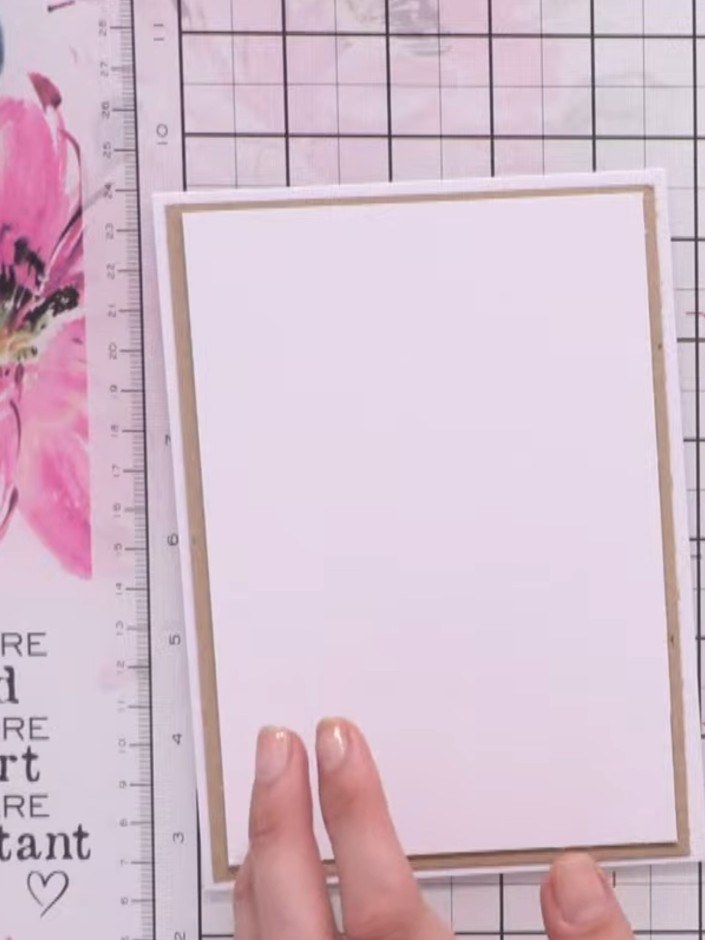
Allow the inked background to dry completely. You can use a heat tool to speed up the drying process, or simply set the card aside whilst working on other elements.
▶ watch this step (58:30)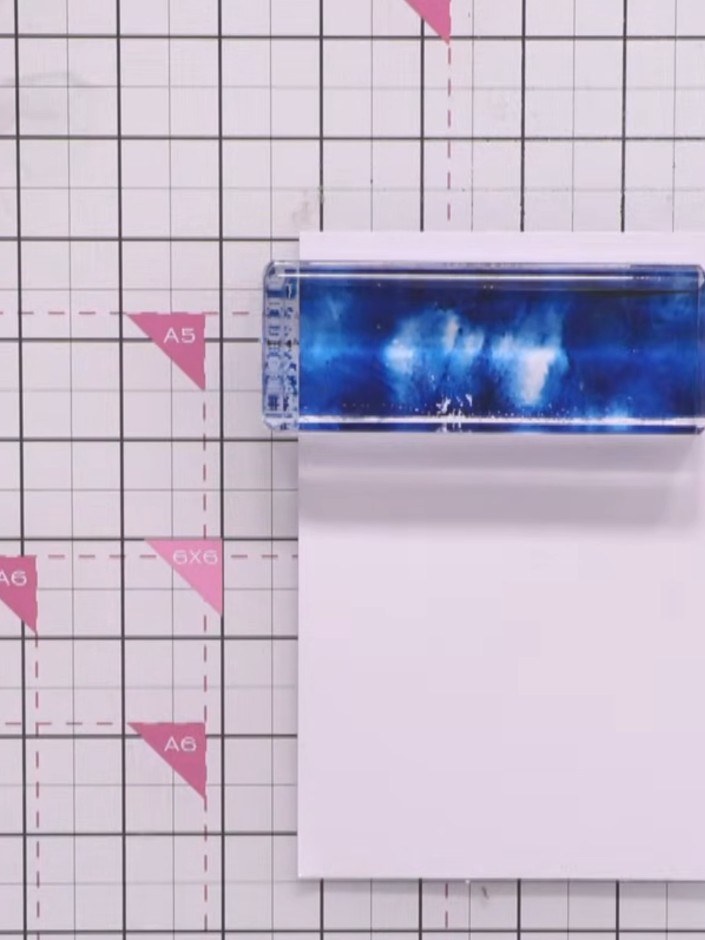
If the background colour appears too bright or dominant, use a white ink pad to gently tap over the surface, pushing back and softening the colour.
▶ watch this step (59:00)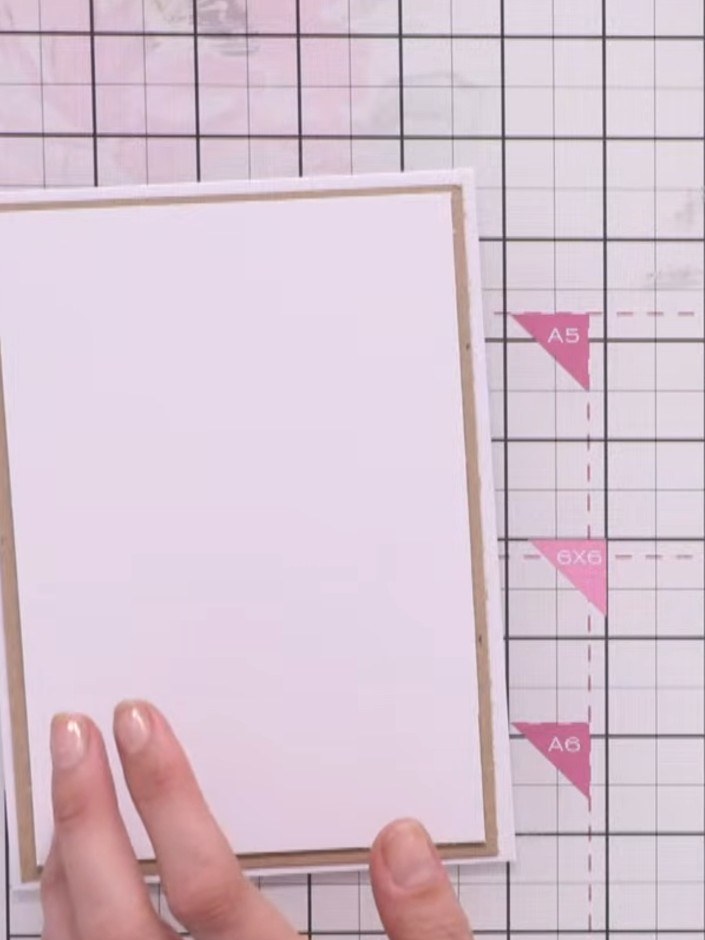
Cut a strip of kraft cardstock and adhere it vertically down the centre of your white inked background panel. Die-cut or fussy-cut a tree image from one of the Holly and Berry patterned papers. Select the design you prefer from the paper collection.
▶ watch this step (59:30)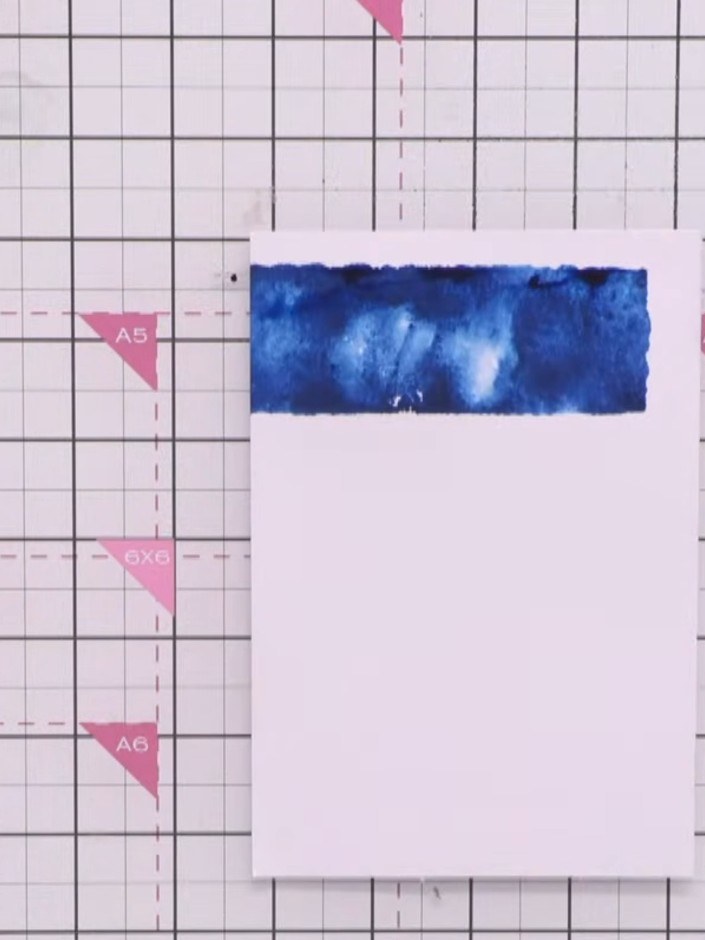
Adhere the blue textured foil strip to the top of your white card panel, keeping it straight and aligned.
▶ watch this step (1:00:30)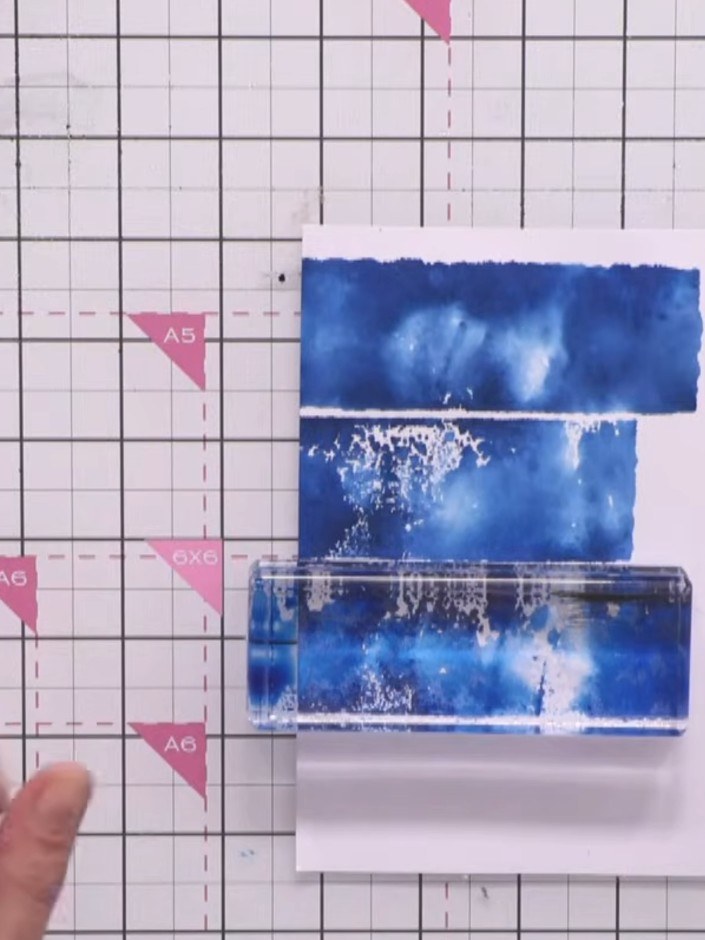
Cut a thin strip of black cardstock and adhere it to one edge of the kraft panel to add definition and make it stand proud. Cut out a pre-printed sentiment such as 'Merry and Bright' from your paper collection. Gently distress the edges of the sentiment piece to give it a softer, worn appearance.
▶ watch this step (1:01:00)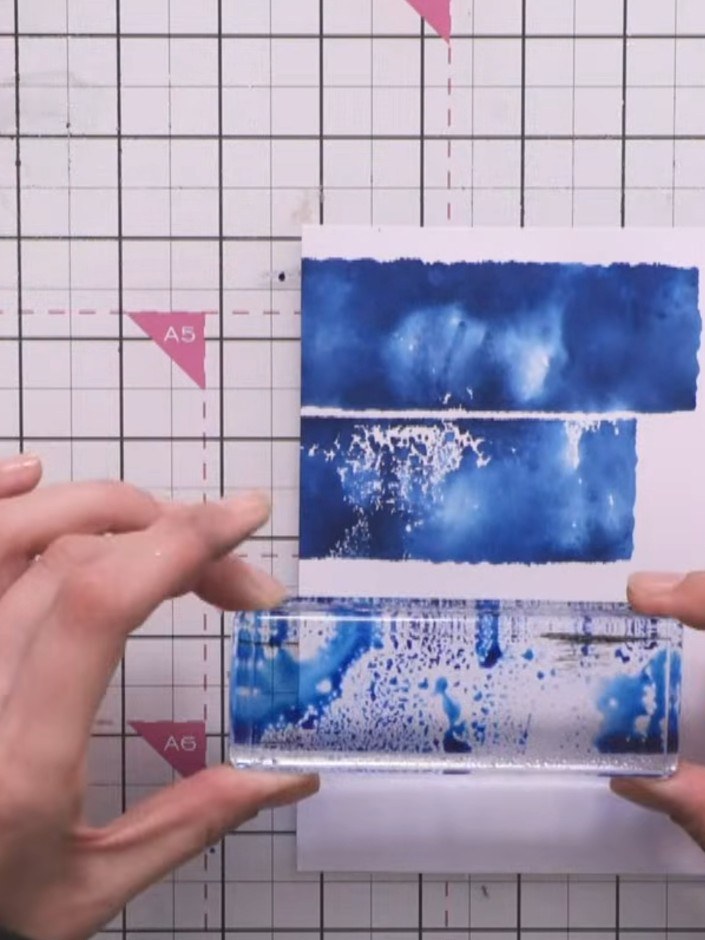
Edge the white sentiment panel with a vintage ink pad to soften its appearance and give it a subtle aged effect.
▶ watch this step (1:02:00)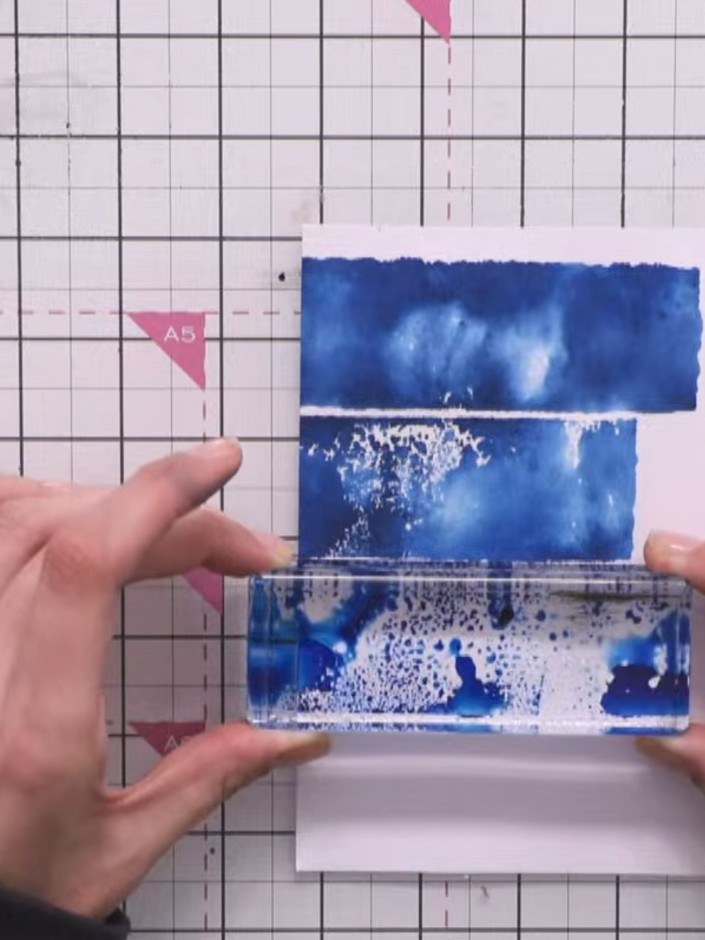
Adhere the sentiment panel to the bottom of your card front, positioning it below the layered tree panels to complete the composition. If desired, add small die-cut foliage or tree elements to cover any large areas of the bright blue background colour that show through. Position these decorative elements where needed to balance the composition.
▶ watch this step (1:02:30)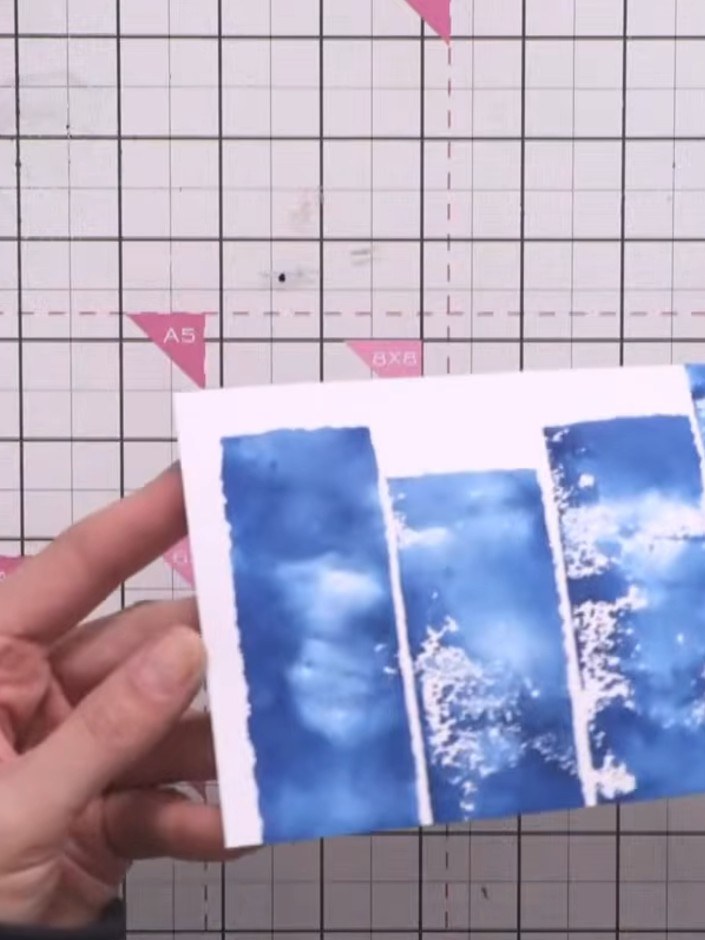
Allow all glue to dry completely before your card is finished. Your inky textured background Christmas card is now complete.
▶ watch this step (1:03:30)Written up from the show itself. See every guide from our shows · free how-to guides · watch live on My Telly


