Give your friends $10 off their first order!
Refer a FRIEND








A project from our live show HSN PRODUCT INSPIRATION - Join me for a fun filled show broadcast 18th August 2026 · 08/18/2026 · watch it from 43:00
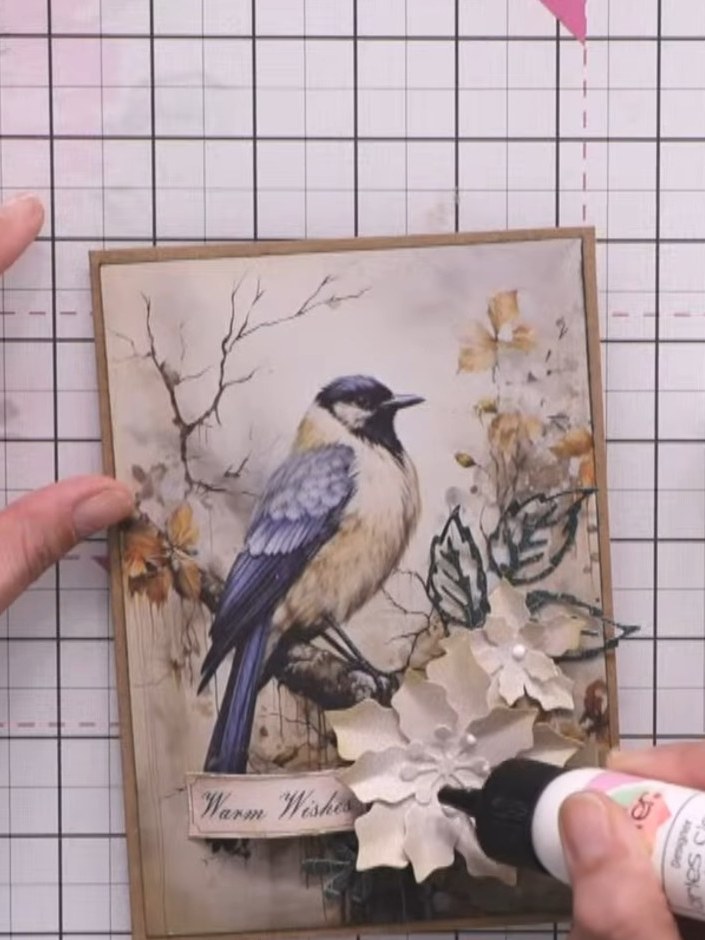
Make a stunning vintage-style Christmas card featuring a blue jay amongst layered cream flowers and foliage on a kraft background. This elegant design uses die-cutting, dimensional layering with foam pads, and a 'Warm Wishes' sentiment to create a sophisticated seasonal greeting. The neutral colour palette with touches of blue creates a timeless festive card perfect for nature lovers.

Start with a 5x7 inch white card blank as your base. Position your decorative topper featuring the bird and floral design onto the card front.
▶ watch this step (43:00)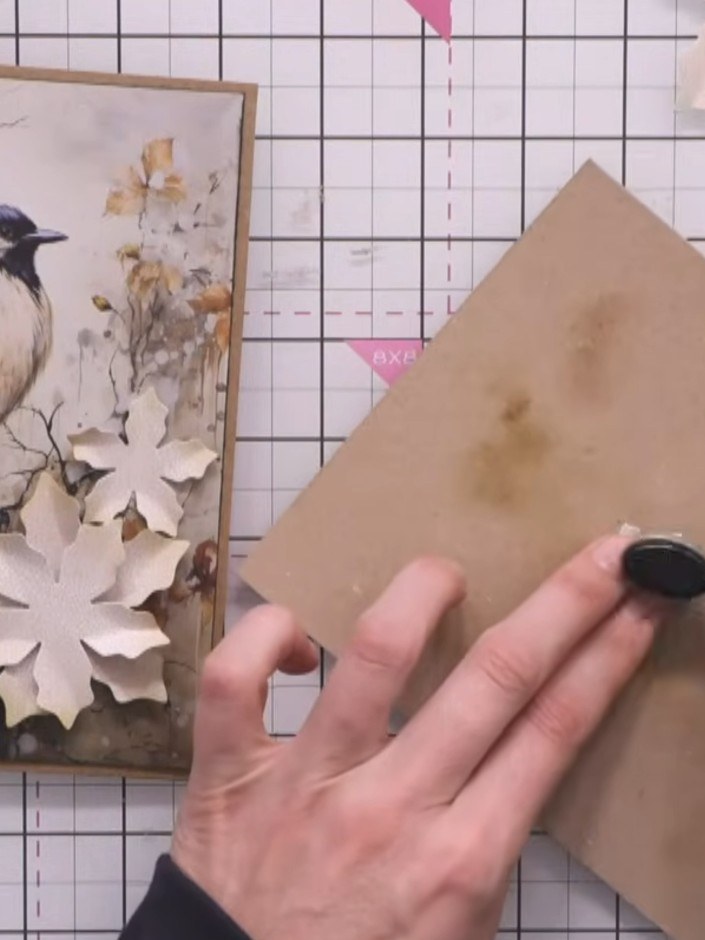
Take a kraft-coloured cardstock square and position it on the front of your card blank to check the placement. Adhere the kraft layer to the card front.
▶ watch this step (43:15)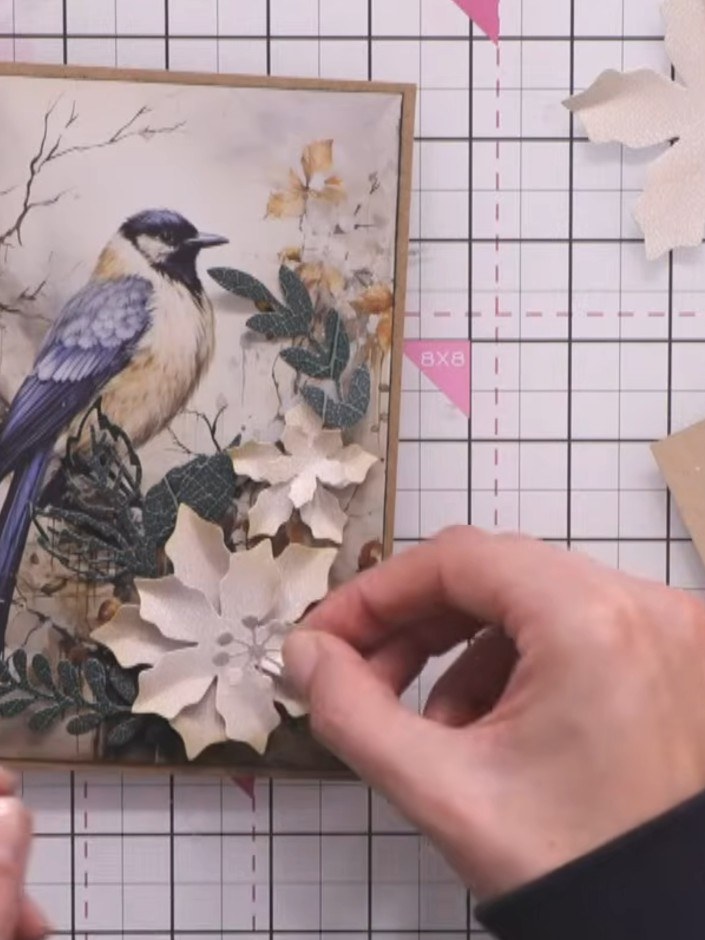
Die-cut multiple flower shapes from the cream-coloured paper using the Holly and Berry layering flower die set. Cut several flowers to create dimension for your card design.
▶ watch this step (44:00)
Die-cut smaller flower centres from white cardstock. Layer and stack the flower centres together, offsetting them slightly to create dimension.
▶ watch this step (44:30)
Using a blending brush, apply brushed corduroy ink to the edges of the white petals to add depth and a warm vintage tone.
▶ watch this step (45:00)
Die-cut foliage pieces from the Holly and Berry die set using varying shades of green cardstock. Cut multiple leaf and branch elements to create layered greenery for your card.
▶ watch this step (46:00)
Cut out a pre-printed sentiment such as 'Warm Wishes' from the sentiment sheet using scissors.
▶ watch this step (47:00)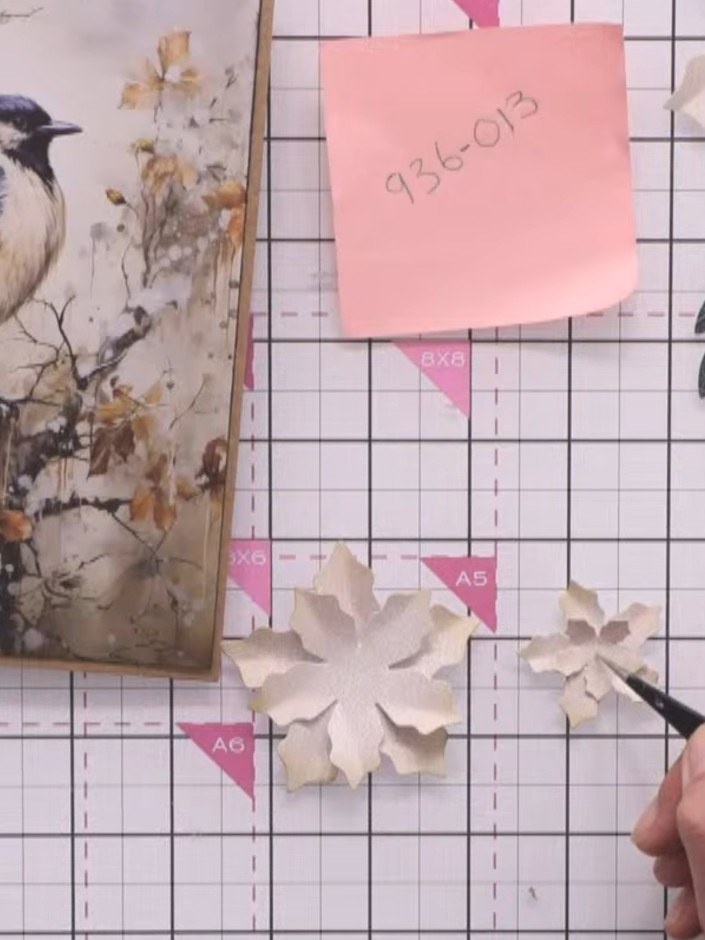
Distress the edges of the sentiment by gently whiskering them with scissors to create a feathered effect. Edge the sentiment with the vintage ink pad to give it an aged appearance.
▶ watch this step (47:30)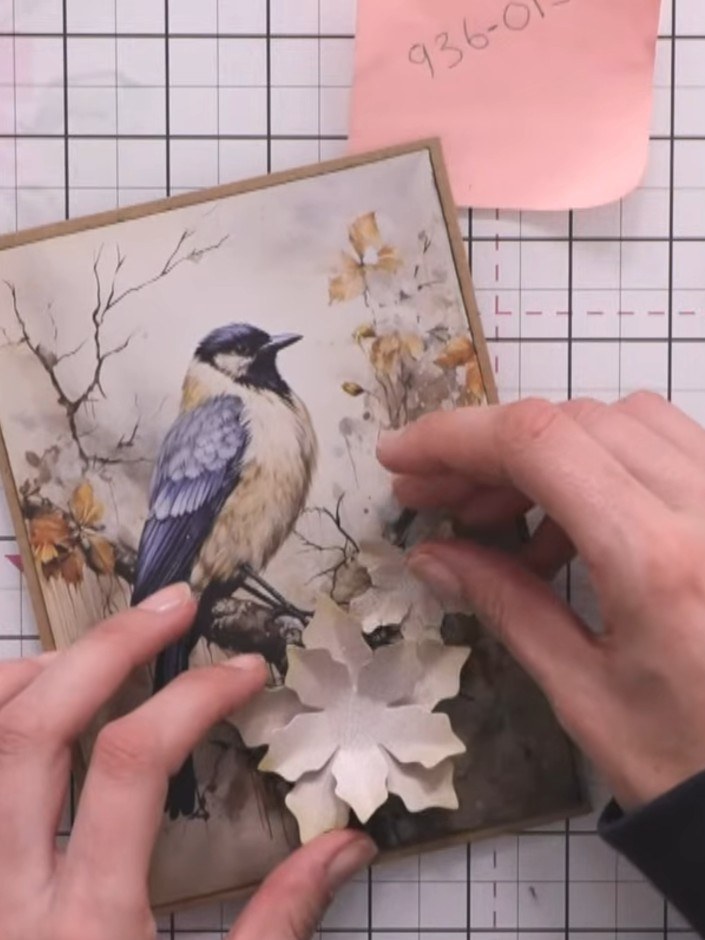
Arrange the layered white flowers and dark green foliage on your card with the bird topper, positioning them to create a balanced composition. Place the flowers at an angle to add visual interest and ensure the elements complement the vintage bird image.
▶ watch this step (48:00)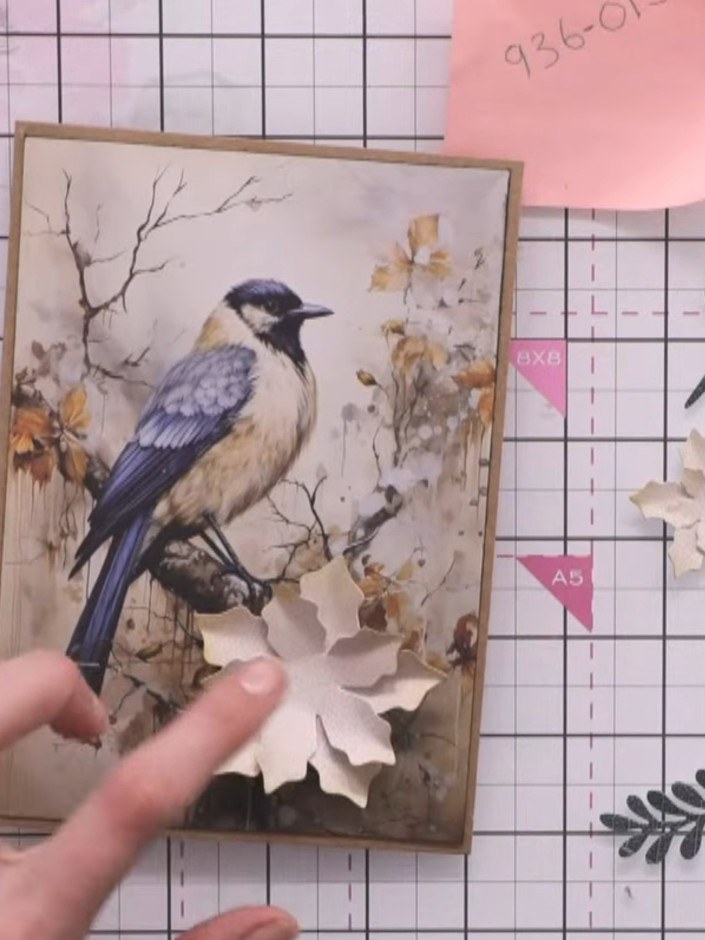
Adhere all floral elements to the card using glue. Place some flowers flat against the surface and lift others slightly with foam pads to create dimension and depth.
▶ watch this step (49:00)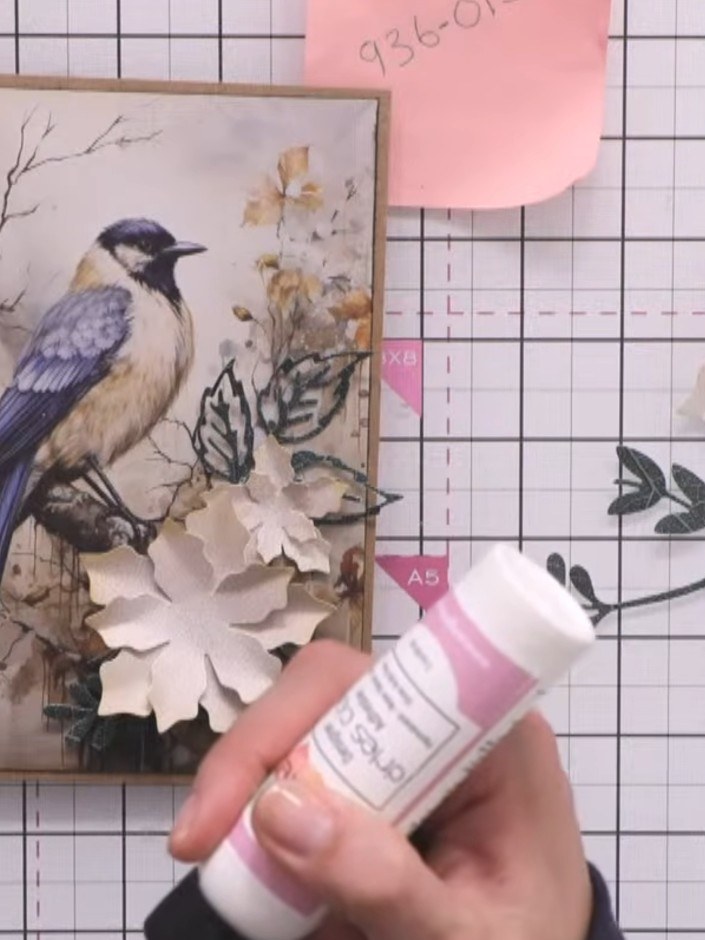
Add small red gems or sequins to the flower centres and scattered throughout the foliage for sparkle. Use adhesive to secure them in place.
▶ watch this step (50:00)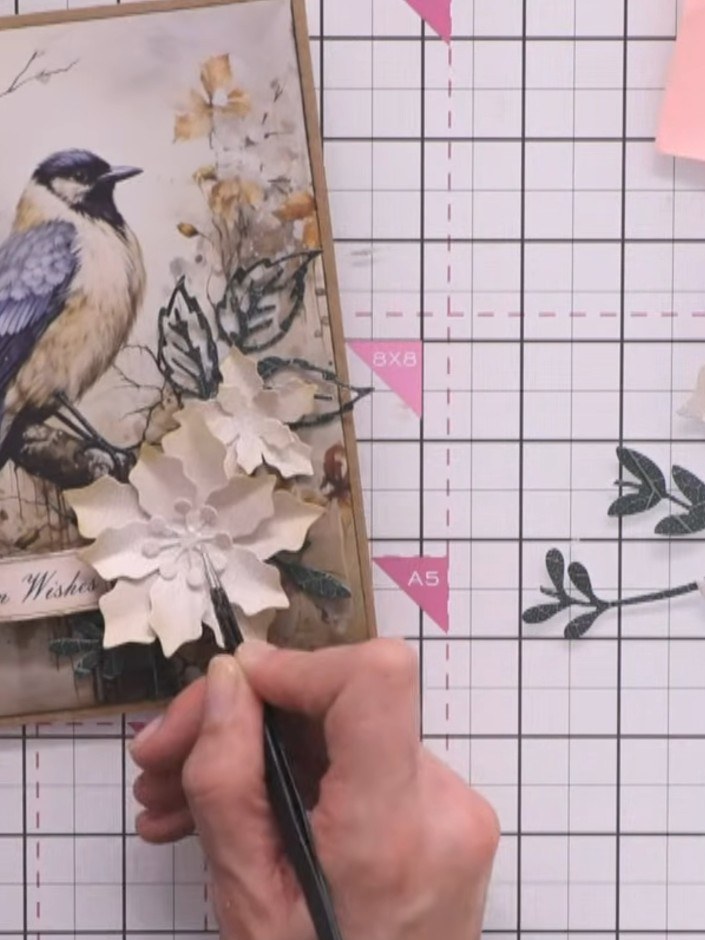
Ensure all decorative elements are securely adhered to the card. Allow all glue to dry completely before your card is ready to send.
▶ watch this step (52:00)Written up from the show itself. See every guide from our shows · free how-to guides · watch live on My Telly