Give your friends $10 off their first order!
Refer a FRIEND








A project from our live show THE THURSDAY DROP - Latest Products from Toni - Broadcast 20th August 2026 · 08/20/2026 · watch it from 39:30
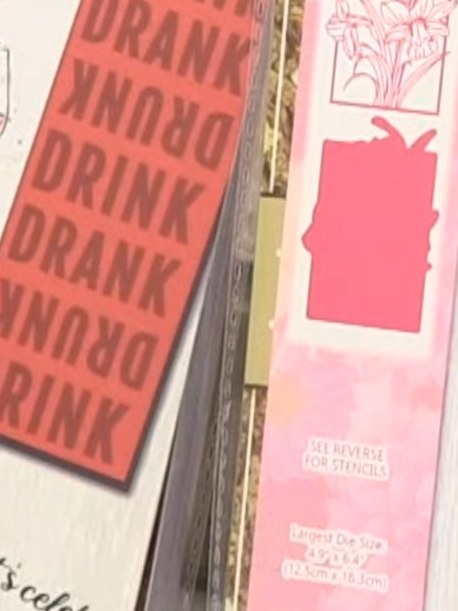
Create a stunning spring card featuring beautiful daffodil flowers in vibrant yellow and orange tones with fresh green foliage. Using layered stencils and dies, you'll build up colour and dimension to create an eye-catching shaped card with a framed floral design. This versatile technique allows you to experiment with different colour combinations to suit any occasion.
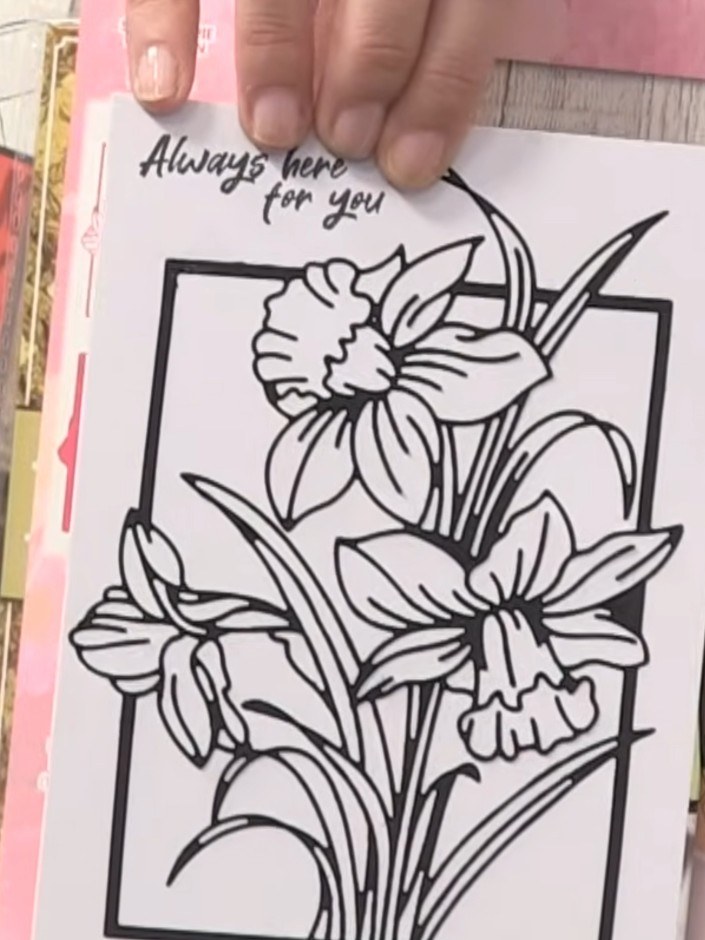
Position the daffodil layering stencil over your card base. Apply colour through the stencil using your chosen medium to build up the floral design in layers.
▶ watch this step (39:45)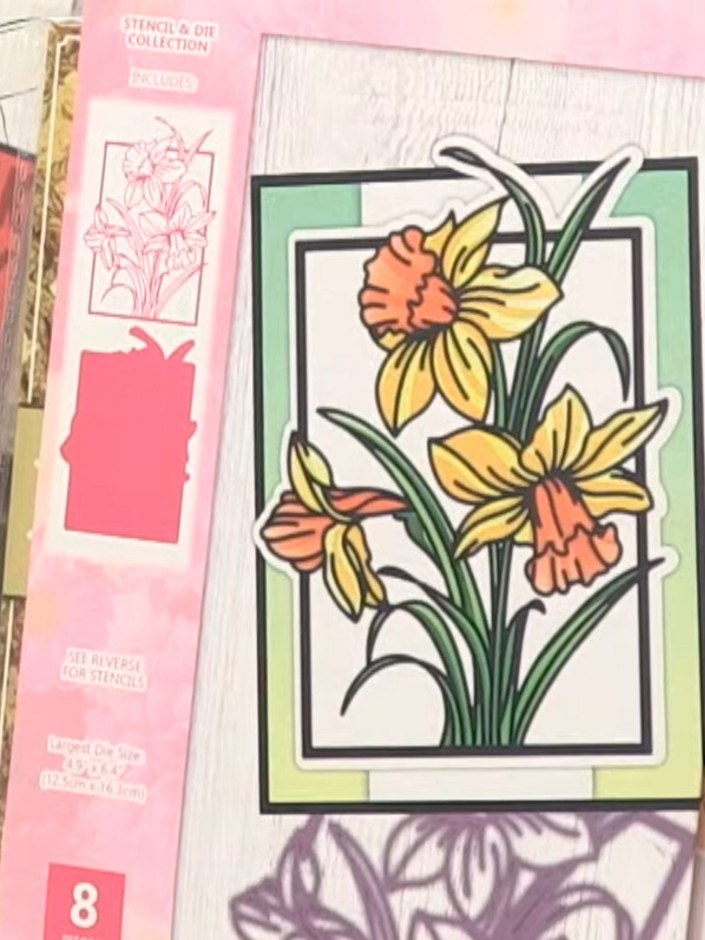
Use the coordinating die from the Daffodil Dreams set to cut out the shaped card featuring the daffodil design. The die will cut around the daffodil image creating a decorative shaped card front.
▶ watch this step (40:00)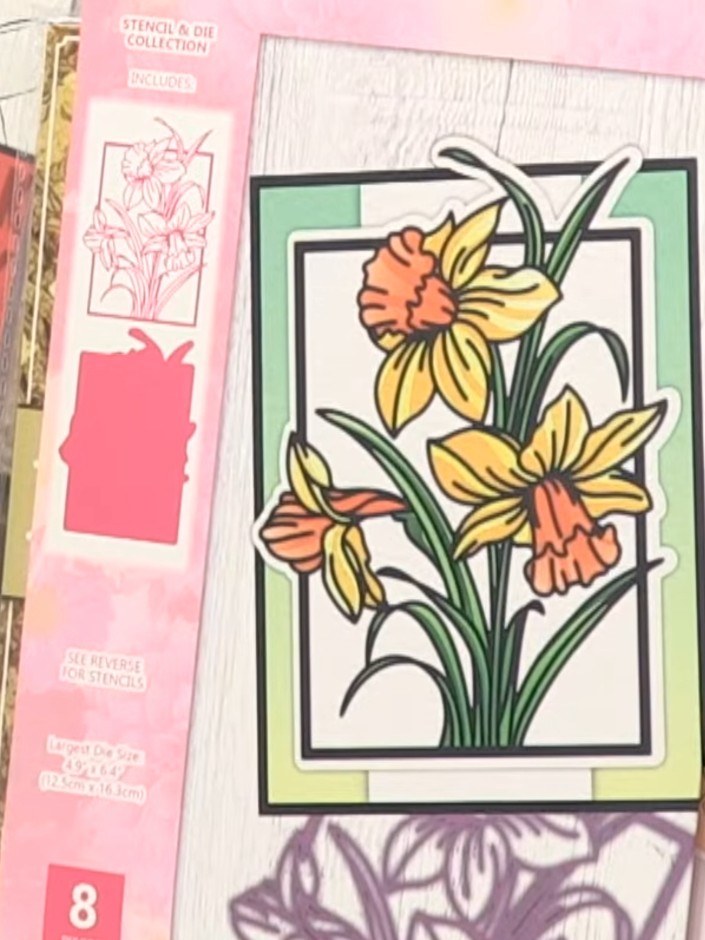
Layer the completed die-cut daffodil piece onto a contrasting coloured cardstock base to add dimension to your card. Position it centrally on the card front for a balanced finish.
▶ watch this step (40:15)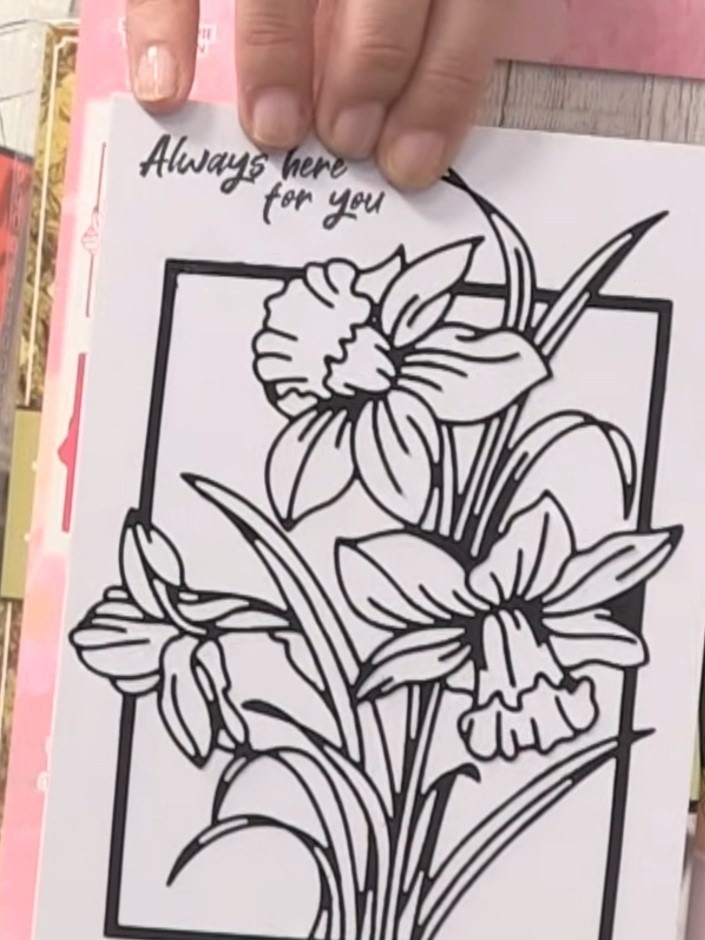
Add a sentiment stamp to the top of your card, such as 'Always here for you'. Your layered daffodil card is now complete and ready to send for any spring occasion.
▶ watch this step (40:30)Written up from the show itself. See every guide from our shows · free how-to guides · watch live on My Telly
