Give your friends $10 off their first order!
Refer a FRIEND








Prices change straight away. Every language is our own translation, not Google.
A project from our live show THE THURSDAY DROP - Latest Products from Toni - Broadcast 20th August 2026 · 08/20/2026
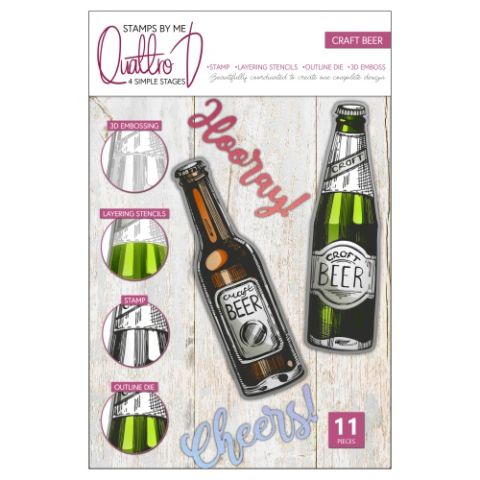
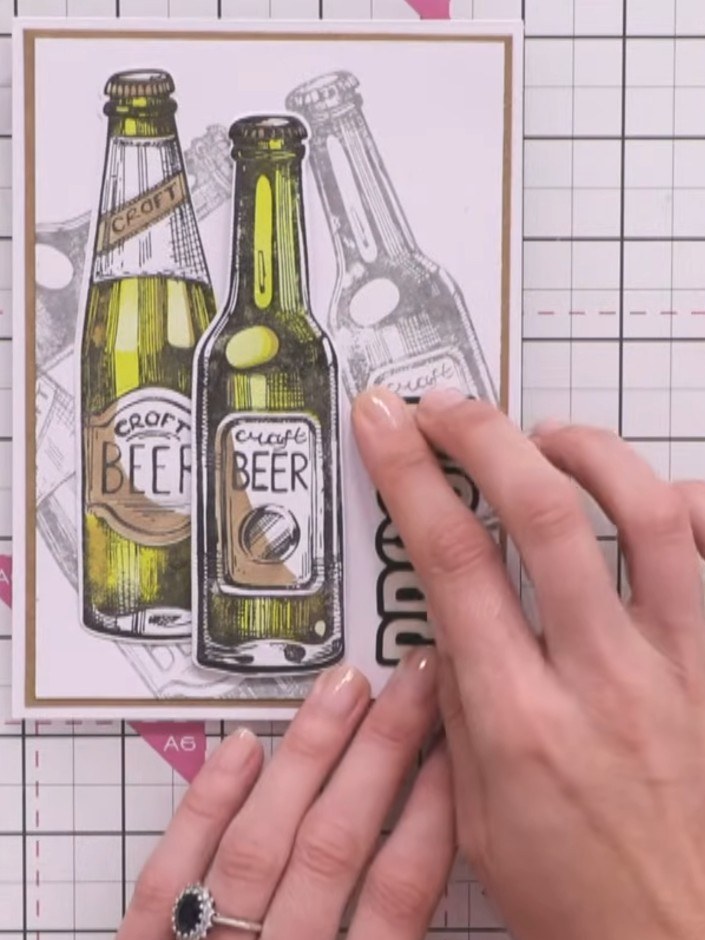
Create a striking celebration card featuring craft beer bottles with dimensional layered detail. Using the Craft Beer Quattro system, you'll build up coloured beer bottles with embossed caps and labels on a coordinating background. The finished card combines stamping, die-cutting, stencilling and embossing techniques for a sophisticated 3D effect perfect for beer enthusiasts.
 1
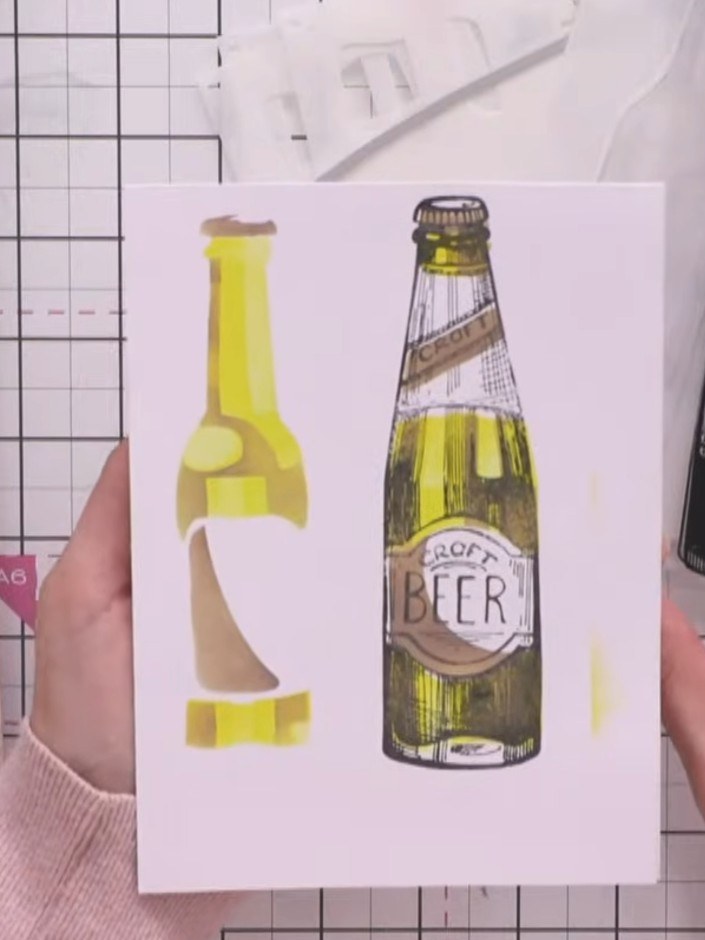
Place the layering stencil over your card base and apply colour through the stencil to create the bottle shape. Use ink or spray in your chosen colour to build up the layered design.
 2
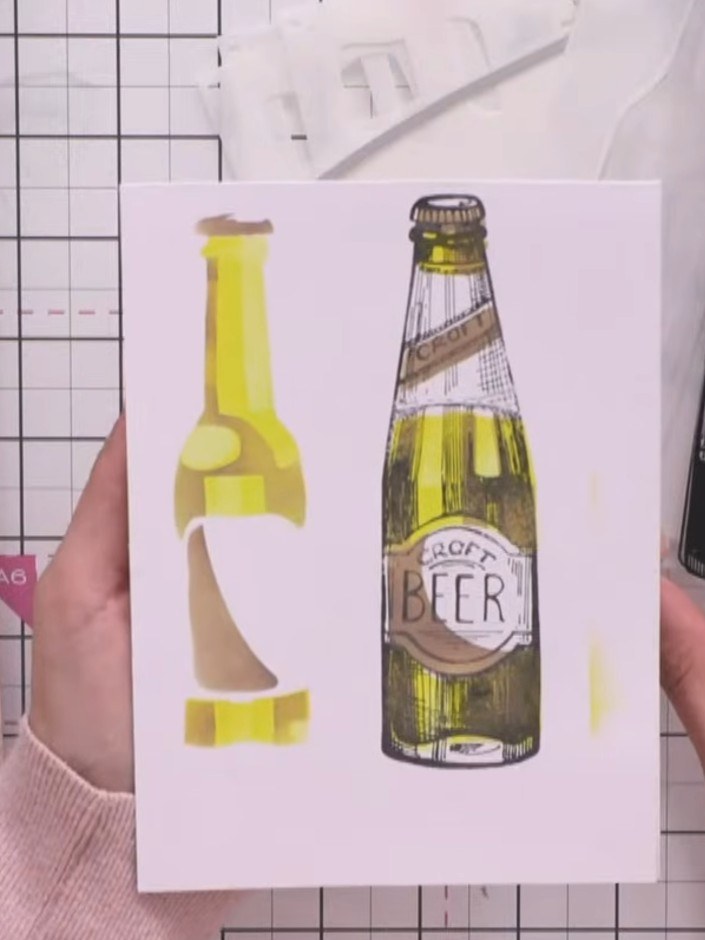
Stamp the bottle designs onto your card using the coordinating stamps from the set. Position them to align with your stencilled base layers, creating a complete bottle image with the 'Craft Beer' label.
 3
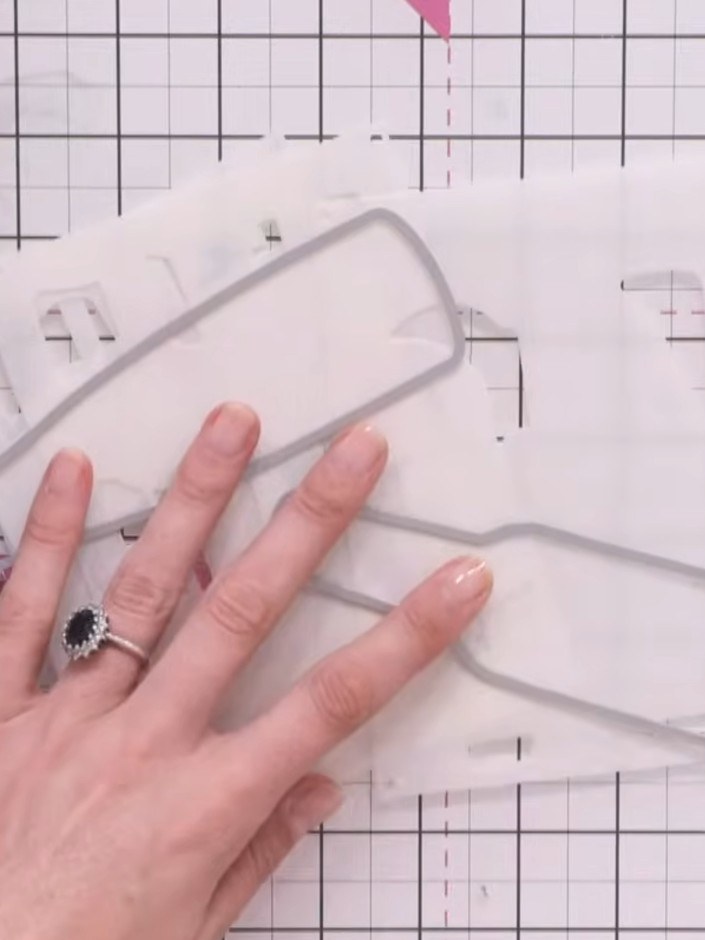
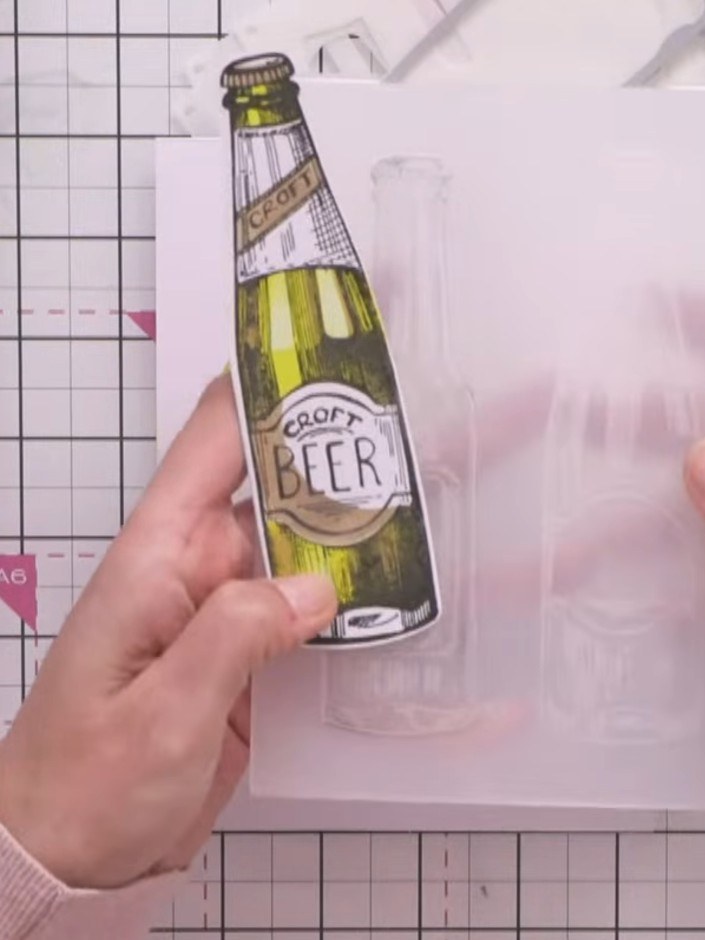
Die cut the stamped and stencilled piece using the coordinating die from the Craft Beer stamp set. This will cut out the individual bottle shapes that you've created.
 4
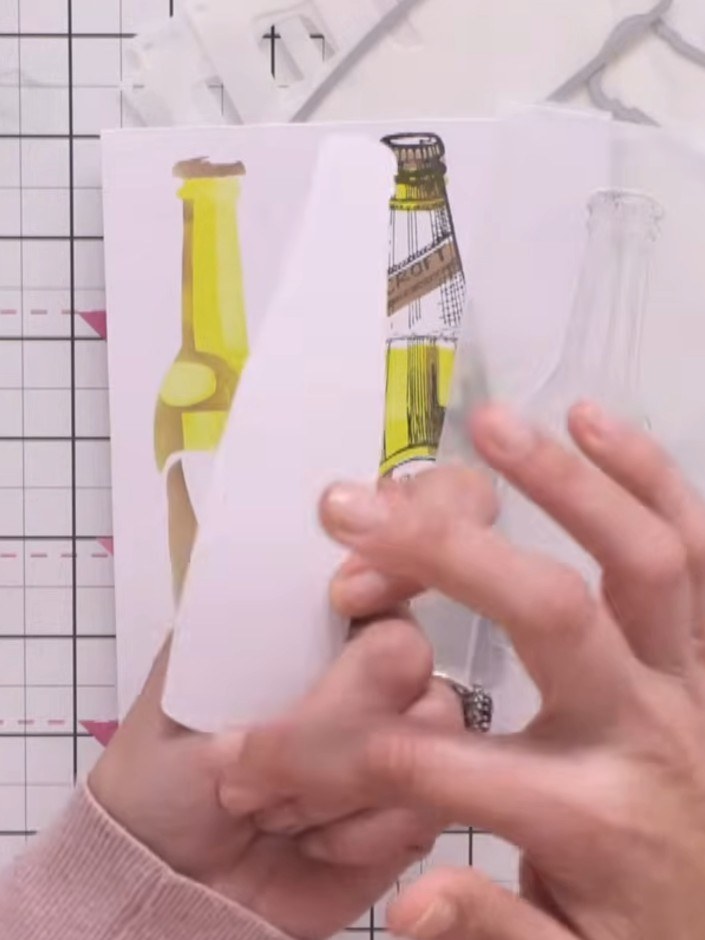
Line up the die-cut beer bottle piece with the embossing folder, matching the ridges on the bottle cap to the embossed outline on the folder.
 5
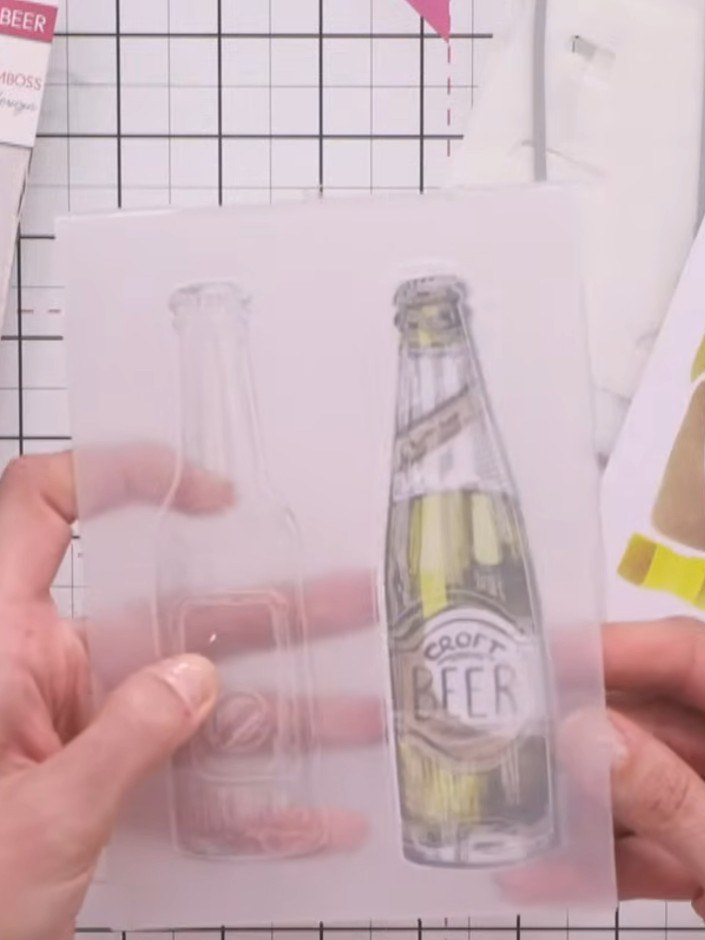
Pinch the embossing folder shut with the stamped image inside. Run it through your die-cutting machine to create the raised embossed detail on the bottle.
 6
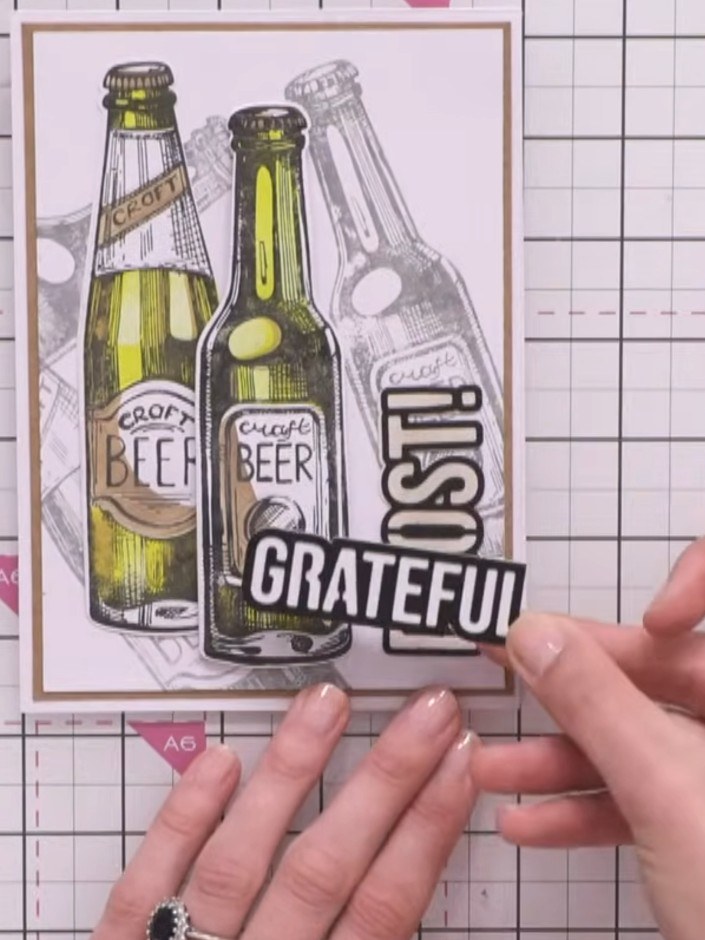
Layer the embossed bottle piece onto your card base. Use foam pads to add dimension if desired, positioning the bottle centrally on the card front.
 7
Add a coordinating sentiment such as 'Cheers', 'Grateful' or 'Prost' to complete your card. Position the sentiment stamp below or beside the bottles to finish the design.
Share your make with the Stamps By Me community - and keep this guide for next time.
Written up from the show itself. See every guide from our shows · free how-to guides · watch live on My Telly · the previous layout