Give your friends $10 off their first order!
Refer a FRIEND








Prices change straight away. Every language is our own translation, not Google.
A project from our live show IDEAL WORLD - Join Toni for the latest Stamps By Me product launch - Broadcast Wed 7th May 12 p.m. · 05/07/2025
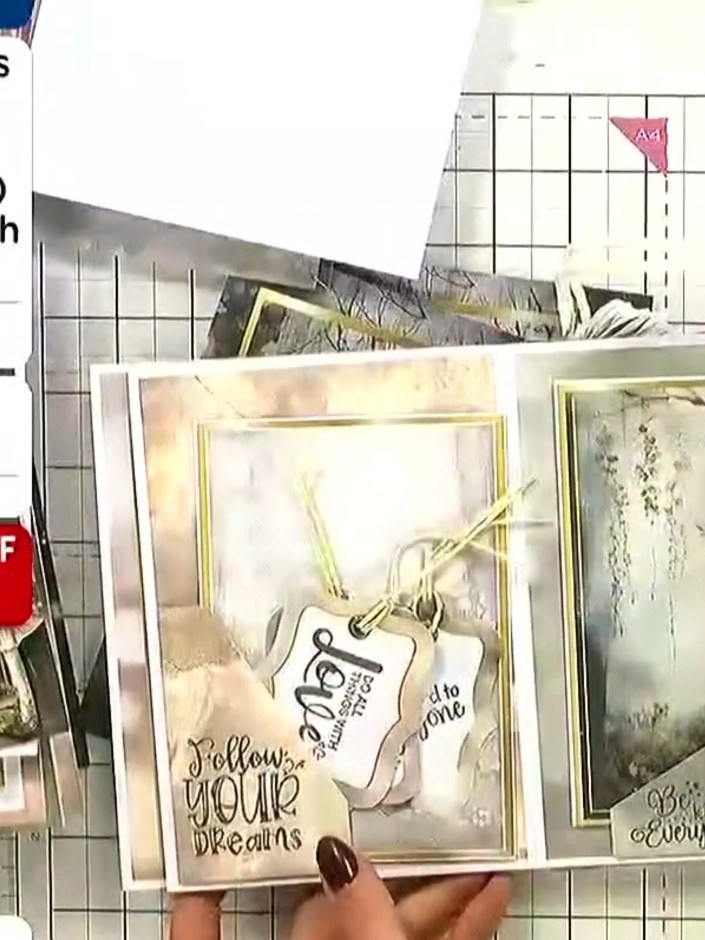
Create a beautiful fold-and-send envelope using pre-scored card that requires no cutting or measuring. This elegant design features built-in fold lines and is finished with a coordinating decorative sticker seal for a professional, polished look. Perfect for sending handmade cards or special messages.
 1
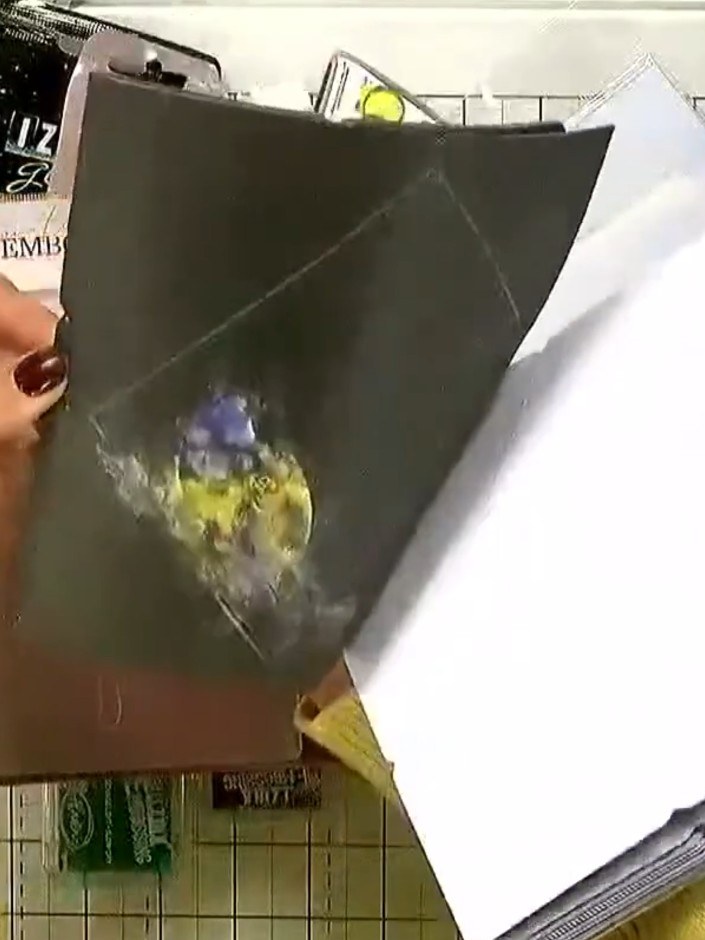
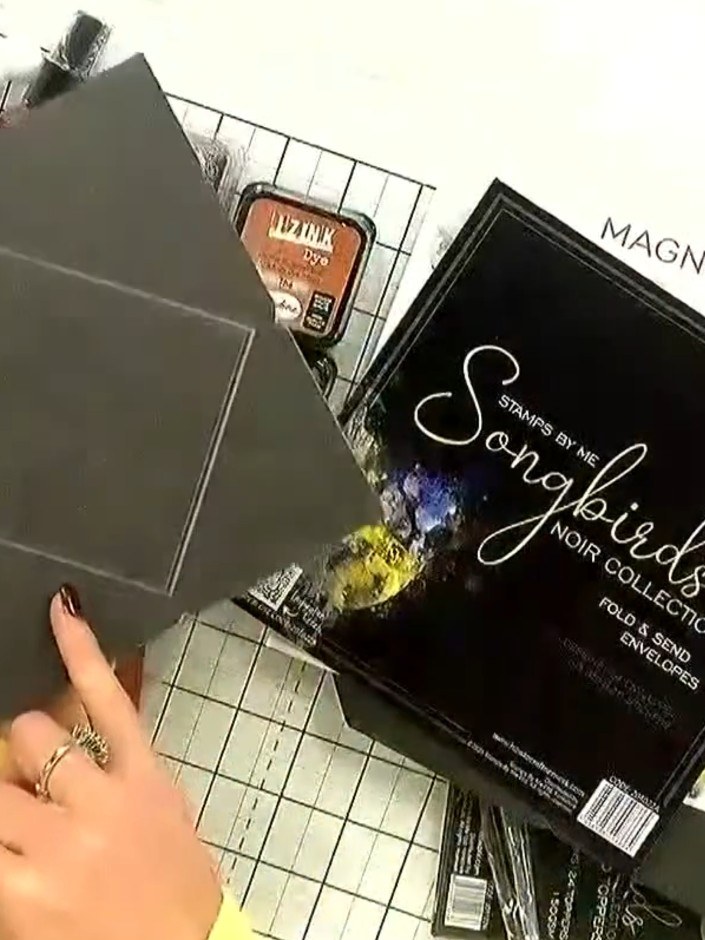
Take a fold and send envelope from the kit. The envelope is grey/olive coloured card that will be scored and folded to create the envelope shape.
 2
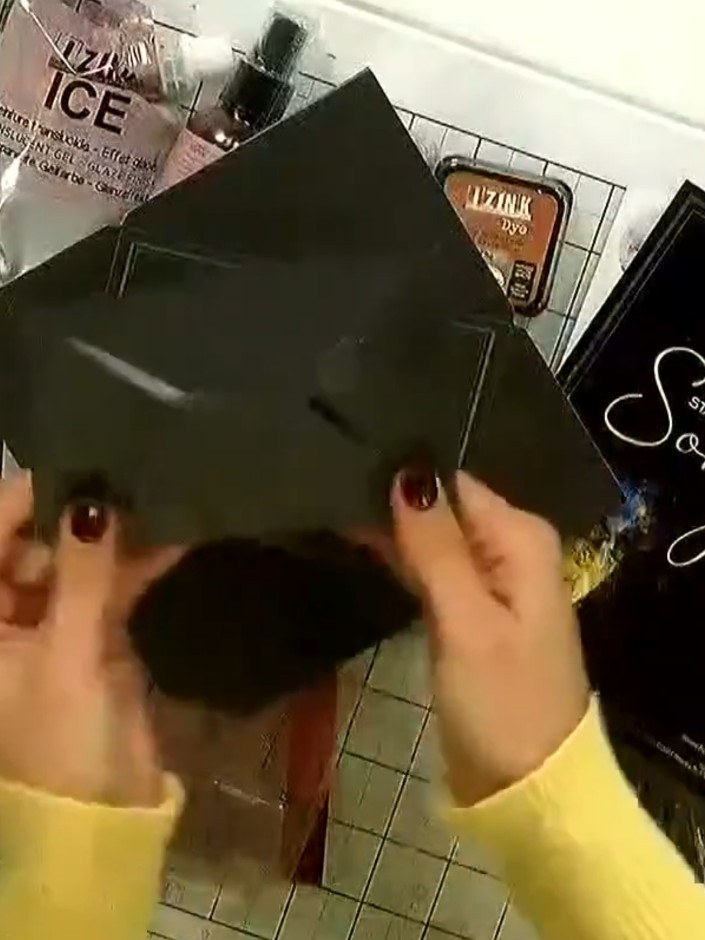
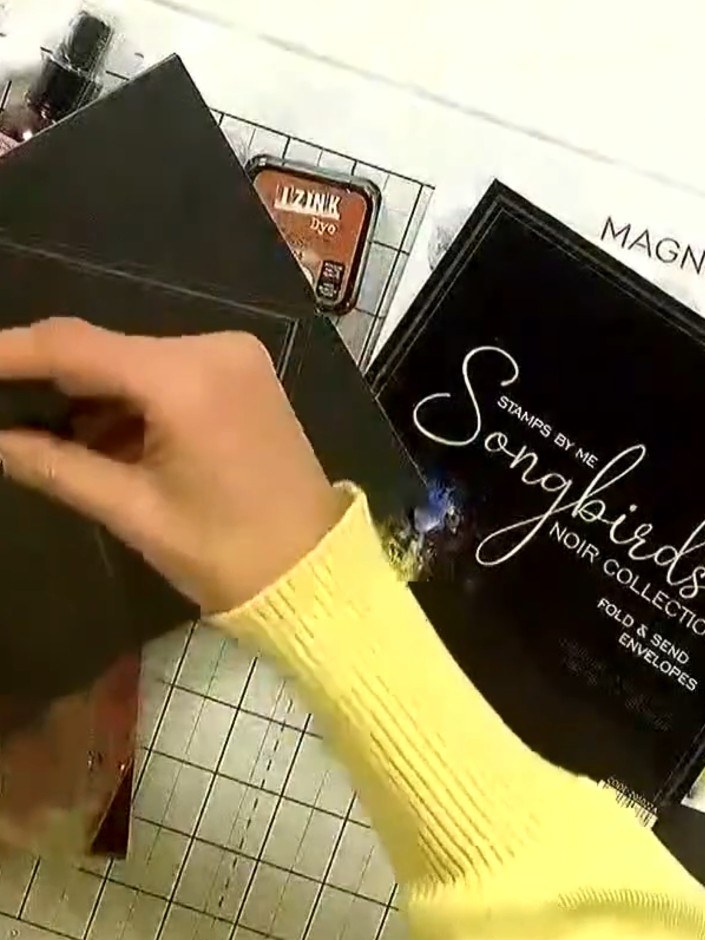
Locate the pre-printed score lines on the dark green envelope template. These score lines indicate where the envelope will be folded.
 3
Fold the envelope along the score lines. The pre-scored lines allow you to create the envelope shape without needing to measure or cut.
 4
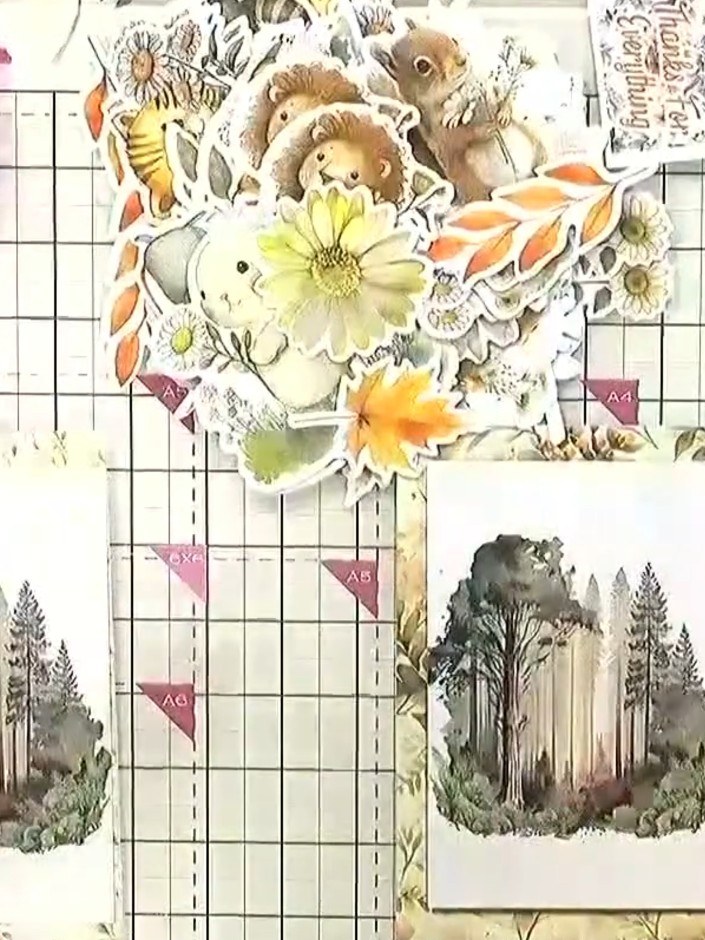
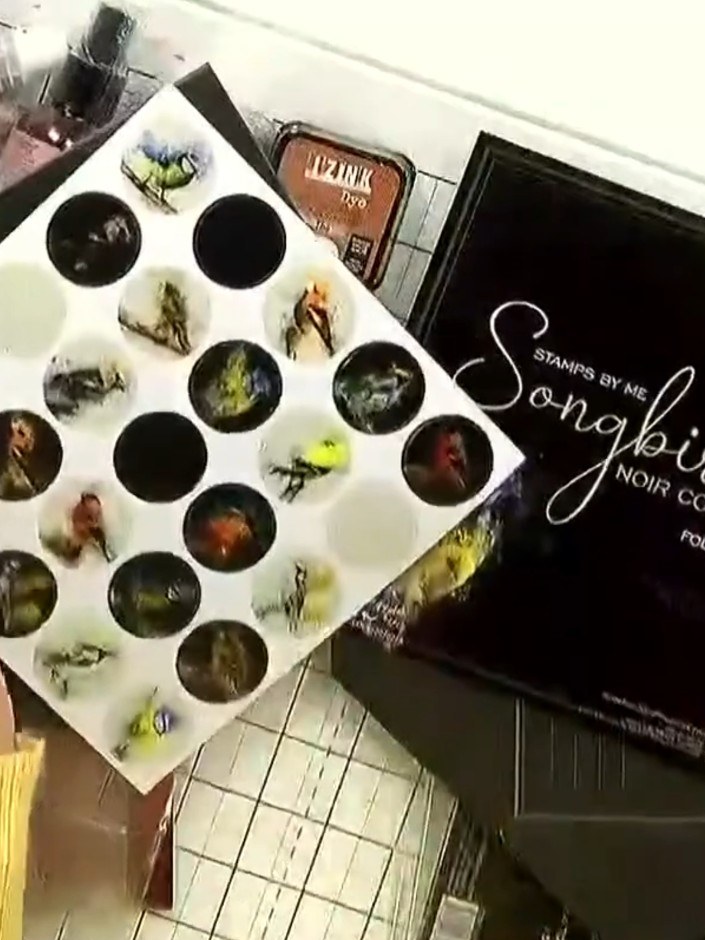
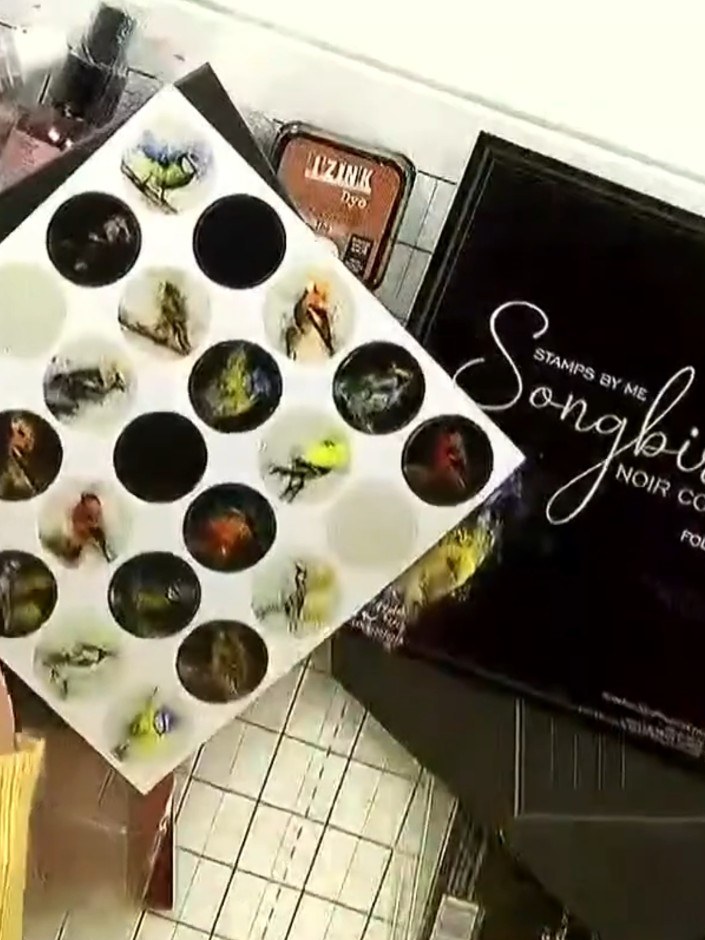
Select a coordinating sticker from the Songbirds Noir Collection kit to seal your envelope.
 5
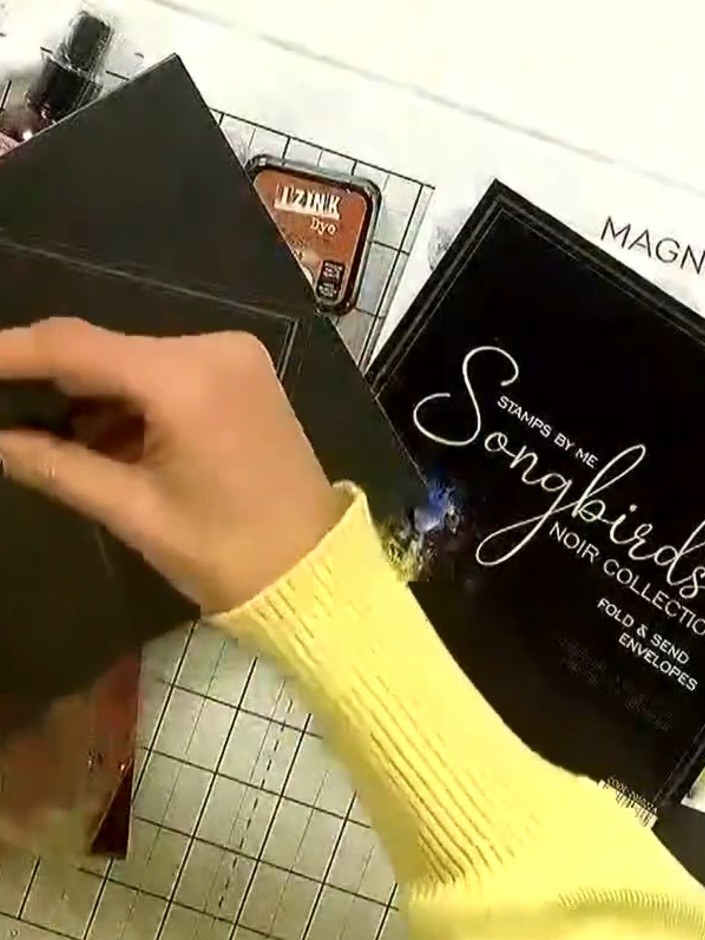
Choose a sticker from your collection and apply it to the envelope flap to seal it closed. Press down firmly to ensure the sticker adheres well and keeps the envelope secure. Your handmade envelope is now complete and ready to post. Insert your handmade card inside, seal with the sticker, and send.
Share your make with the Stamps By Me community - and keep this guide for next time.
Written up from the show itself. See every guide from our shows · free how-to guides · watch live on My Telly · the previous layout