Give your friends $10 off their first order!
Refer a FRIEND








A project from our live show IDEAL WORLD - Join Toni for the latest Stamps By Me product launch - Broadcast Wed 7th May 12 p.m. · 05/07/2025 · watch it from 32:00
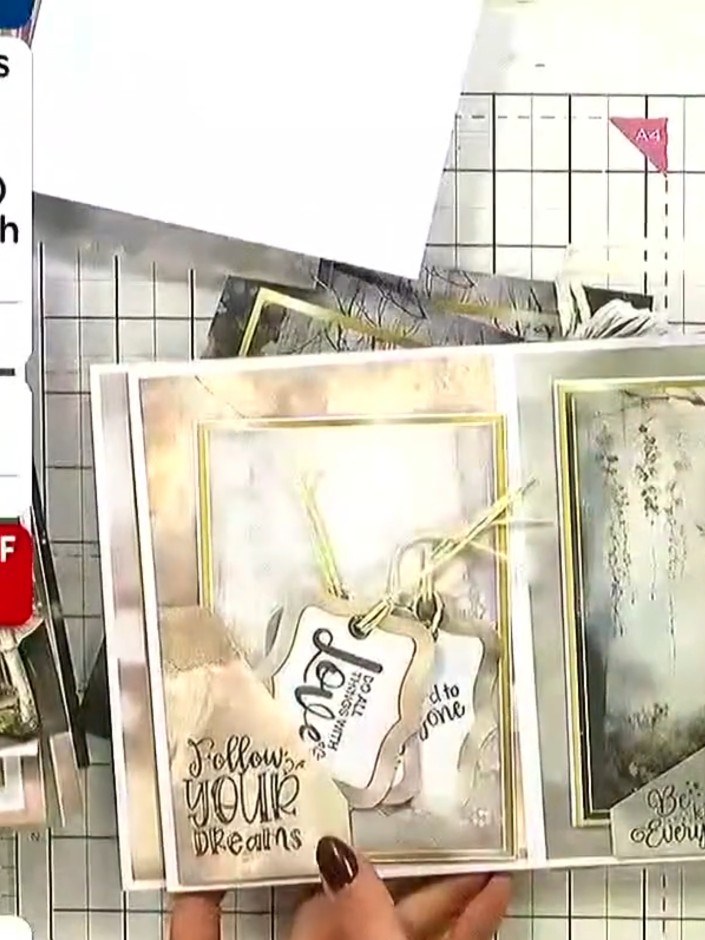
Create a magical fairy card featuring enchanting nature elements with beautiful dimensional layers. This whimsical design combines delicate butterflies, dragonflies, and floral motifs with inspirational sentiments like 'Follow Your Dreams' on a soft, dreamy background. Using pre-printed toppers and 3D foam pads, you'll build stunning depth and dimension to bring this fairy tale scene to life.
Select a card blank from the kit with your preferred design. The kit includes 18 pre-printed card blanks featuring various fairy-themed scenes including woodland paths, fairy doors, and mushroom designs.
▶ watch this step (32:15)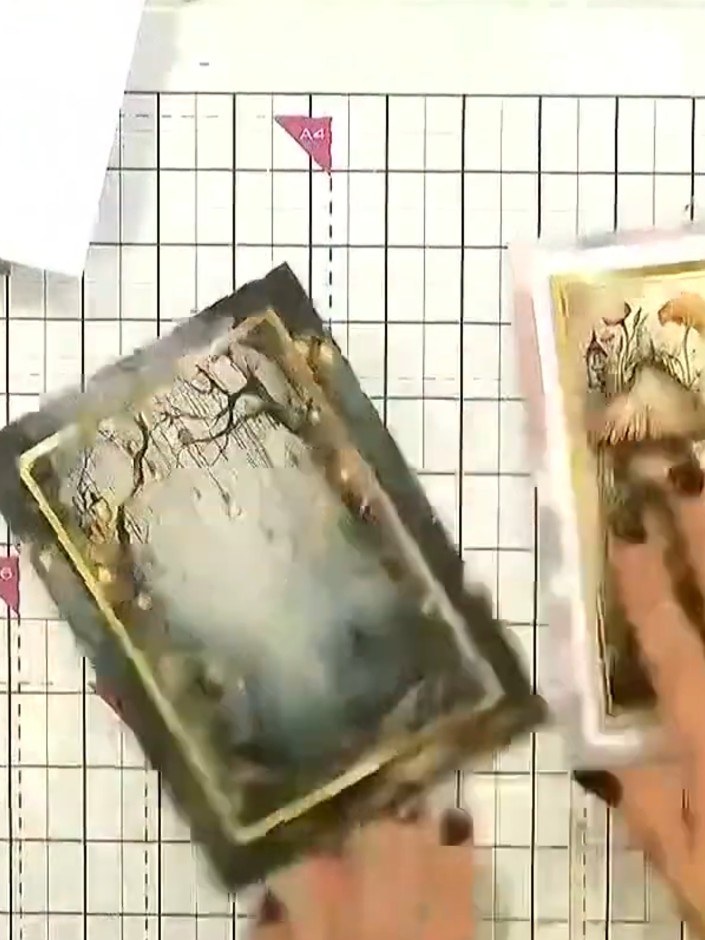
Choose a topper featuring a fairy or magical element from the kit. Select the design you wish to use for your card.
▶ watch this step (32:30)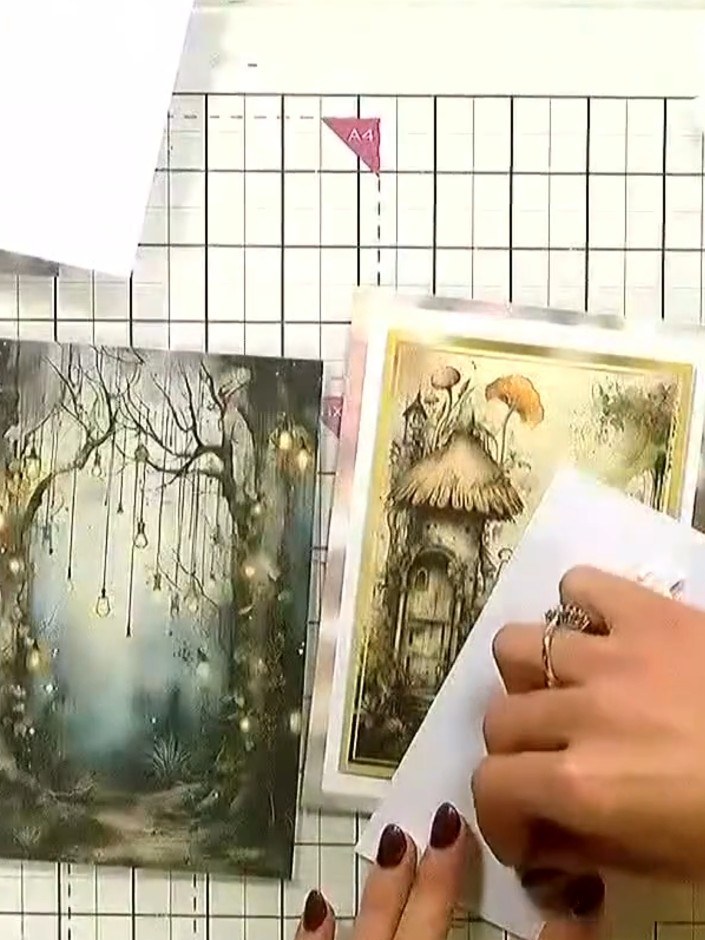
Apply 3D foam pads to the back of your topper piece. Use multiple pads to ensure secure placement and good coverage across the back of the image.
▶ watch this step (32:45)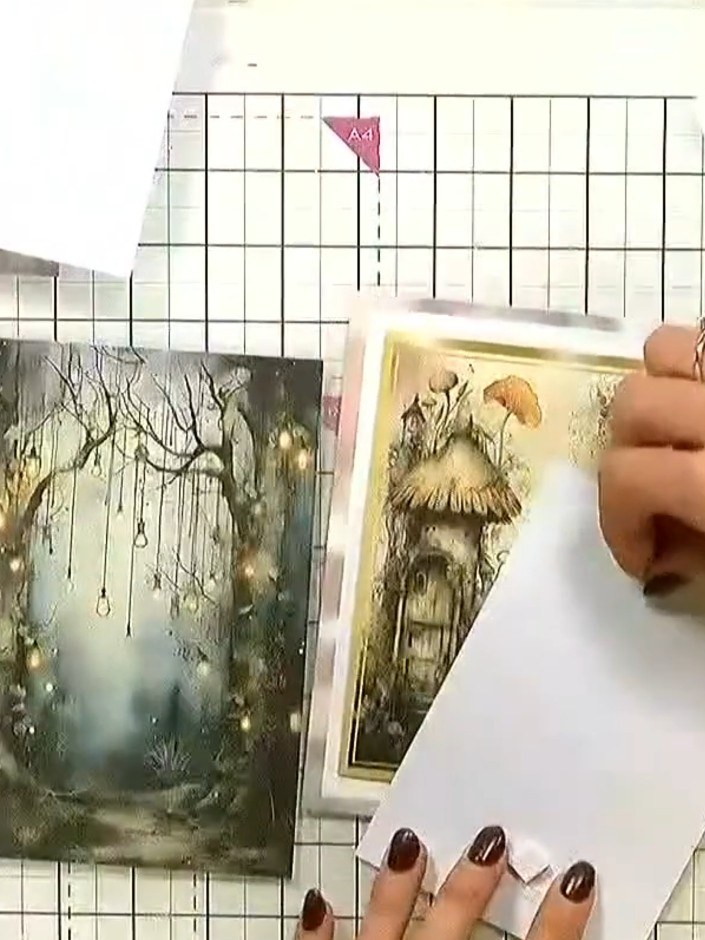
Remove the backing from the foam pads on the reverse of your chosen topper. Position the topper in the centre of your card front, ensuring it is straight and evenly placed.
▶ watch this step (33:00)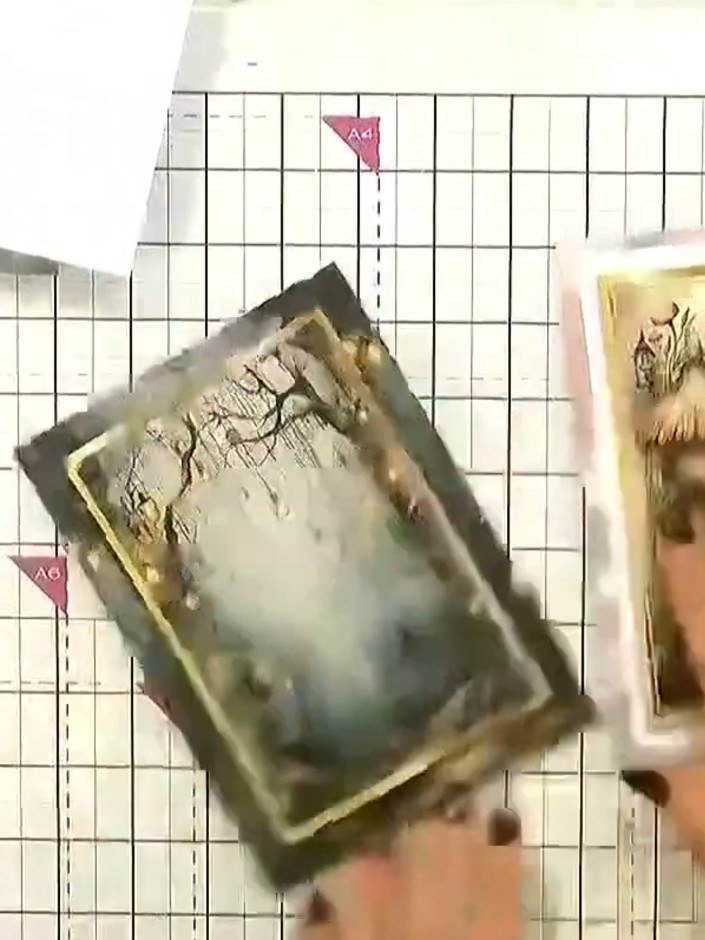
Press the topper firmly onto the card base to secure it in place, ensuring it stands proud from the card surface. Apply even pressure across the entire topper to ensure good adhesion.
▶ watch this step (33:15)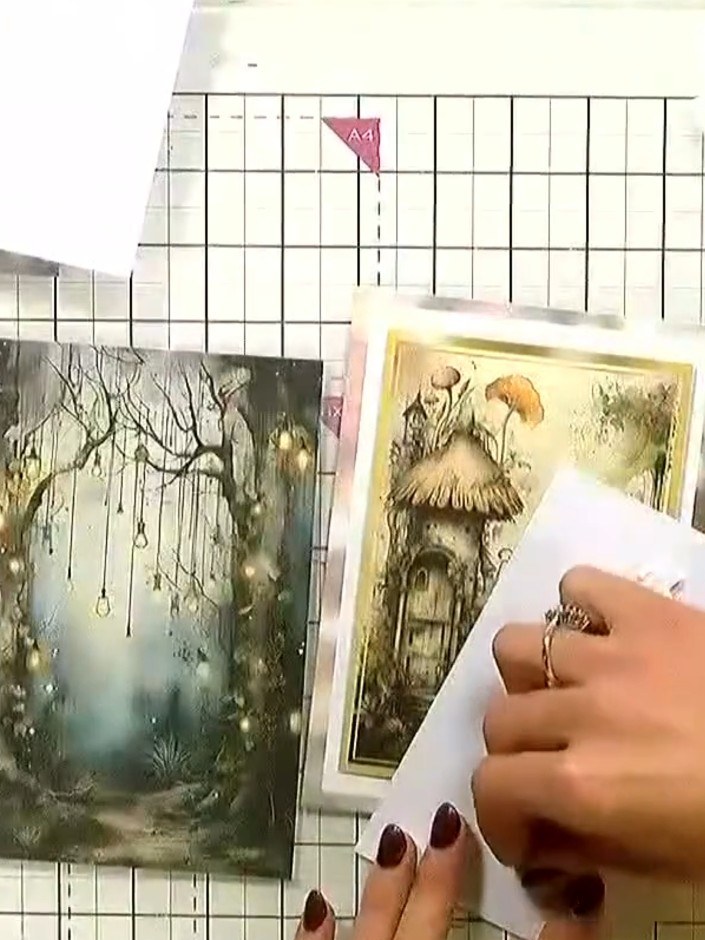
Select additional embellishments from the kit such as fairies, dragonflies or flowers to add dimension to your card. Don't be sparing with your embellishments - layer them generously to create a magical scene.
▶ watch this step (33:30)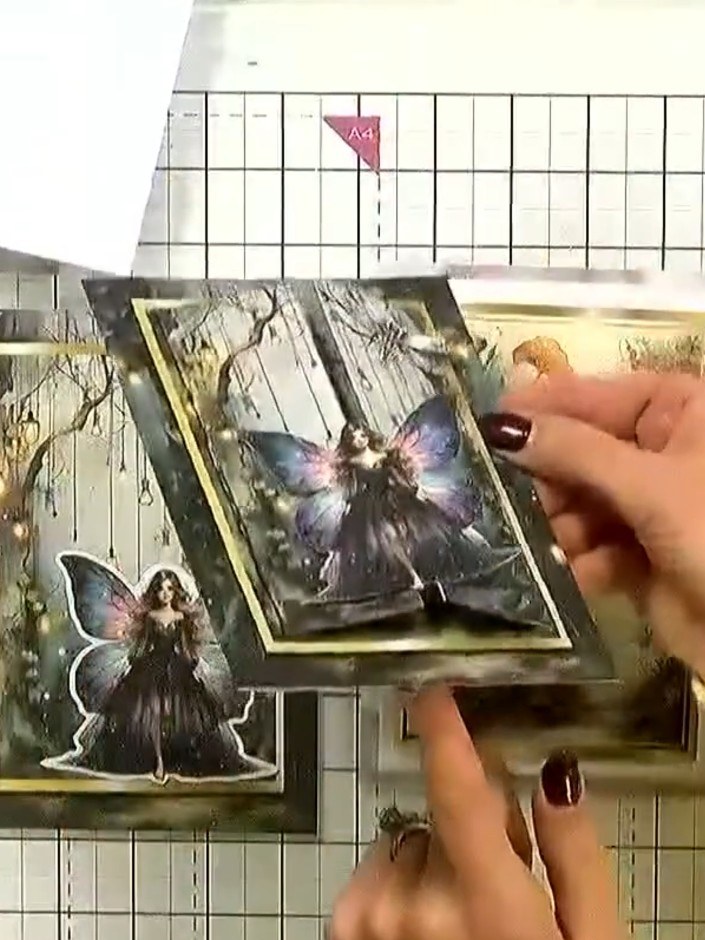
Apply foam pads to the back of your fairy and floral embellishments. Position them on your card to create dimension and a layered effect.
▶ watch this step (33:45)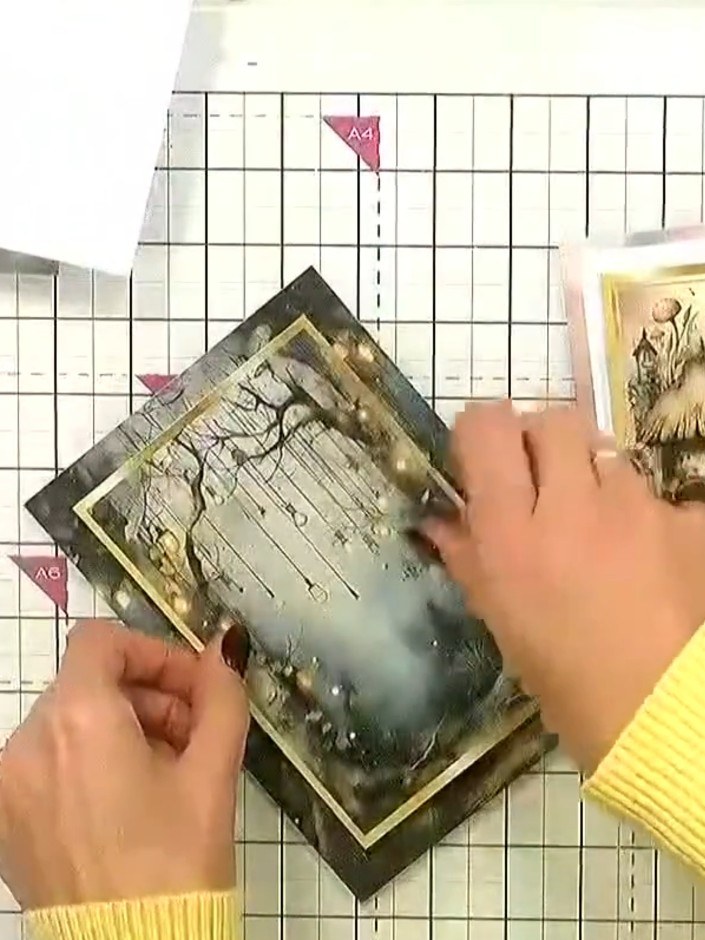
Layer the embellishments around the main topper to create dimension. Position the decorative panels with gold frames around the central image, arranging them at angles for visual interest. Add the floral and butterfly die-cuts to complete the layered design.
▶ watch this step (34:00)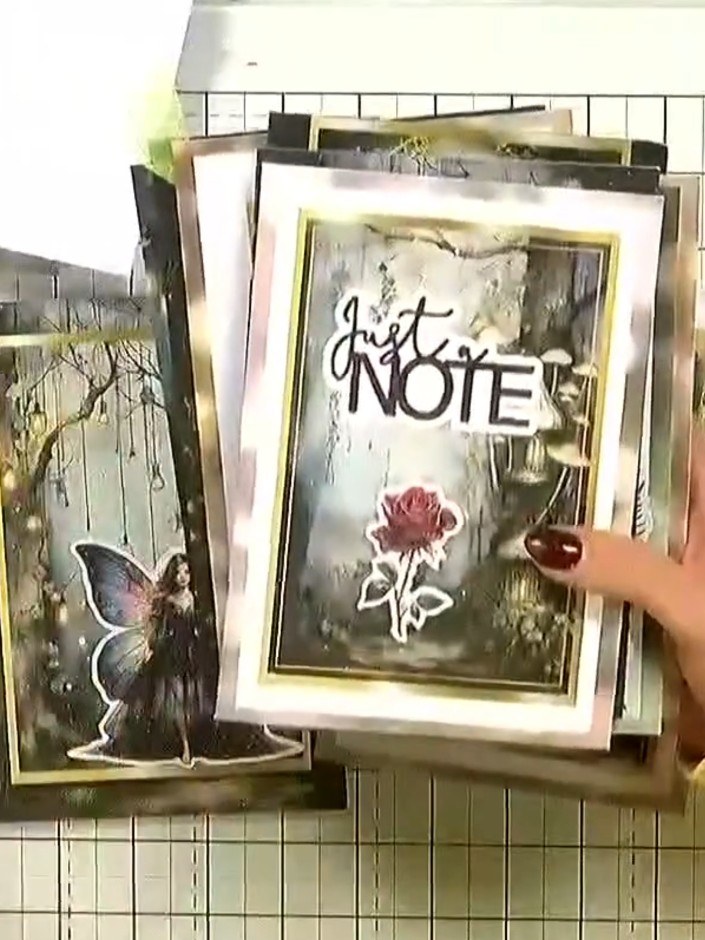
Optionally, add a sentiment topper from the kit inside the card, or use stamps to create your own message. The card can be used as a note holder or greeting card.
▶ watch this step (34:15)Written up from the show itself. See every guide from our shows · free how-to guides · watch live on My Telly