Give your friends $10 off their first order!
Refer a FRIEND








A project from our live show IDEAL WORLD - Join Toni for the latest Stamps By Me product launch - Broadcast Wed 7th May 12 p.m. · 05/07/2025 · watch it from 46:00
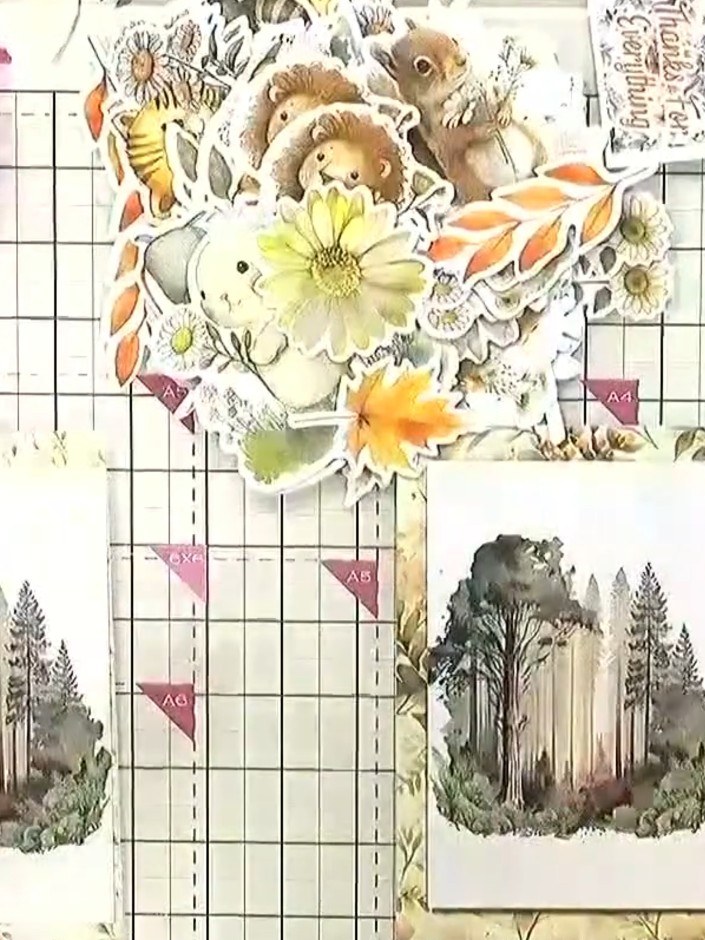
Create a delightful handmade card featuring adorable woodland animals and soft watercolour florals in gentle yellows, greens and autumn tones. This project shows you how to use rub-on transfers to add beautiful printed sentiments and details to your card, achieving a professional finish without the need for stamps or die-cutting. The layered design combines pre-printed elements with decorative embellishments for a charming, nature-inspired greeting card.
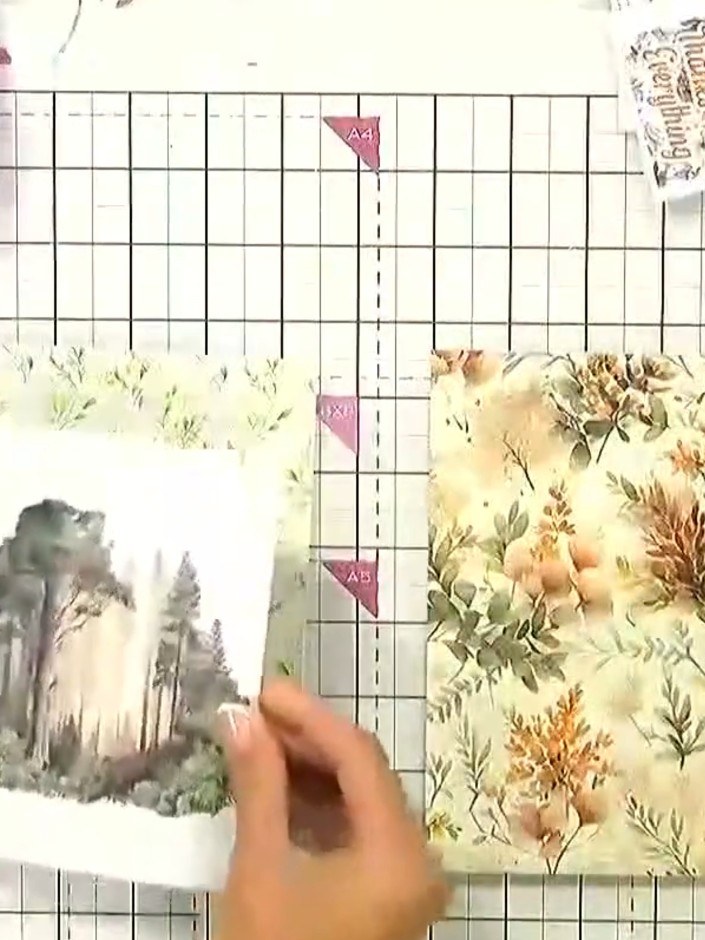
Select a card blank with a watercolour background design. Choose from the available designs featuring nature scenes with delicate botanical illustrations.
▶ watch this step (46:30)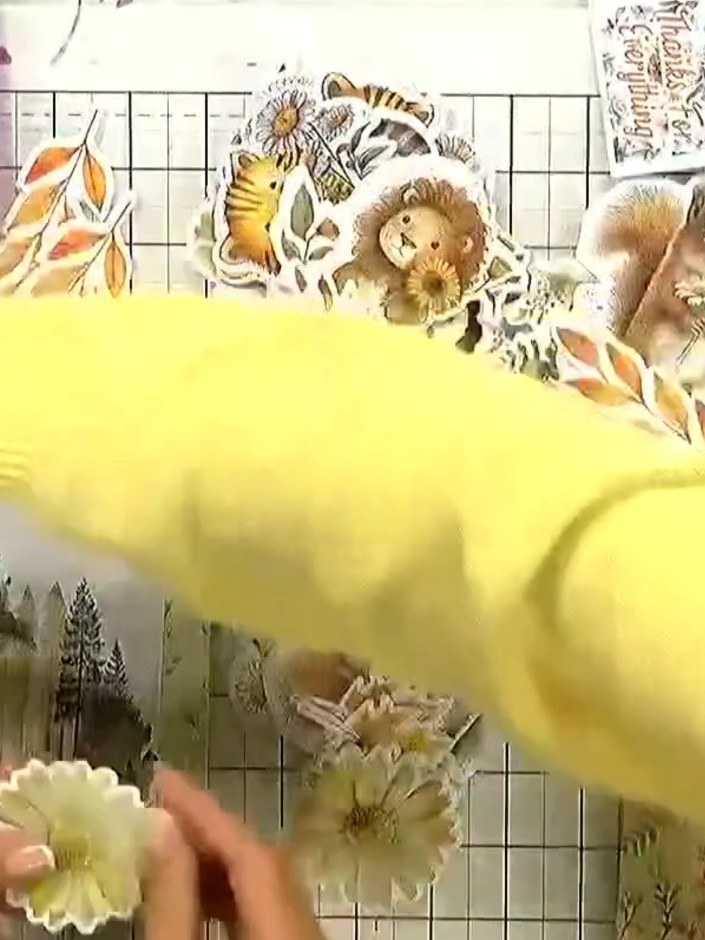
Select your animal embellishments from the kit. Choose from the cute safari animals such as the hedgehog, mouse, lion, zebra, or giraffe. Lay them out on your craft mat ready to use.
▶ watch this step (46:45)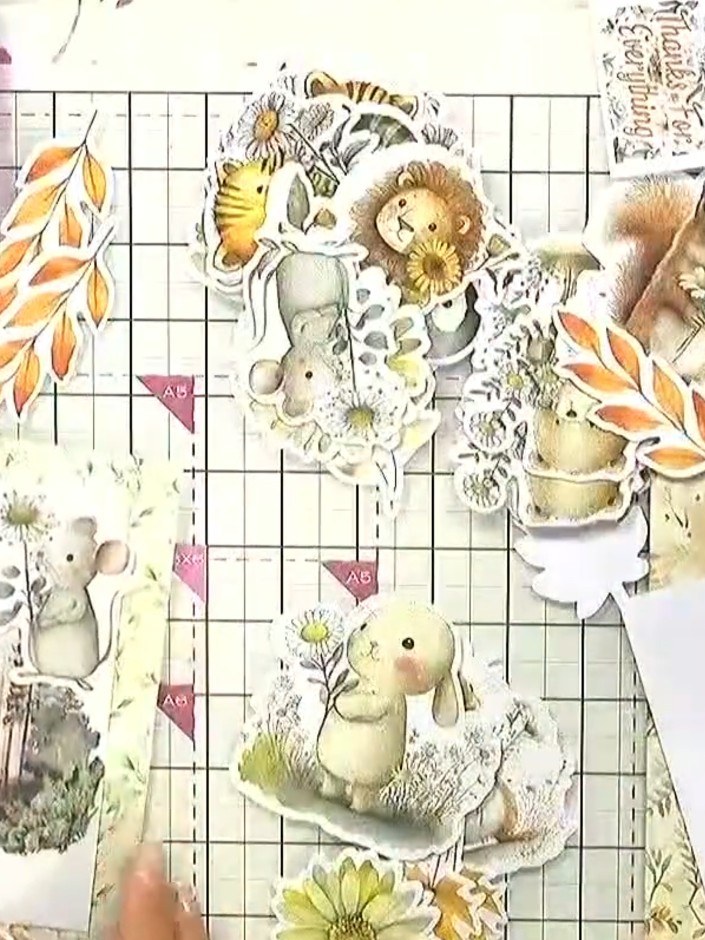
Apply foam pads to the back of your chosen animal embellishment. This will add dimension when you attach it to your card.
▶ watch this step (47:00)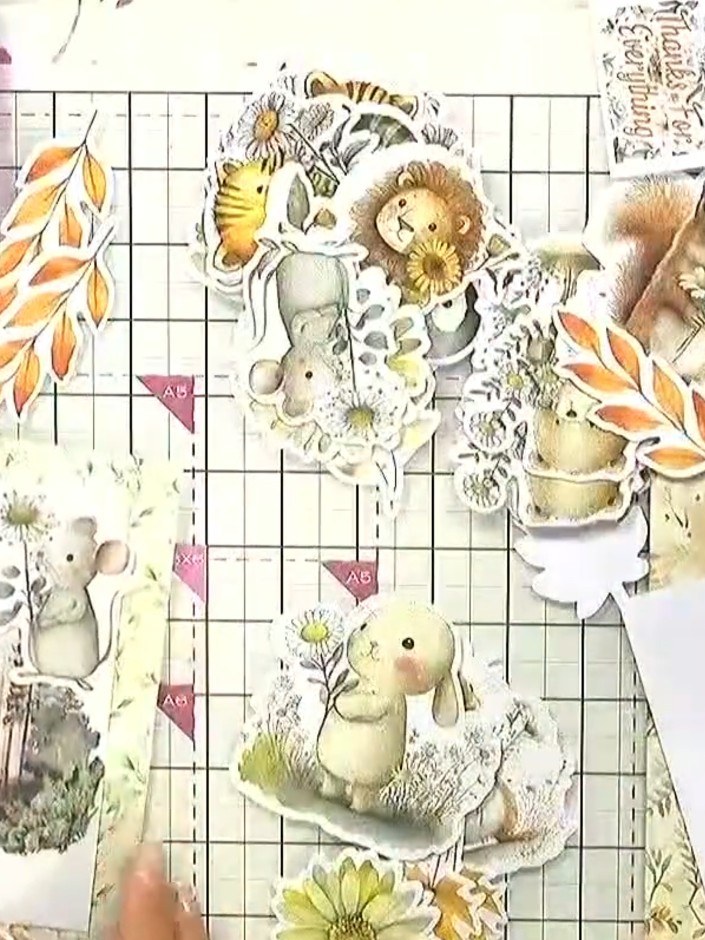
Select your chosen animal die-cut and position it on the card front. Press the animal firmly onto the card to secure it in place.
▶ watch this step (47:15)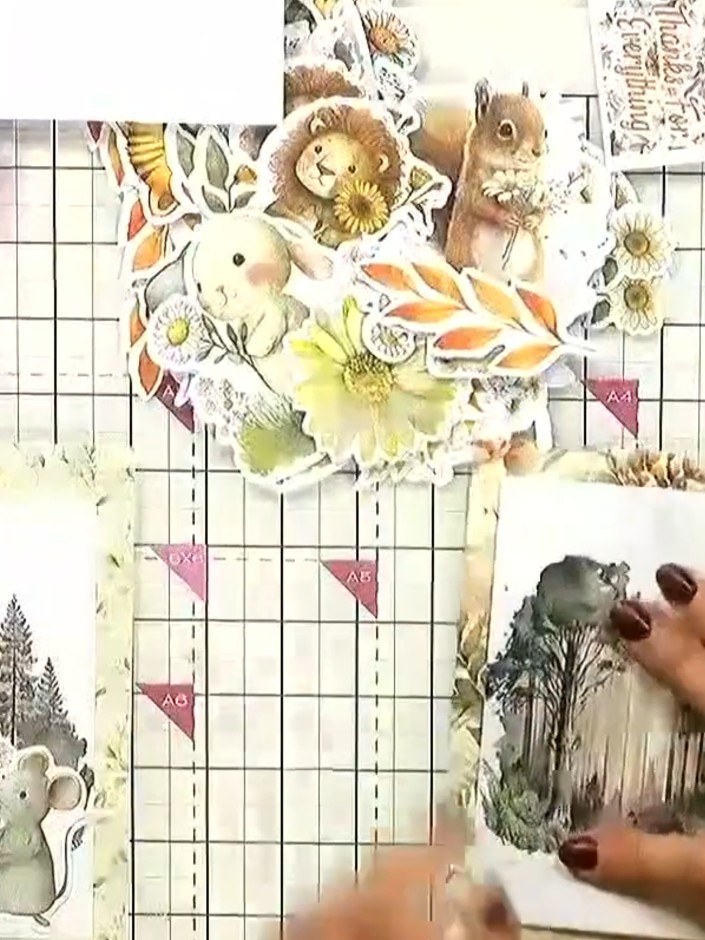
Add filler florals or leaves around the animal elements using foam pads for dimension. Layer the yellow flowers and leaf sprigs to fill gaps and create depth in your composition.
▶ watch this step (47:30)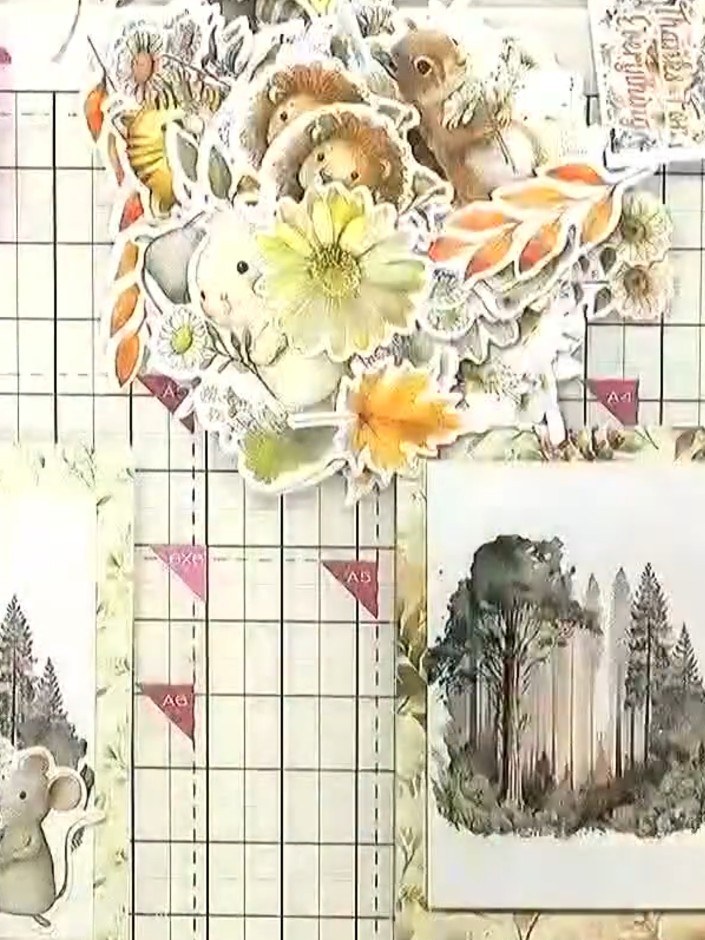
Select a rub-on transfer from the kit and peel off the backing sheet to prepare it for application.
▶ watch this step (47:45)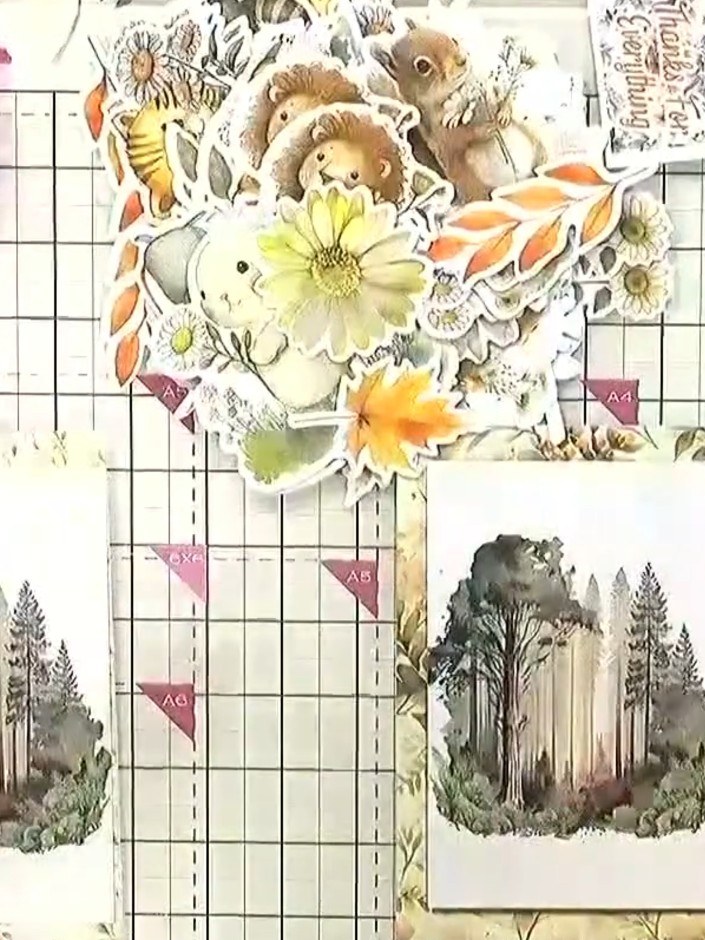
Position the rub-on transfer on your card where you want the design to appear. Place it carefully over the woodland scene aperture, ensuring the design is centred and aligned as desired.
▶ watch this step (48:00)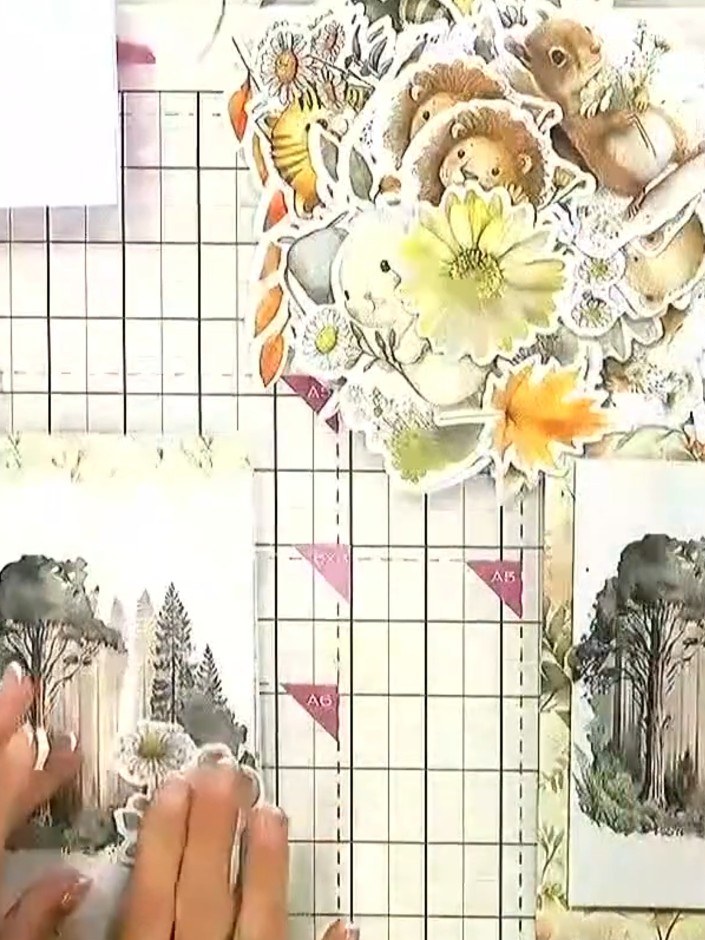
Using a nail file, lollipop stick or brush handle, rub firmly over the entire rub-on transfer design to ensure it adheres completely to the card surface.
▶ watch this step (48:15)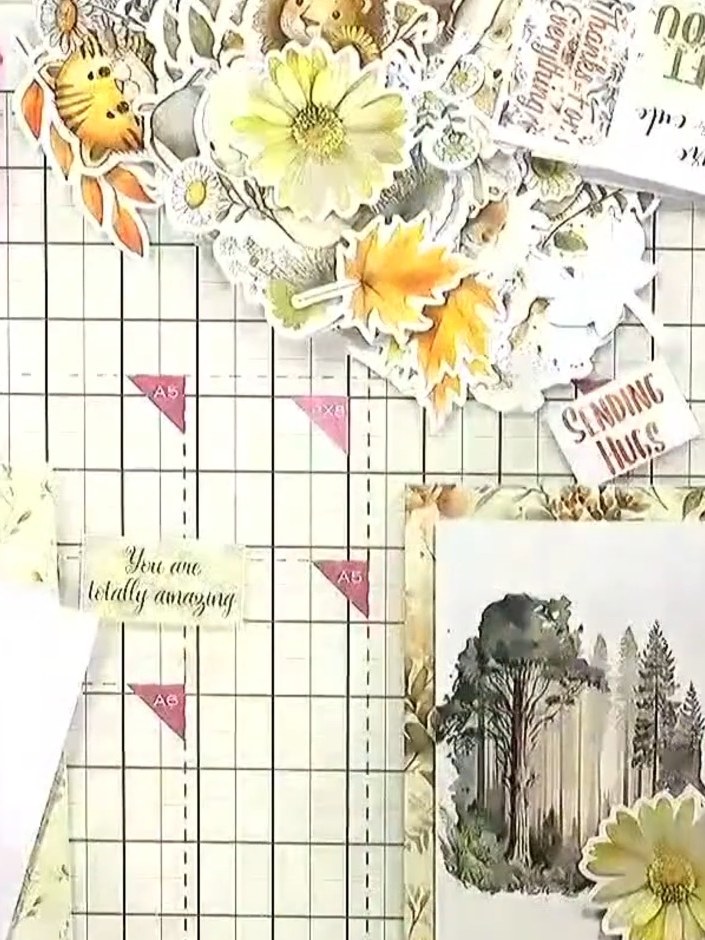
Carefully peel away the transparent carrier sheet from the rub-on transfer to reveal the sentiment on your card. The design should now be permanently transferred onto the card surface.
▶ watch this step (48:30)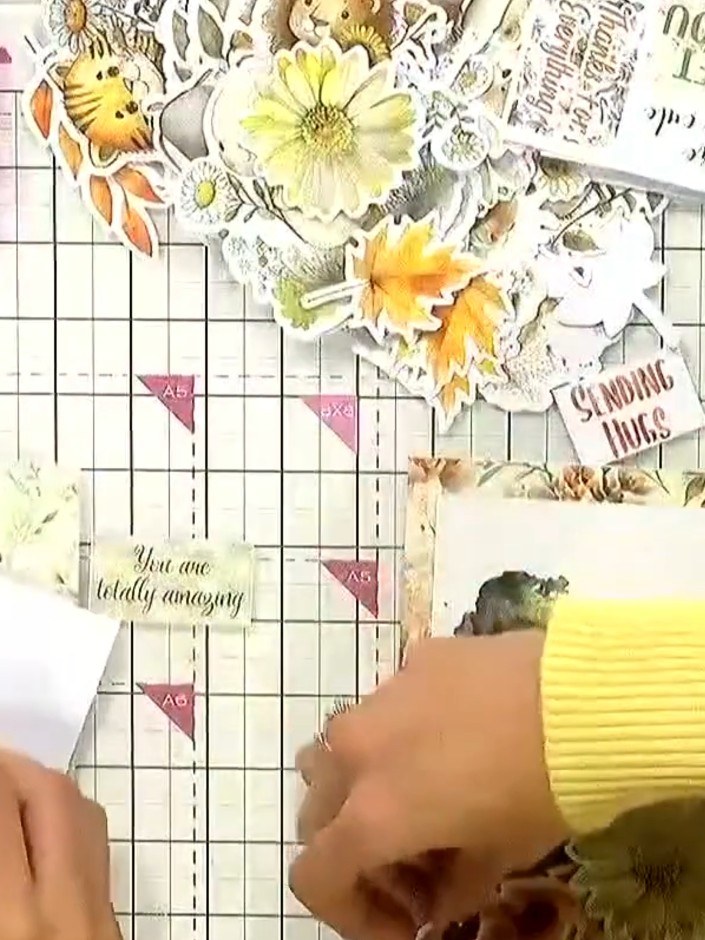
If the transfer has not fully adhered to the card, replace the transfer sheet over the design and rub again with the burnishing tool until all elements are properly transferred.
▶ watch this step (48:45)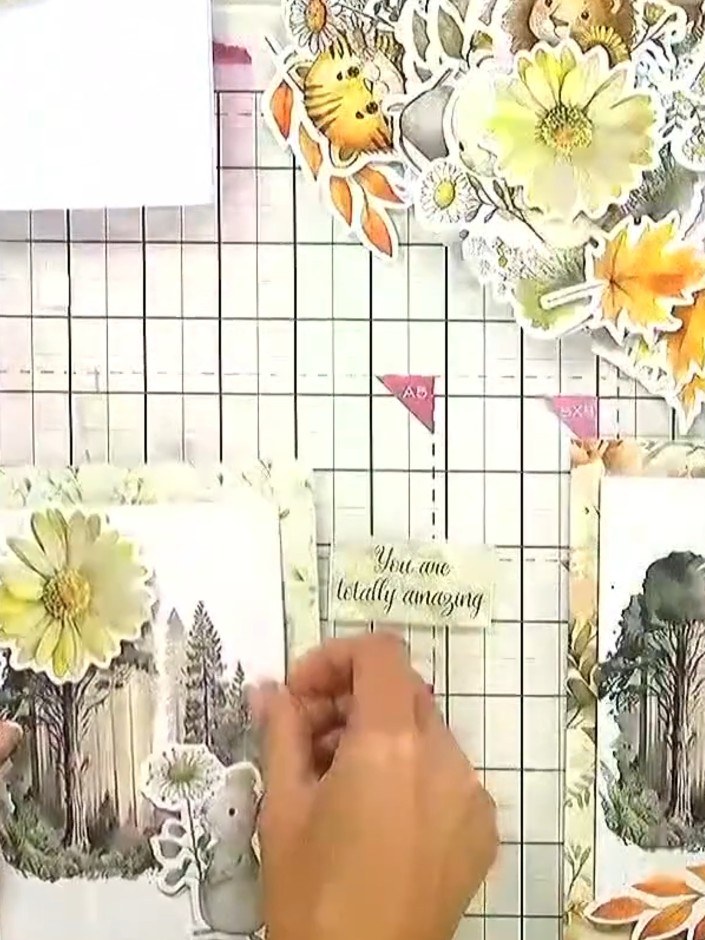
Add a sentiment topper to the card by placing it under one of the foam pads at the top of the design. Alternatively, stamp a message onto the card to complete your project.
▶ watch this step (49:00)Written up from the show itself. See every guide from our shows · free how-to guides · watch live on My Telly