Give your friends $10 off their first order!
Refer a FRIEND








Prices change straight away. Every language is our own translation, not Google.
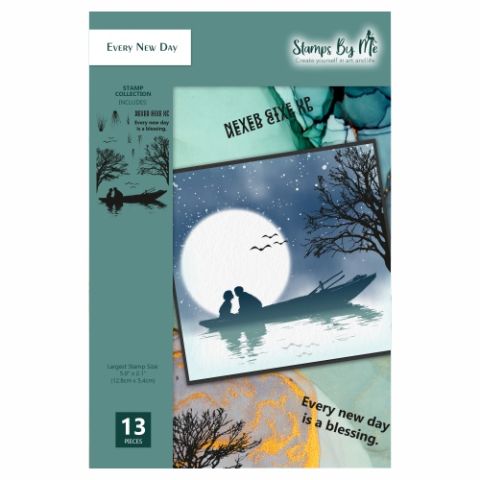
A project from our live show THE THURSDAY DROP - Latest Products from Toni - Broadcast 27th August 2026 · 08/27/2026
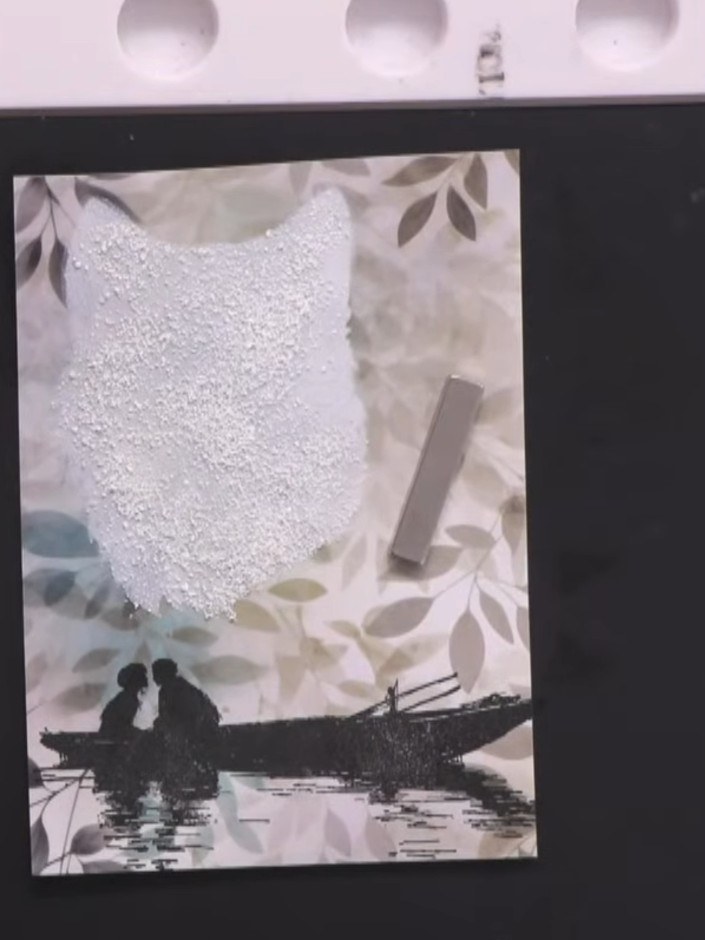
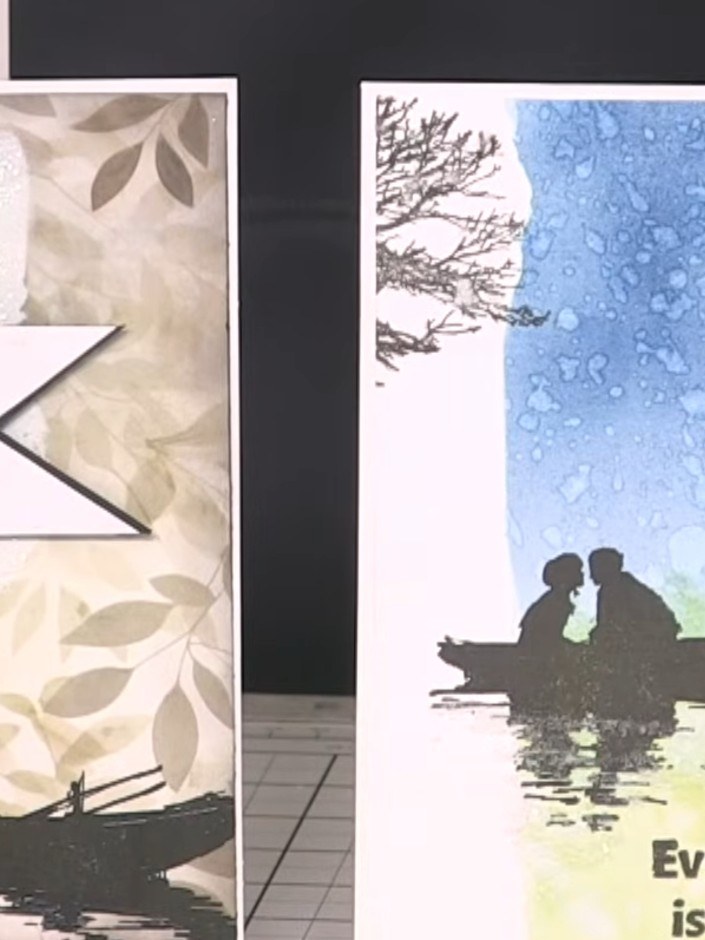
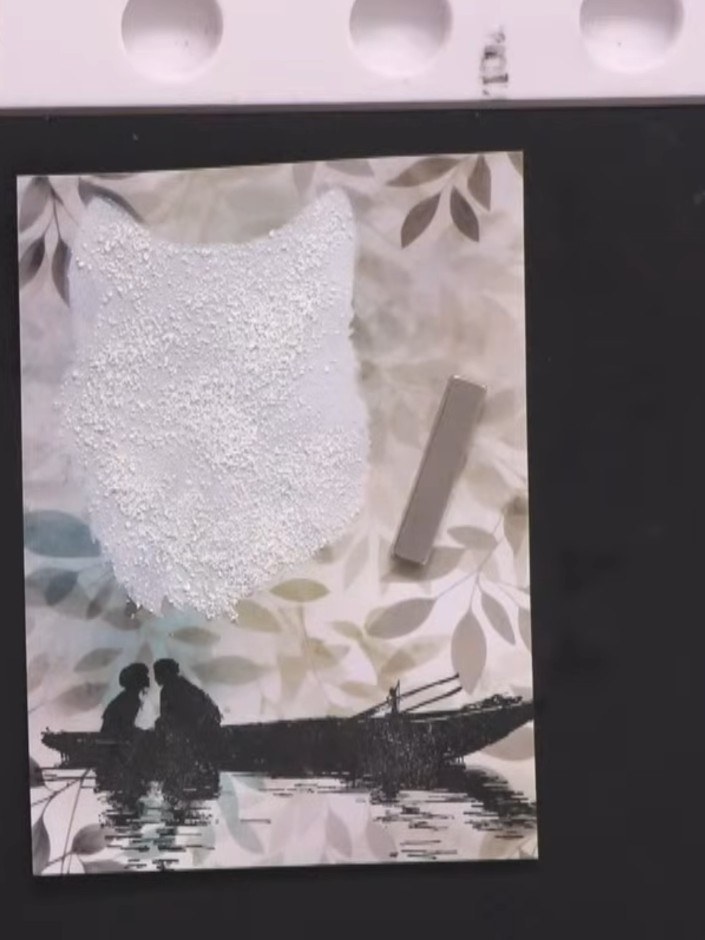
Create an elegant romantic card featuring a silhouette of a couple in a boat, stamped in black with clear embossing for a subtle shine. The design includes a custom banner sentiment with a pointed tail detail, framed with a vignette effect using soft, muted tones. This sophisticated card combines stamping, embossing and layering techniques to produce a beautiful celebration piece perfect for anniversaries or special occasions.
 1
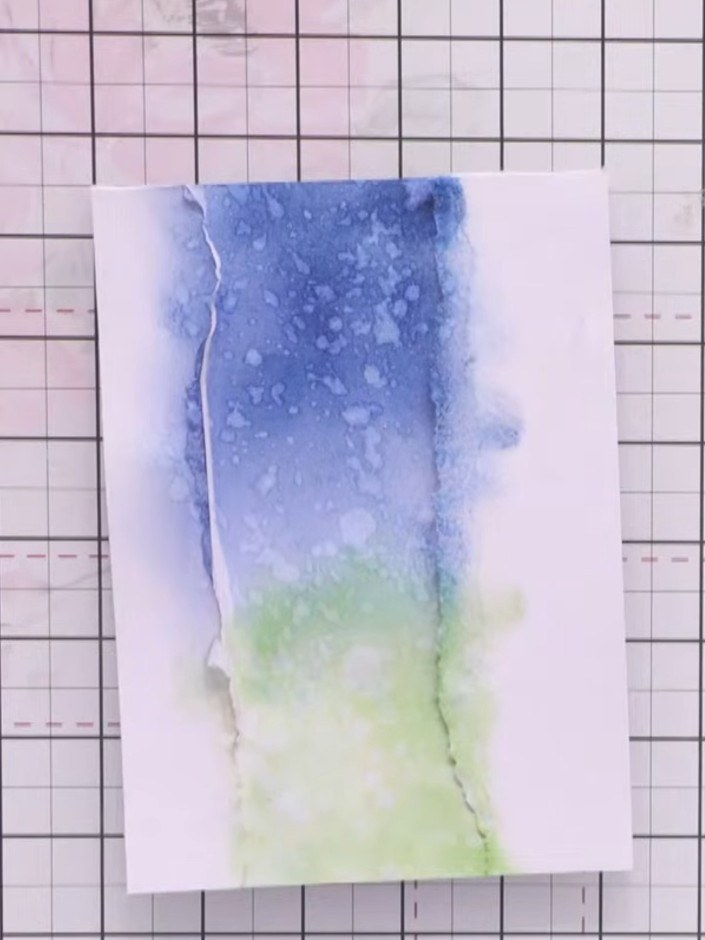
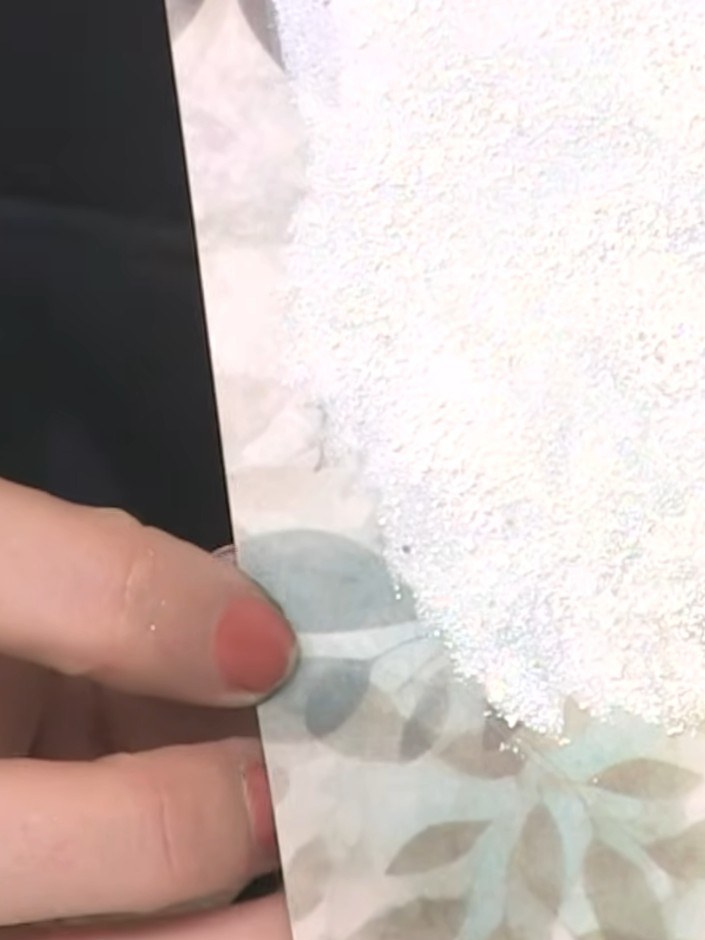
Trim your inky blended panel down to size and position it on a white card base. Stamp a sentiment such as 'Simply the Best' onto white card stock using black ink. Position the stamp carefully and press firmly for a clear impression.
 2
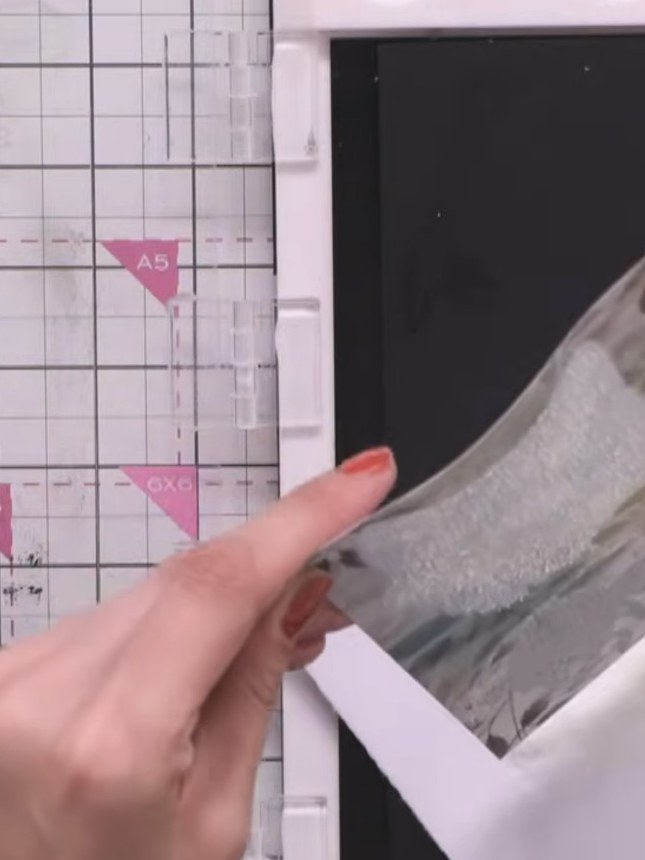
Trim the sentiment into a rectangular shape using scissors or a trimmer.
 3
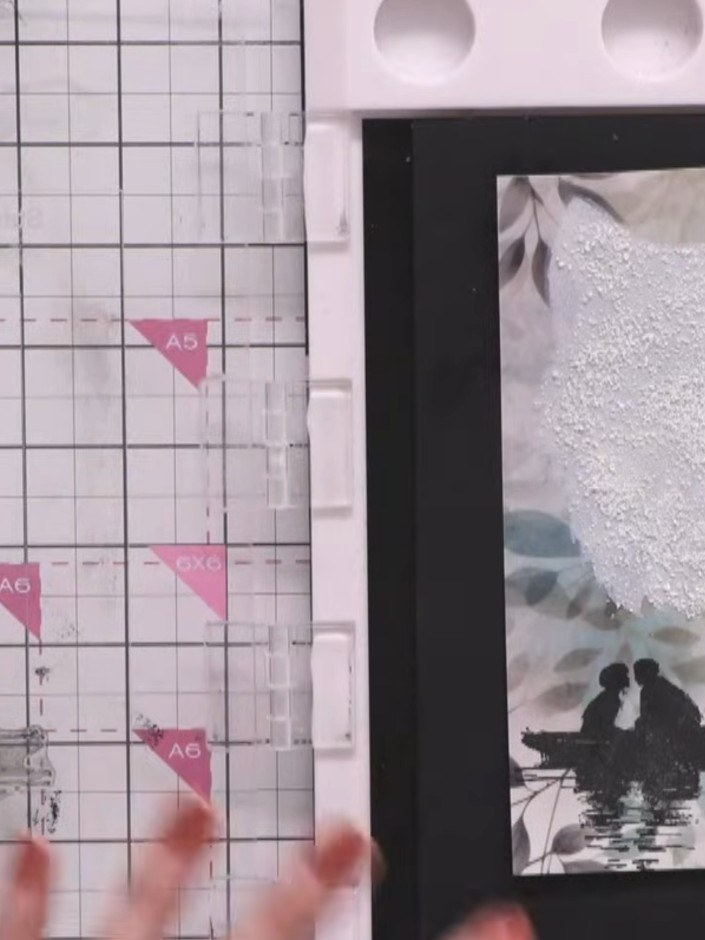
Cut a piece of black card stock and trim the ends at an angle to create banner tails for your sentiment. Position the banner piece on your card to check the placement.
 4
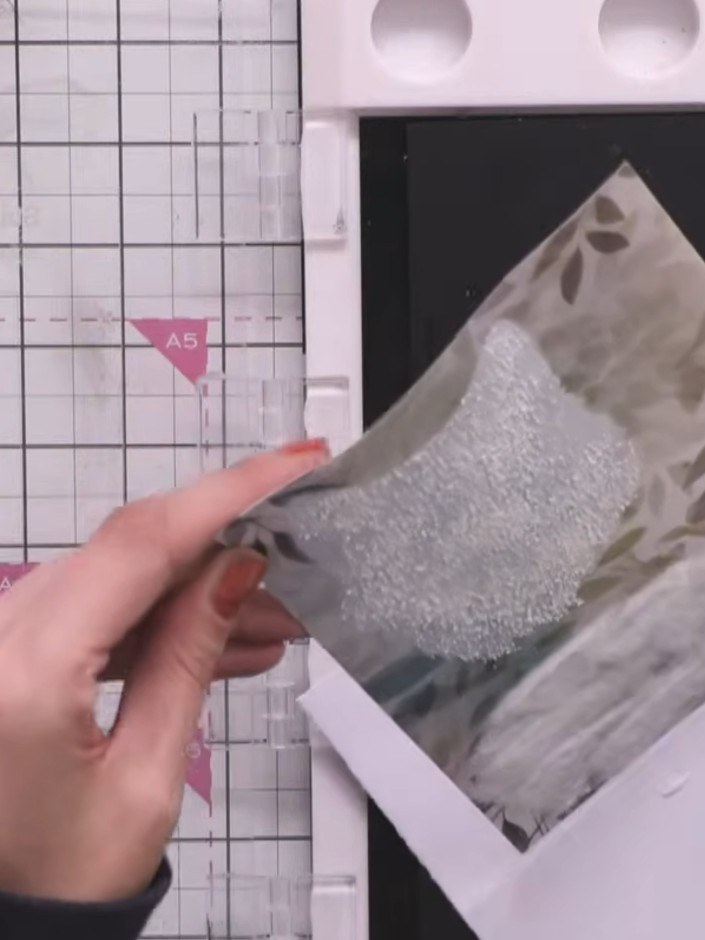
Layer the black banner tails behind the white glittered sentiment piece using adhesive. Position them evenly to create a decorative border effect.
 5
Trim the banner tails to create pointed ends, cutting at an angle to mirror the shape on both sides of each banner piece.
 6
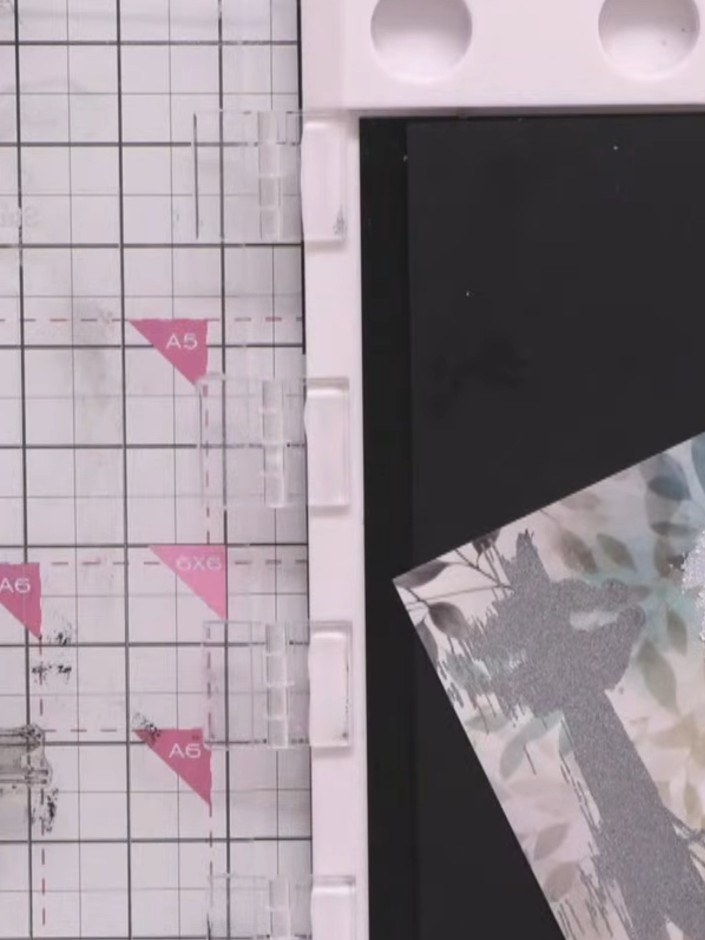
Adhere the silver glitter banner sentiment to the centre of your card front using tape or glue. Position it over the patterned paper panel with the brushstroke design.
 7
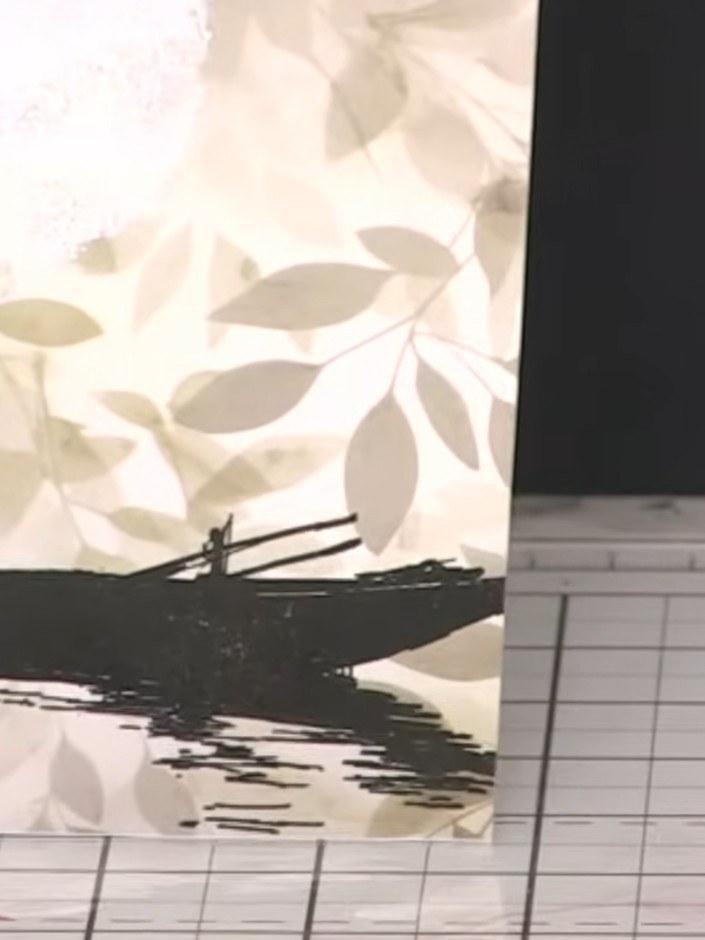
Using a blending brush and black ink, add edge colouring around all the edges of the card for definition. Work the ink gently around the perimeter to create a subtle shadowed border.
Share your make with the Stamps By Me community - and keep this guide for next time.
Written up from the show itself. See every guide from our shows · free how-to guides · watch live on My Telly · the previous layout