Give your friends $10 off their first order!
Refer a FRIEND








Prices change straight away. Every language is our own translation, not Google.
A project from our live show THE THURSDAY DROP - Latest Products from Toni - Broadcast 27th August 2026 · 08/27/2026
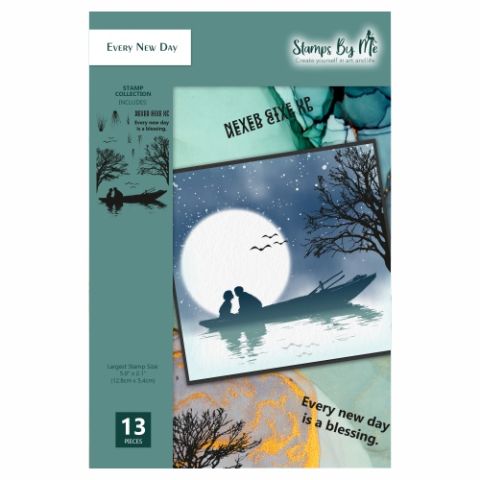
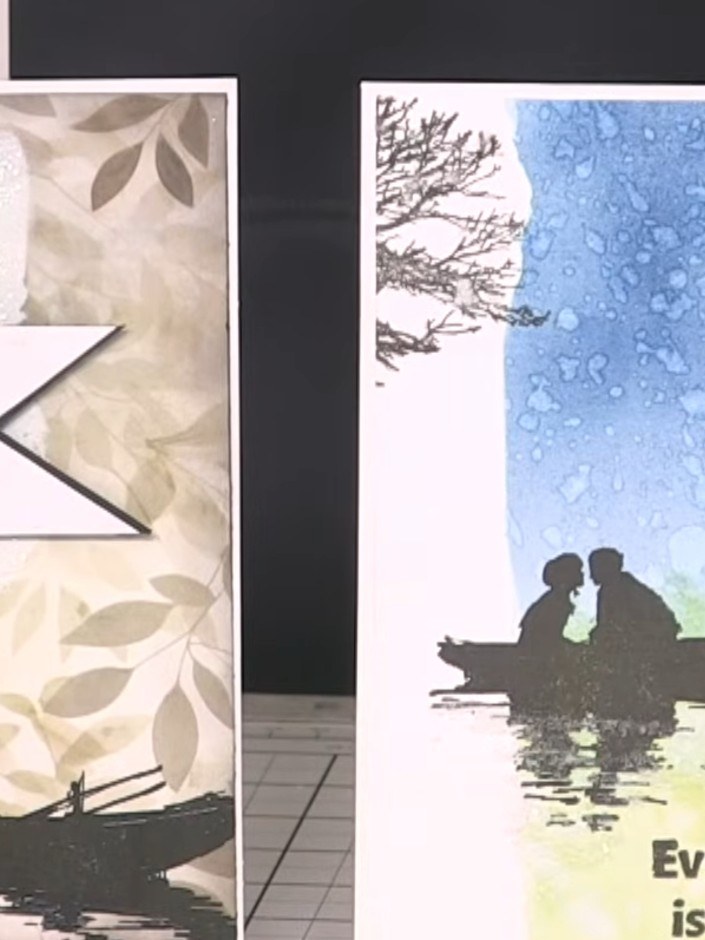
Create a striking card featuring a serene boat scene with an inky blended background. Using water and tissue resist techniques, you'll achieve soft colour gradients in blues and greens that transition beautifully across the panel. The stamped boat silhouette with its reflection creates a peaceful focal point against the textured, atmospheric background, finished with an inspirational sentiment.
 1
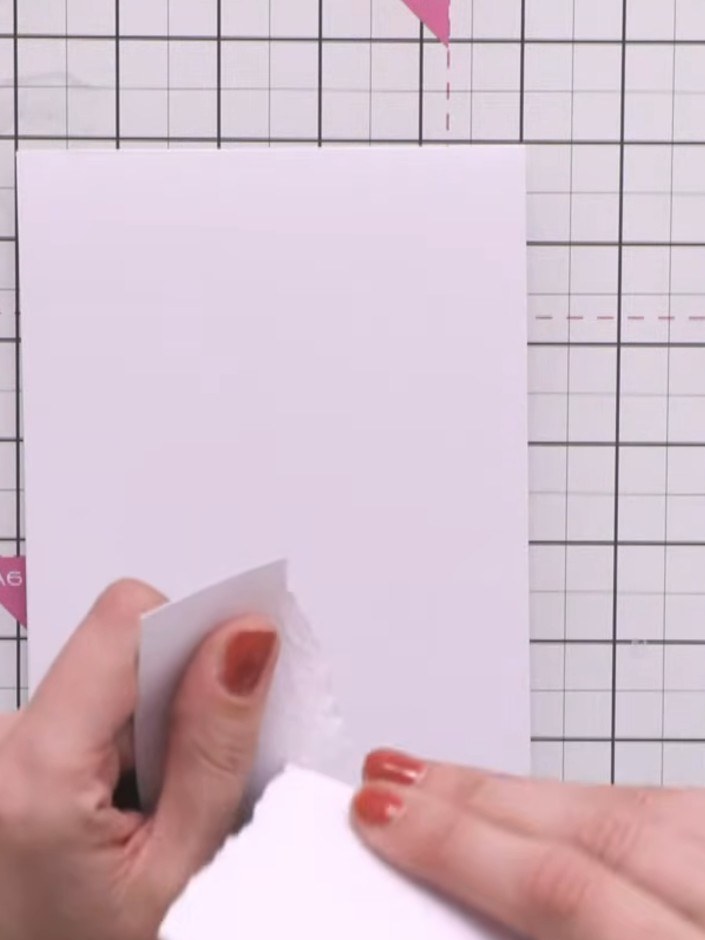
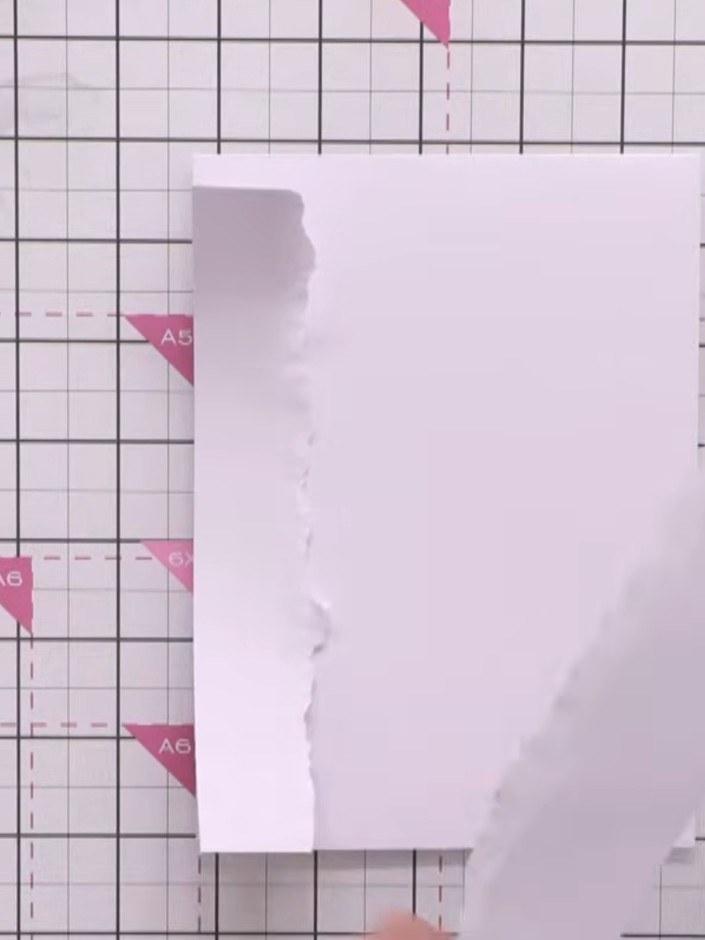
Tear a piece of scrap card stock to create an irregular edge. Position this torn edge on your white A4 card base to mask off an area, creating an organic border for your background panel.
 2
Apply low-tack tape along the edges of your torn vellum panel to hold it in place temporarily on the grid mat.
 3
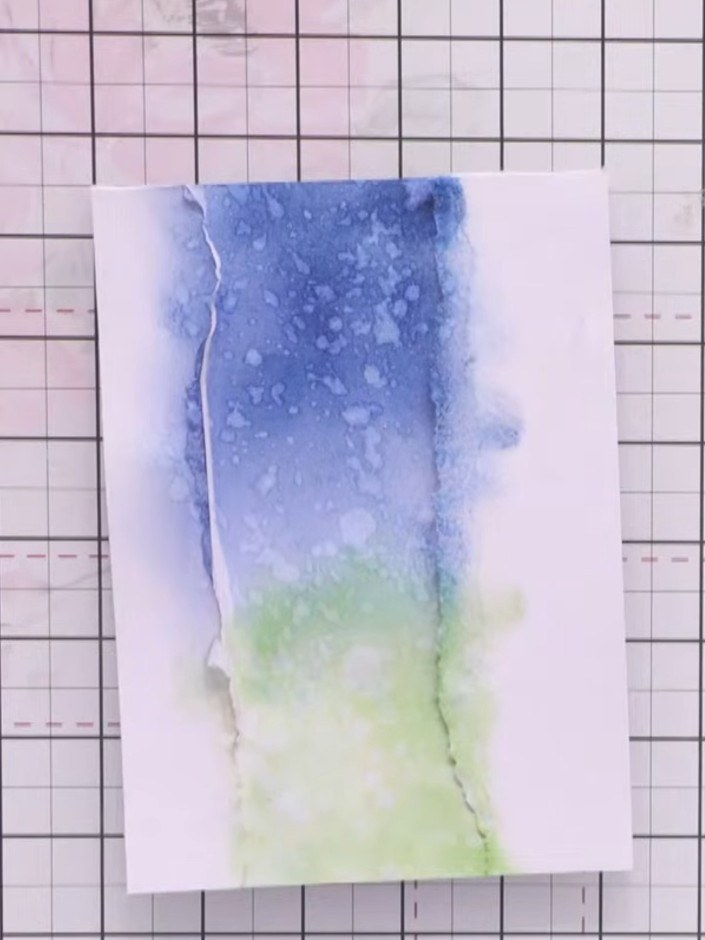
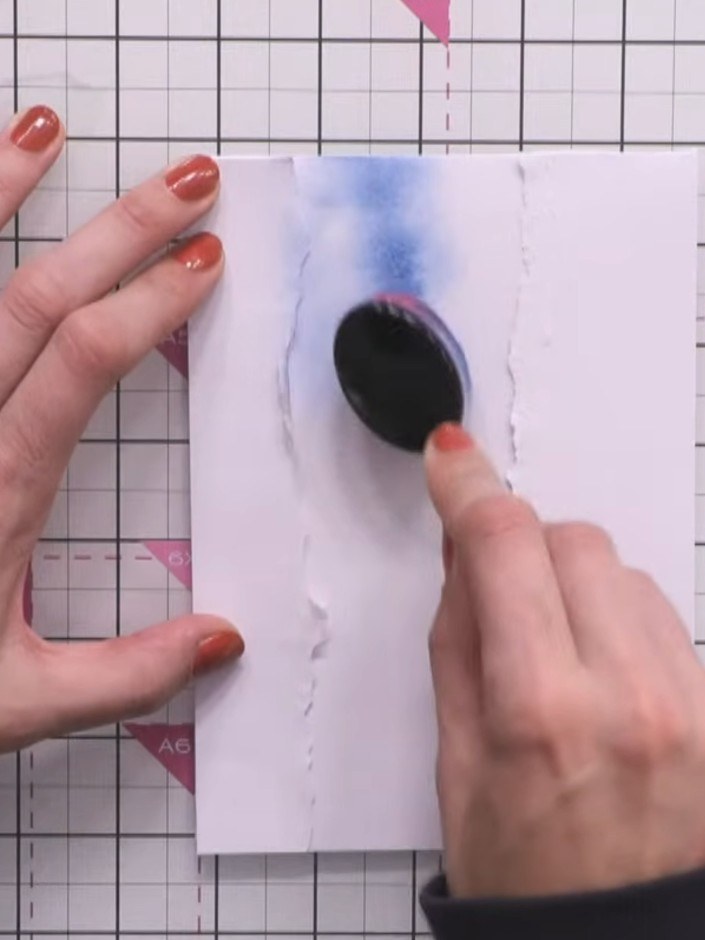
Blend blue ink onto the white card using a blending brush, working from the top downwards. Create a darker concentration of colour at the top, gradually fading towards the bottom of the card.
 4
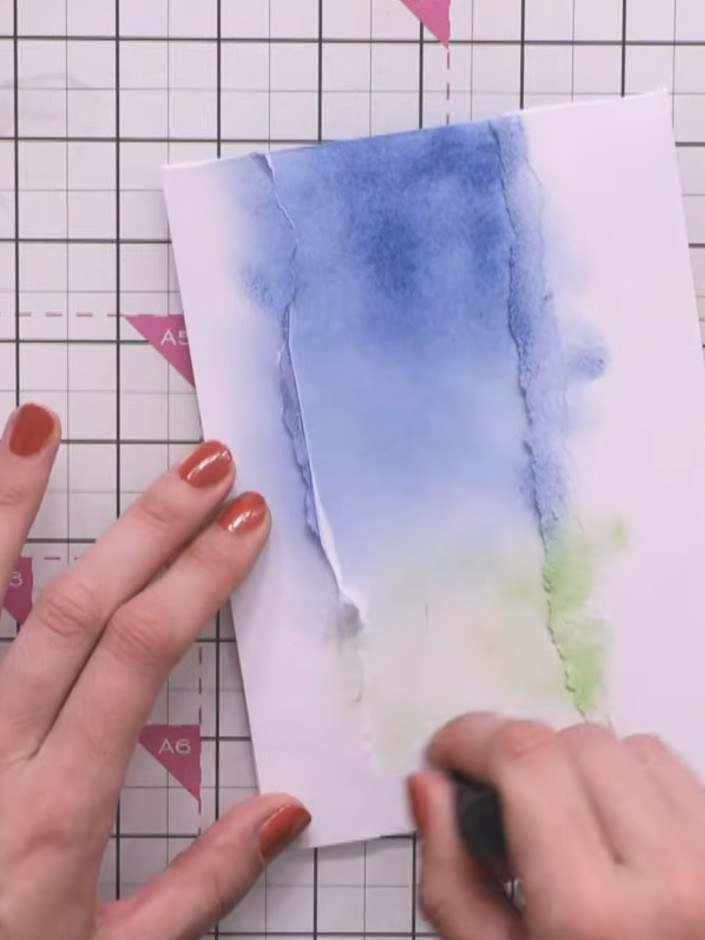
Begin blending green ink into the lower portion of the card, working it upwards to create a smooth transition from the blue sky area into the green landscape below.
 5
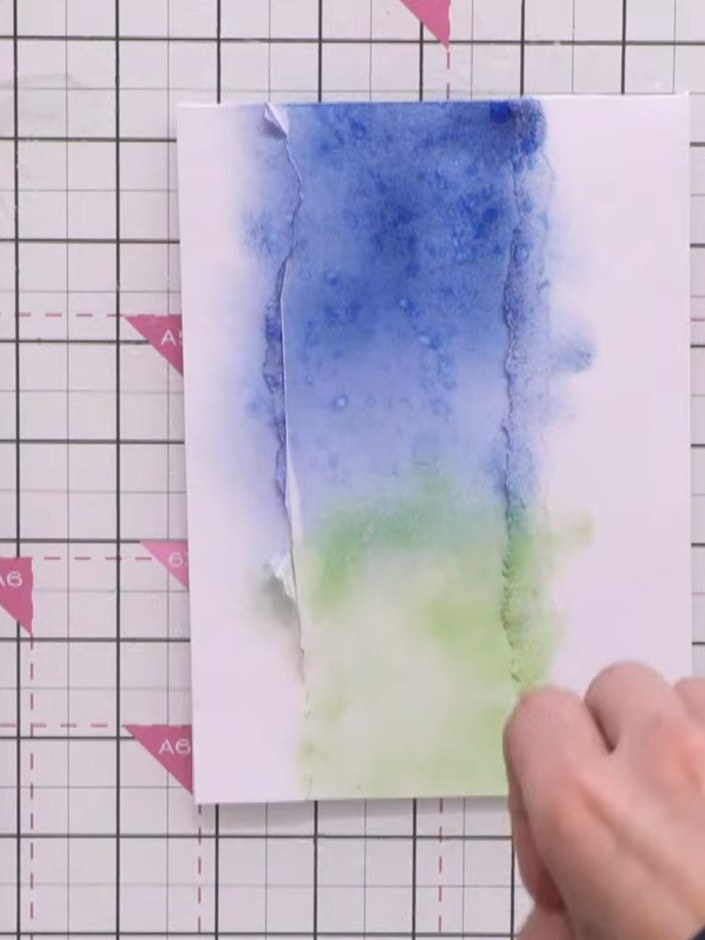
Spritz the inked panel with water using a spray bottle to activate and spread the inks. Allow the water to blend the colours naturally. Let the ink settle and tidy up any excess water.
 6
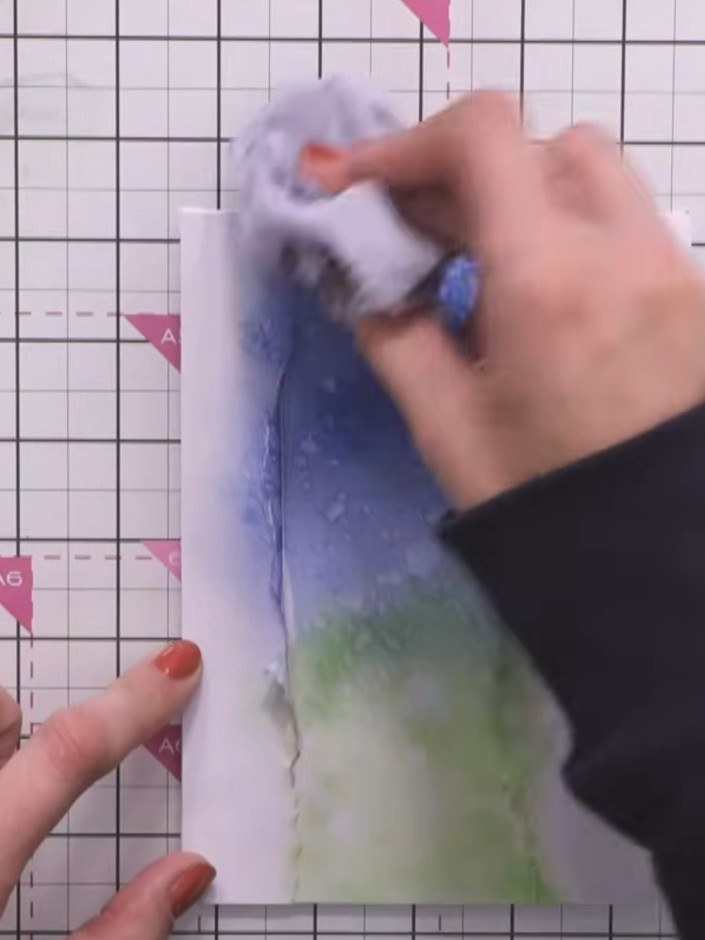
Dab the wet inked panel with tissue to lift some of the colour and create a resist effect. This will add texture and definition to your blended background.
 7
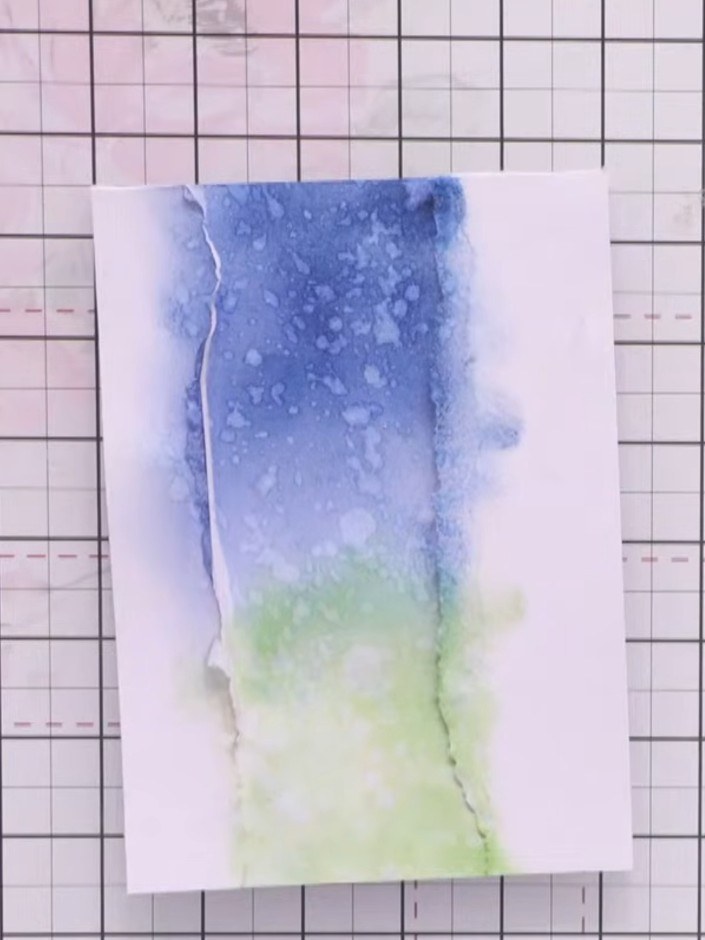
Heat dry the inked panel with a heat gun, holding it a few inches away and moving it continuously until the ink is completely dry.
 8
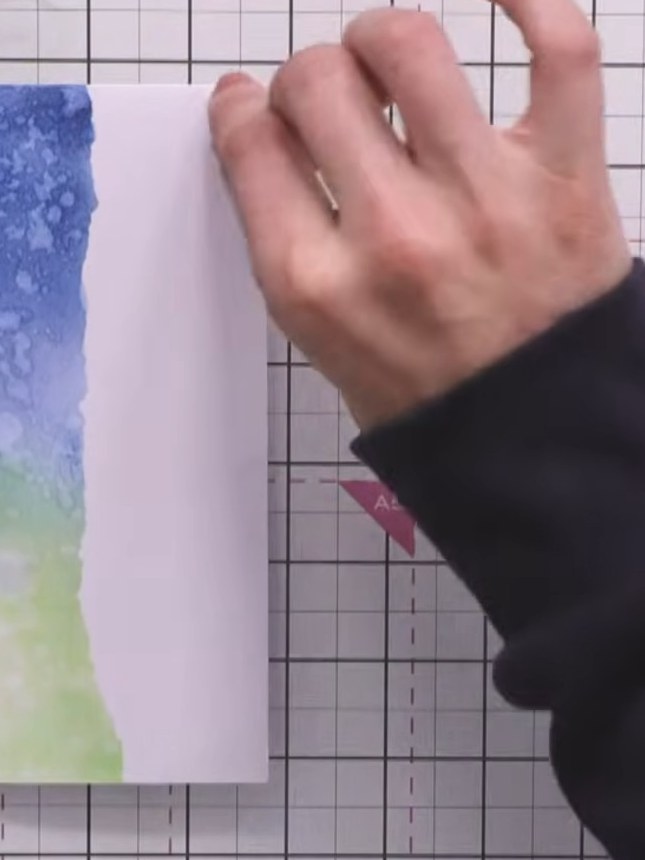
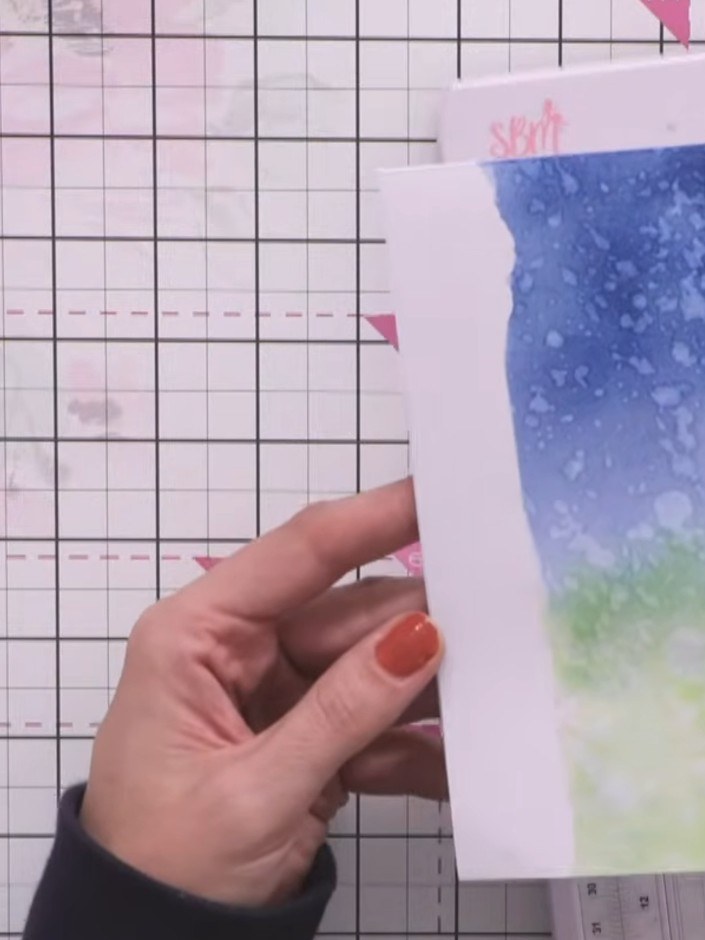
Carefully remove the low-tack tape from the edges of your blended panel to reveal clean, crisp borders.
 9
Trim the inked panel down to size using a guillotine or craft knife. The panel can be oriented in landscape or portrait format.
 10
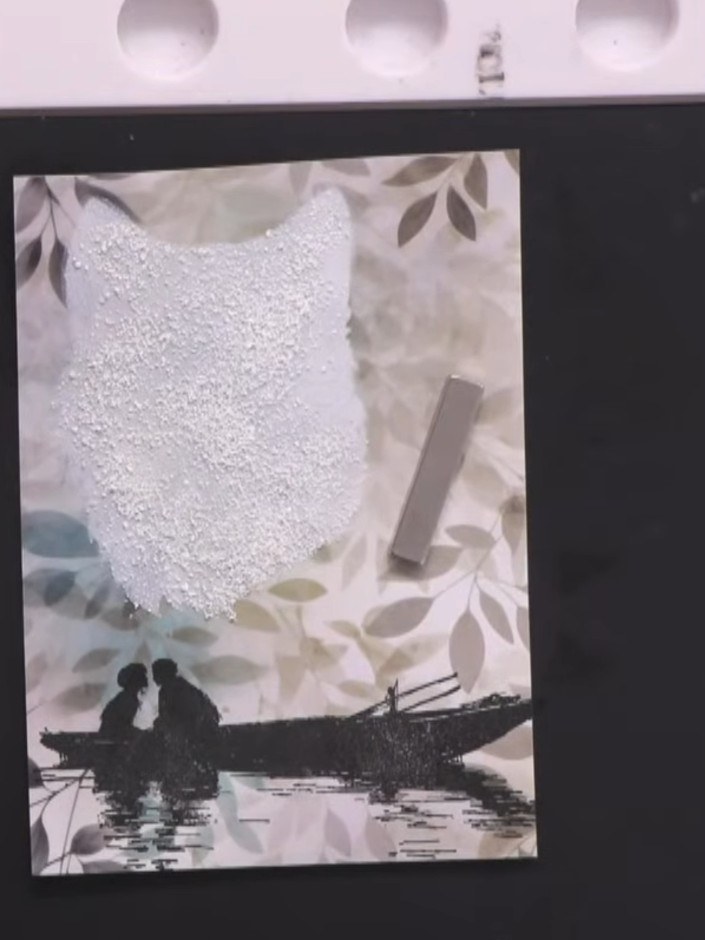
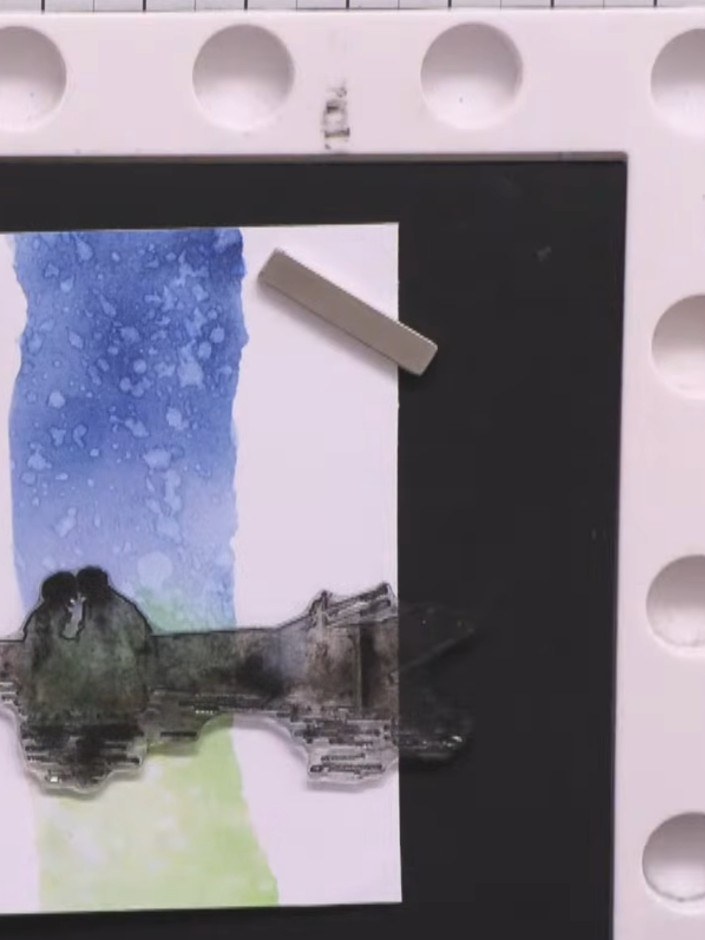
Stamp the boat image from the Reflection Stamp set in black ink onto the lower portion of the panel, positioning it across the green water area.
 11
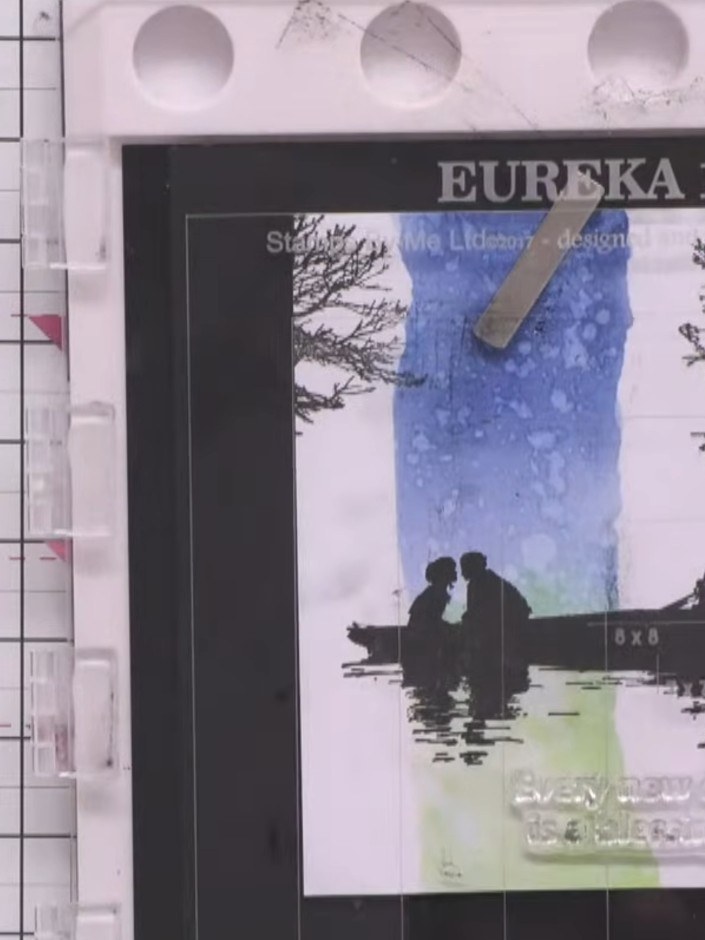
Apply clear embossing powder to the stamped boat image. Heat set the embossing powder using a heat gun until the powder melts and creates a glossy finish.
 12
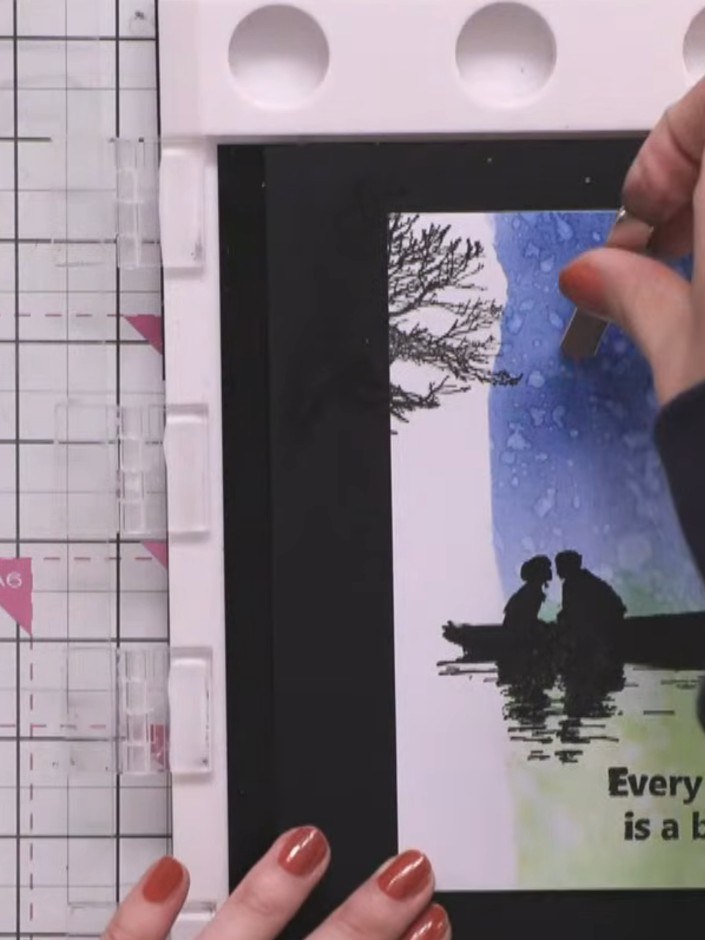
Using a blending brush with black ink, add a subtle vignette around the edges of the card to frame the design and create depth.
Share your make with the Stamps By Me community - and keep this guide for next time.
Written up from the show itself. See every guide from our shows · free how-to guides · watch live on My Telly · the previous layout