Give your friends $10 off their first order!
Refer a FRIEND








 The Friday Final CutFri 20 Nov 5am
 Community ShowcaseMon 23 Nov 5am
 Deal HuntersTue 24 Nov 8am
Prices change straight away. Every language is our own translation, not Google.
A project from our live show More Inspiration - Using - Frome Our Gnome to Yours · 10/10/2025
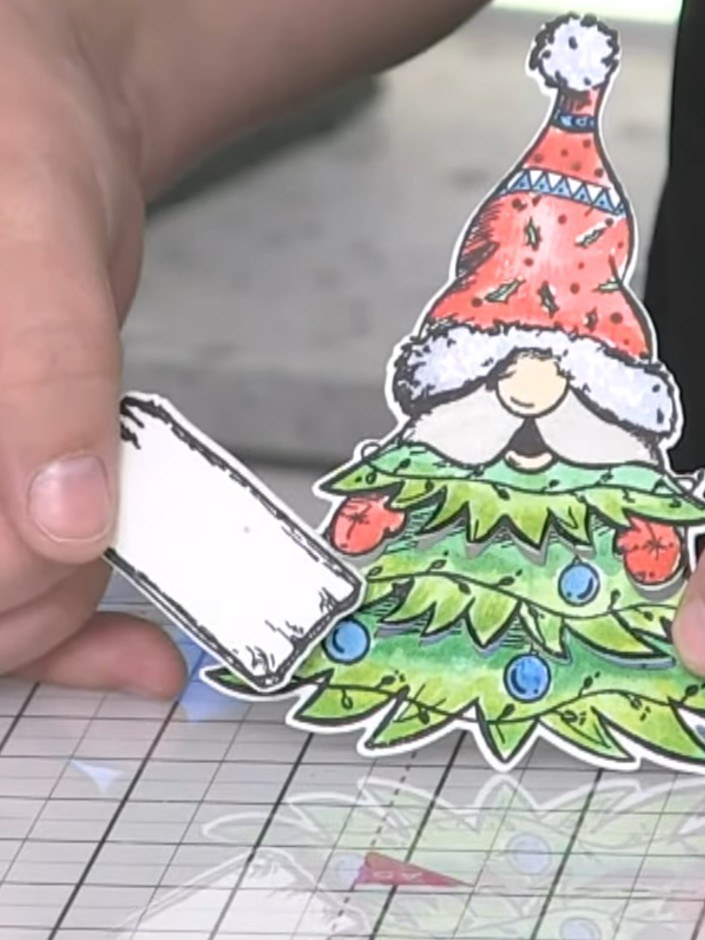
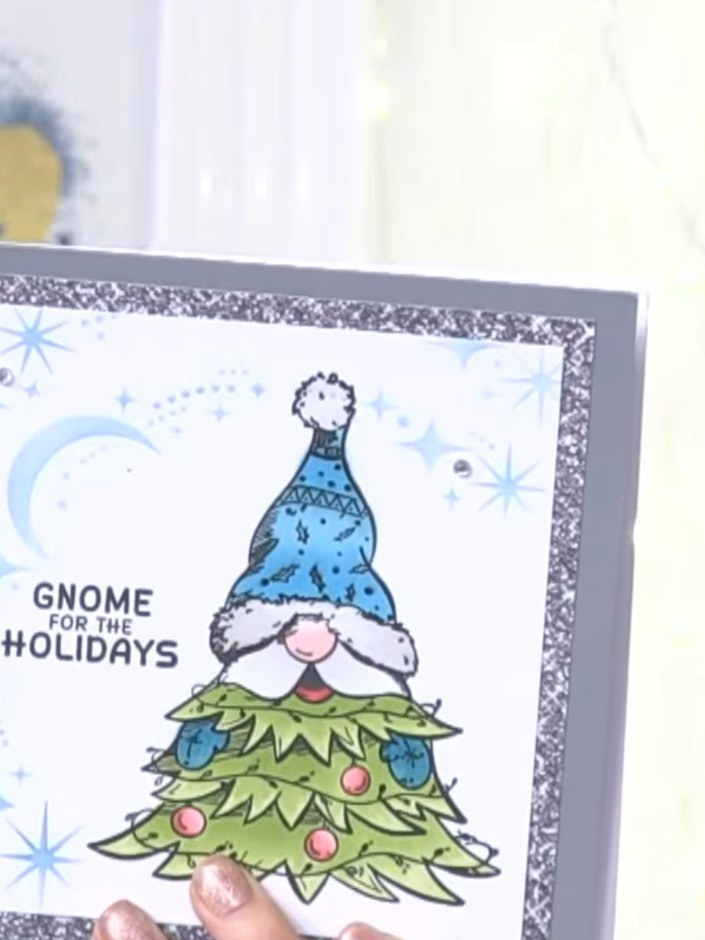
Make an interactive card featuring a gnome character with moveable pigtails and a 3D layered tree. The die set creates cut-out sections that allow the pigtails and tree fringe to lift up, adding playful dimension to your card.
 1
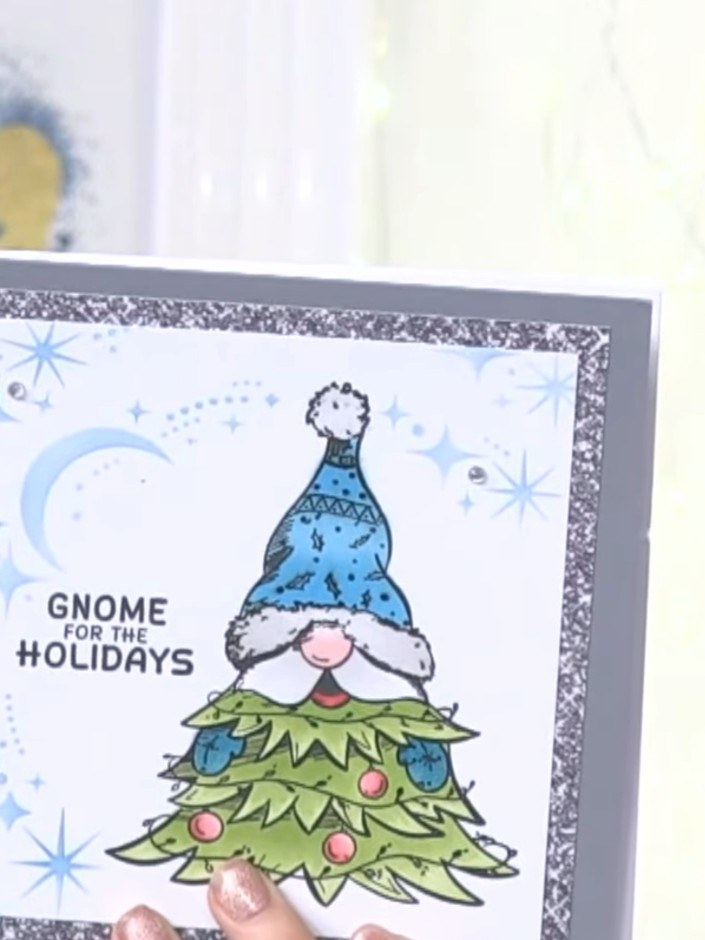
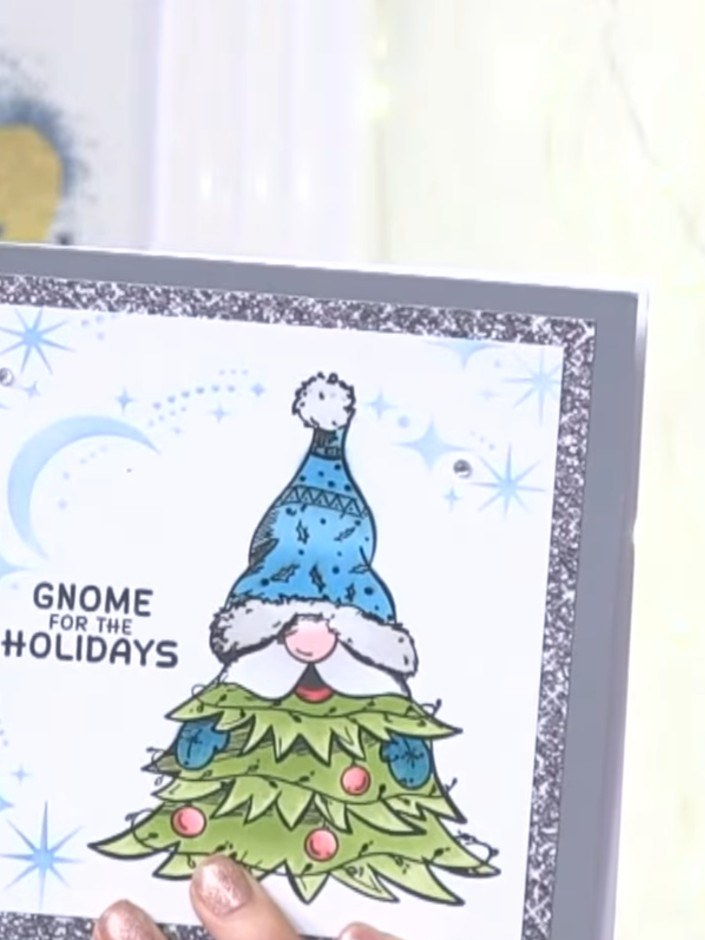
Stamp the gnome lady character from the From Our Gnome To Yours stamp set onto watercolour card using black ink. Ensure the image is clear and well-positioned on the card.
 2
Colour the stamped gnome image using blue ink for the hat, green for the Christmas tree body, and add pink and blue baubles. Add background details with light blue ink for a festive winter effect.
 3
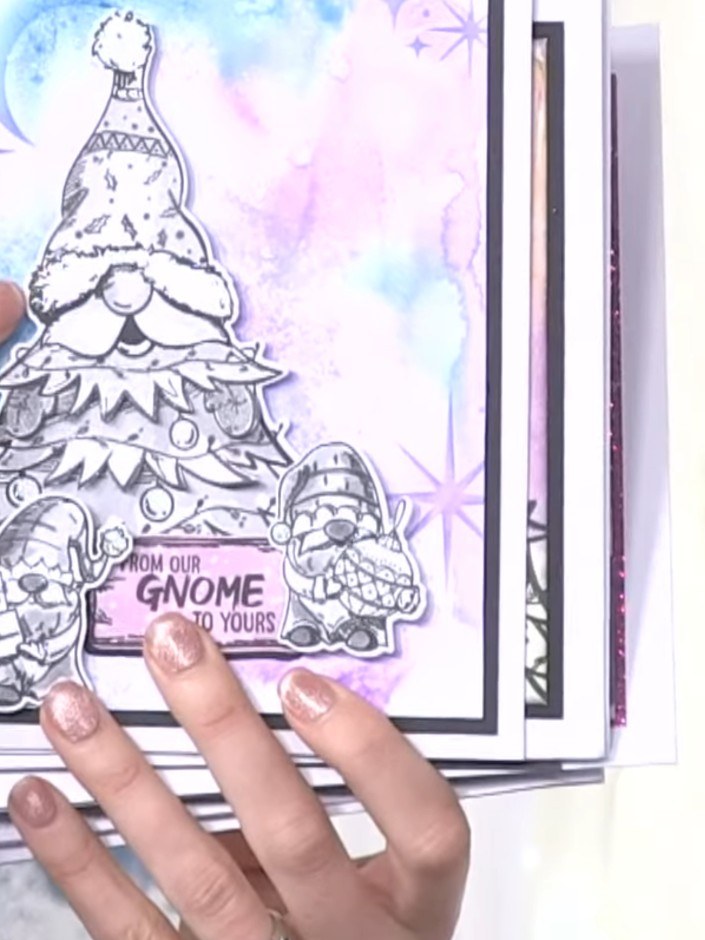
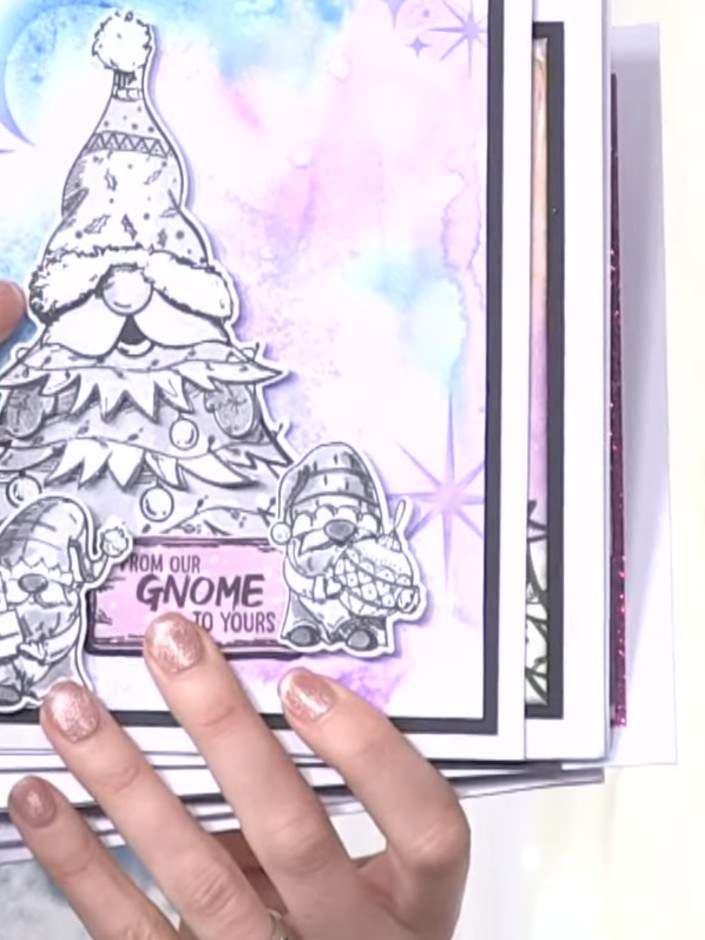
Position the coordinating die over the stamped gnome and tree image, aligning it carefully to ensure the die matches the stamped outline.
 4
Die cut the stamped image using the coordinating die. This will cut out the gnome's pigtails and the tree fringe sections, creating dimensional layers for your topper.
 5
Gently lift and curl the cut-out pigtails and tree sections on the gnome topper to create a 3D effect.
 6
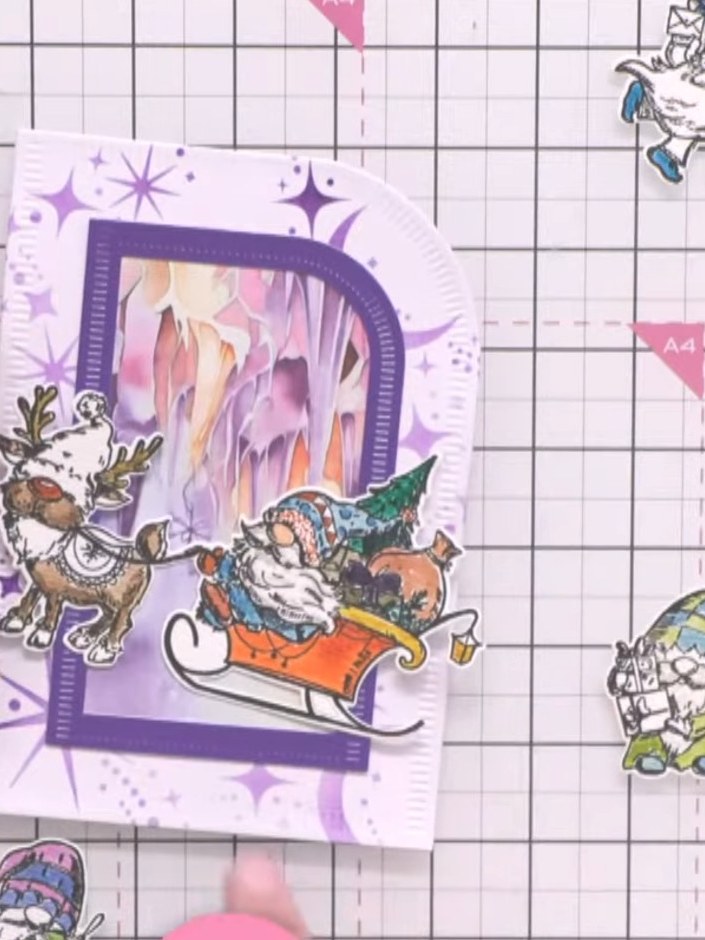
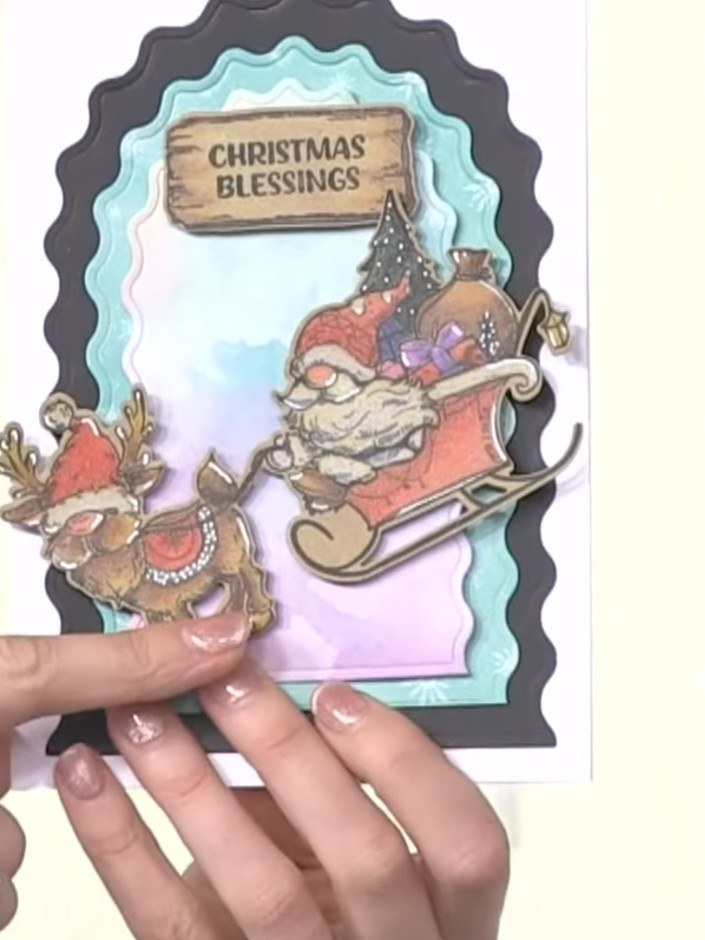
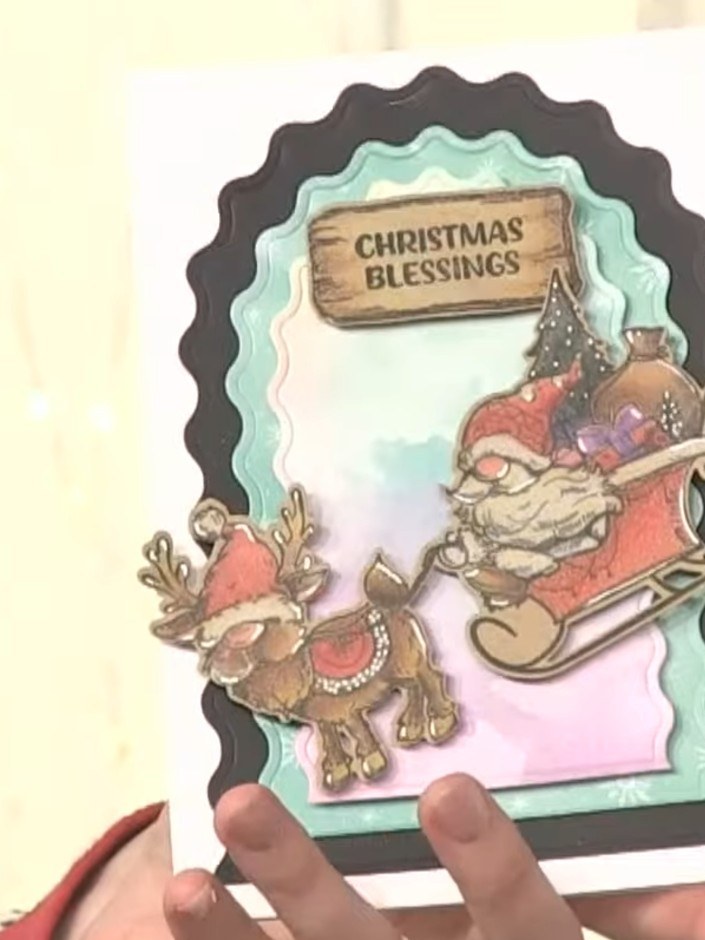
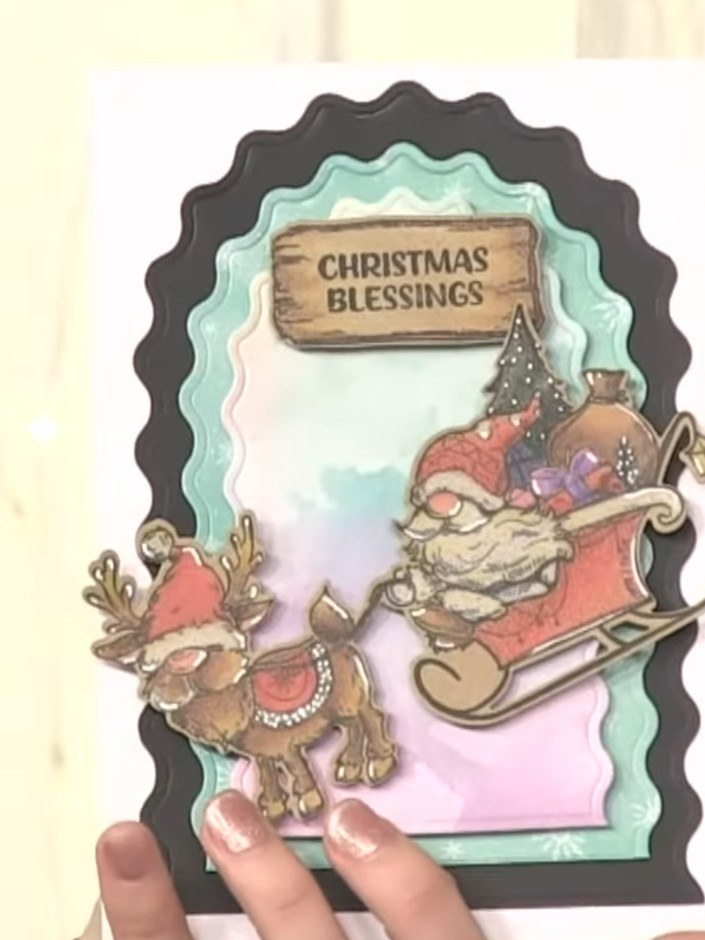
Mount the finished topper onto your card base using adhesive. Position the layered gnome and sleigh scene centrally on the black scalloped frame with the aqua inner layer.
 7
Add a sentiment to complete your card. Choose a message such as 'Christmas Blessings' and attach it to the top of the card to finish the design.
Share your make with the Stamps By Me community - and keep this guide for next time.
Written up from the show itself. See every guide from our shows · free how-to guides · watch live on My Telly · the previous layout