Give your friends $10 off their first order!
Refer a FRIEND








A project from our live show HOBBYMAKER TV - Join Toni for her brand new launch - Broadcast 16th January 2026 · 01/16/2026 · watch it from 35:00
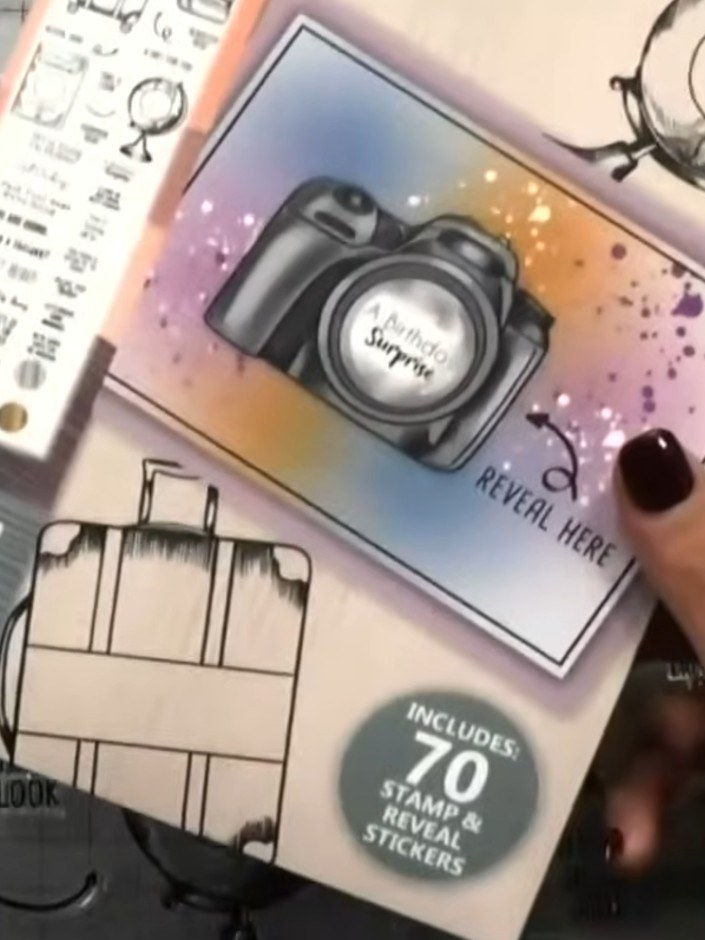
Create an interactive scratch-off card featuring a window scene design. This project uses the 'Look & See' and 'Beautiful View' die sets to create elegant window frames on black dotted cardstock, which can be combined with scratch-and-reveal elements for surprise messages. The finished card has a sophisticated monochrome look with raised window details and hidden interactive elements.
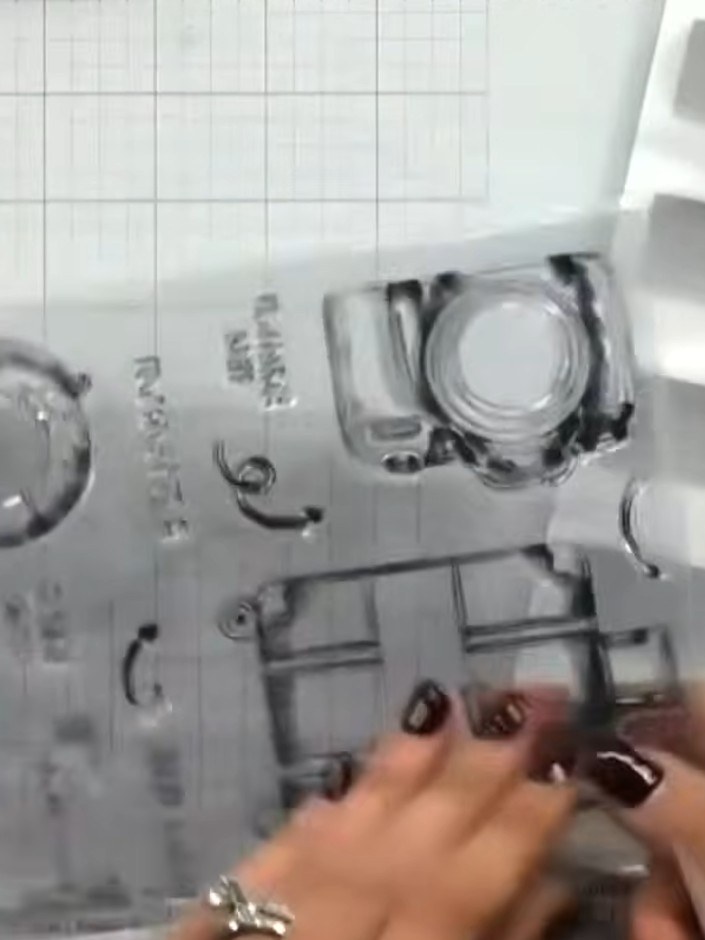
Stamp the aperture images from the A5 stamp set onto your card base. Include the suitcase, camera, globe, and passport designs to create windows for your scratch-off reveals.
▶ watch this step (35:30)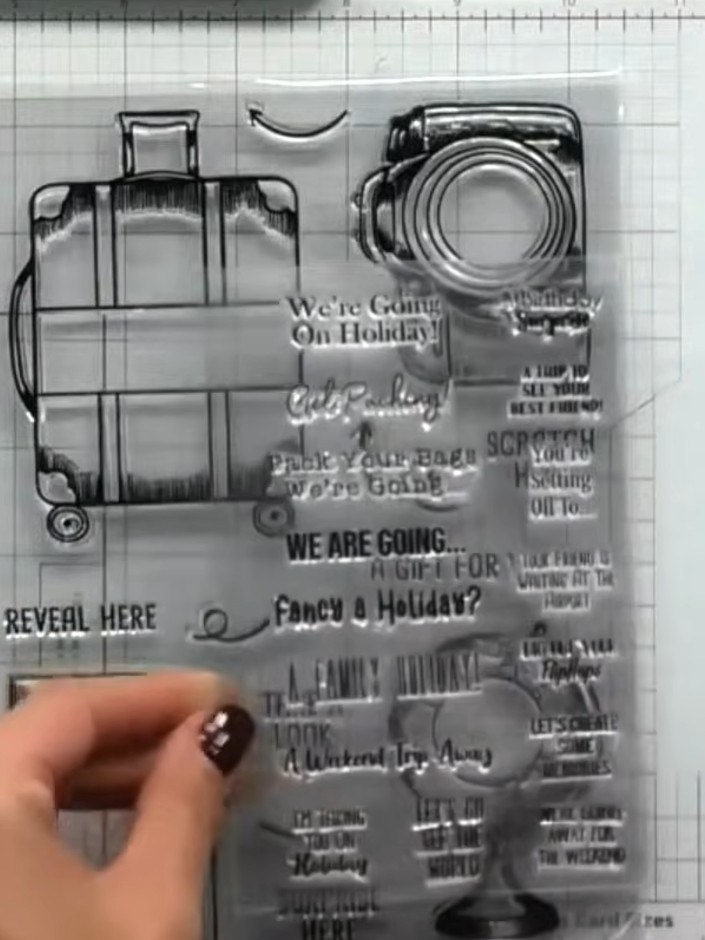
Use the mini stamp set to stamp coordinating images and sentiments inside each aperture. Choose phrases such as 'weekend trip away', 'let's go see the world', or 'birthday surprise' to fit within the openings.
▶ watch this step (36:00)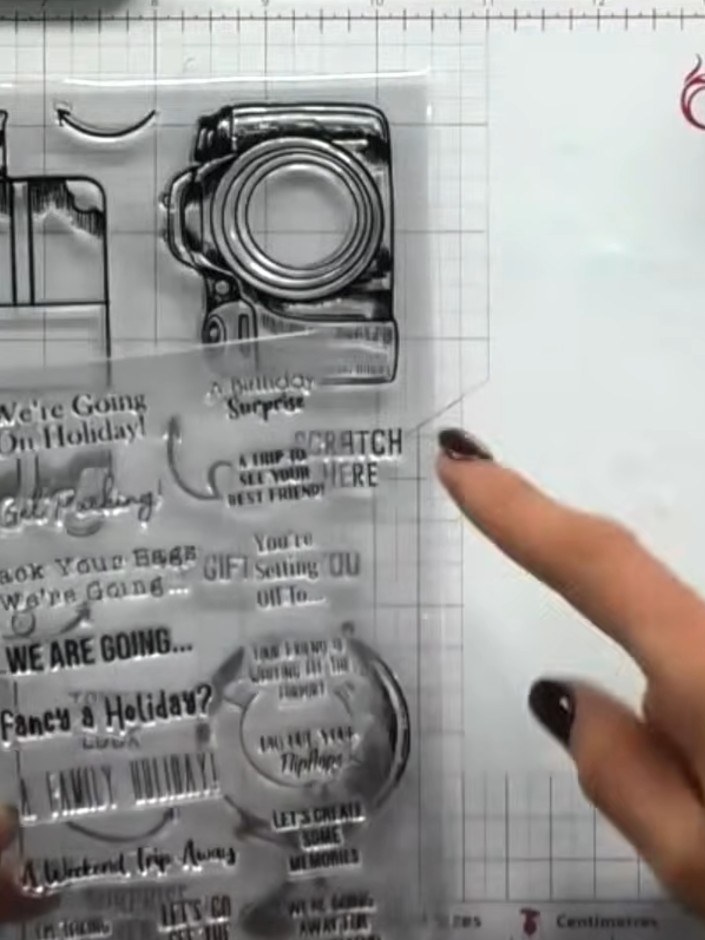
Stamp the reveal sentiments and arrows from the stamp set around the scratch-off apertures on your card. Use phrases like 'REVEAL HERE' to guide where recipients should scratch.
▶ watch this step (36:15)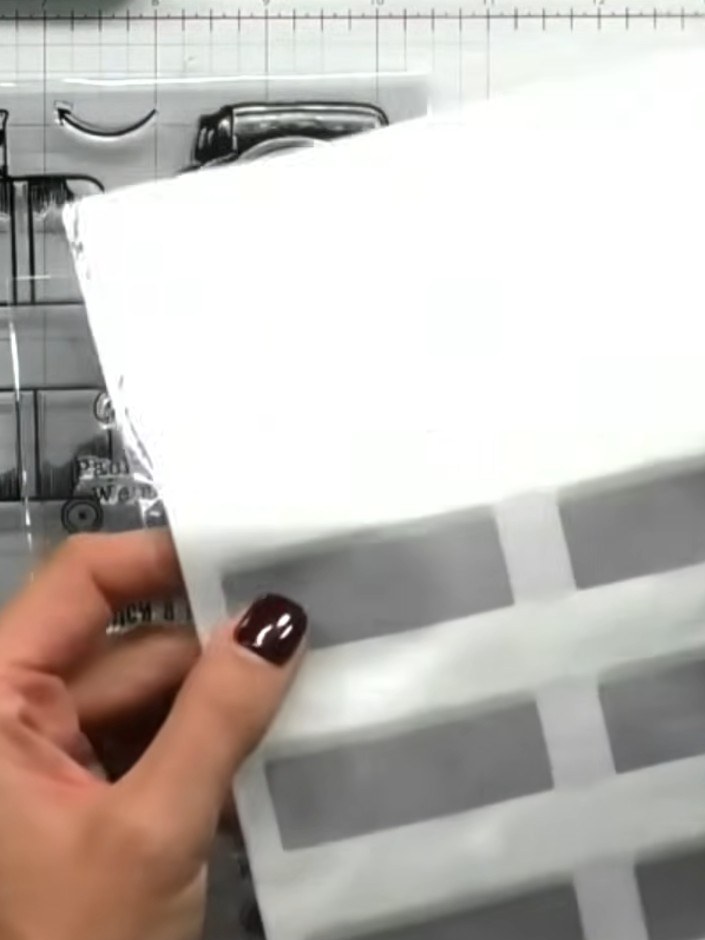
Personalise your card by writing your own messages or holiday chores in the apertures on the card. Use a pen or marker to add your custom text to each reveal section.
▶ watch this step (36:30)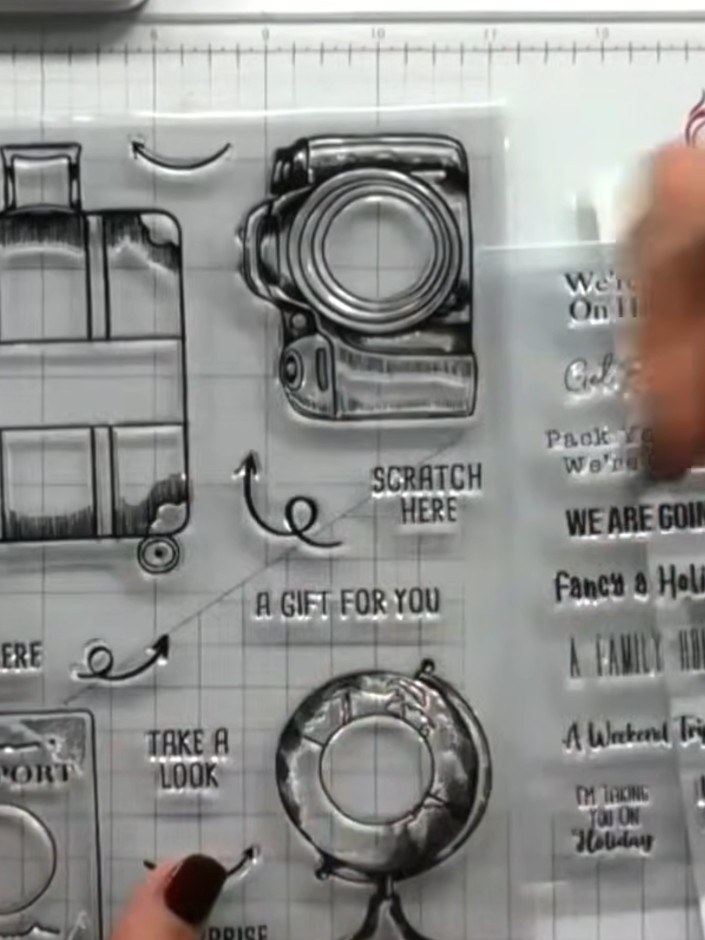
Select your preferred scratch-and-reveal stickers from the 70-piece set, choosing between silver or gold finishes to complement your holiday card design.
▶ watch this step (36:45)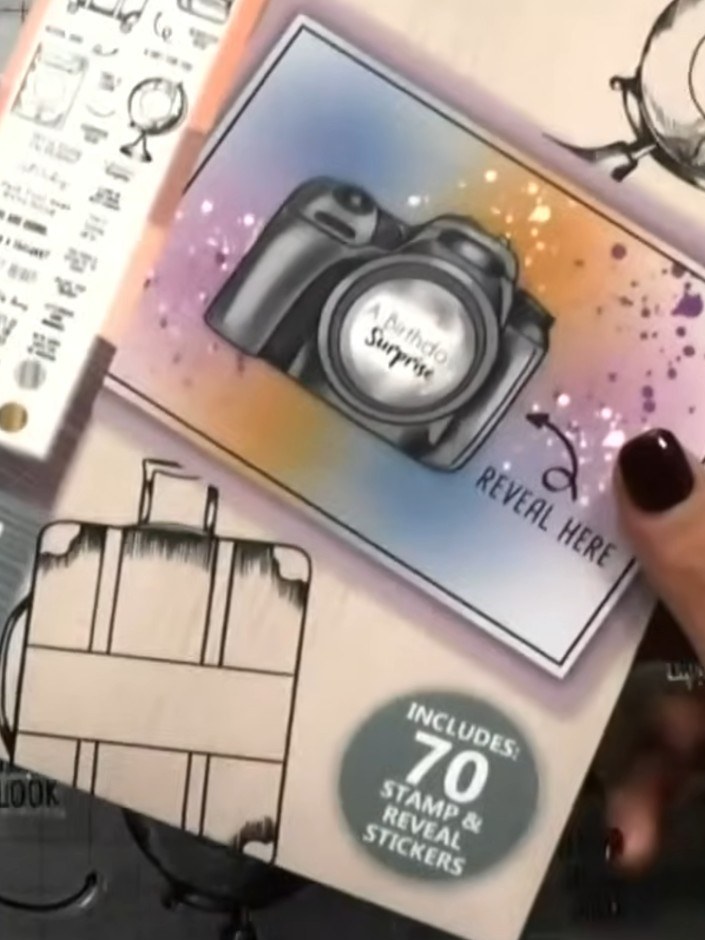
Apply the scratch-and-reveal stickers over the stamped apertures and messages to cover them completely. Ensure the stickers fully conceal the images and text beneath.
▶ watch this step (37:00)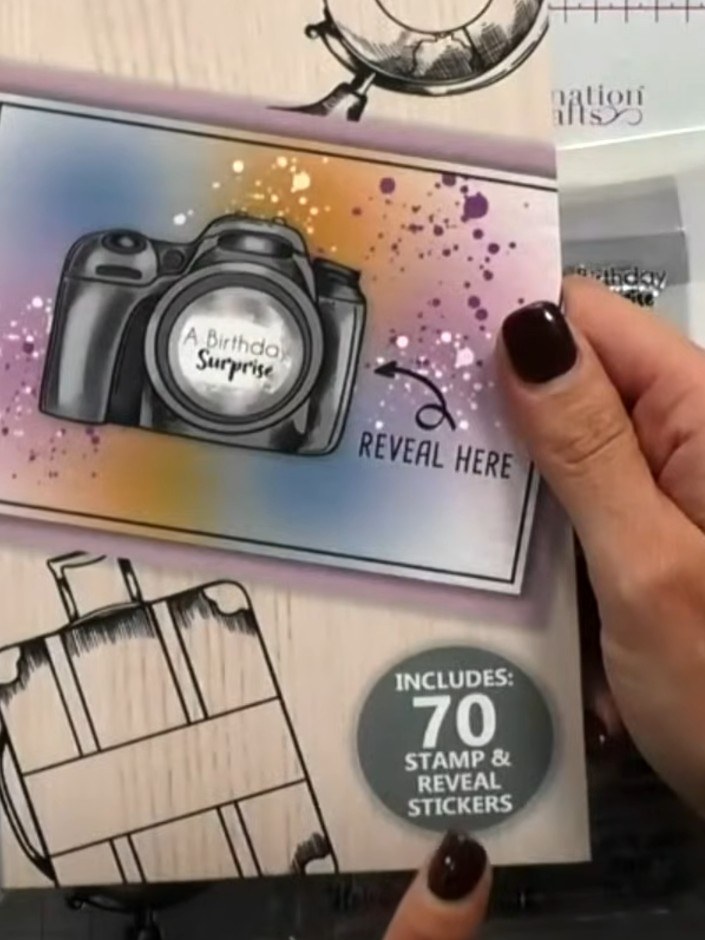
Press down firmly on all the scratch-off stickers to ensure they are securely adhered to the card. This allows recipients to scratch them off easily to reveal the hidden messages underneath.
▶ watch this step (37:15)Written up from the show itself. See every guide from our shows · free how-to guides · watch live on My Telly
