Give your friends $10 off their first order!
Refer a FRIEND








A project from our live show HOBBYMAKER TV - Join Toni for her brand new launch - Broadcast 16th January 2026 · 01/16/2026 · watch it from 41:00
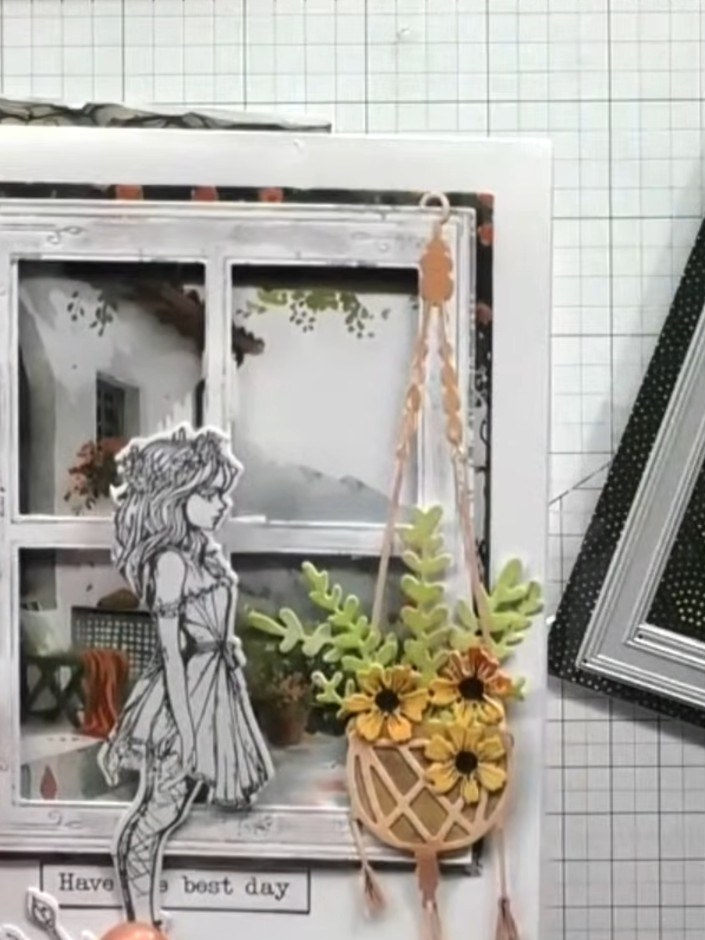
Create an elegant card featuring a die-cut window frame with a scenic view. This project uses window dies from the 'Beautiful View' and 'Look & See' collections to create a four-pane window effect, layered over decorative patterned paper to create depth and visual interest. The finished card showcases intricate die-cutting techniques with multiple frames creating a dimensional window scene.
 Christmas Window Die - Beautiful View - 060323ASEE IT
 Stamps By Me - All Surfaces - Tropical Collage - 8 X 8 Paper Pad - 061223KSEE IT
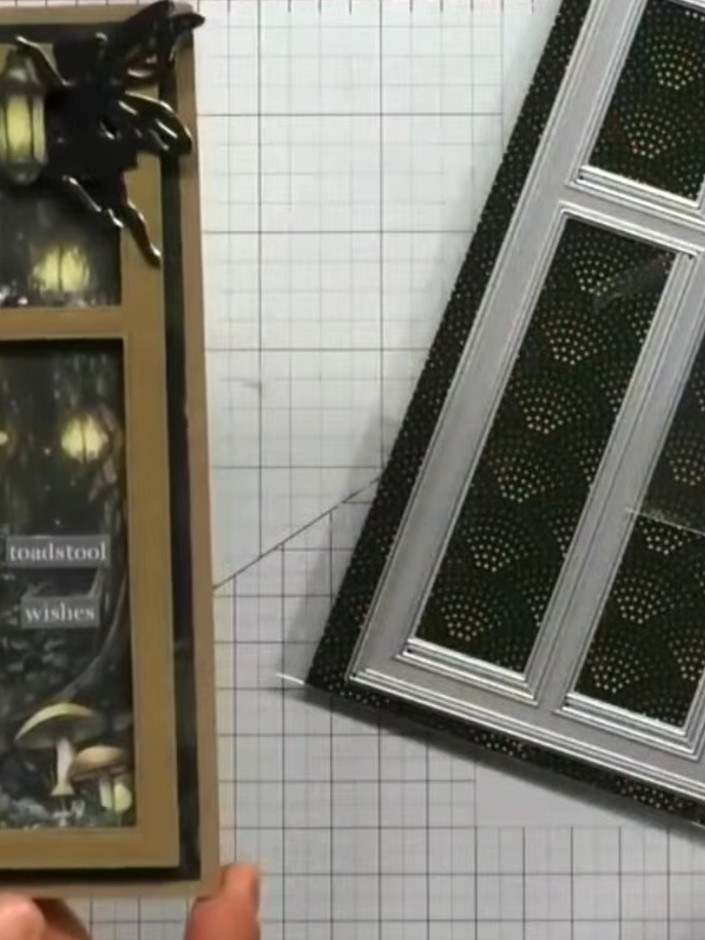
Select a patterned paper with a scenic design from the Tropical Collage paper pad. Choose imagery such as landscapes, waves, or floral patterns that will show through the window die cuts.
▶ watch this step (41:15)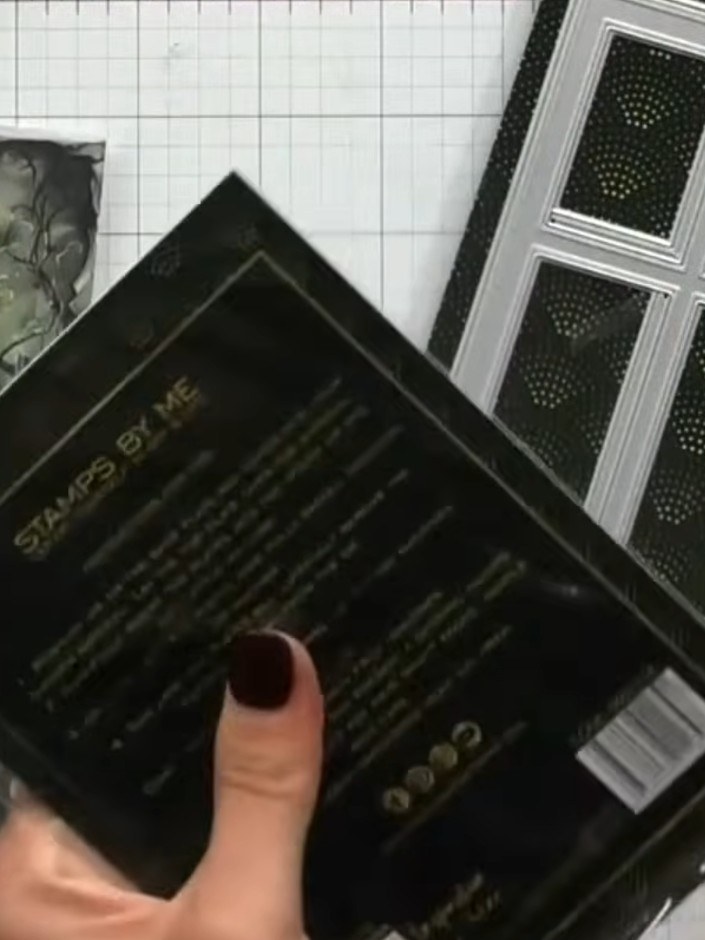
Place the window die onto your chosen pattern paper from the Tropical Collage pad, positioning it to frame an interesting part of the design.
▶ watch this step (41:30)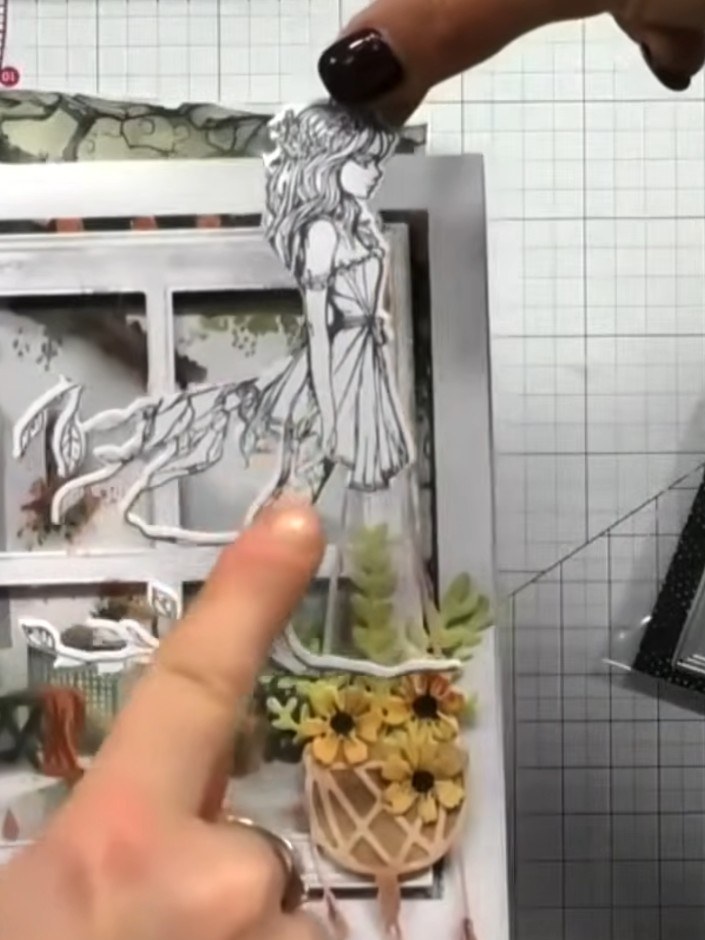
Place the window die onto your chosen paper and run it through your die-cutting machine to cut out the window shape. Remove the die-cut piece from the die.
▶ watch this step (41:45)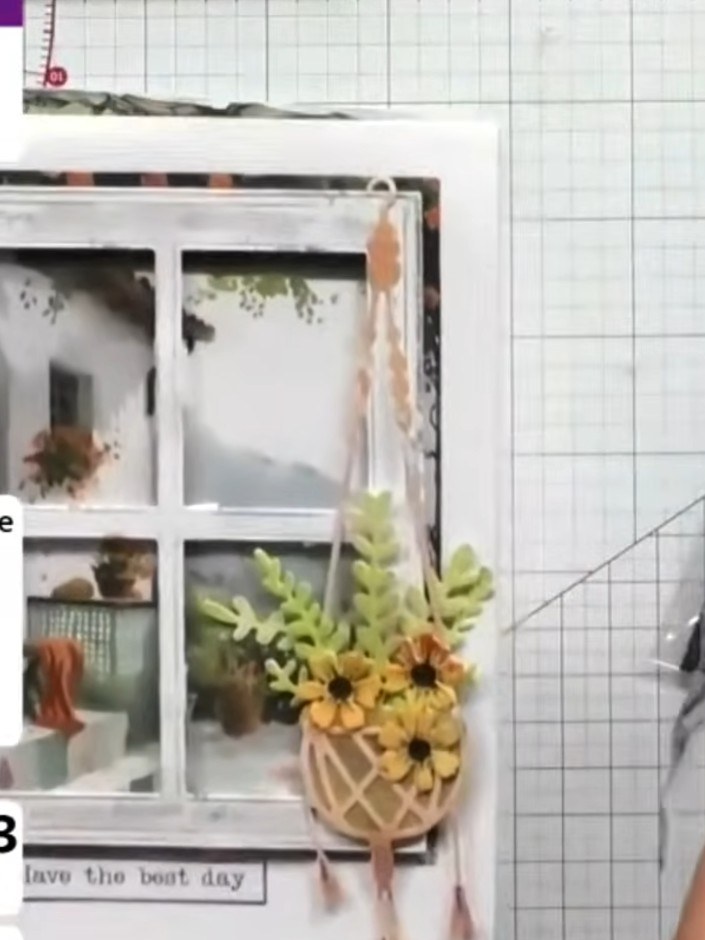
Position the window die on your card front and run it through your die-cutting machine. The die will cut out the main window aperture and create a separate window frame piece that can be used in a different colour for layering.
▶ watch this step (42:00)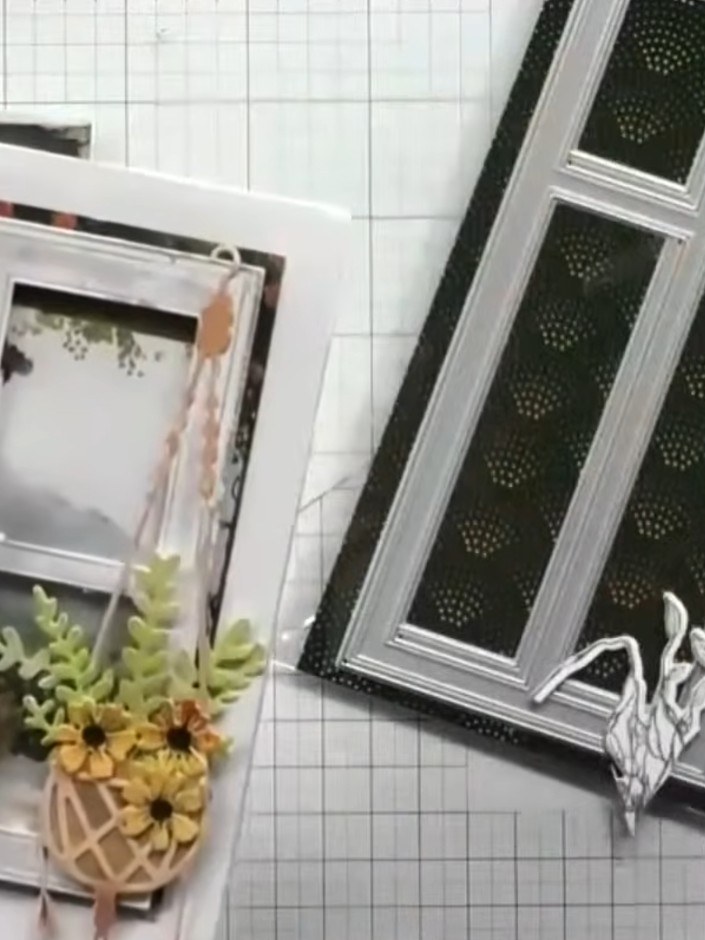
Layer the white window die-cut frame onto your card base, positioning it to show the patterned paper through the window openings. The green patterned paper creates the view through the window.
▶ watch this step (42:15)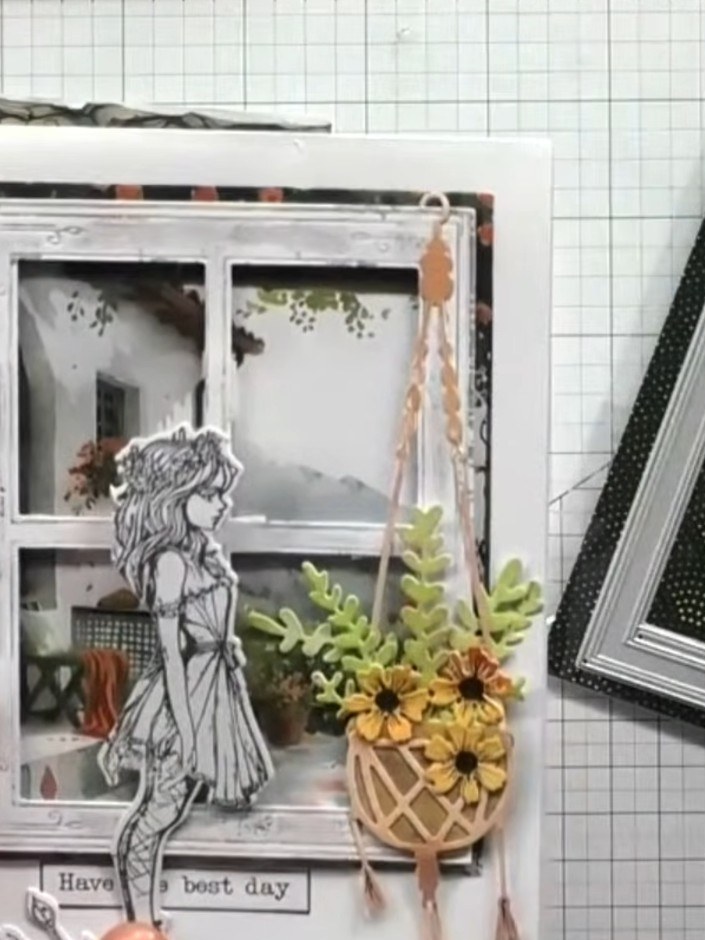
Add a sentiment or greeting to the bottom of your card to complete the design. Choose words that complement your scene, such as 'Have a best day'.
▶ watch this step (42:30)Written up from the show itself. See every guide from our shows · free how-to guides · watch live on My Telly