Give your friends $10 off their first order!
Refer a FRIEND








A project from our live show HOBBYMAKER TV - Join Toni for her brand new launch - Broadcast 16th January 2026 · 01/16/2026 · watch it from 29:00
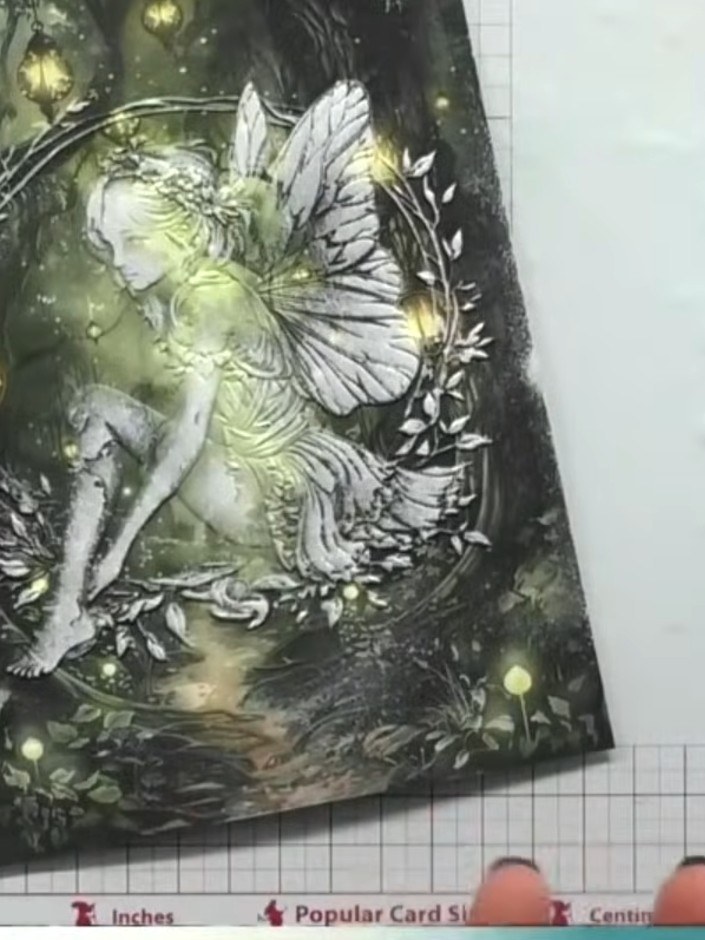
Create an enchanting fairy card featuring mystical imagery in dark greens, blacks and whites with metallic gold accents. This elegant design uses embossing techniques on patterned paper, then reveals hidden details by applying white ink to create an ethereal, magical effect. The finished card showcases a beautiful fairy illustration with delicate wings and botanical elements, perfect for special occasions.
 Stamps By Me - Mystic Hollow Complete Bundle - 120126ASEE IT
 Stamps By Me - All Surfaces - Tropical Collage - 8 X 8 Paper Pad - 061223KSEE IT
 Media Glitter - Colourless Glitter - 050923ASEE IT
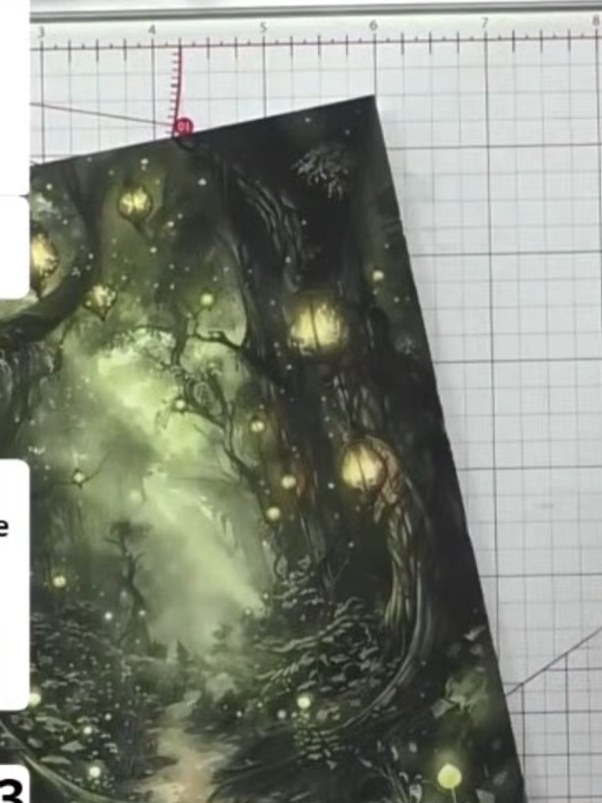
Select a patterned paper from your Mystic Hollow collection and place it into the embossing folder with the raised detail facing downward. Position the paper carefully to ensure the design will be embossed in the desired area.
▶ watch this step (29:15)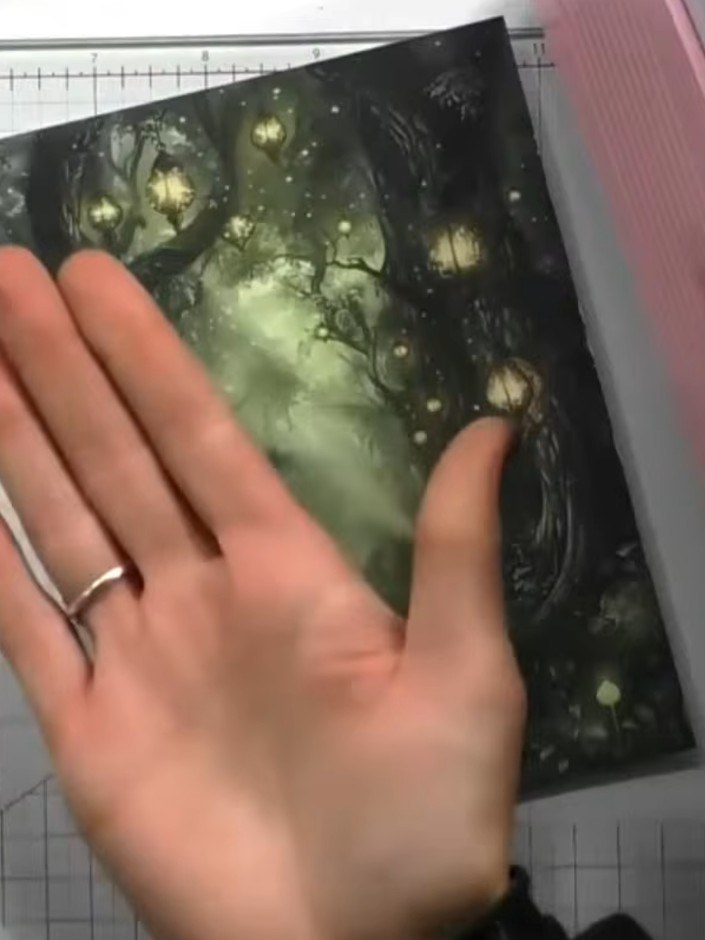
Place the patterned paper face up on your cutting mat and position the embossing folder over it. Run the paper through your die-cutting machine to emboss the design onto the patterned paper.
▶ watch this step (29:30)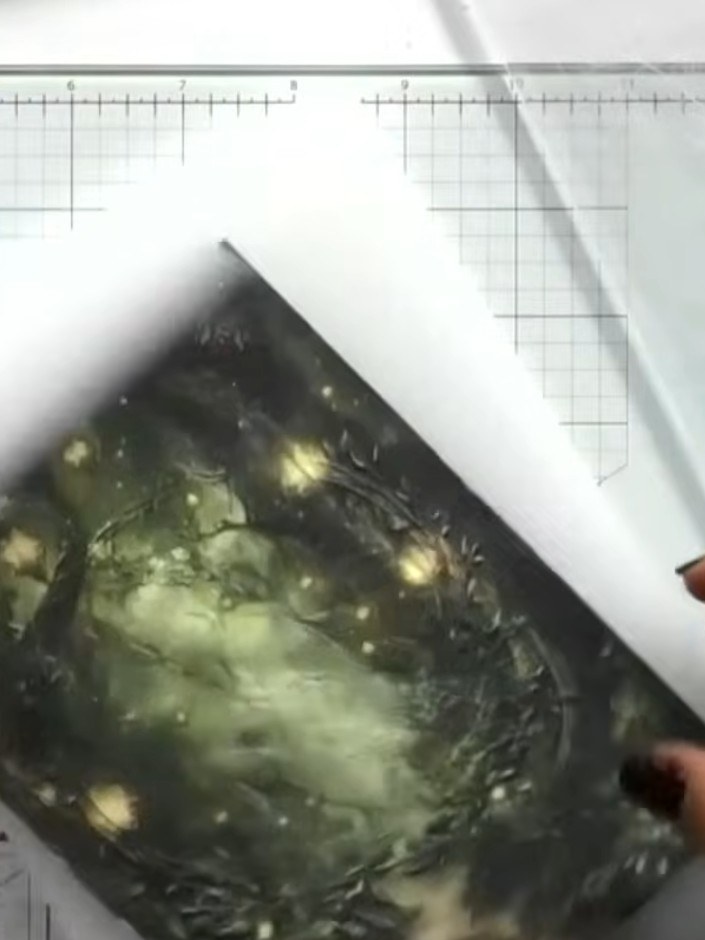
Observe how the embossed design appears subtle and blends into the busy patterned background of the Tropical Collage paper.
▶ watch this step (30:00)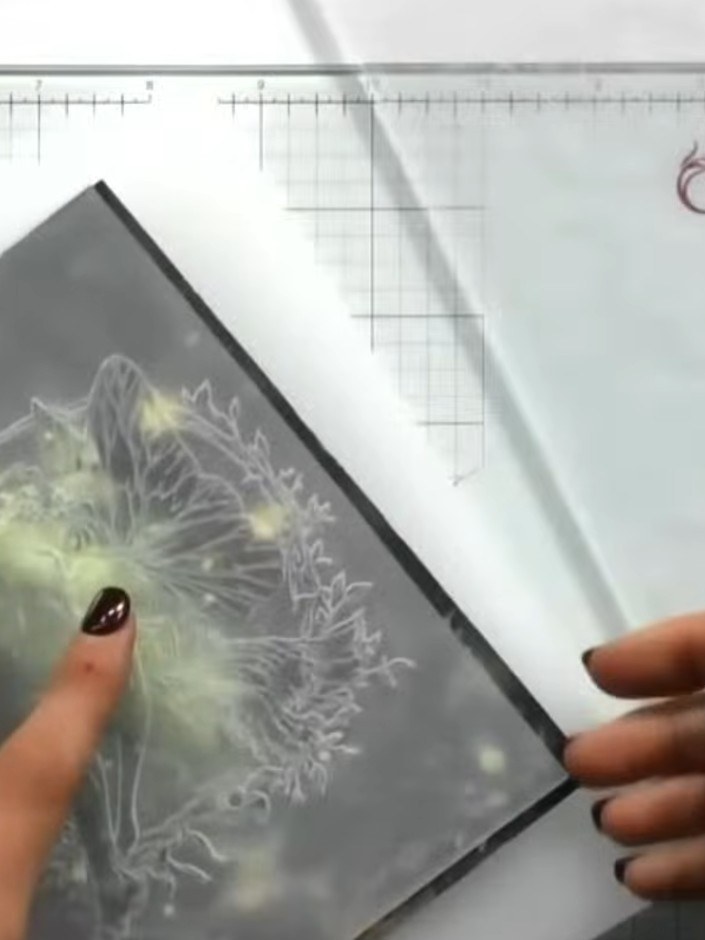
Take a white ink pad and gently dab it across the embossed surface, using a light rattling motion to catch the raised areas of the design.
▶ watch this step (30:15)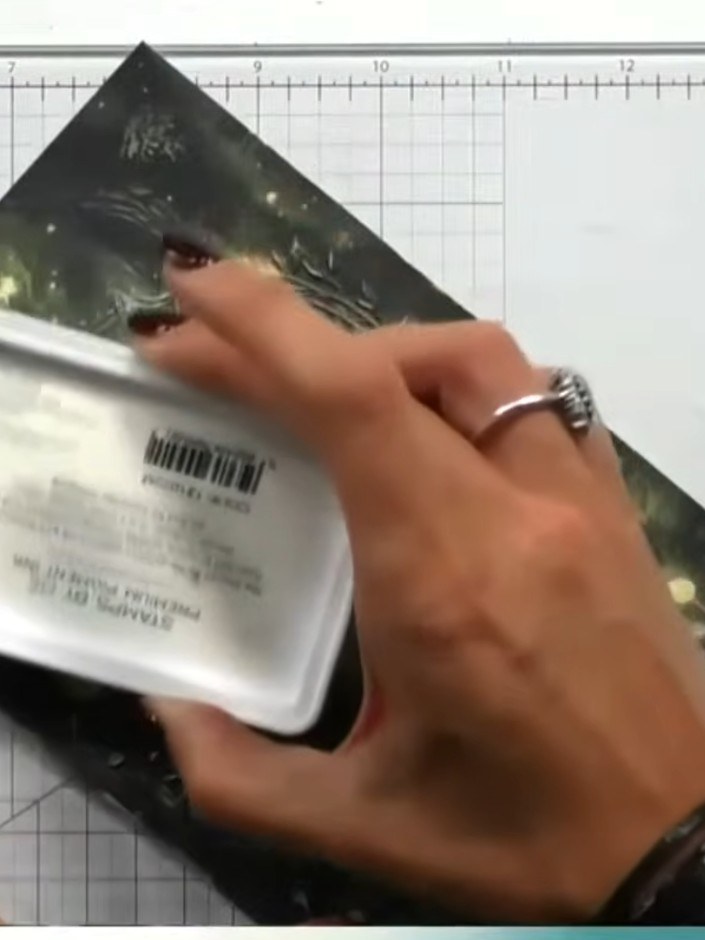
Apply white ink over the embossed fairy design using an ink pad, working the ink into the raised areas. The white ink will reveal the embossed detail and bring the fairy design to the foreground.
▶ watch this step (30:30)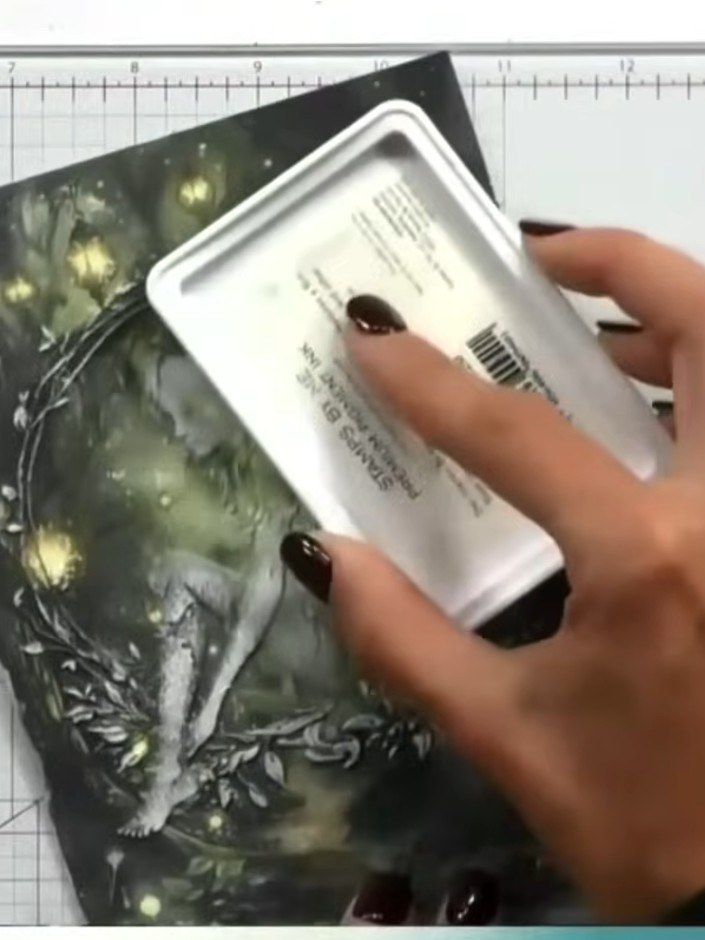
Apply colourless glitter to the fairy's wings using glue to add sparkle and dimension to the design.
▶ watch this step (31:00)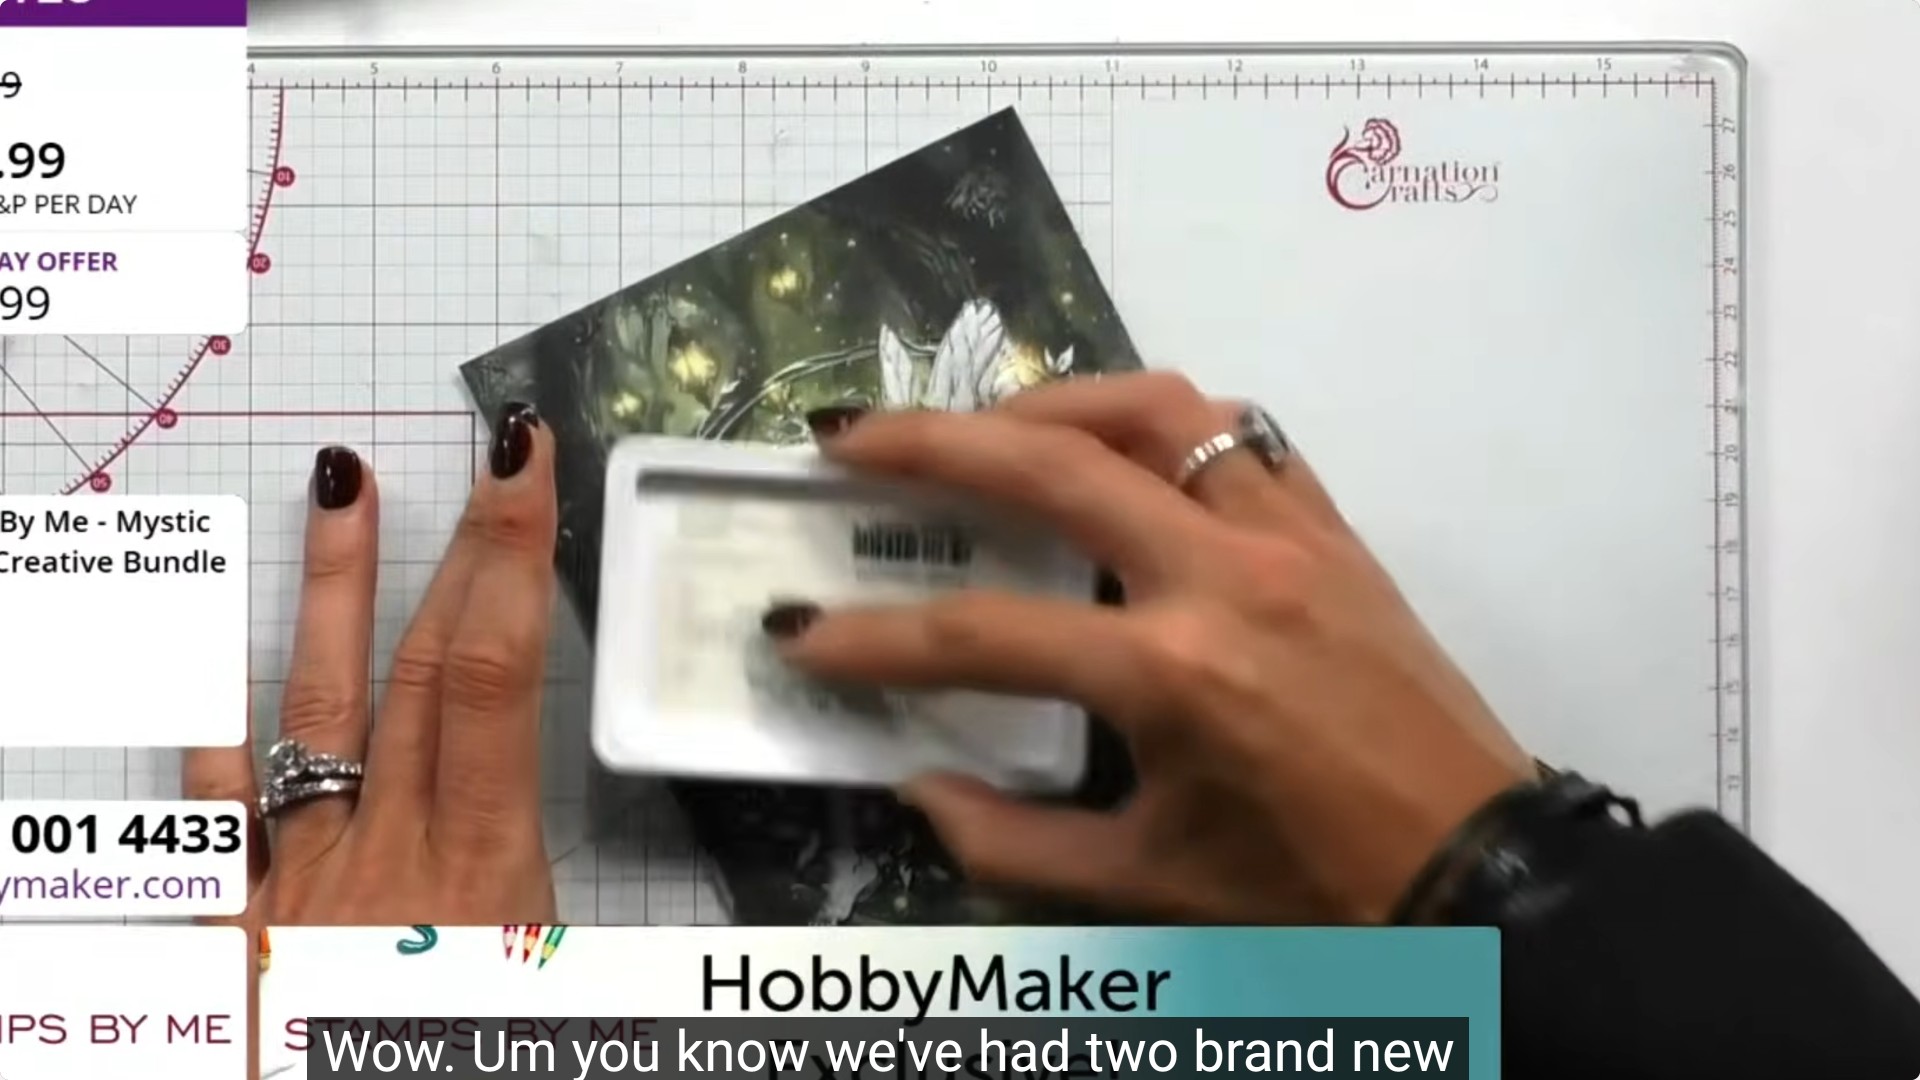
Add a sentiment stamp or text to complete your card. Position it in a suitable area that complements your embossed and inked design.
▶ watch this step (31:15)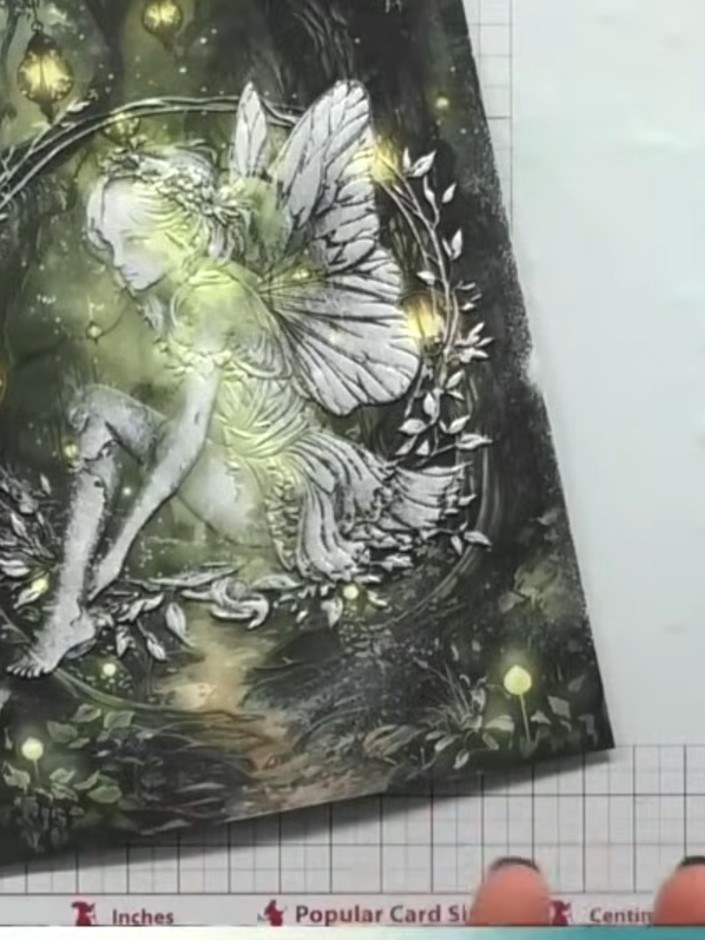
Allow the glue to dry completely before displaying or sending your finished embossed fairy card.
▶ watch this step (31:30)Written up from the show itself. See every guide from our shows · free how-to guides · watch live on My Telly