Give your friends $10 off their first order!
Refer a FRIEND








Prices change straight away. Every language is our own translation, not Google.
A project from our live show HOBBYMAKER TV - Join us for the latest show - Broadcast 1 P.M. (UK) 6rth April 2026 · 04/06/2026
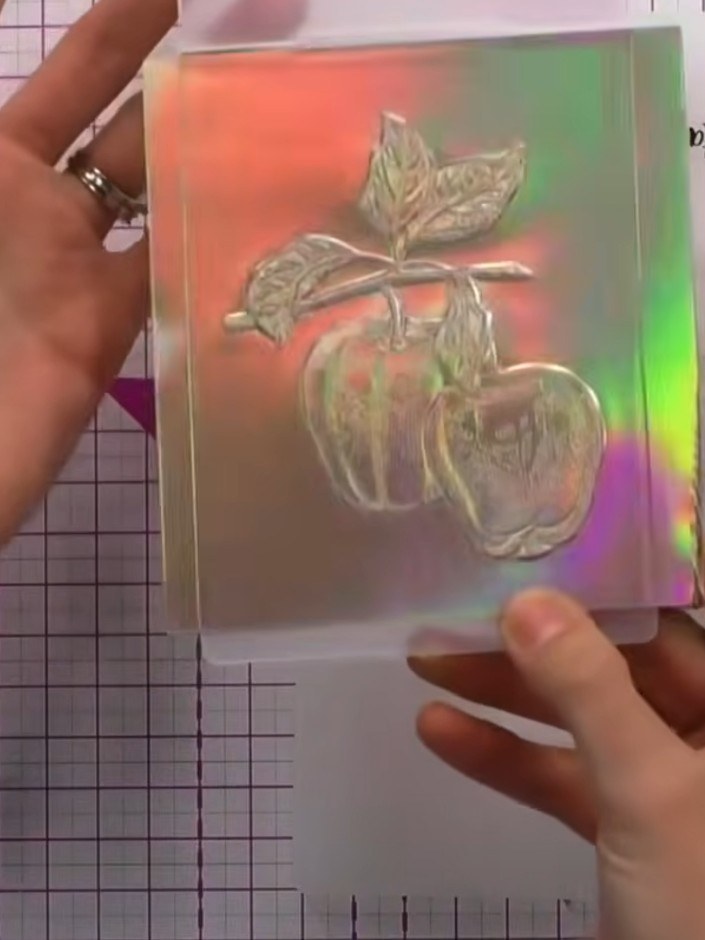
Create an elegant white-on-white embossed card with a sophisticated pear design. This project uses an embossing folder with white card stock placed on mirror board to create subtle dimension and a hint of metallic shimmer. The monochromatic result is perfect for creating refined, contemporary greetings cards.
 1
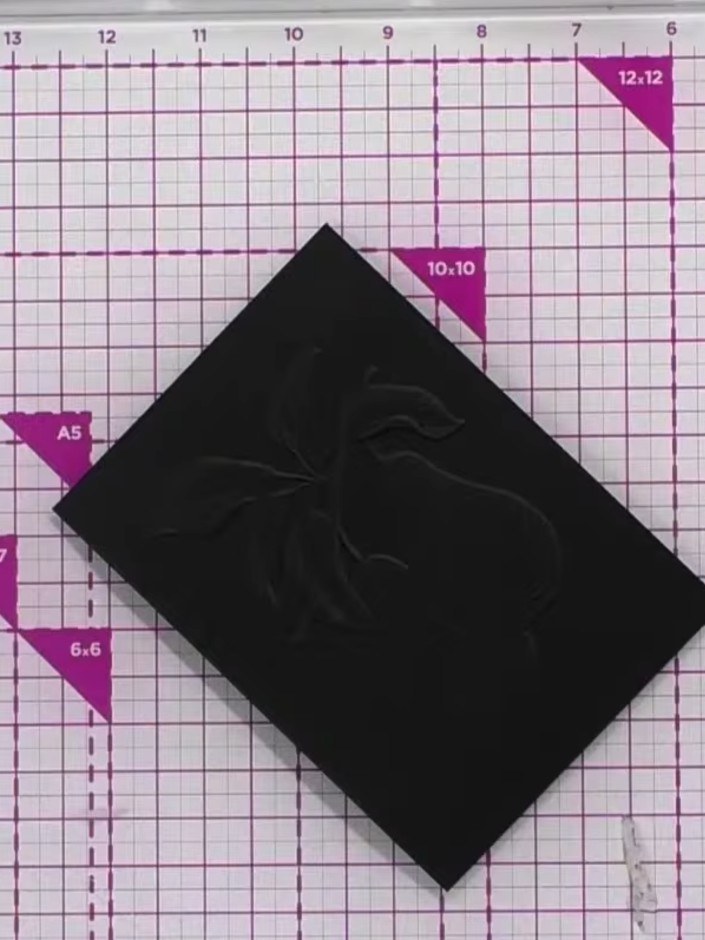
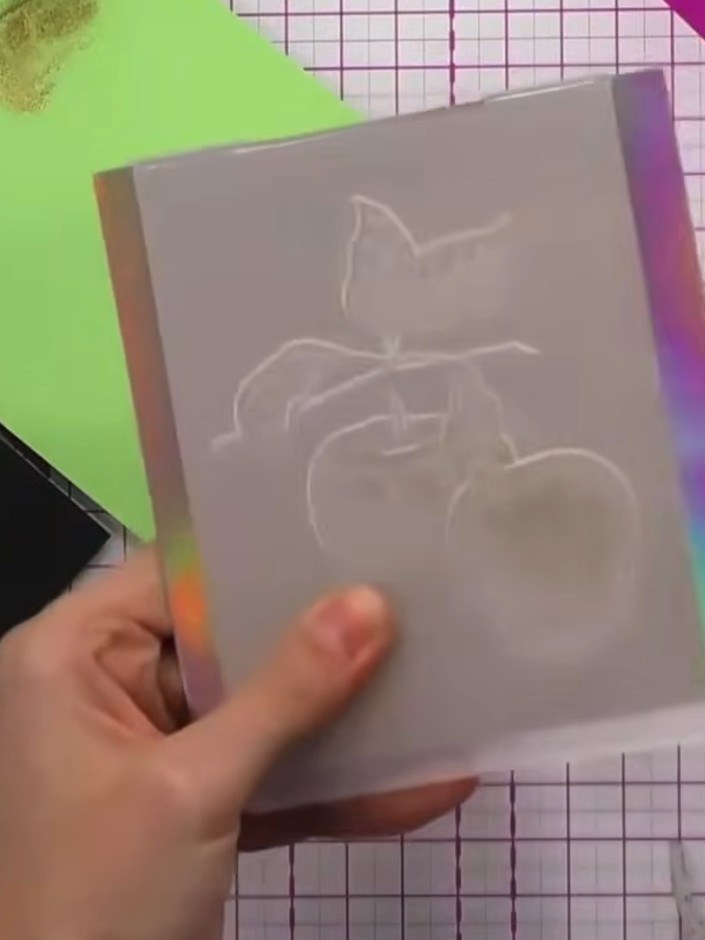
Place your white card stock inside the embossing folder with the pear design, ensuring it is positioned correctly with the raised part of the folder at the back.
 2
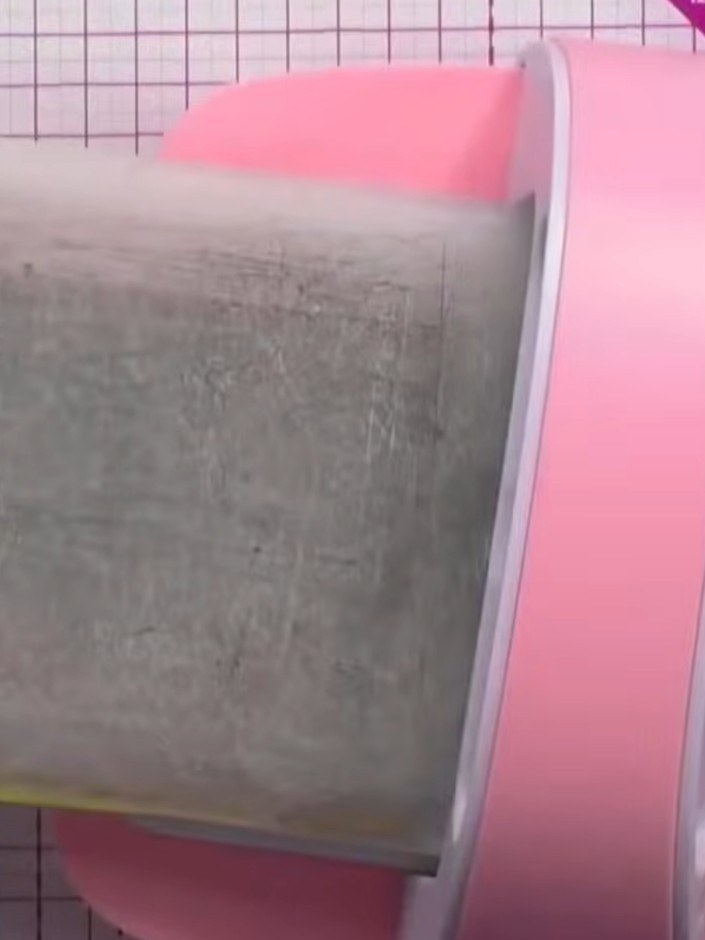
Place a protective sheet over your card stock before running it through the die-cutting machine. This prevents damage to your embossed design and keeps the card pristine.
 3
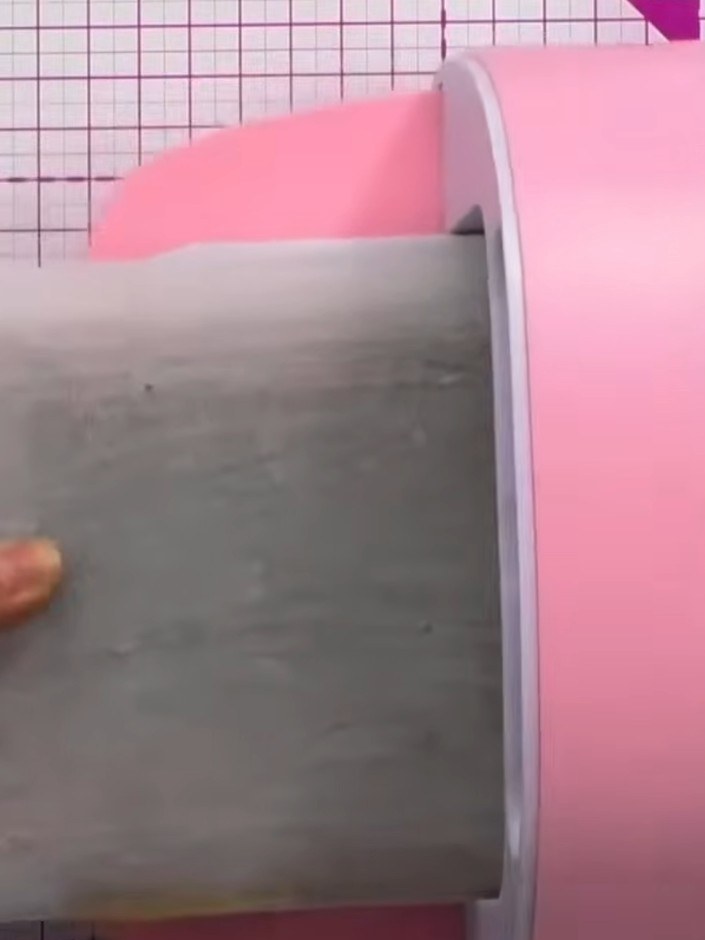
Place your cardstock sandwich (with the embossing folder containing your stamped pear design) into your die-cutting machine. Run the sandwich through the machine to create the embossed design.
 4
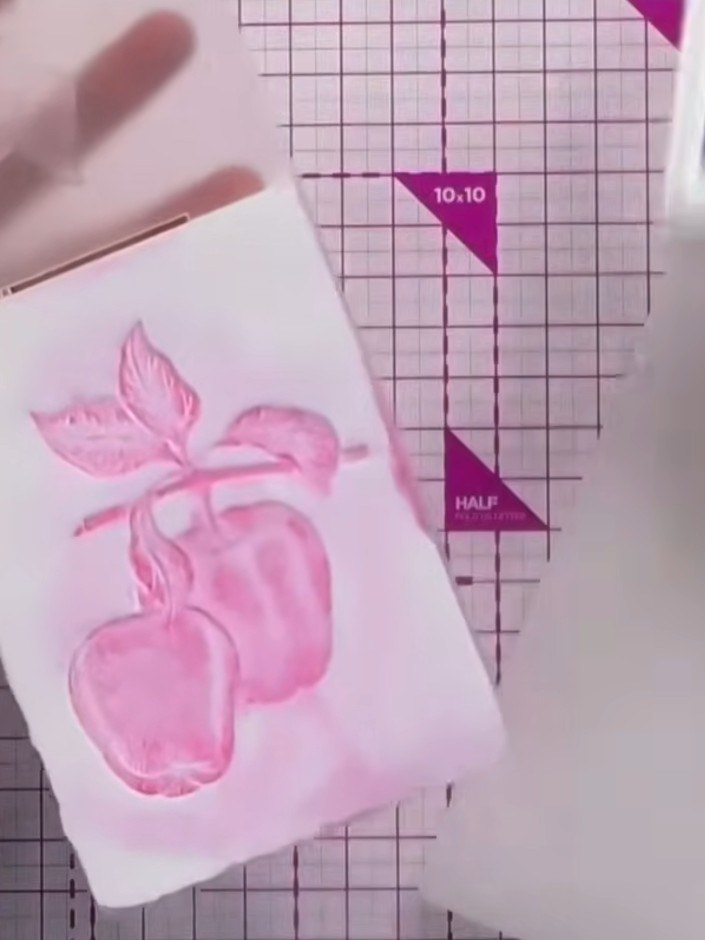
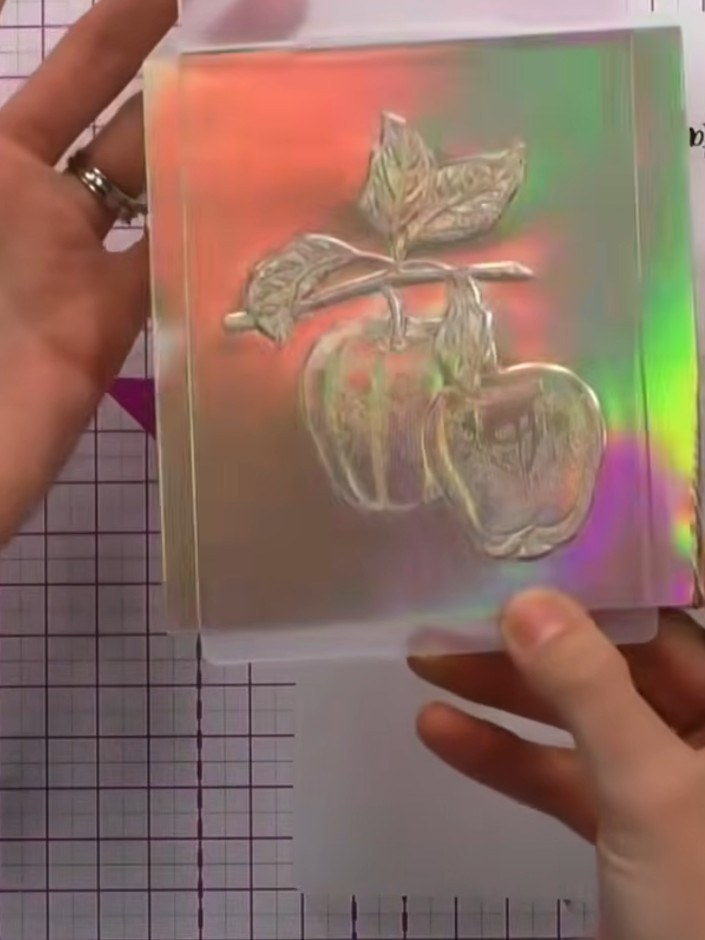
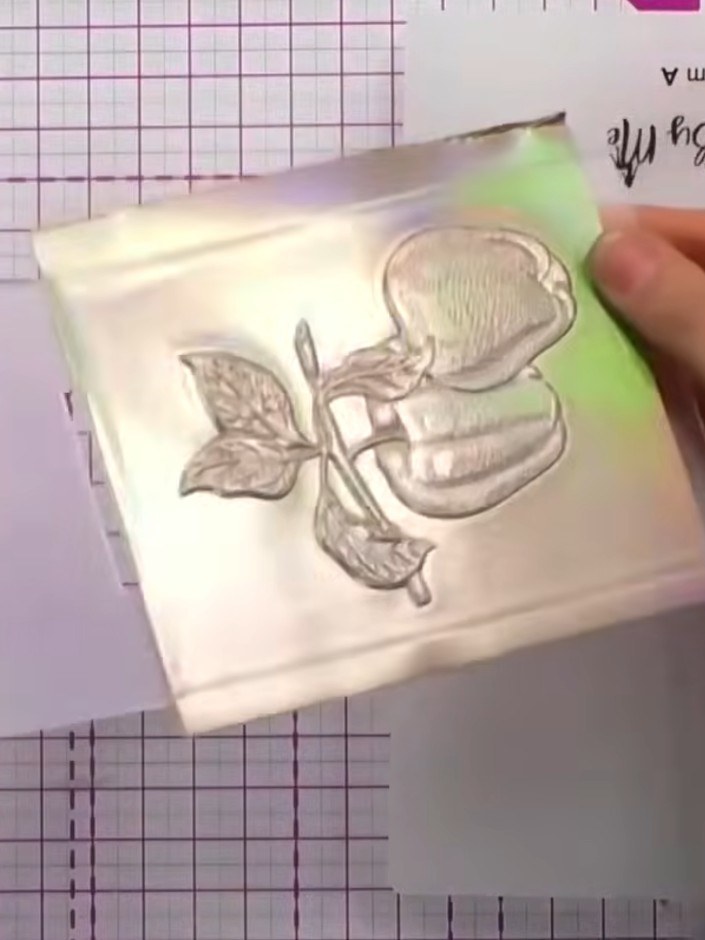
Remove the card from the embossing folder and observe the white-on-white embossed pear design. The embossed image shows beautifully against the holographic mirror board backing, creating an elegant raised effect.
 5
Trim the embossed card down to your desired size using a trimmer or scissors. The card can now be mounted onto a card base or placed in a frame for display.
Share your make with the Stamps By Me community - and keep this guide for next time.
Written up from the show itself. See every guide from our shows · free how-to guides · watch live on My Telly · the previous layout