


Step 1 of 7
Select a sheet of decorative paper from the Heavenly Blooms paper pad. Adhere to the card blank.








Prices change straight away. Every language is our own translation, not Google.
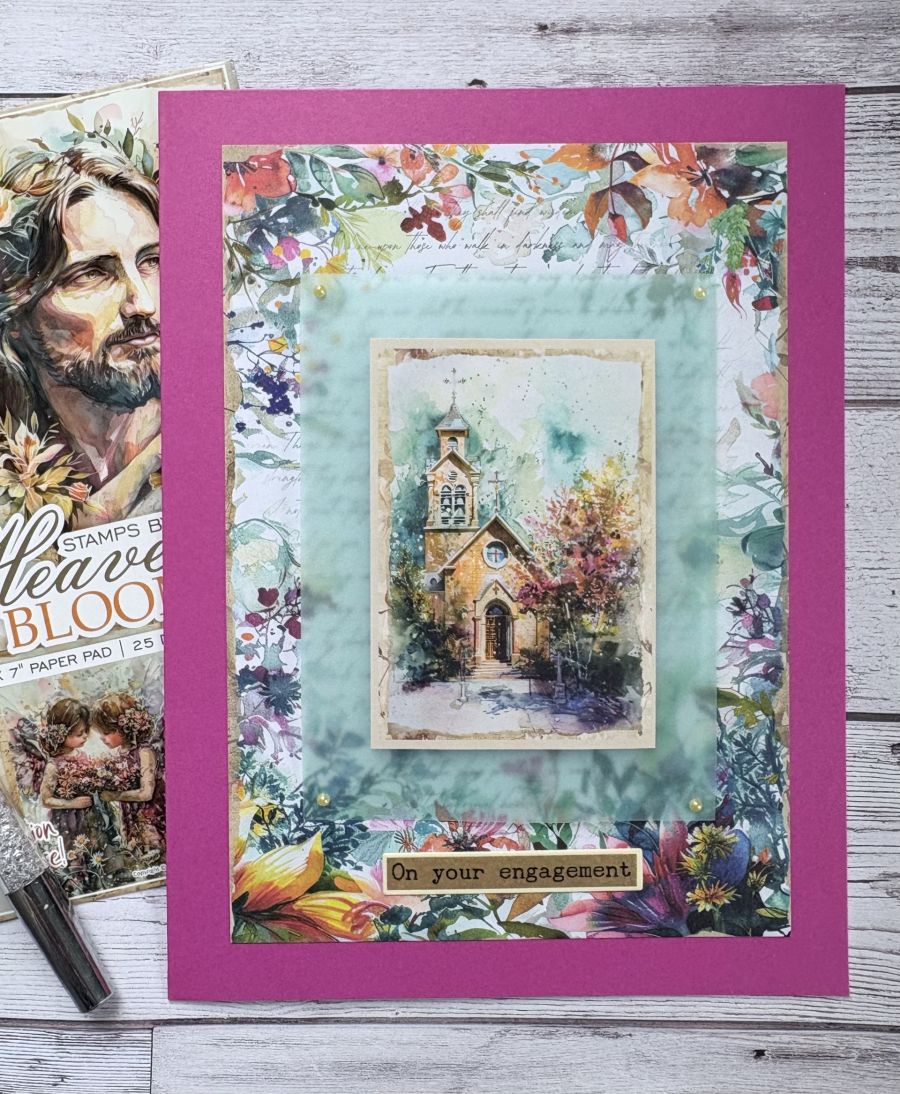
Select a sheet of decorative paper from the Heavenly Blooms paper pad. Adhere to the card blank.
Cut one of the small images from the paper pad and then cut a piece of vellum to 3’ x 5’. Adhere the small image to the vellum using foam pads.
Adhere the image and vellum, to the front of the card.
Using the dies as a guide, cut ONE drop from the Sepia washi roll. Lift up the backing sheet along one end of the tape and adhere across the top of an A4 sheet of white card. Slowly peel away the backing, as you use your hand to smooth the washi tape down on to the card. Once the backing has been fully removed, you can burnish the washi to ensure there are no air bubbles or creases.
Line up the second die, secure in place and run through your machine.
Once all elements are die cut, pop out the sentiments, pick out the one you are using for this project and keep the rest in a tub for future projects.
Glue your chosen sentiment to the front of the card and finally add gems to the four corners of the vellum.
Share your make with the Stamps By Me community - and keep this guide for next time.
Prefer the previous layout? Open the old page.



