


Step 1 of 6
Trim a piece of white card to 4 1/4 x 6 1/4".
Ink the solid lamination stamp with Redwood, spritz with water and stamp in the centre of the card.








Prices change straight away. Every language is our own translation, not Google.
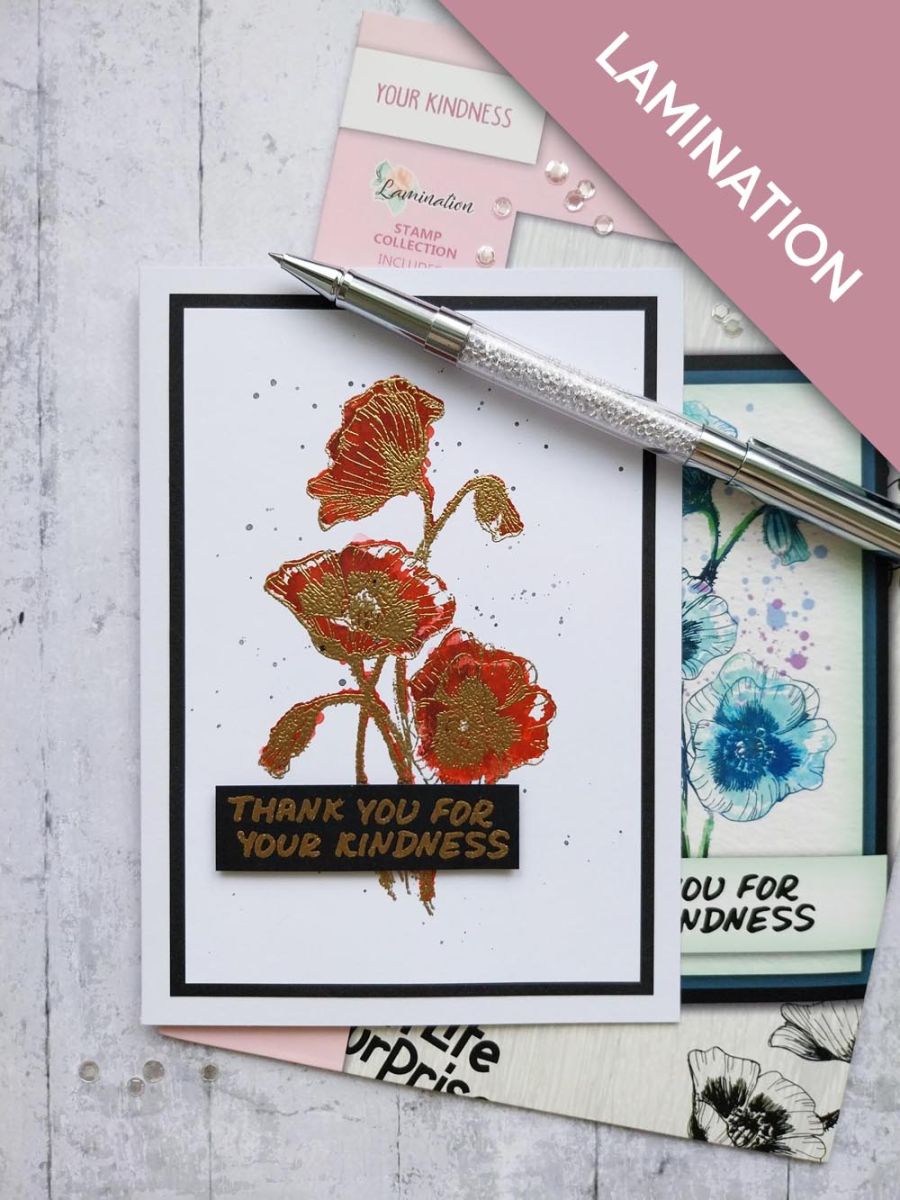
Trim a piece of white card to 4 1/4 x 6 1/4".
Ink the solid lamination stamp with Redwood, spritz with water and stamp in the centre of the card.
Dry the ink thoroughly before wiping over the card with your anti-static bag.
Ink up the detailed stamp with the sticky WOW embossing ink and stamp over your image.
Cover the sticky image with the Gold embossing powder, decanting any excess powder back in the pot. Get your heat tool good and hot before heat setting the powder.
Smoosh a little of the Black Soot on to your glass mat and add water. Splatter the ink over your artwork as required. I like a lot of splats but the choice is yours!!
Pop your artwork to one side to dry.
Wipe over a piece of black card with your anti-static bag.
Stamp your sentiment with the WOW sticky ink pad, apply the Gold embossing powder and heat set as before.
Trim your sentiment tab to the required size.
Use foam pads to adhere your sentiment across the stems of the flowers.
Finally mat on to black card cut to 4 1/2 x 6 1/2" and then on to the front of your white card blank.
Share your make with the Stamps By Me community - and keep this guide for next time.
Prefer the previous layout? Open the old page.



