Step 1 of 7
Spray the ATC's with a little water then randomly spray with the Izink Misty Morning and Butterscotch.
Dry off the ink.








Prices change straight away. Languages are translated by Google.
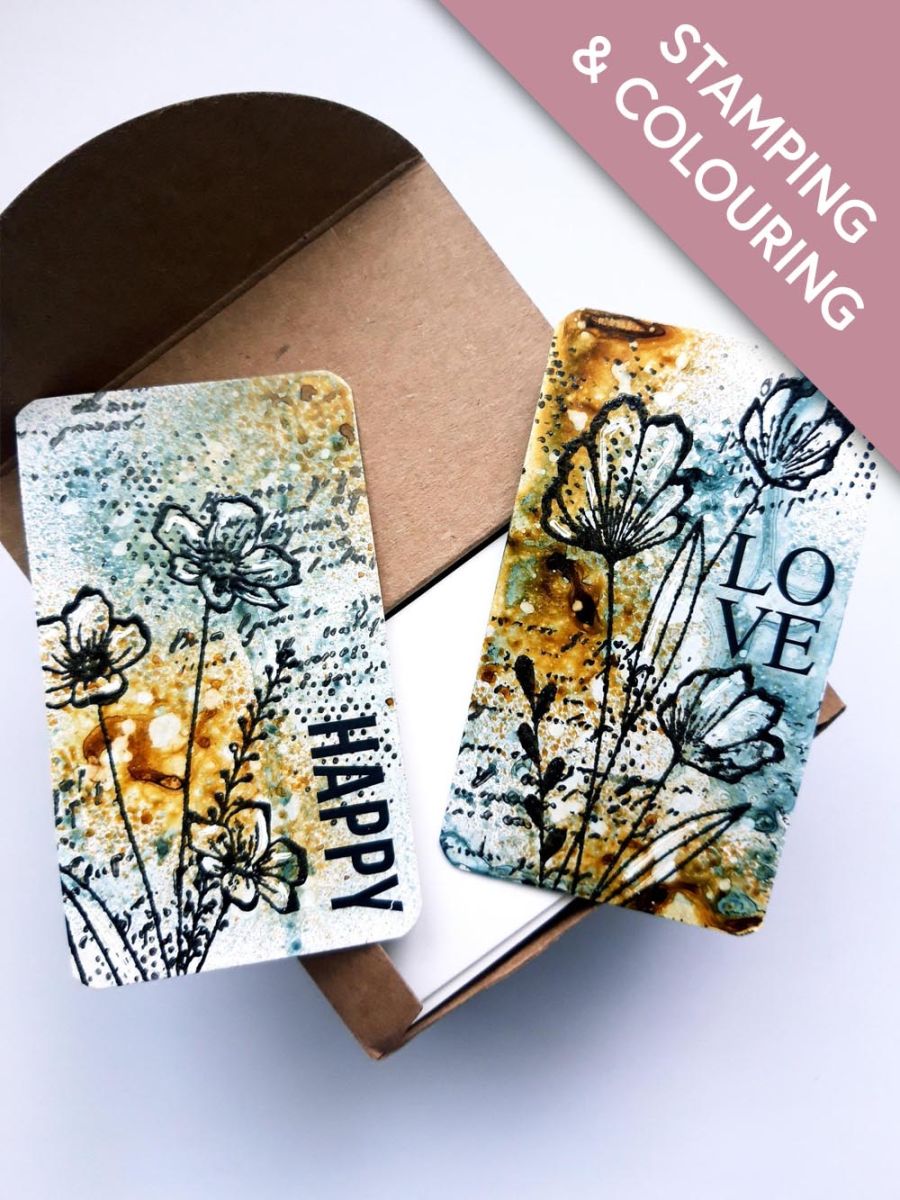
Spray the ATC's with a little water then randomly spray with the Izink Misty Morning and Butterscotch.
Dry off the ink.
Splatter the ATC's with water and wait a few seconds, before mopping up the excess water with a paper towel.
Dry them off with your heat tool.
Wipe the ATC's over, with the anti static bag.
Ink up the script stamp, from the Beautiful Notes Stamp Collection, with the Onyx Black Versafine, and stamp randomly on to the ATC's.
Ink up the textured dots stamp, from the same stamp collection, with the Versafine, and randomly stamp over the card.
Apply clear embossing powder over the ATC's, and once your heat tool is hot, heat set the clear powder.
Wipe the anti static bag over the ATC's again.
Ink up one of the floral stamps, from the Stand Tall Stamp Collection, and stamp just off the edge of one of the ATC's.
Ink up a different floral stamp, and stamp off the edge of the second ATC.
Apply the clear embossing powder over your stamped images, then heat set with your heat tool.
Having chosen your sentiments, from the Teresa Collins BE HAPPY Rub Ons, peel off the clear tape, then use the lolly stick to rub/adhere the sentiments on to your ATC's, where required.
To finish, use your white gel pen to add accents, and highlights, to your artwork.
Share your make with the Stamps By Me community - and keep this guide for next time.
Prefer the previous layout? Open the old page.