Give your friends $10 off their first order!
Refer a FRIEND








A project from our live show HOBBYMAKER TV - Join us for the latest show - Broadcast 3 p.m. (UK) 19th June 2026 · 06/19/2026 · watch it from 42:30
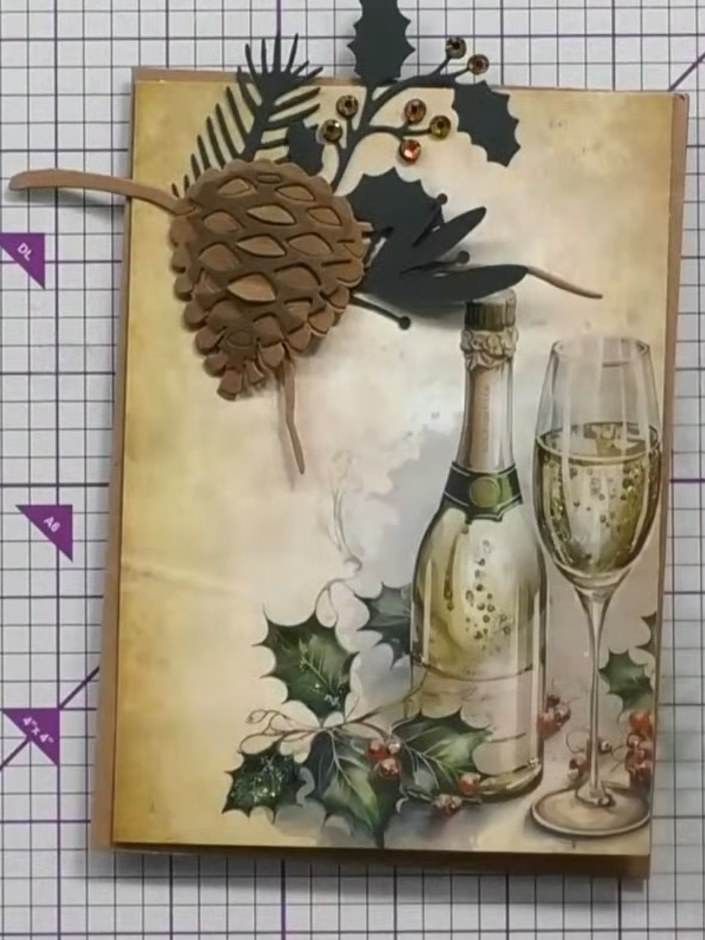
Create a realistic three-dimensional pine cone using layered die-cut pieces in natural kraft tones. The pine cone features multiple embossed layers that are shaped and lifted to create authentic texture and depth, adorned with festive holly leaves and berries. This dimensional embellishment is perfect for adding a seasonal touch to cards, gift boxes or festive decorations.
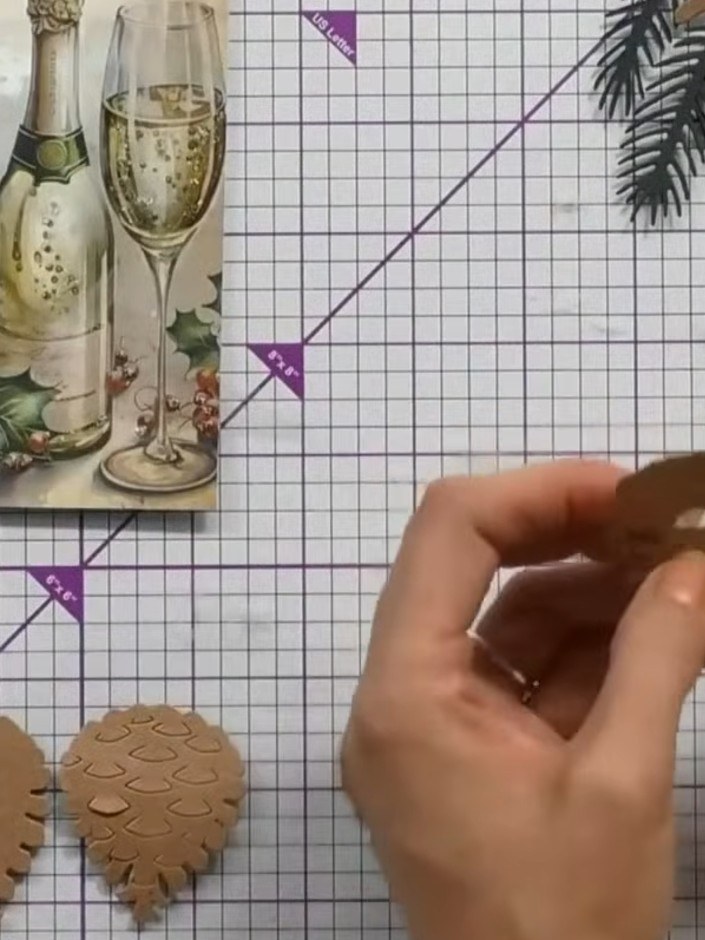
Cut out the pine cone shapes using the Perfect Pinecones die set. The die cuts will produce multiple layered pine cone elements that are already embossed with texture details.
▶ watch this step (42:45)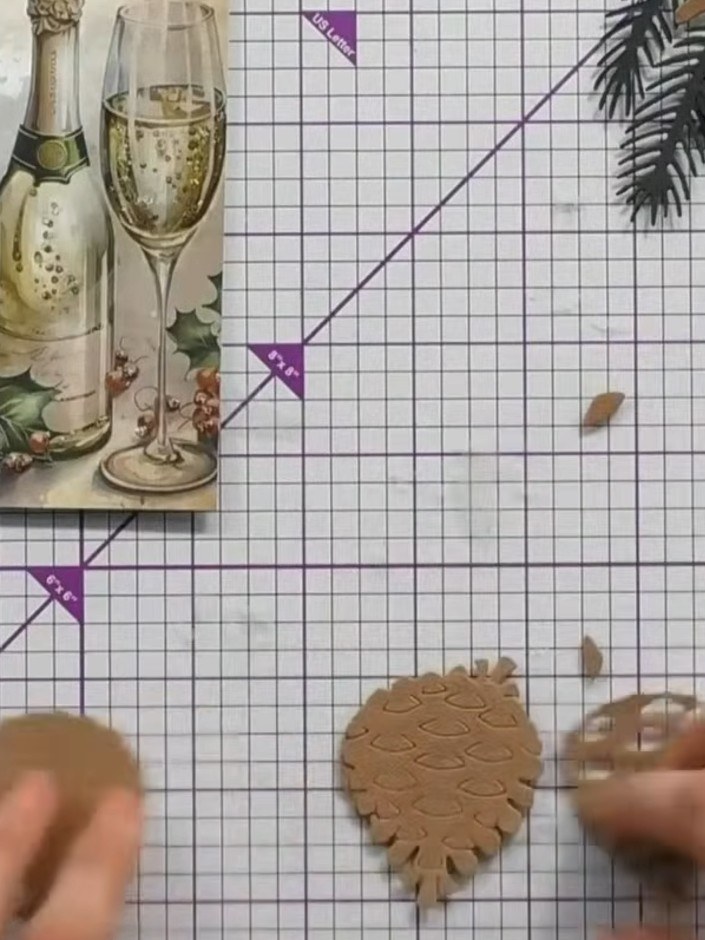
Separate the base layer from your die-cut pieces. This layer features embossed detail and will form the foundation of your pine cone embellishment.
▶ watch this step (43:00)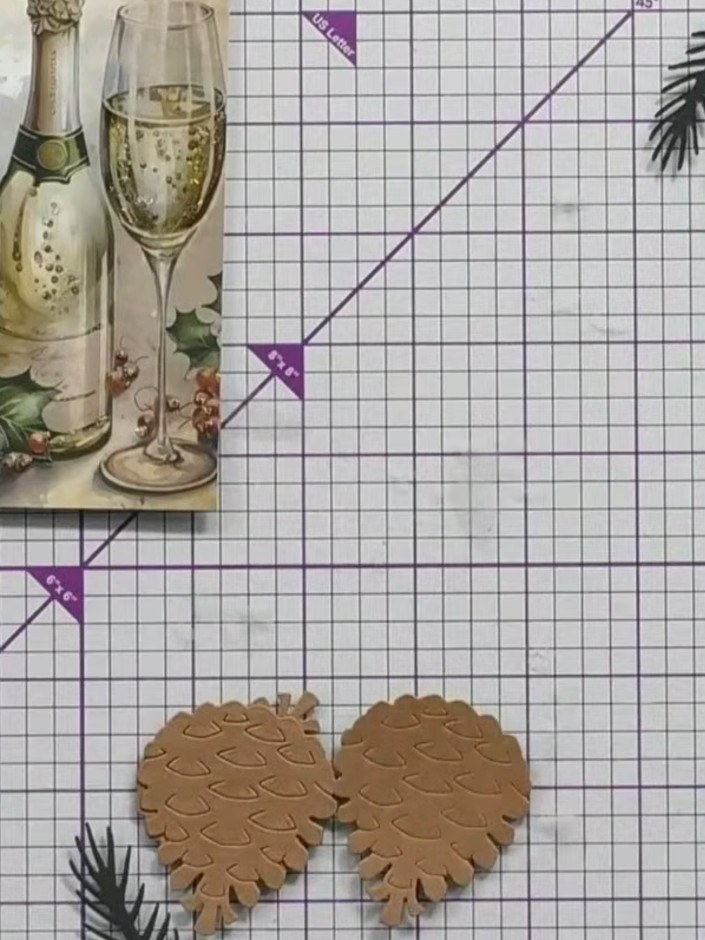
Arrange the main pine cone layer pieces on your work surface. These kraft-coloured die-cut pieces feature individual scale elements that can be lifted to create dimension and realistic texture.
▶ watch this step (43:15)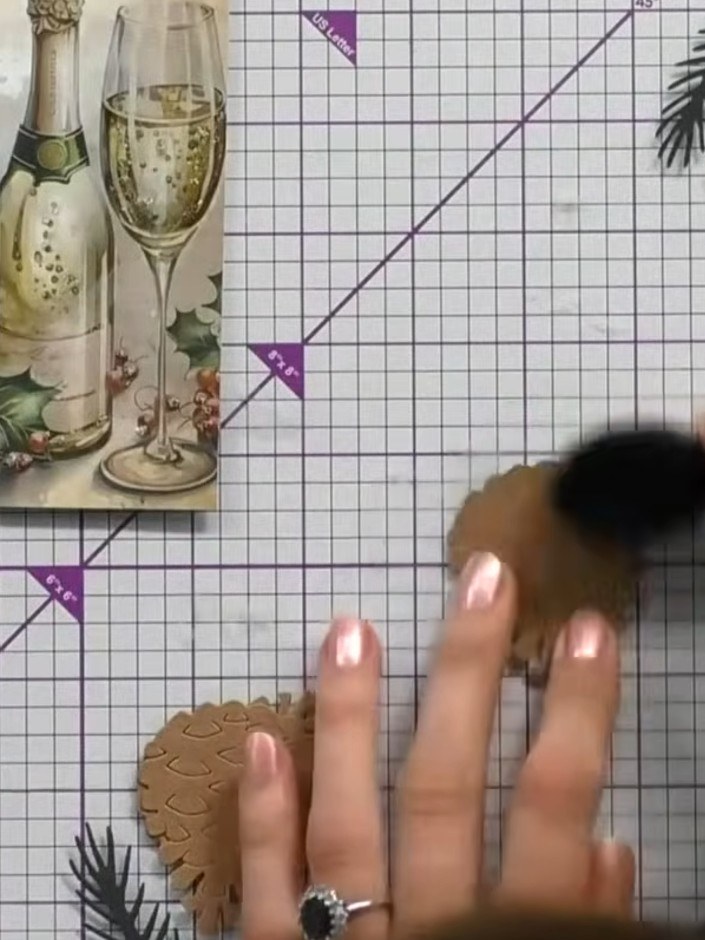
Ink the edges of your pine cone pieces using a vintage white ink pad or your chosen colour. Apply the ink to add depth and dimension to the die-cut pieces.
▶ watch this step (43:30)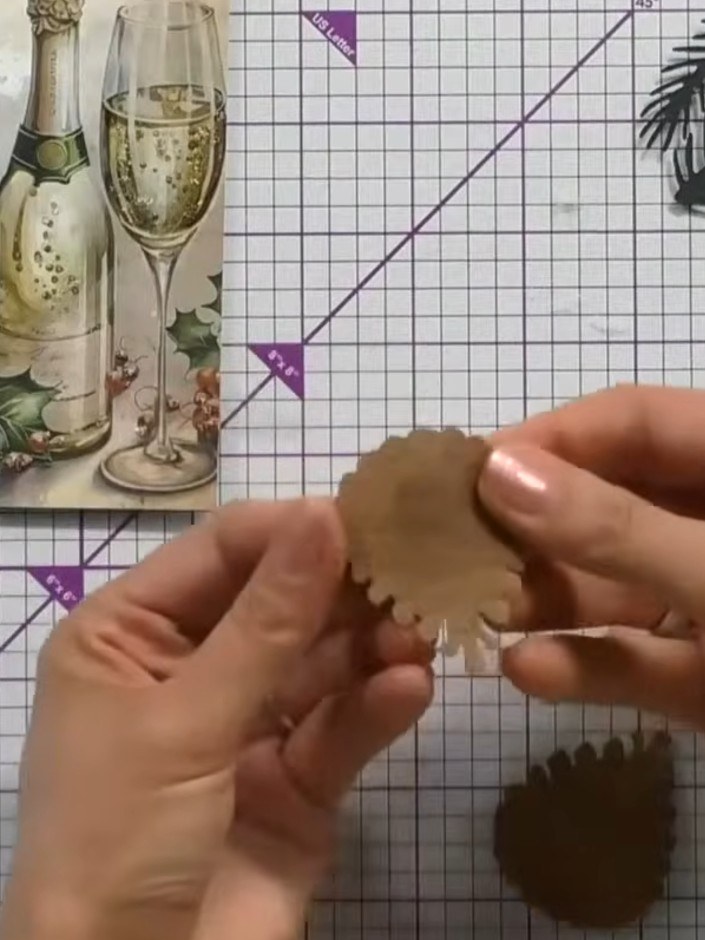
Glue the main pine cone layer on top of the base layer, ensuring the embossed detail is visible underneath. Position carefully so both layers are aligned.
▶ watch this step (44:00)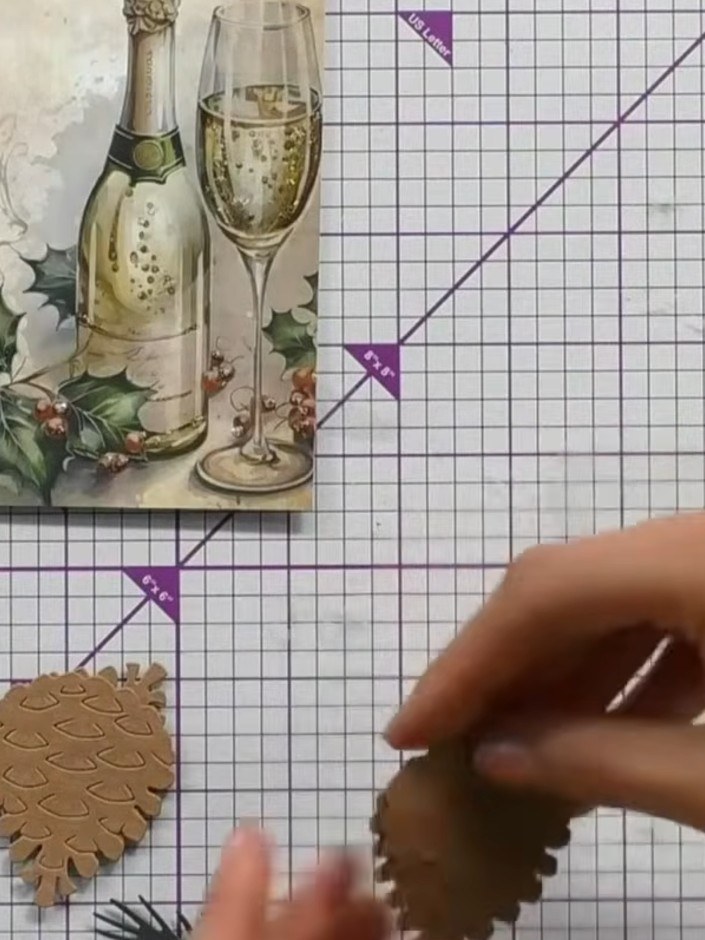
Cut the outer 'jacket' layer from darker brown cardstock. Glue this layer on top of the pine cone base to add dimension and shadow.
▶ watch this step (44:30)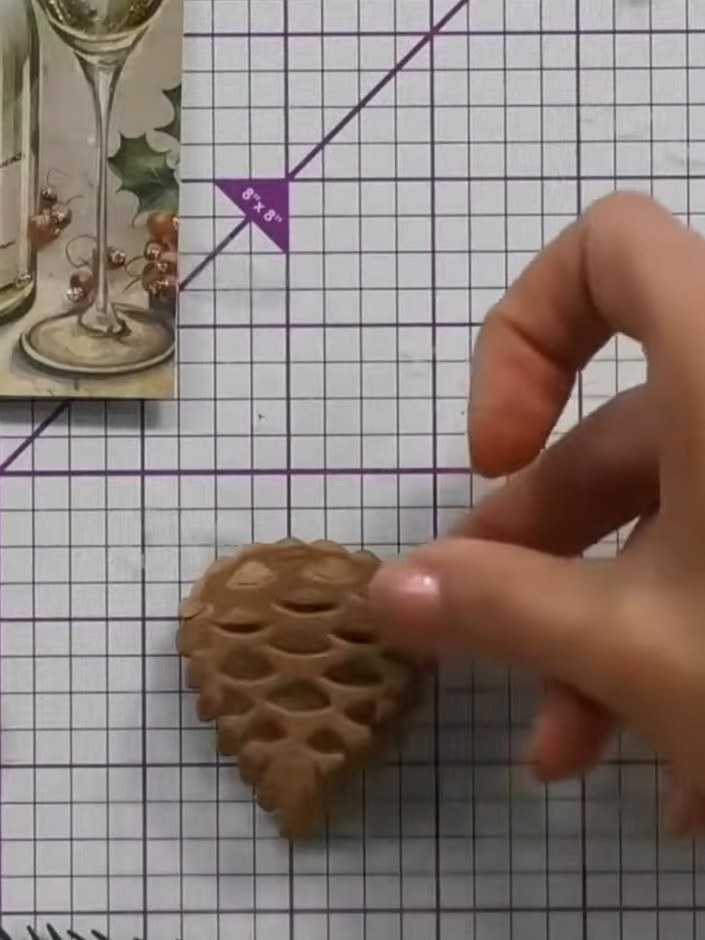
Use a pokey tool to lift and bend each individual scale of the pine cone upwards, creating a three-dimensional effect. Work around the entire pine cone, gently curving each element to add dimension.
▶ watch this step (45:00)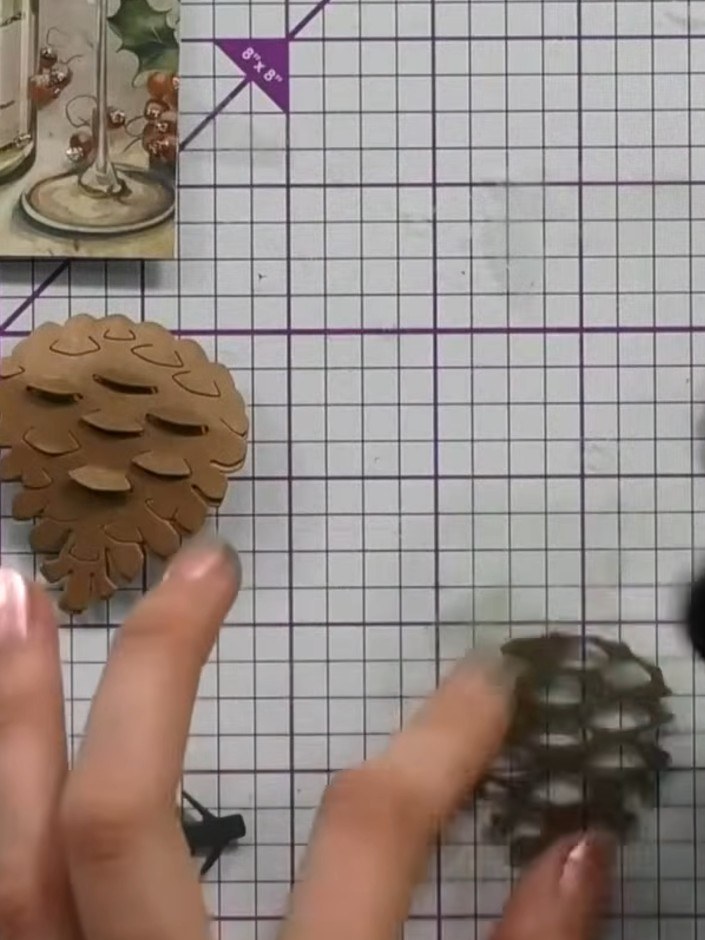
Arrange the lifted pinecone scale elements so they appear natural and slightly bent, varying the angles for realism. Adjust each layer to create dimension and a lifelike appearance.
▶ watch this step (45:30)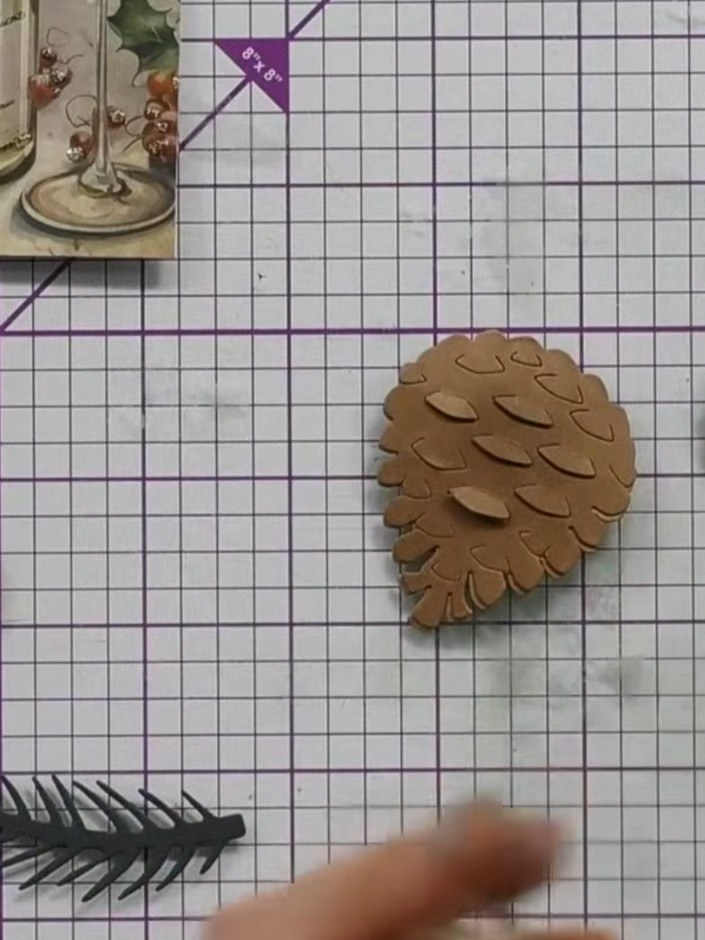
If desired, add a branch element to your design, trimming it to the appropriate size to fit your card or project.
▶ watch this step (46:00)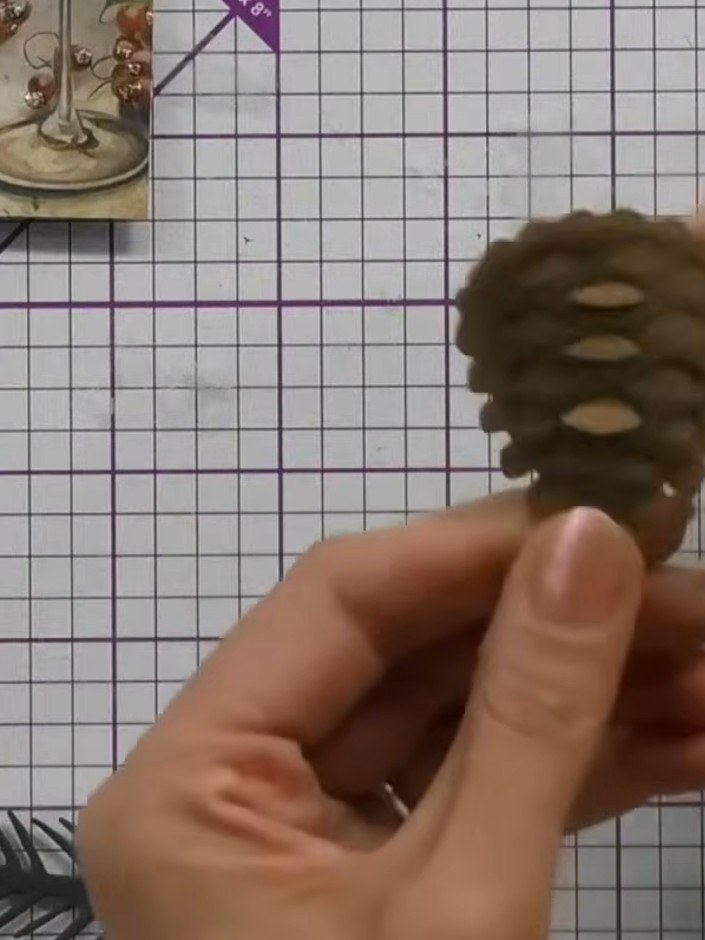
Attach filler flowers and greenery around the pine cone to create a complete festive arrangement. Position the embellishments to complement the pine cone and build up a full, dimensional display.
▶ watch this step (46:30)Written up from the show itself. See every guide from our shows · free how-to guides · watch live on My Telly