Give your friends $10 off their first order!
Refer a FRIEND








A project from our live show THE BRAND NEW LAUNCH - Join Toni in her UK Studios - Broadcast 29th June 2026 · 06/29/2026 · watch it from 1:14:30
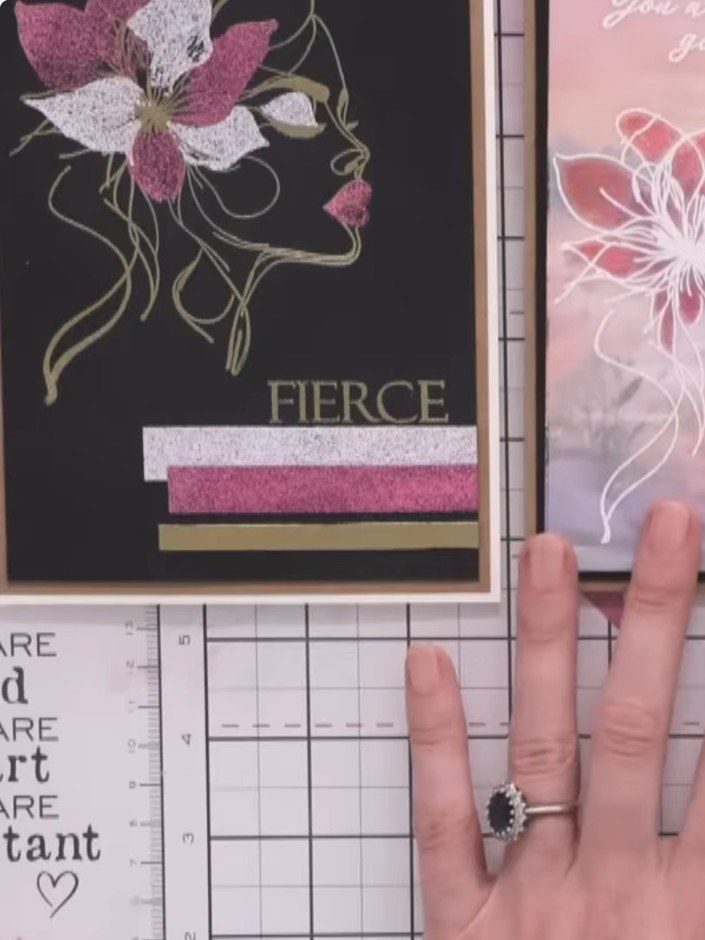
Create an elegant layered card featuring embossed strips in coordinating colours from a powder trio. This sophisticated design uses off-cut strips, each heat embossed in different shades to complement the main lady and flower motif. Complete the card with gold-embossed sentiment stamps for a refined, multi-layered finish.
 Stamps By Me Lamination Stamp - Simply Gorgeous - 290725BSEE IT
 Wow Powder Trio - Created By Toni Darroch - Russett, Laurel Argent - 270226ASEE IT
 Wow Powder Trio - Created By Toni Darroch - Salt, Ash Scoop - 270226BSEE IT
 Wow Powder Trio - Created By Toni Darroch - Bibbidi, Bobbidi Boo 270226CSEE IT
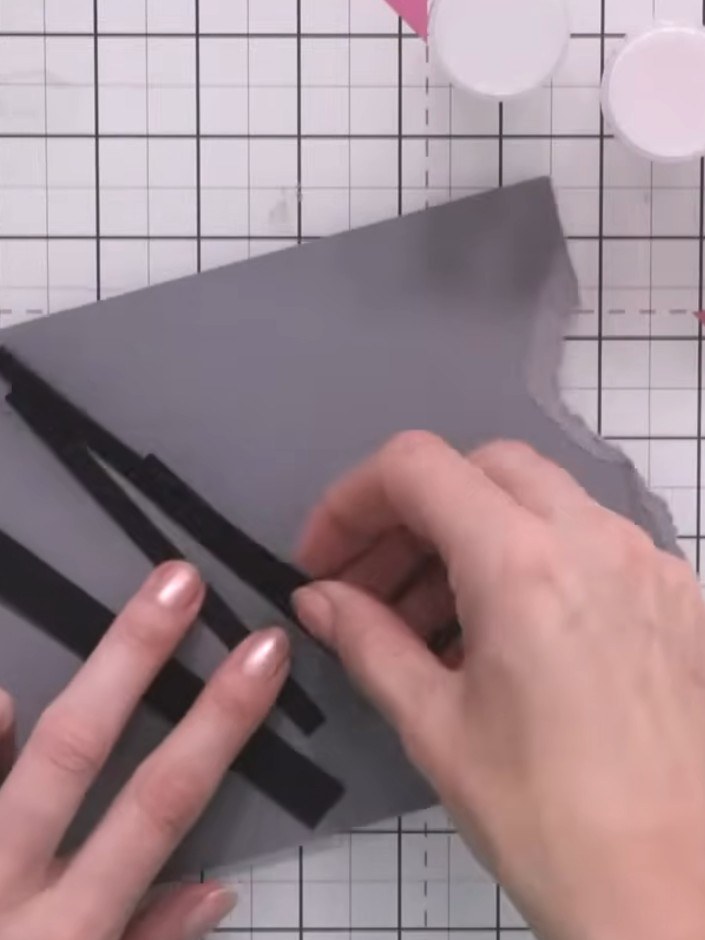
Cut several strips of varying widths from the black cardstock using a guillotine or paper trimmer.
▶ watch this step (1:14:45)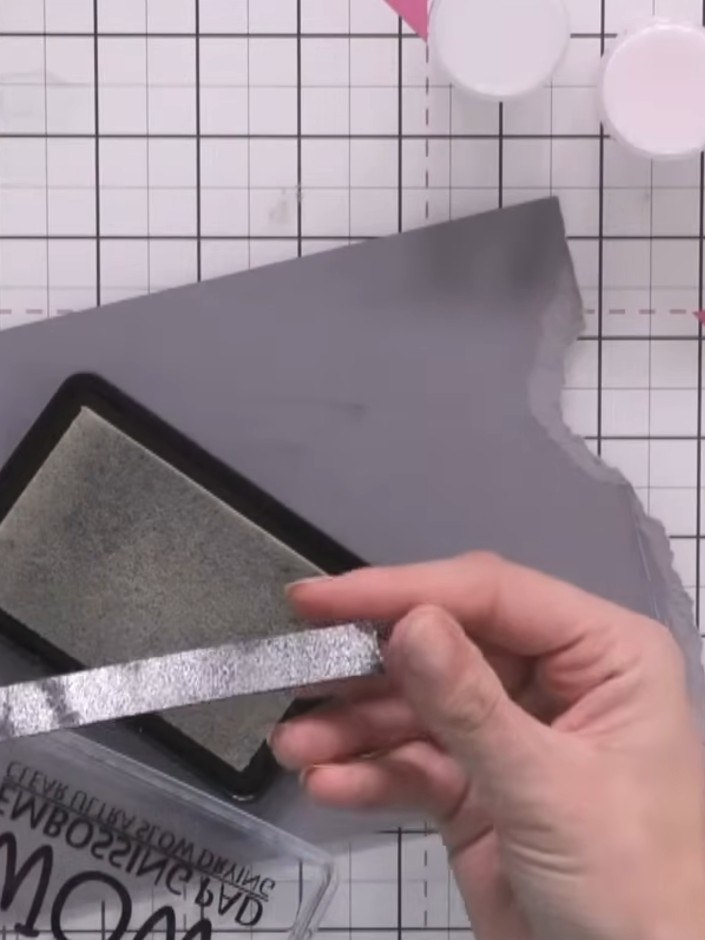
Apply sticky ink to the first black strip using the ink pad. Sprinkle silver embossing powder over the inked strip, ensuring full coverage.
▶ watch this step (1:15:00)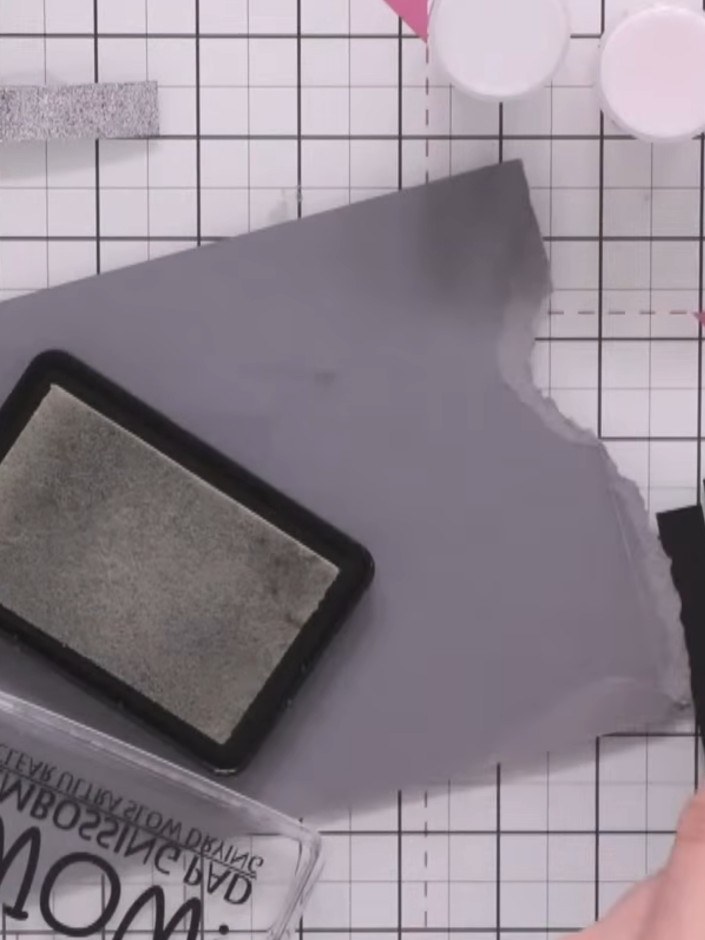
Use a heat gun to heat set the embossing powder on the first grey strip until the powder melts and becomes glossy.
▶ watch this step (1:15:30)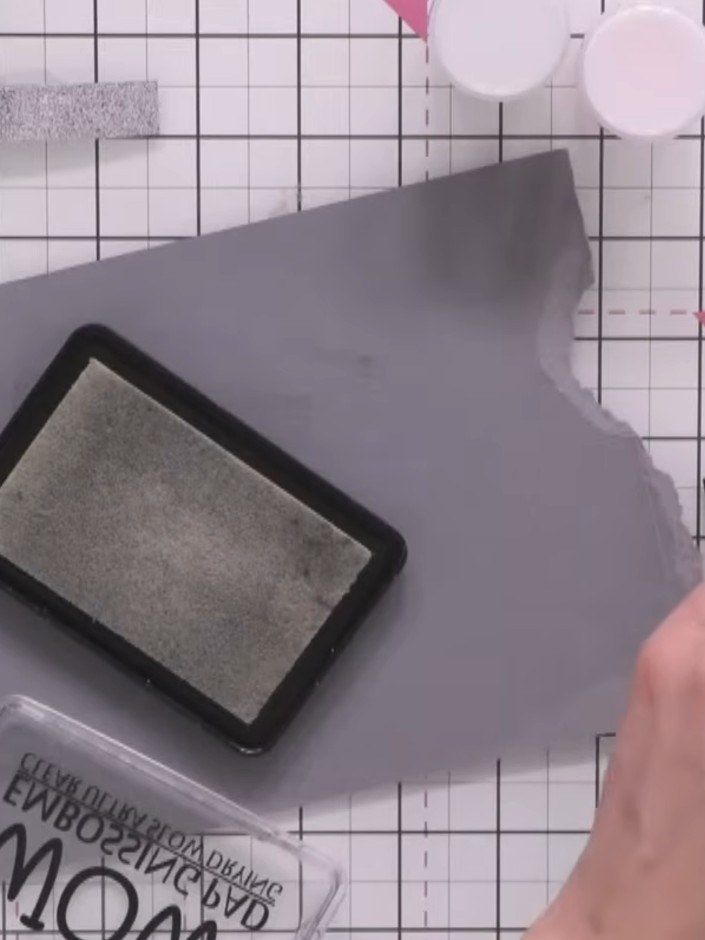
Repeat the process with the second strip, covering it with sticky embossing ink and applying a different colour embossing powder. Heat emboss to set the powder.
▶ watch this step (1:16:00)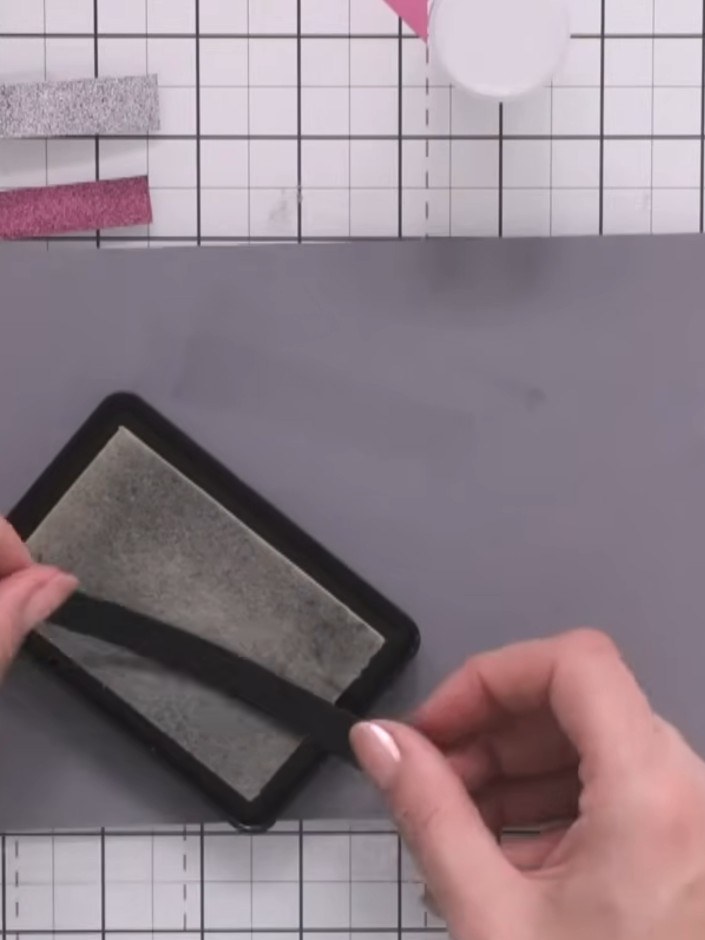
Apply embossing ink to the final strip using the stamp pad. Sprinkle gold embossing powder over the inked strip. Heat emboss the powder to create a gold finish that coordinates with the other coloured strips.
▶ watch this step (1:16:30)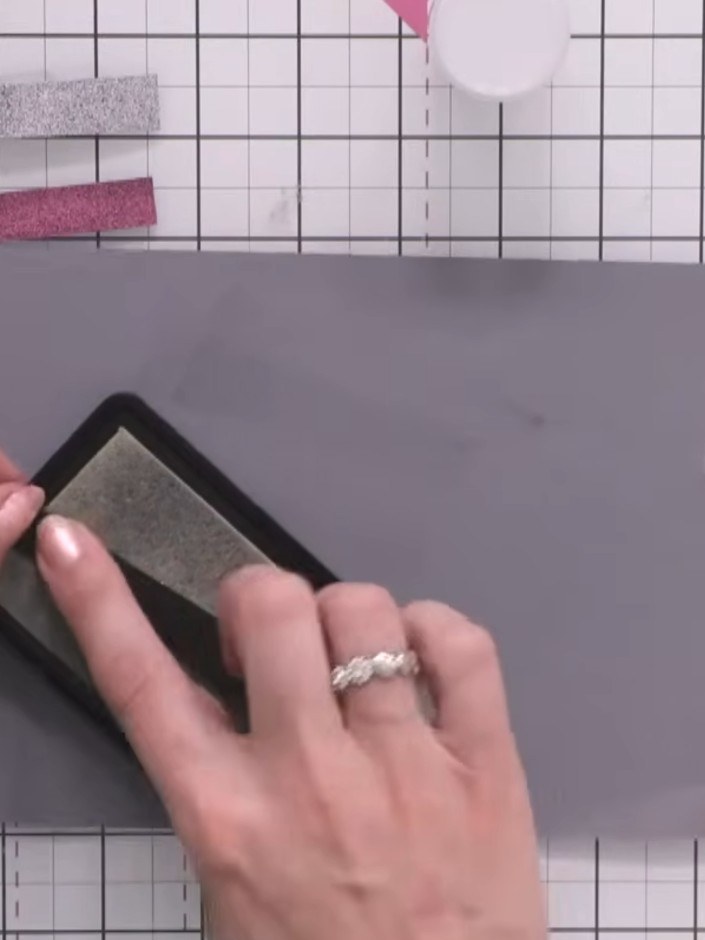
Heat set all the embossed strips using a heat tool and allow them to cool completely before handling.
▶ watch this step (1:17:00)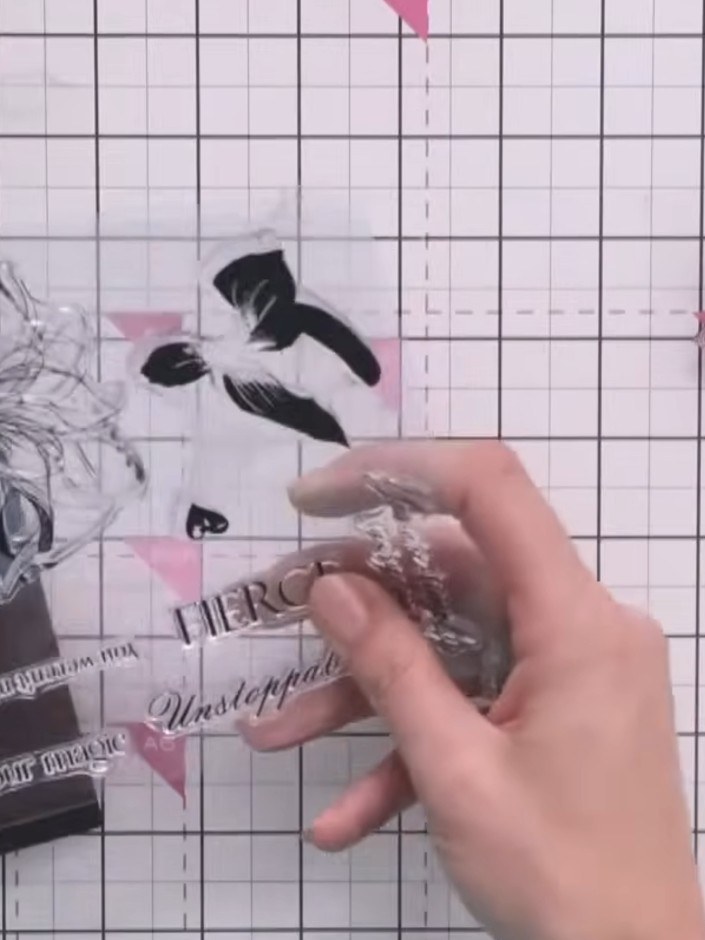
Stamp a sentiment word such as 'Fierce' onto a long thin strip of card using gold embossing powder. Heat emboss to set the design.
▶ watch this step (1:21:00)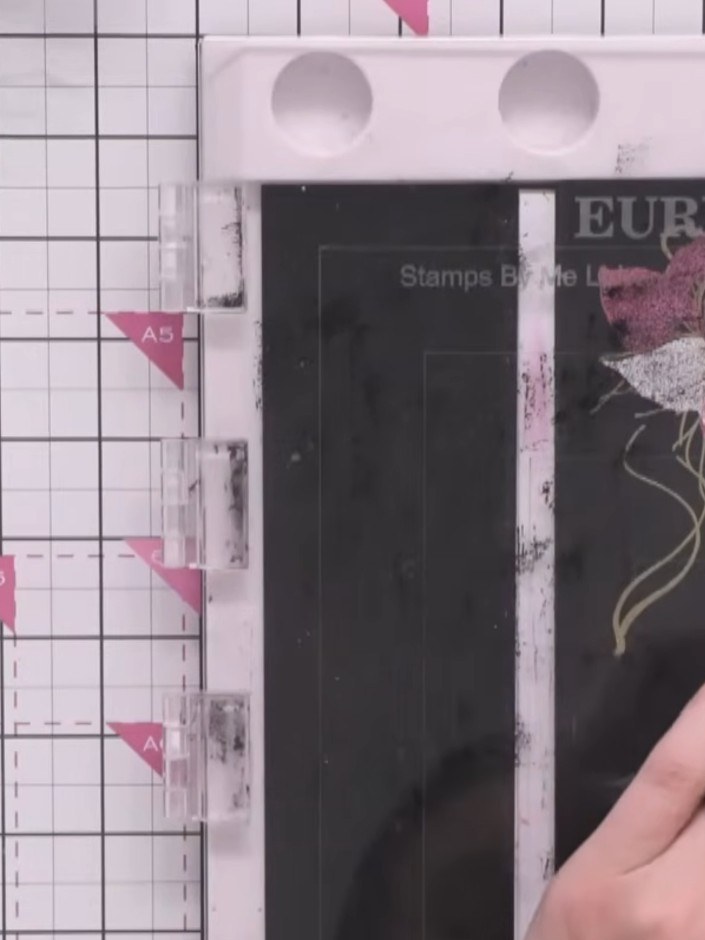
Heat set the stamped sentiment using a heat tool. Hold the heat tool above the stamped image and move it gently over the surface until the embossing powder melts and sets. Don't press too hard on the card with your hands whilst heating.
▶ watch this step (1:22:00)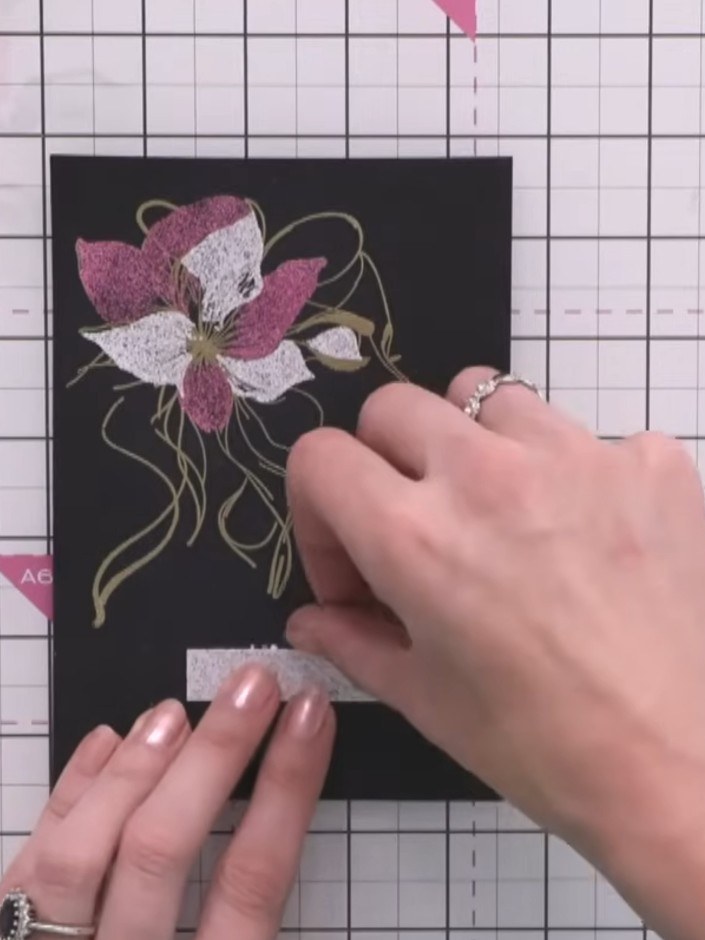
Adhere the sentiment strip across the layered glitter strips using glue, positioning it below the 'FIERCE' text to complement the design.
▶ watch this step (1:24:30)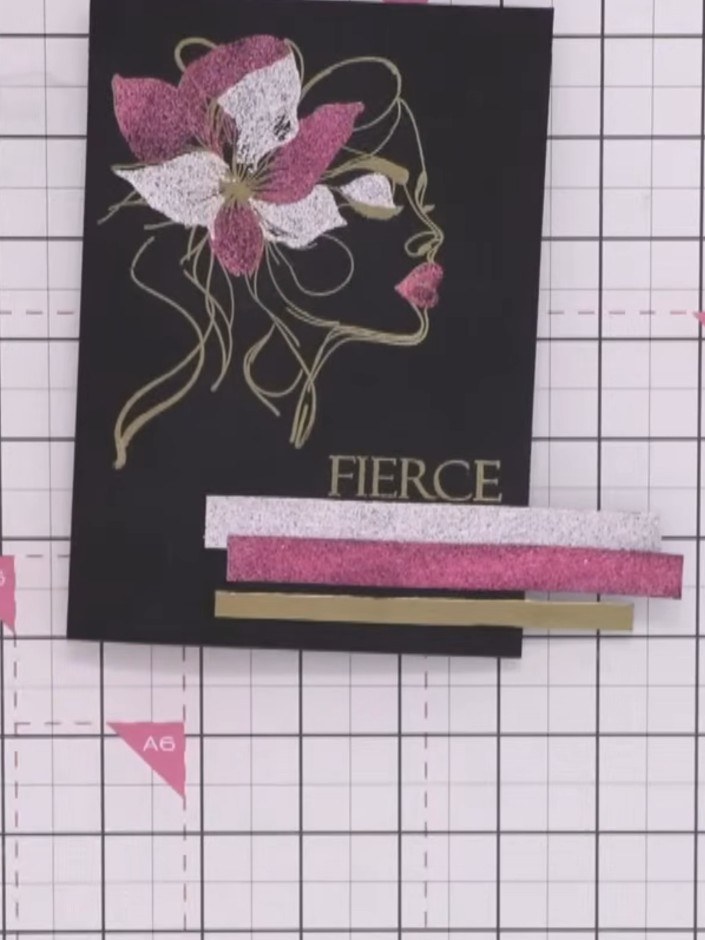
Trim any excess strips from the edges of the card to create a neat, professional finish.
▶ watch this step (1:28:00)Written up from the show itself. See every guide from our shows · free how-to guides · watch live on My Telly