Give your friends $10 off their first order!
Refer a FRIEND








A project from our live show THE BRAND NEW LAUNCH - Join Toni in her UK Studios - Broadcast 29th June 2026 · 06/29/2026 · watch it from 54:45
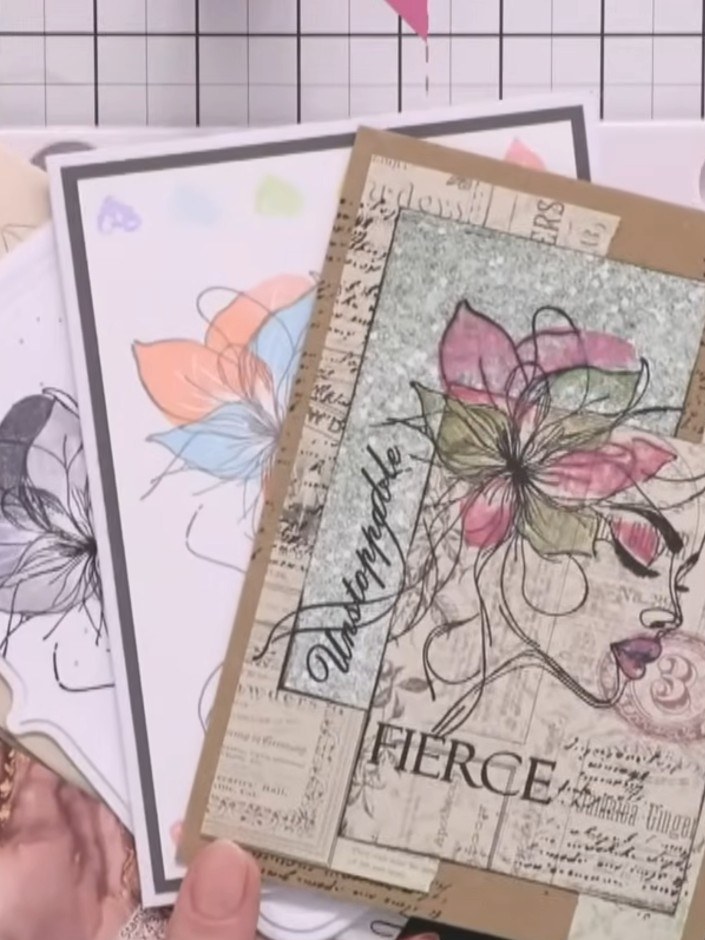
Create an elegant card featuring a gold-embossed lady silhouette enhanced with beautiful laminated flower details. Using a two-part lamination system, layer different coloured embossing powders to achieve a stunning watercolour effect on the flower petals and facial features. The finished card combines sophisticated black and gold tones with delicate pink and green floral accents.
 Stamps By Me Lamination Stamp - Simply Gorgeous - 290725BSEE IT
 Wow Powder Trio - Created By Toni Darroch - Bibbidi, Bobbidi Boo 270226CSEE IT
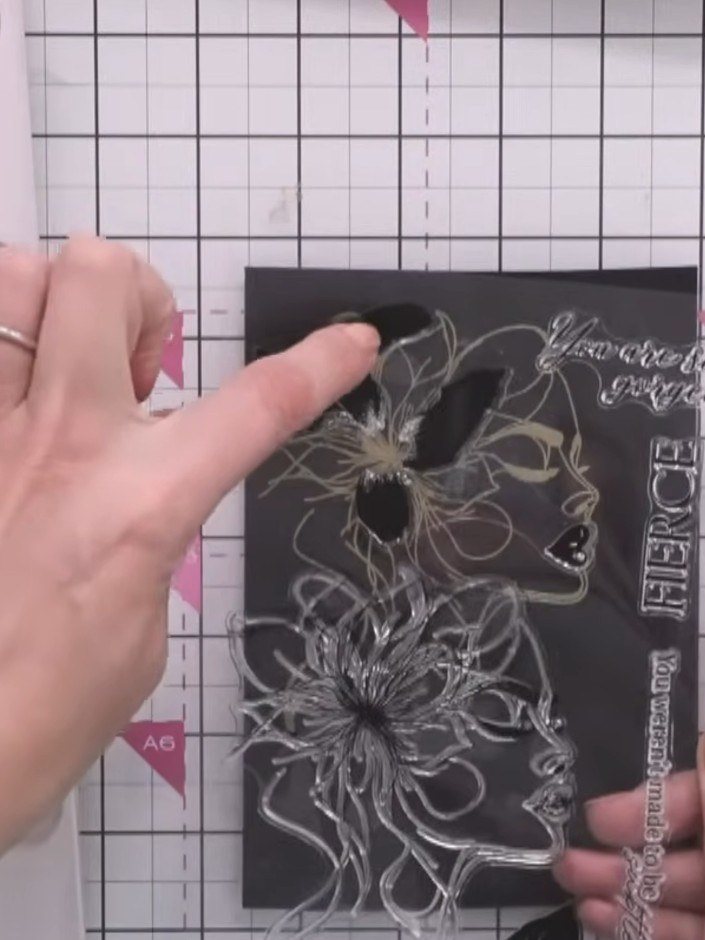
Line up the first lamination stamp by matching the lips on the stamp to the lips on the embossed lady image.
▶ watch this step (57:00)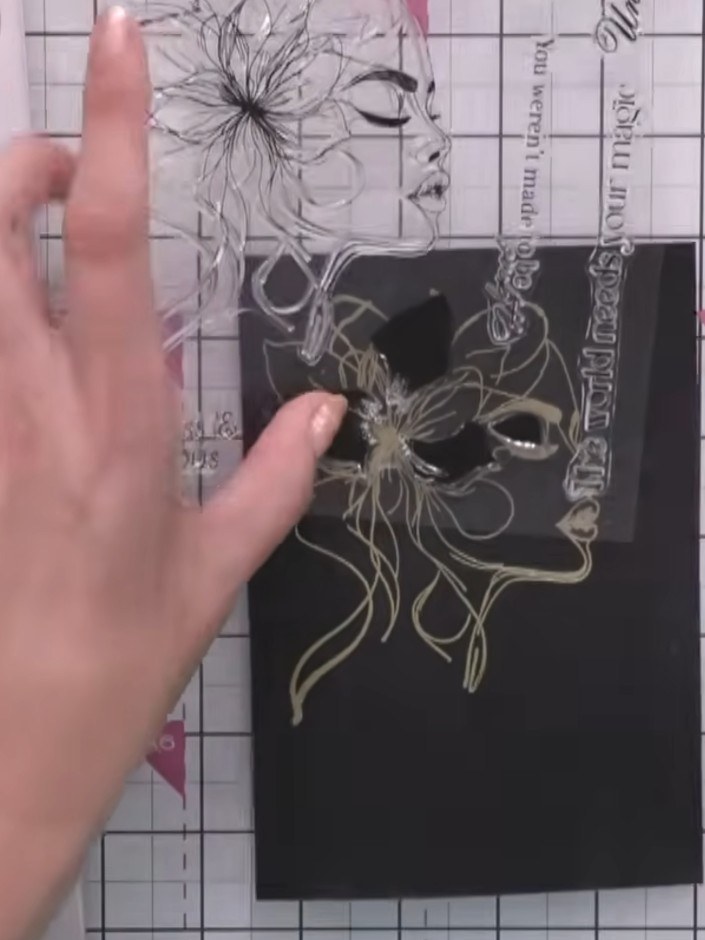
Apply sticky ink to the lamination stamp, ensuring all the detail is well covered. The stamp features a floral design that will be used to create the laminated elements.
▶ watch this step (57:30)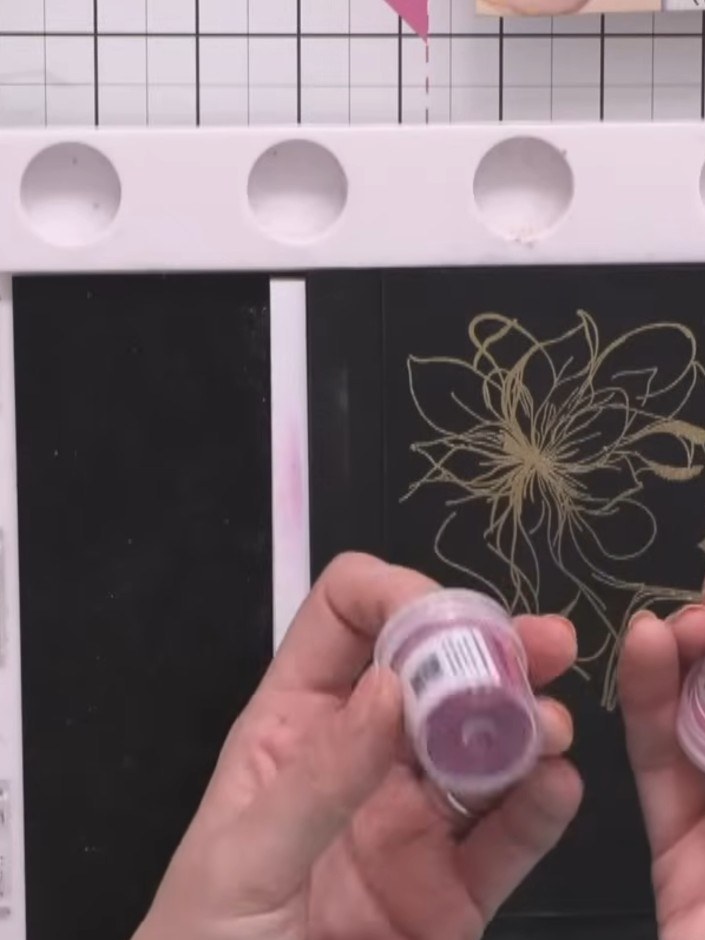
Heat set the embossing powder quickly with a hot heat gun, being careful not to melt the gold embossing underneath.
▶ watch this step (58:15)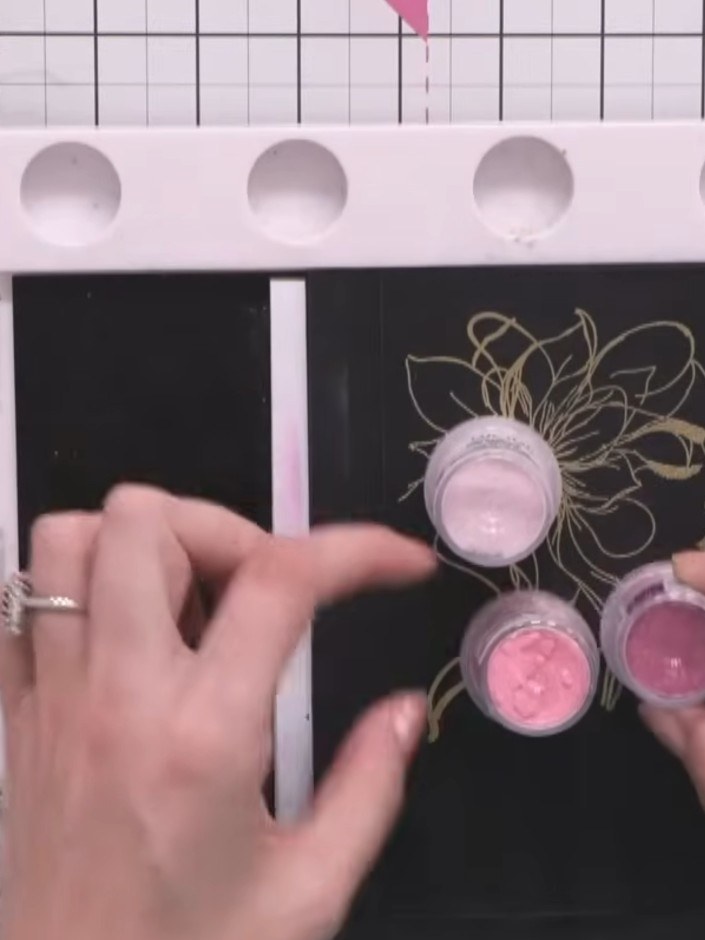
Re-ink the stamped image on the card with the sticky embossing pad. Apply the lighter pink embossing powder from the WOW Powder Trio over the sticky area to create the second lamination layer.
▶ watch this step (59:00)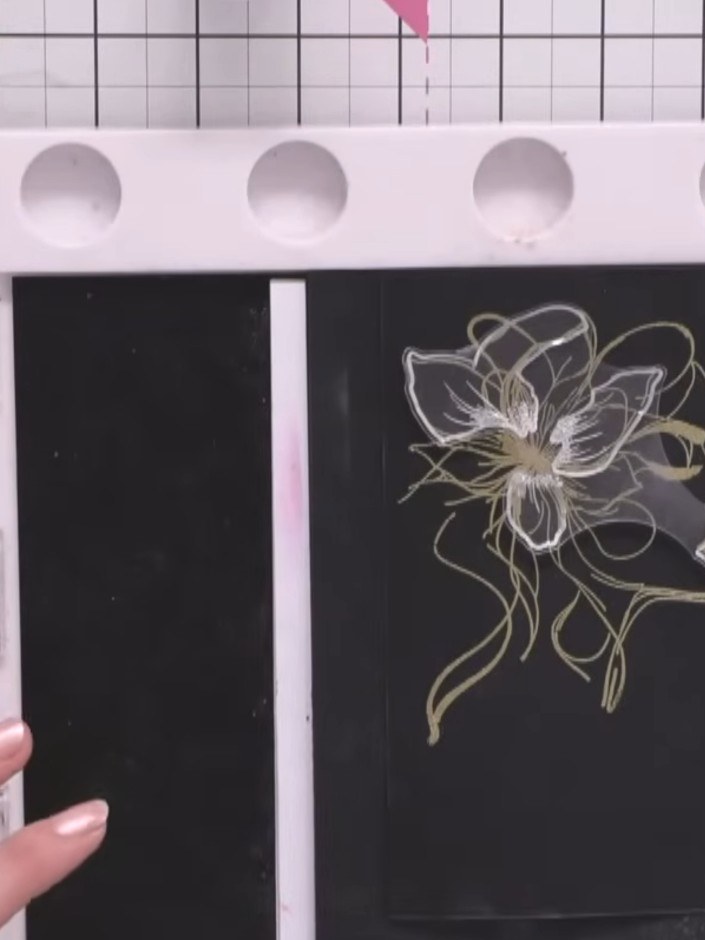
Heat set the lighter embossing powder using your heat tool, working quickly to preserve the gold layer beneath. Move the heat tool evenly over the powder until it melts and sets.
▶ watch this step (1:00:00)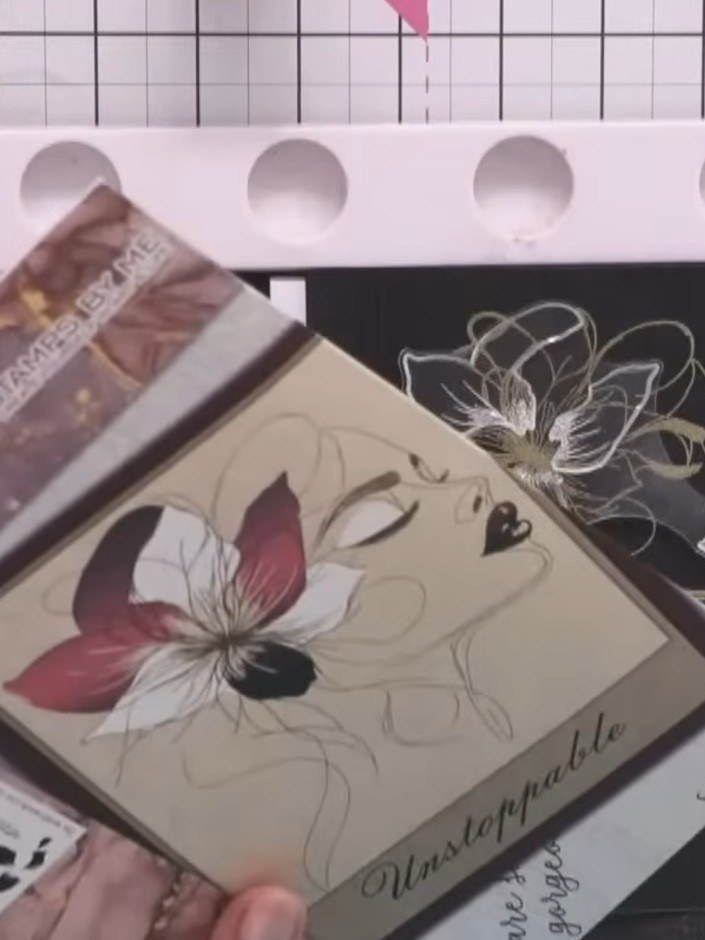
Once the embossing powder has cooled completely, gently brush away any remaining anti-static powder from the black card to reveal the finished white embossed flower design.
▶ watch this step (1:00:30)Written up from the show itself. See every guide from our shows · free how-to guides · watch live on My Telly