Give your friends $10 off their first order!
Refer a FRIEND








Prices change straight away. Every language is our own translation, not Google.
A project from our live show THE BRAND NEW LAUNCH - Join Toni in her UK Studios - Broadcast 9th July 2026 · 07/09/2026
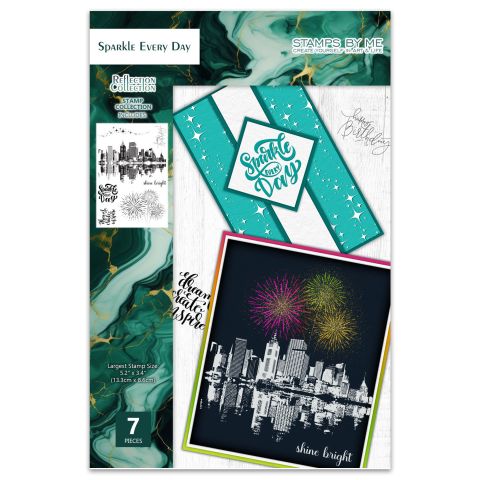
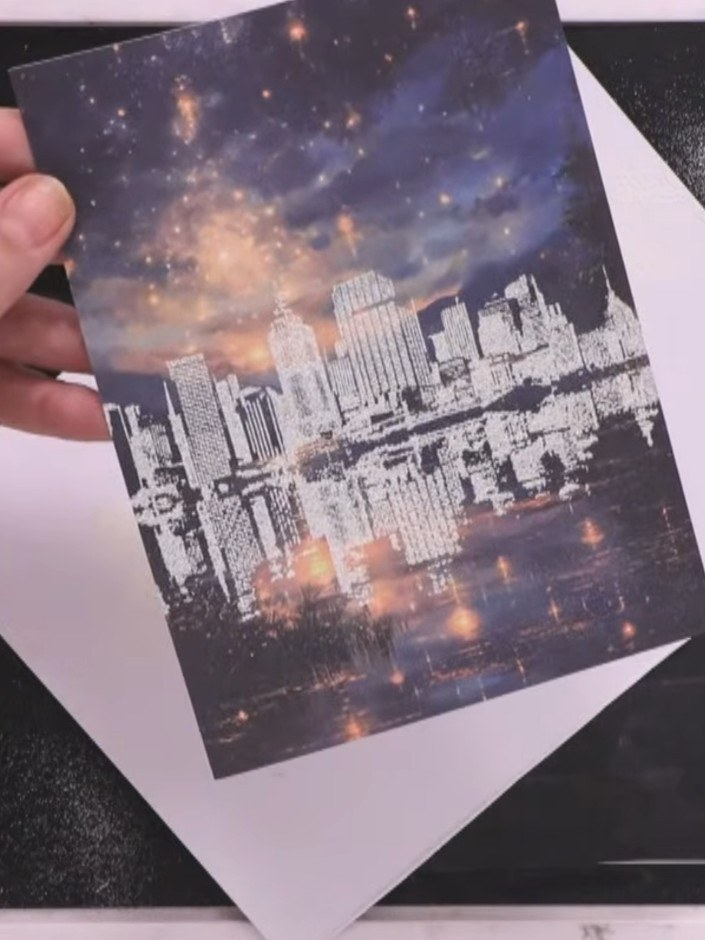
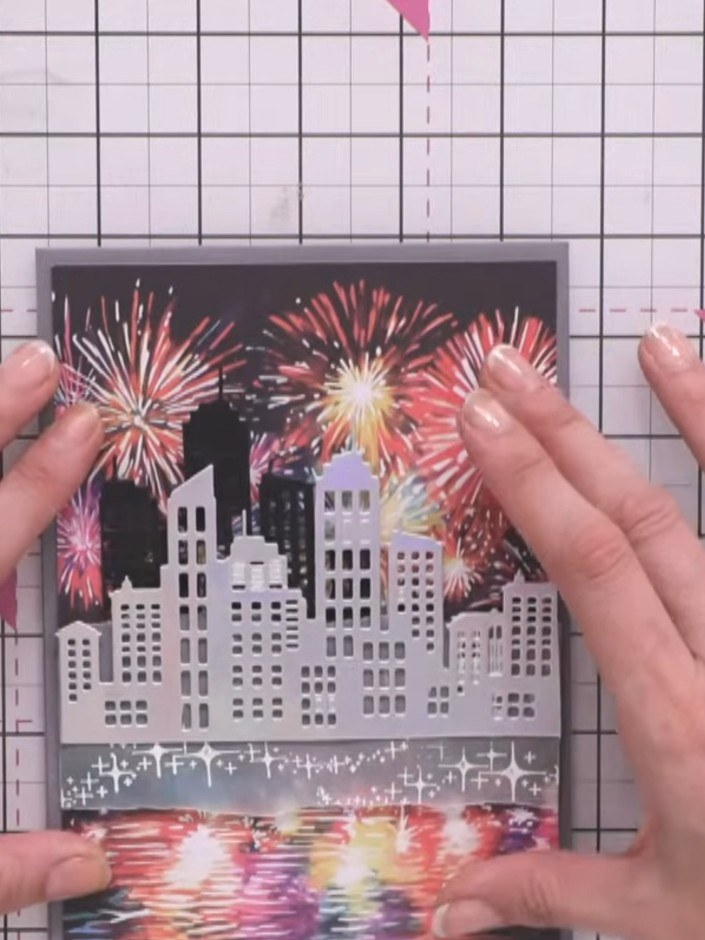
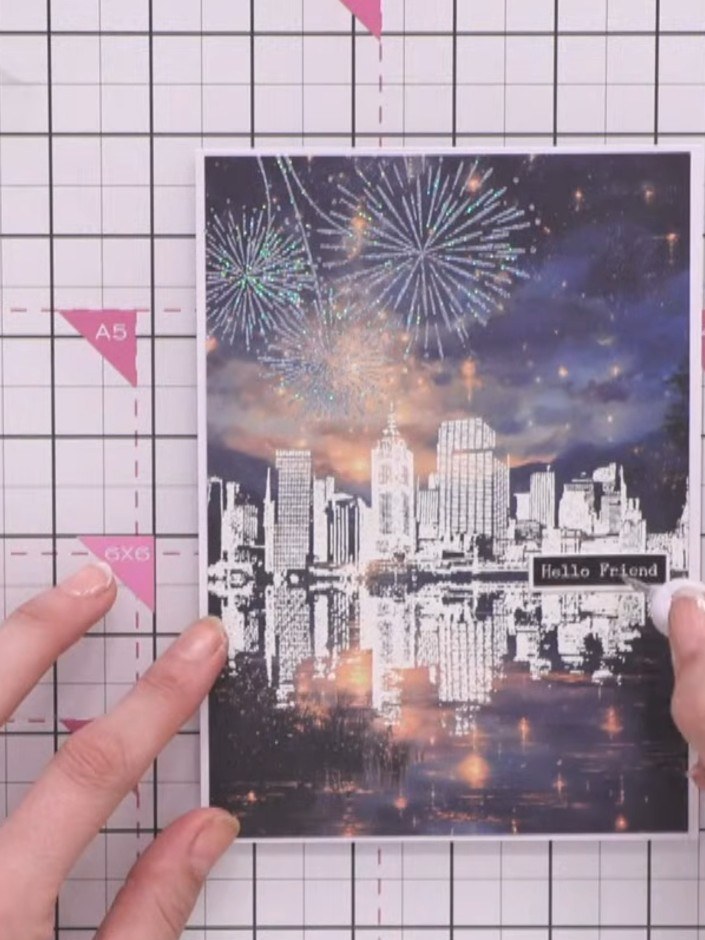
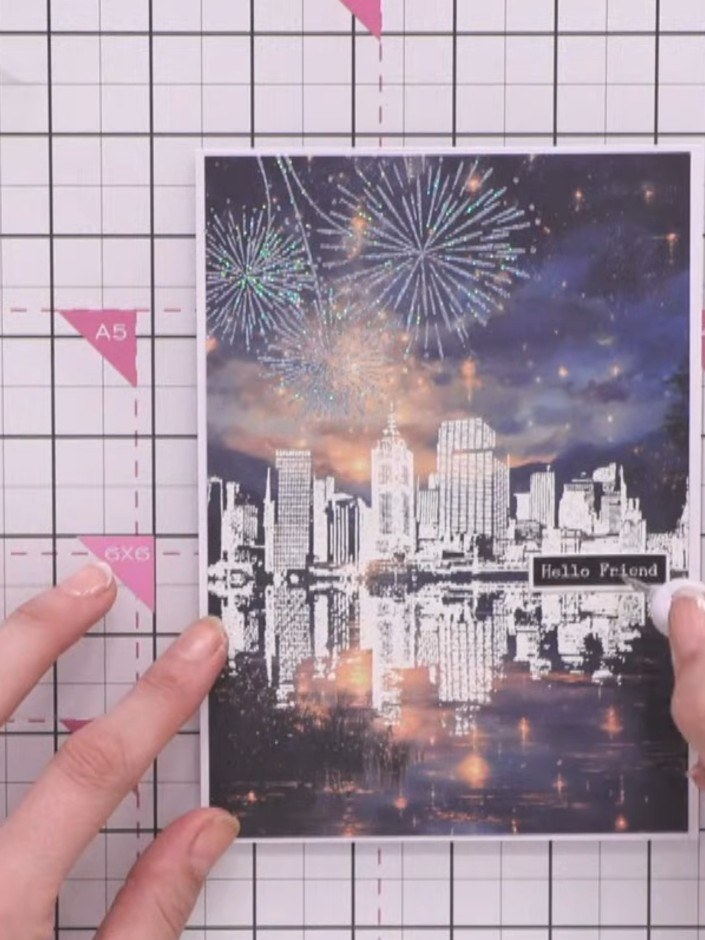
Make a spectacular celebration card featuring a city skyline with vibrant fireworks overhead. Using the Sparkle Everyday stamp set, you'll create a dramatic scene with custom-coloured embossed fireworks in shades of pink, blue and peach against a night sky. The design includes a detailed cityscape with water reflections, all brought to life through stamping and heat embossing techniques.
 1
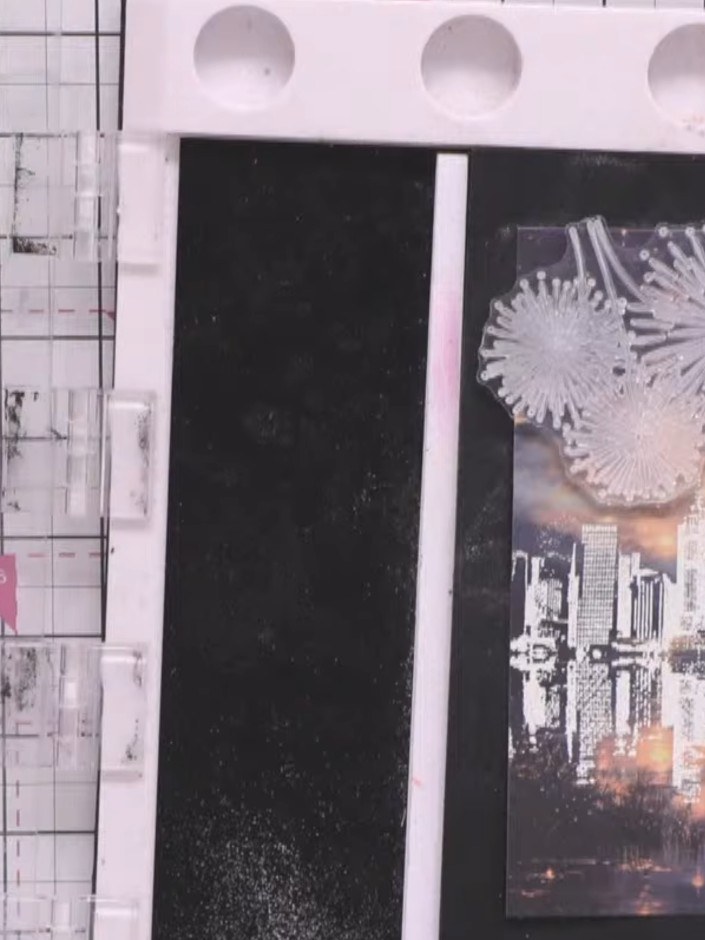
Select a plain or lightly patterned piece of paper from the Skyfire Nights collection as your card base.
 2
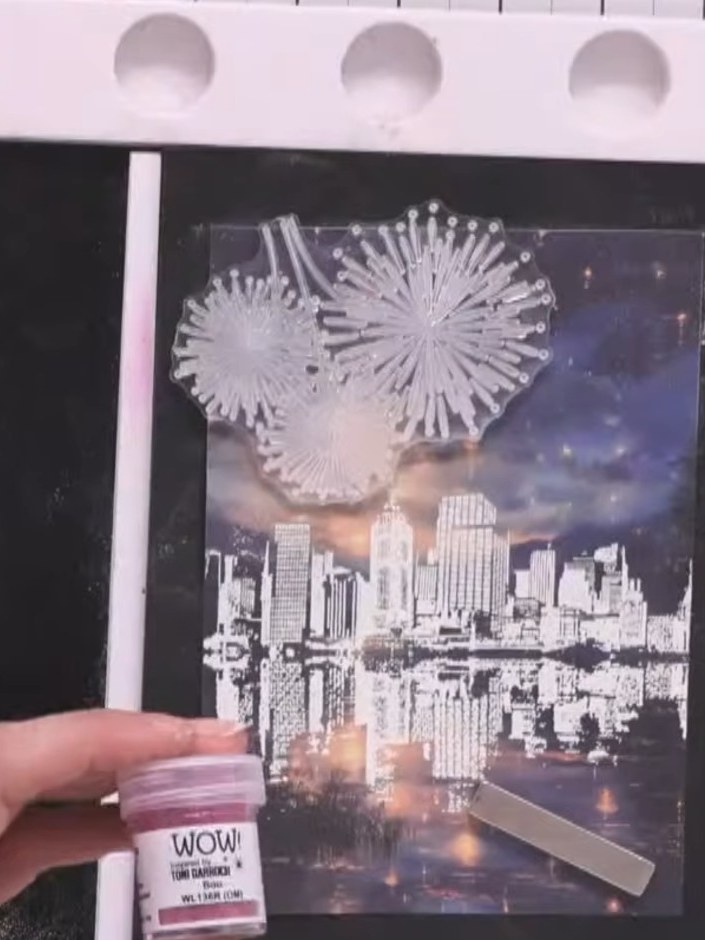
Before beginning the embossing process, heat your heat gun fully so it's ready to use. This ensures the embossing powder will melt evenly when applied.
 3
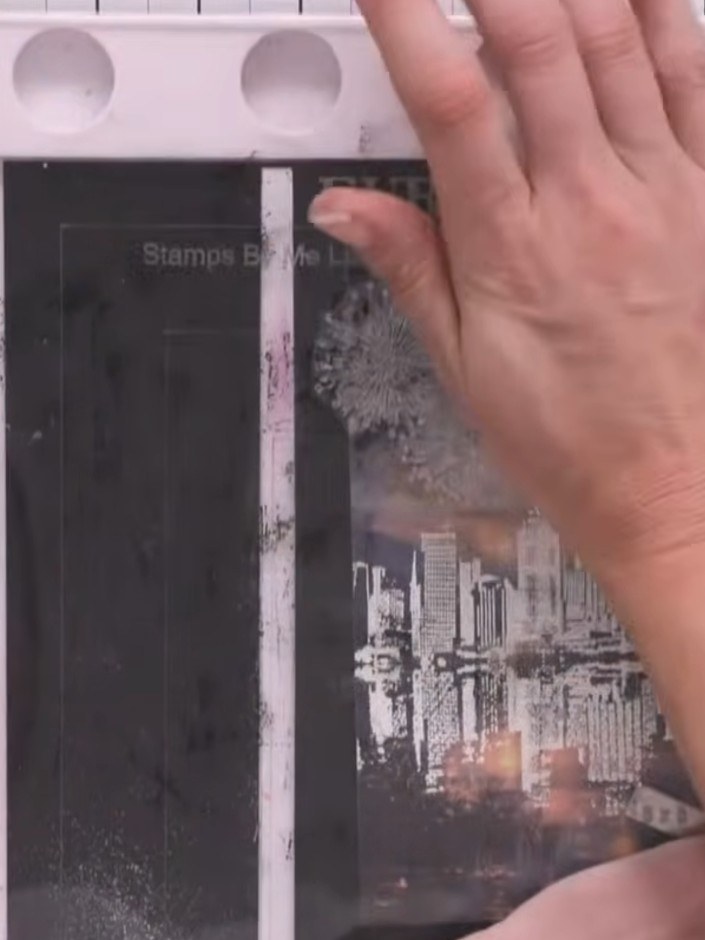
Use a sticky ink pad to ink up the Sparkle Everyday stamp. Press the stamp firmly onto the ink pad to ensure even coverage.
 4
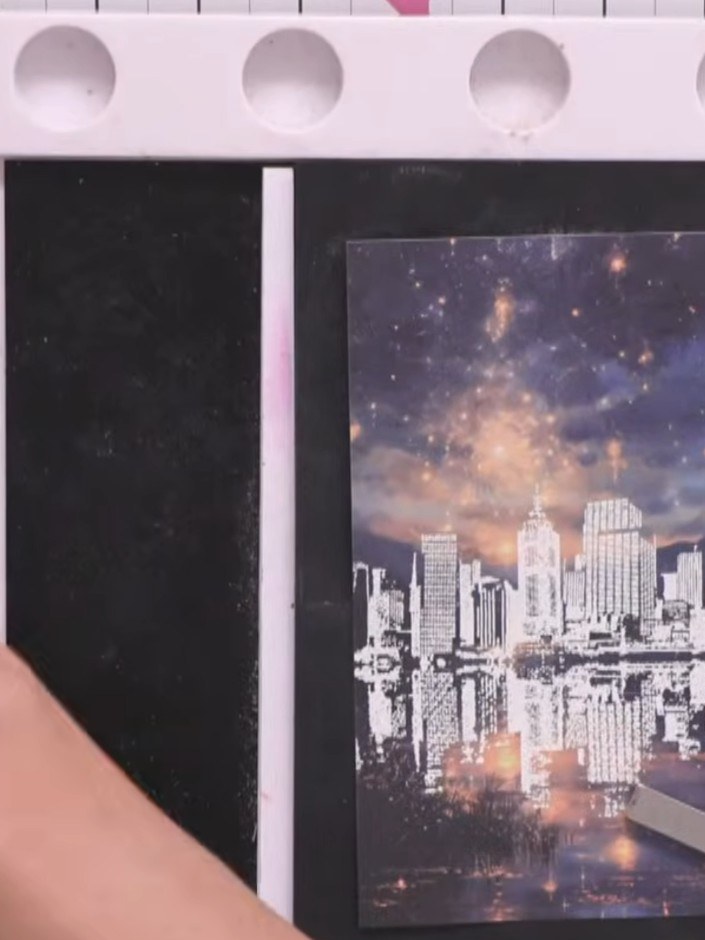
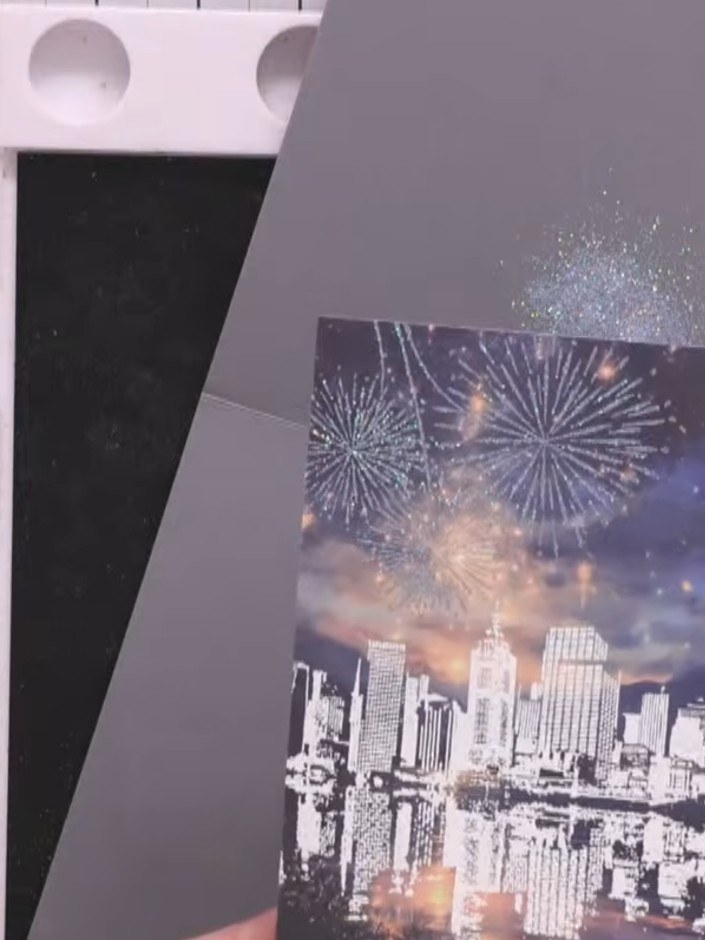
Stamp the cityscape reflection and fireworks design onto your chosen paper, positioning the fireworks in the upper corner area of the image.
 5
Sprinkle your chosen WOW embossing powder (such as Swing Baby) over the wet stamped image, ensuring complete coverage of the stamped areas.
 6
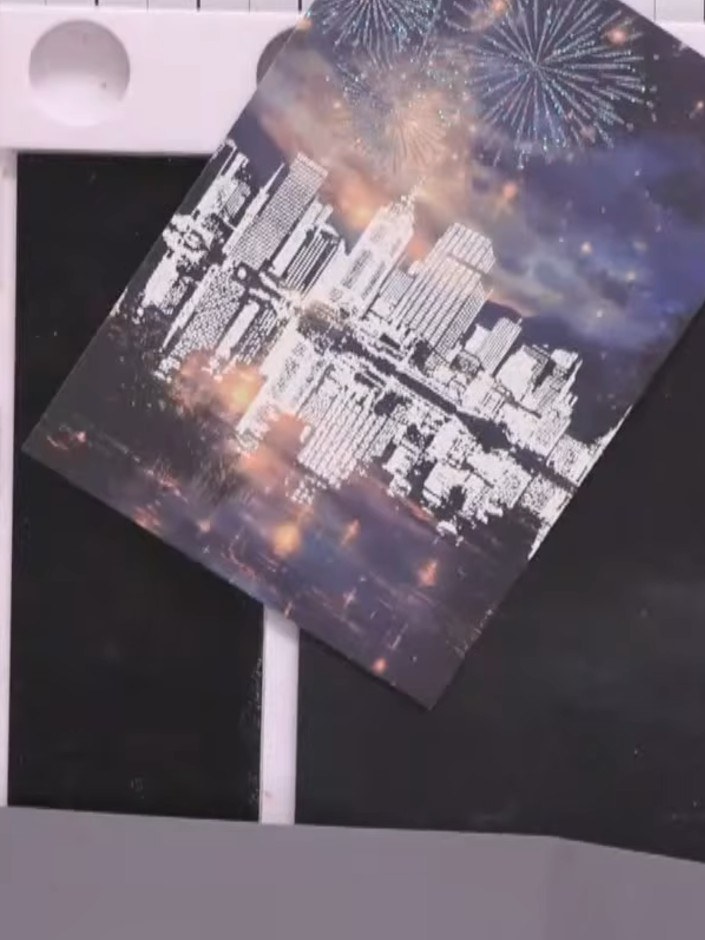
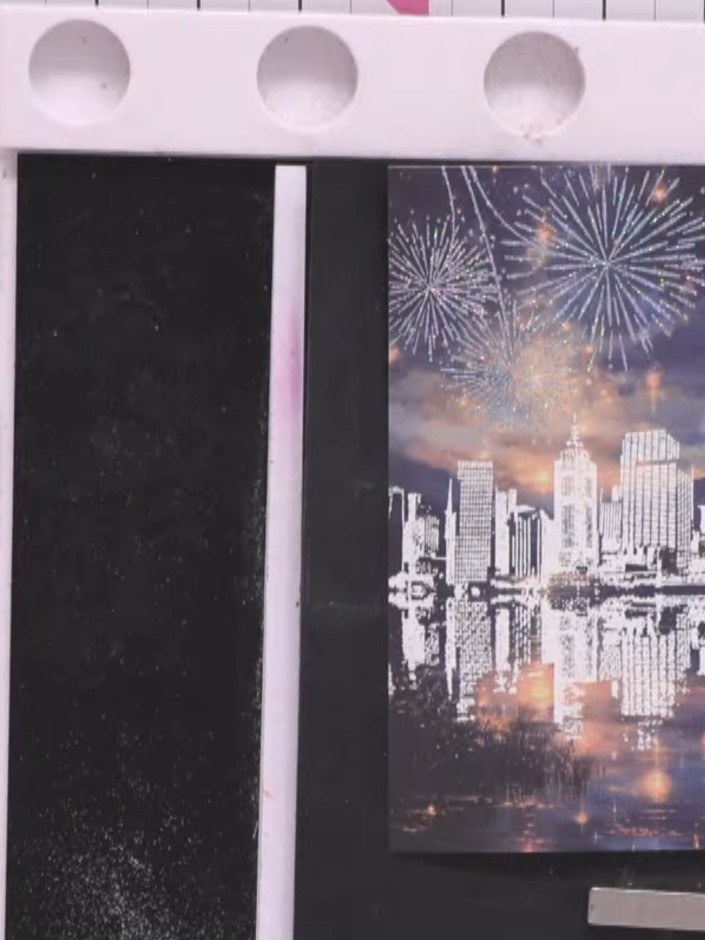
Heat set the embossing powder with your pre-heated heat gun, moving quickly across the design. Keep the heat gun moving to avoid scorching the card. The powder will melt and become shiny and raised.
 7
Once the embossed piece has cooled completely, trim it down to size to fit your card front, ensuring the cityscape and fireworks design is centred.
 8
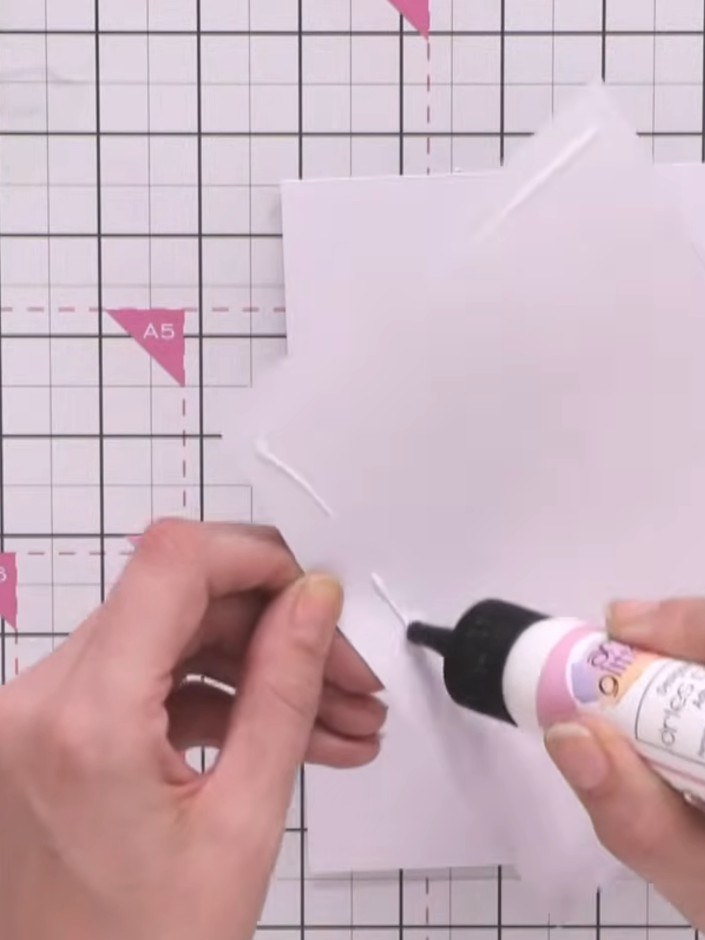
Apply glue to the back of the trimmed vellum piece and mount it onto a white card blank, smoothing it down carefully to ensure it adheres evenly.
 9
Add a sentiment using washi tape to the card front. Position it to the side of the cityscape, ensuring it complements the embossed fireworks without covering them.
Share your make with the Stamps By Me community - and keep this guide for next time.
Written up from the show itself. See every guide from our shows · free how-to guides · watch live on My Telly · the previous layout