Give your friends $10 off their first order!
Refer a FRIEND








Prices change straight away. Every language is our own translation, not Google.
A project from our live show THE BRAND NEW LAUNCH - Join Toni in her UK Studios - Broadcast 9th July 2026 · 07/09/2026
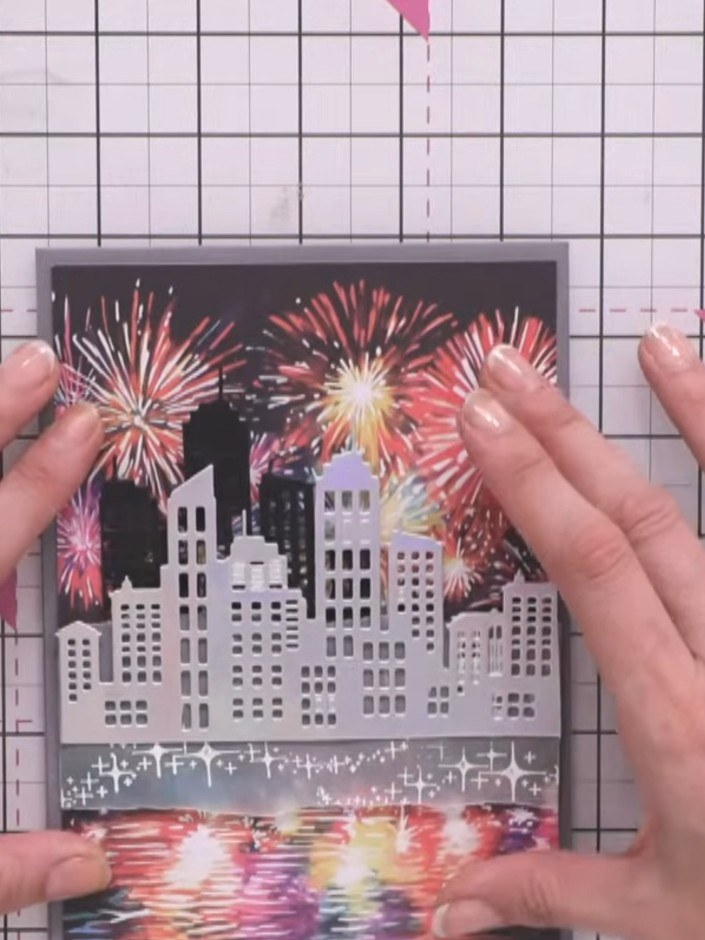
Create a stunning layered card featuring a dramatic cityscape silhouette against vibrant fireworks. This sophisticated design uses hand-torn vellum as an artistic overlay, with embossed stars adding texture and dimension. The piece combines die-cut buildings with colourful firework bursts for a striking celebration card.
 1
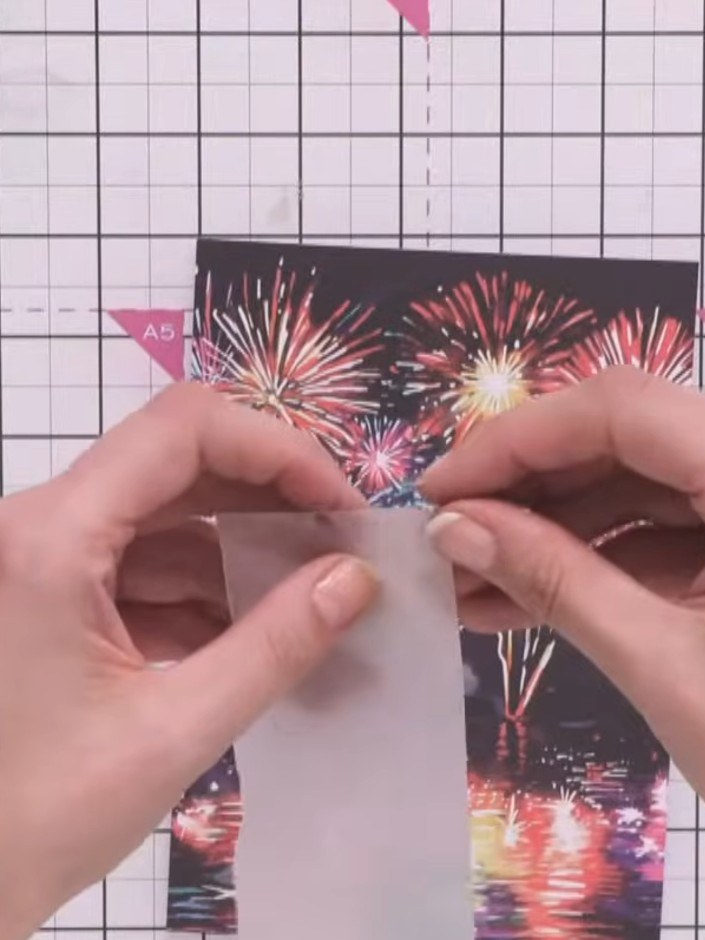
Tear a piece of vellum by hand to create an organic, uneven edge. This will be placed over the fireworks image to create an offset effect rather than a straight line.
 2
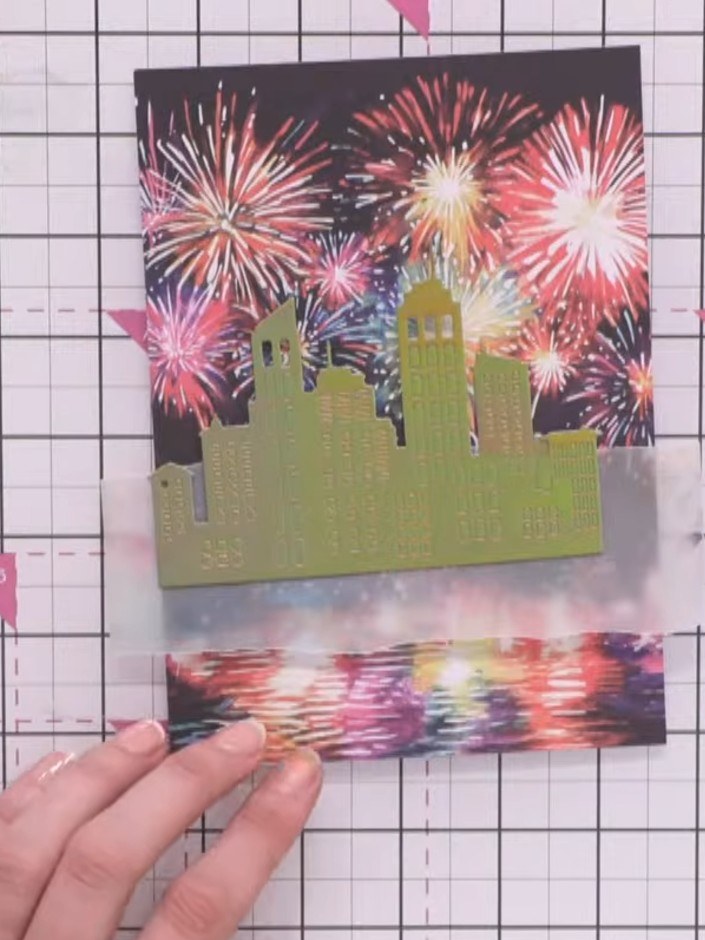
Use an anti-static bag to wipe the vellum cityscape piece thoroughly to remove any fingerprints or moisture before stamping. This ensures a clean surface for stamping.
 3
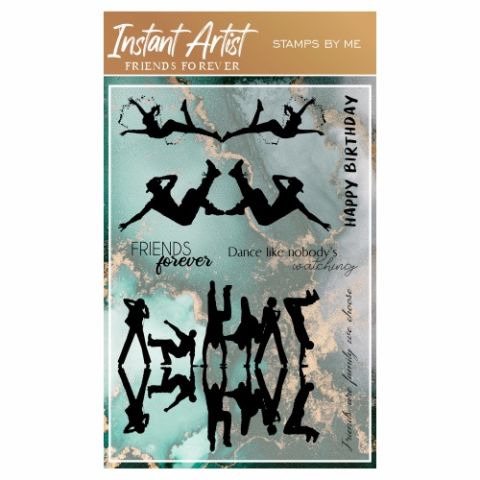
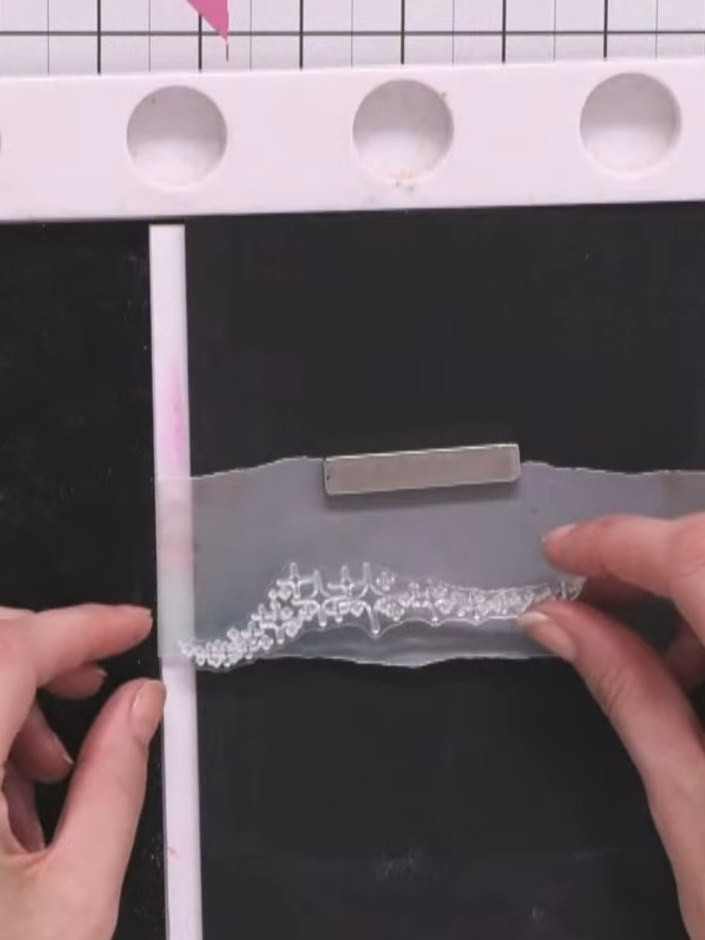
Ink up the star detail from the Friends Forever stamp set with a sticky ink pad. Apply white embossing powder to the inked stamp.
 4
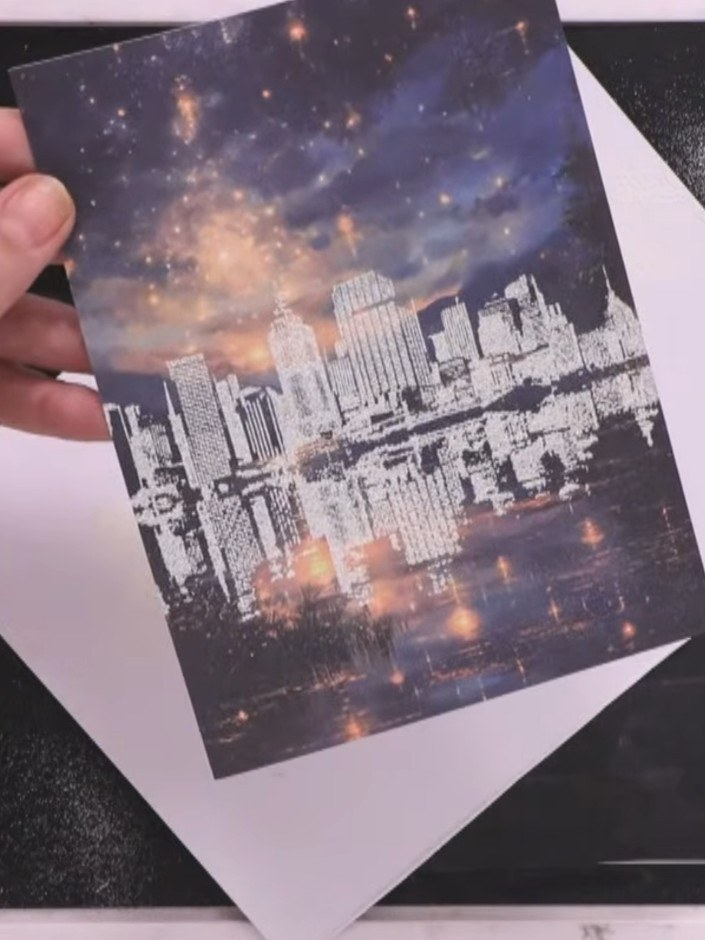
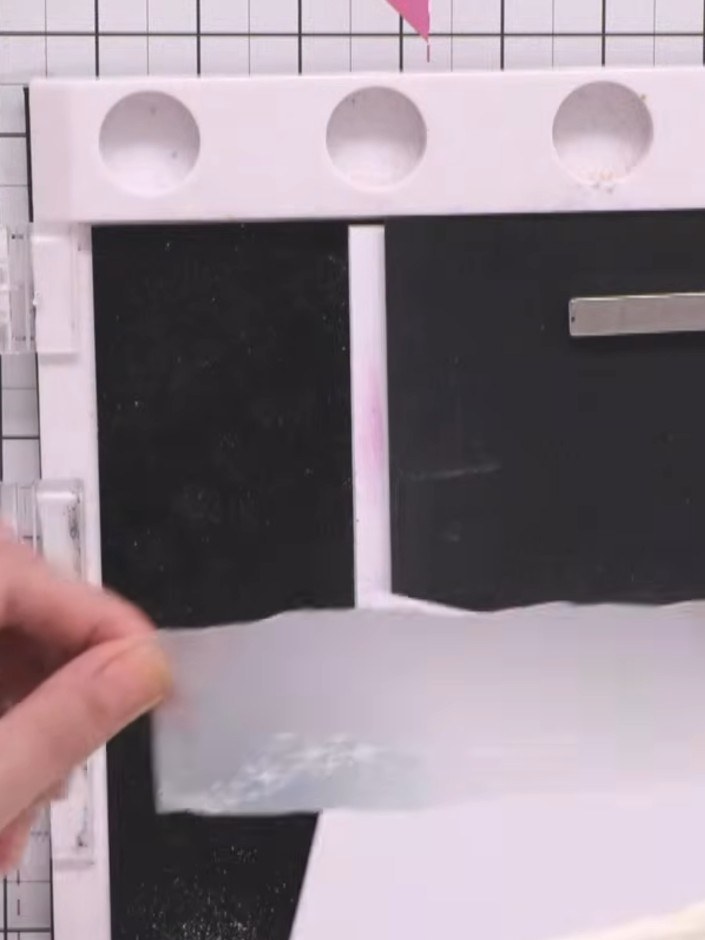
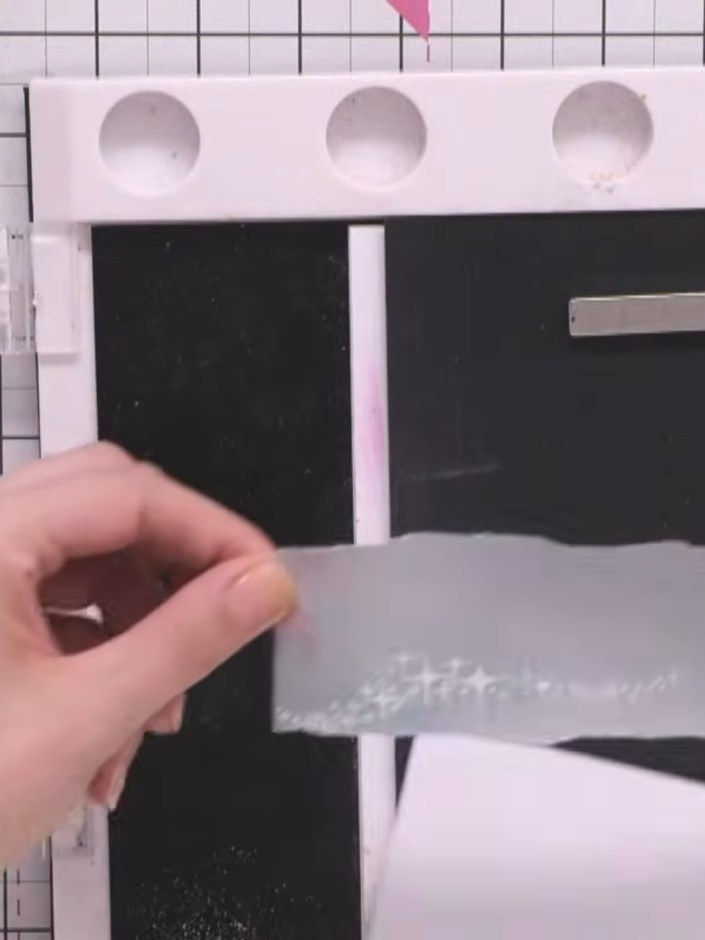
Stamp the stars onto the vellum using embossing powder. Layer the star stamps to create a continuing pattern across the torn edge. Store the stamped vellum in an anti-static bag to prevent powder from sticking.
 5
Sprinkle white WOW embossing powder over the stamped stars on the vellum strip to cover the wet ink completely. Tap off any excess powder back into the pot.
 6
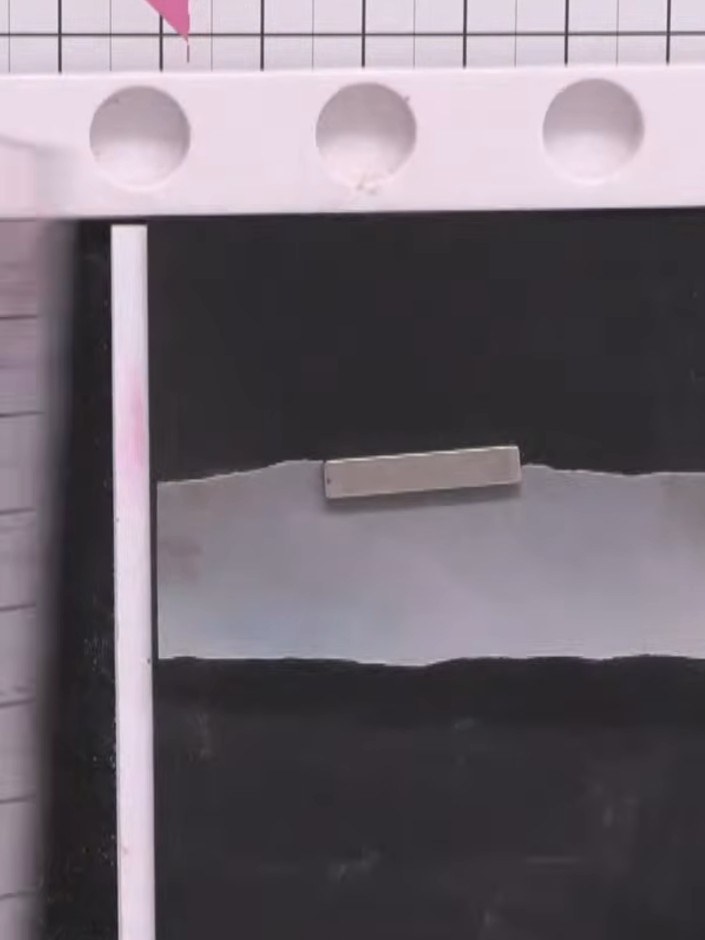
Heat set the embossing powder quickly with your heat gun, working fast as vellum is not always heat resistant.
 7
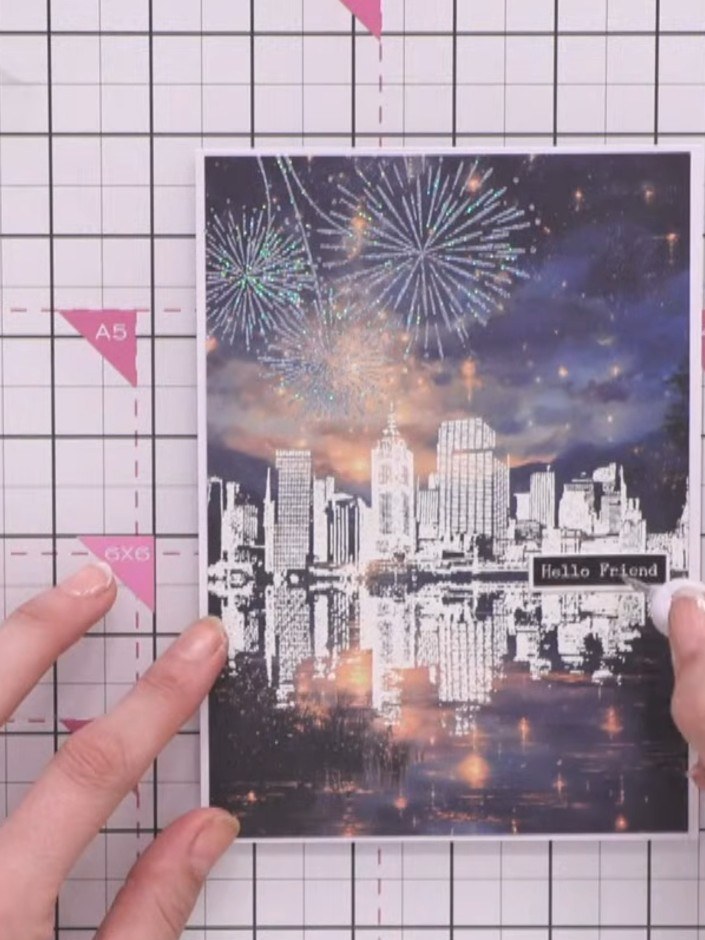
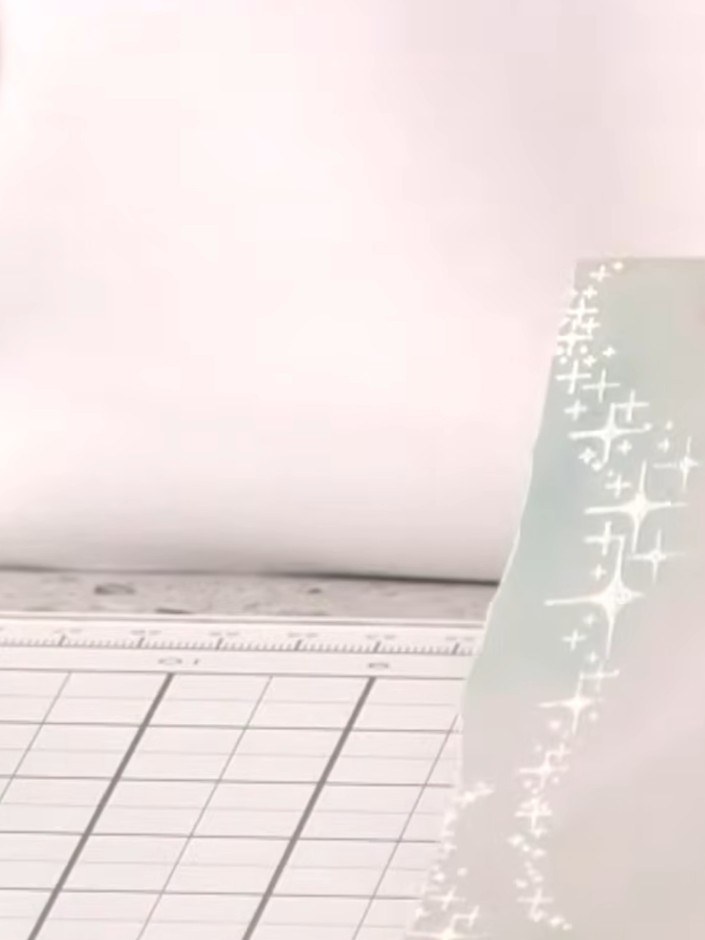
Wrap the embossed vellum around the card front, positioning it to create a layered effect. Secure the vellum in place at the back of the card using tape or glue.
 8
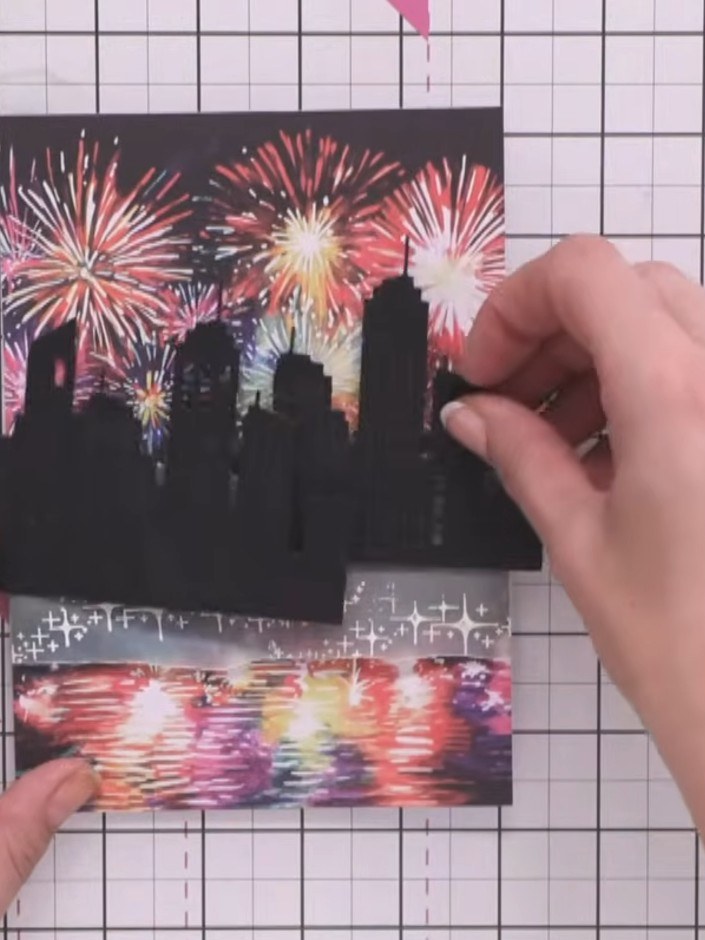
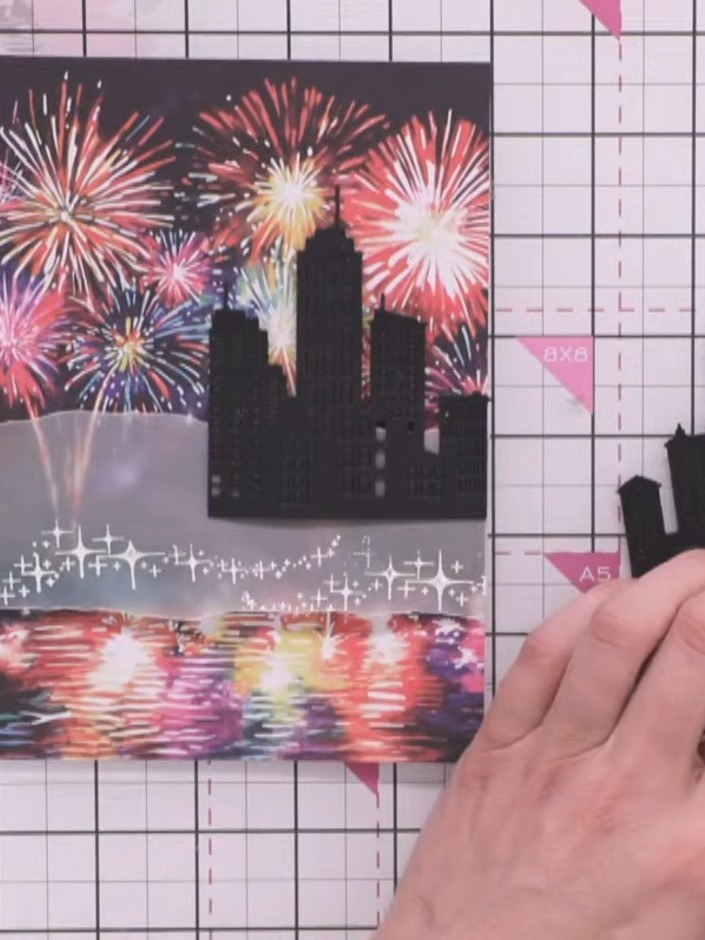
Use your craft tool to pop out some of the die-cut window shapes from the black cityscape silhouette to create texture and dimension. Work carefully to remove selected windows whilst keeping the overall structure intact.
 9
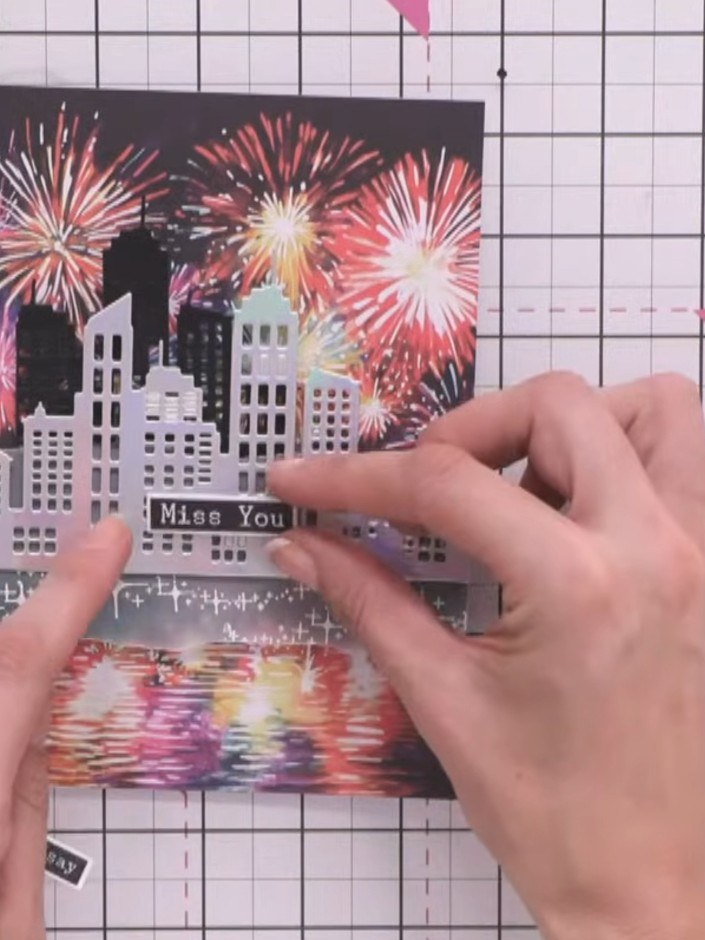
Position a smaller black die-cut cityscape piece behind the vellum overlay to add depth. Use a white or gold gel pen to add small 'L' shapes around the windows on the buildings to create highlights and detail.
 10
Add a sentiment to your card using a pre-cut die-cut word or washi tape. Position the sentiment across the middle section, ensuring it doesn't cover the stamped stars on the water reflection below.
Share your make with the Stamps By Me community - and keep this guide for next time.
Written up from the show itself. See every guide from our shows · free how-to guides · watch live on My Telly · the previous layout