QUICK LINKS

info@howtocraftnetwork.com
We just got smarter - shop and watch with the SBM appGET THE APPWatch us live on your smart TVSEE HOWDiscover our dedicated IPTV channel - go to my-telly.comWATCHCollect loyalty points on every orderFIND OUT MORE
Welcome to the How to Craft Network
 
SBM SHOP
FOLLOW US
GIVE YOUR FRIENDS $10 OFF REFER A FRIEND › DISCOVER MY-TELLY.COM › WE JUST GOT SMARTER GET THE APP › AWARD WINNING CHANNEL ON YOUR TV › JOIN THE CLUB FOR SAVINGS ›
 

Poppy Floral Card with Hexi Mosaic Cover Plate

A project from our live show CREATE AND CRAFT TV - Join Toni for her brand new SBM launch LAST CHANCE SHOW - broadcast 30th DEC 23 · 12/30/2023 · watch it from 32:00

Combine the Poppy Haze stamp and die set with the Hexi Mosaic cover plate to create an elegant floral card. The large hexagon die can be snipped and customised to frame your gold-embossed poppies, creating a modern design with traditional floral elements.
DOWNLOAD THIS GUIDE (PDF)

Step by step

  1. Cut the Hexi Mosaic cover plate die from your chosen patterned paper using your die-cutting machine. ▶ watch 32:45
  2. Examine the cut hexagons from the cover plate die to identify individual flower segments and geometric shapes within the design. ▶ watch 33:00
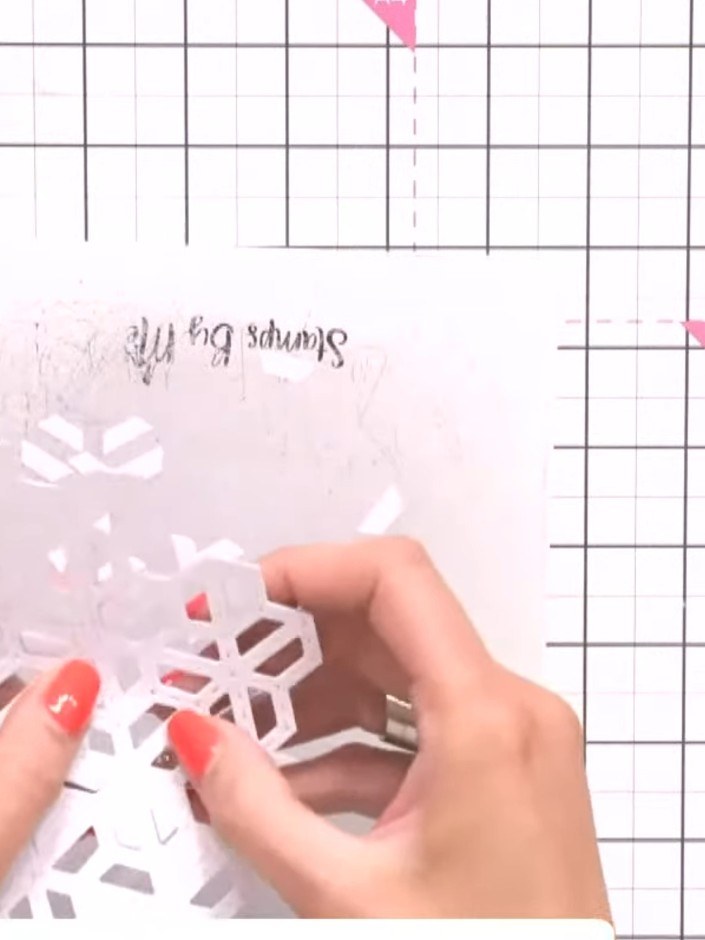
  3. Step 3: Snip away sections of the white hexagon die cut to reduce bulk and create a custom shape. Remove segments to c

    Snip away sections of the white hexagon die cut to reduce bulk and create a custom shape. Remove segments to create a flower-like edge on the hexagon pattern.

    ▶ watch this step (33:30)
  4. Adhere the trimmed gold-stamped Hexi Mosaic panel to your white card base as a background layer. ▶ watch 34:00
  5. Step 5: Stamp the Poppy Haze floral designs onto white card stock using black ink. Position the stamps to create an at

    Stamp the Poppy Haze floral designs onto white card stock using black ink. Position the stamps to create an attractive arrangement of flowers and leaves on your card panel.

    ▶ watch this step (34:30)
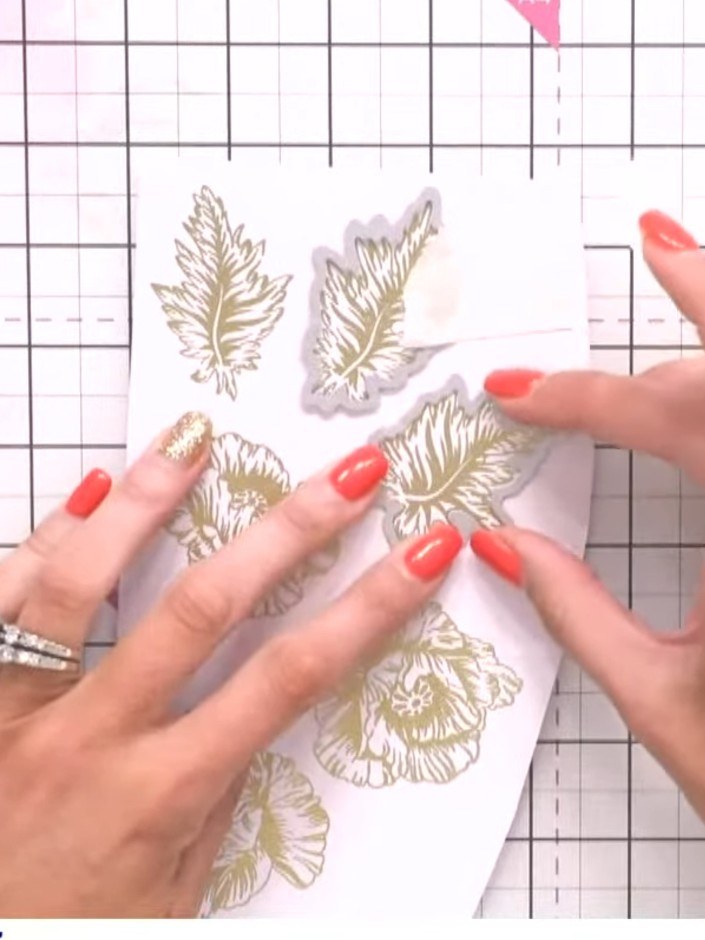
  6. Step 6: Heat emboss the stamped poppy images using gold embossing powder. Apply embossing powder to the stamped design

    Heat emboss the stamped poppy images using gold embossing powder. Apply embossing powder to the stamped designs and use a heat tool to melt and set the powder, creating a raised, shiny gold finish on the flowers and leaves.

    ▶ watch this step (35:00)
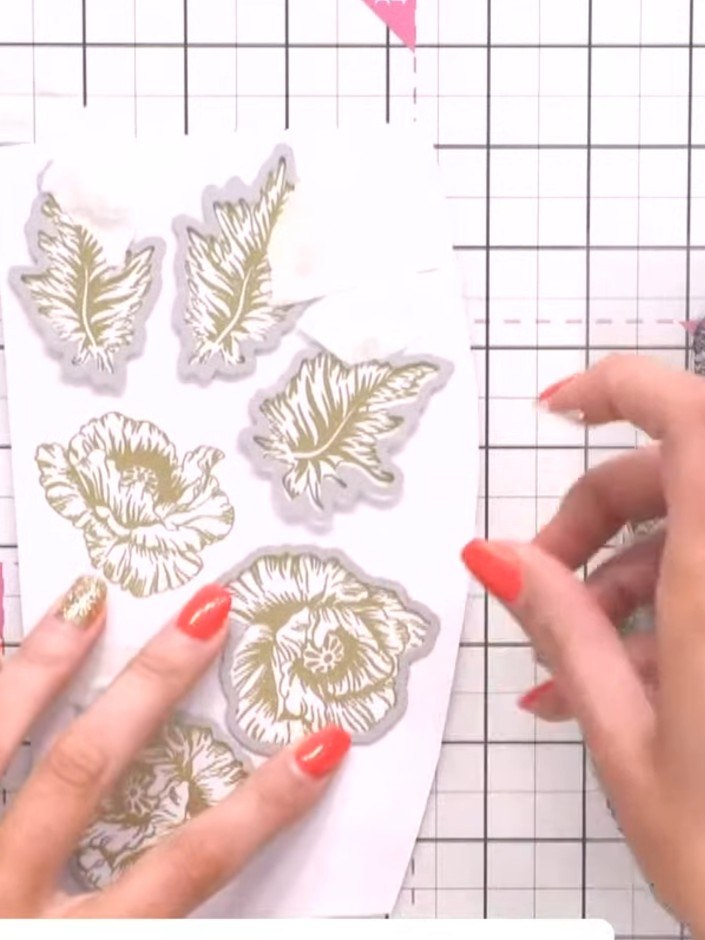
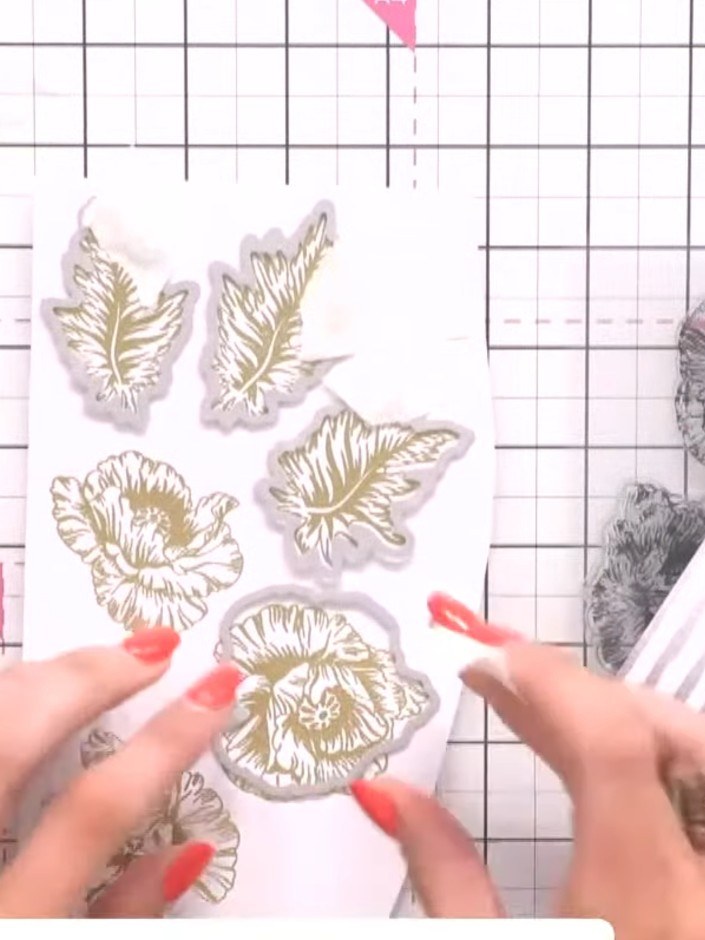
  7. Step 7: Die cut the embossed poppy images using the coordinating dies from the Poppy Haze stamp and die set. Position

    Die cut the embossed poppy images using the coordinating dies from the Poppy Haze stamp and die set. Position the dies over the stamped and embossed images to ensure accurate cutting.

    ▶ watch this step (35:30)
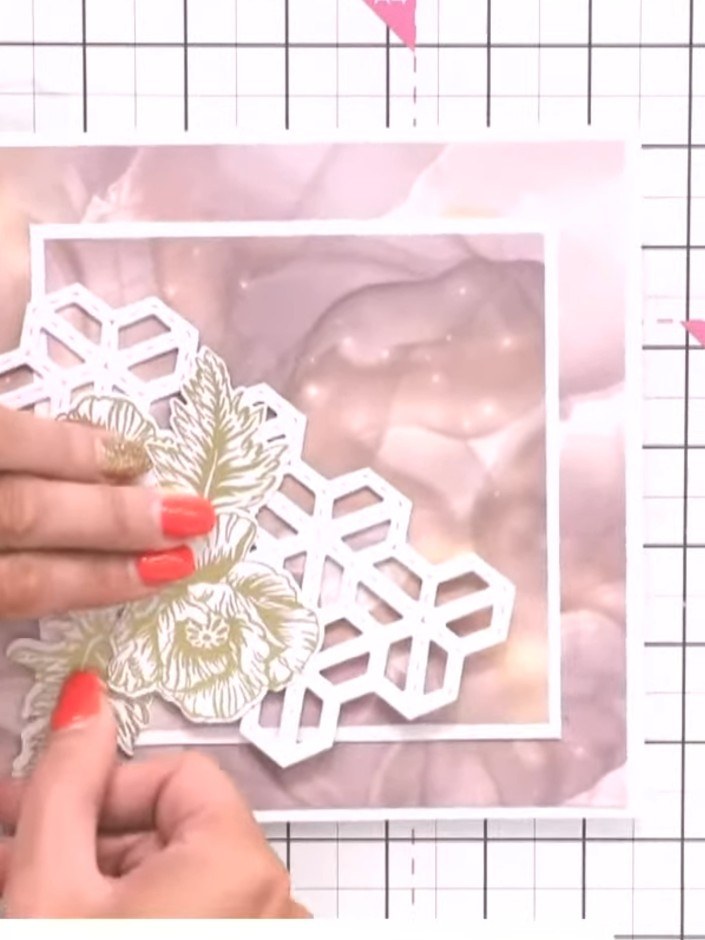
  8. Step 8: Position the gold-embossed poppy flowers onto the white Hexi Mosaic cover plate background. Experiment with th

    Position the gold-embossed poppy flowers onto the white Hexi Mosaic cover plate background. Experiment with the placement of the flowers before adhering them to create your desired composition.

    ▶ watch this step (38:45)
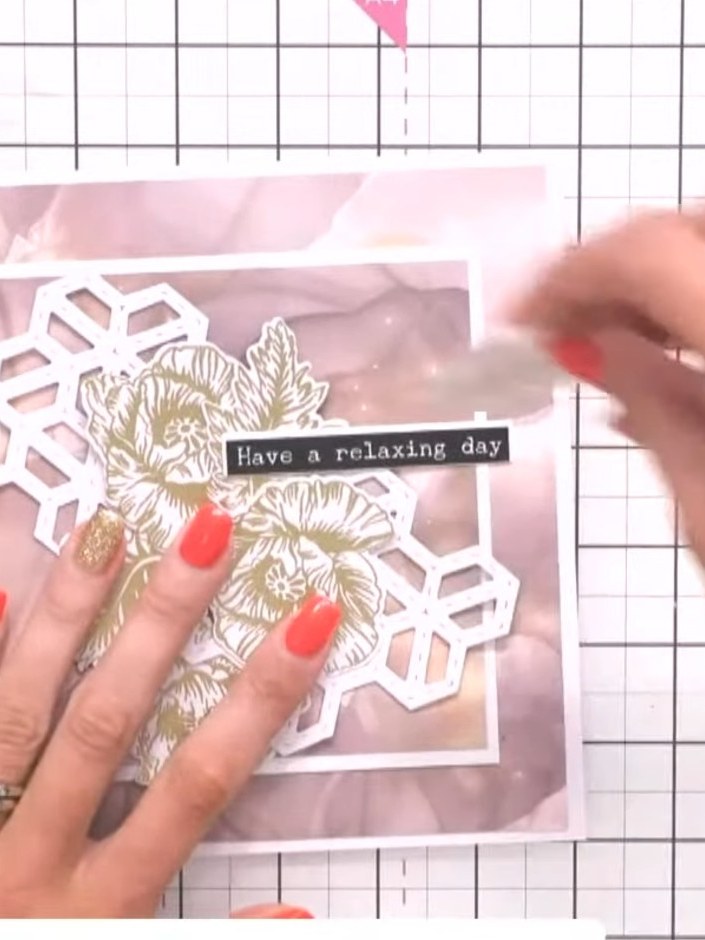
  9. Add gold foliage die-cuts around the flowers to frame the arrangement. Position leaf sprigs at the top and bottom corners to complement the floral focal point. ▶ watch 39:15
  10. Step 10: Adhere a black Washi tape strip horizontally across the centre of the card. Add a sentiment such as 'Have a re

    Adhere a black Washi tape strip horizontally across the centre of the card. Add a sentiment such as 'Have a relaxing day' on top of the tape to complete your card.

    ▶ watch this step (39:45)

Tips from the show

More from this show

Written up from the show itself. See every guide from our shows · free how-to guides · watch live on My Telly







