Give your friends $10 off their first order!
Refer a FRIEND








A project from our live show CREATE AND CRAFT TV - Join Toni for her brand new SBM launch LAST CHANCE SHOW - broadcast 30th DEC 23 · 12/30/2023 · watch it from 44:45
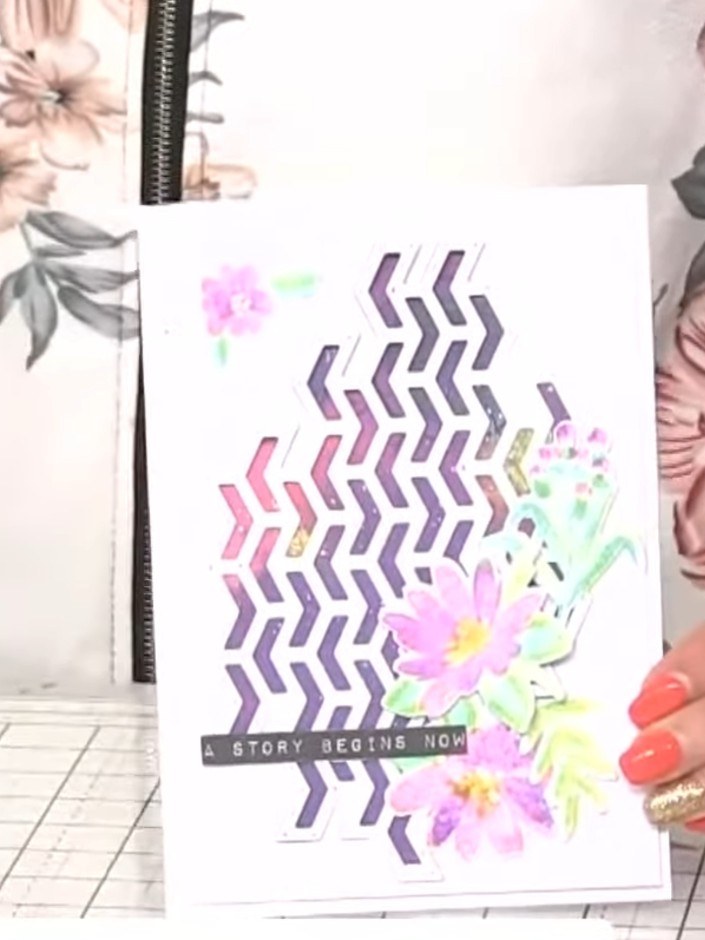
Create a stunning watercolour-effect floral card featuring layered blooms on a purple chevron background. Using the Wow Blooms stamp and die set with its clever heart-alignment system, you'll build up beautiful pink and purple flowers that look hand-painted. The finished card combines modern geometric patterns with delicate florals for an elegant, contemporary design.
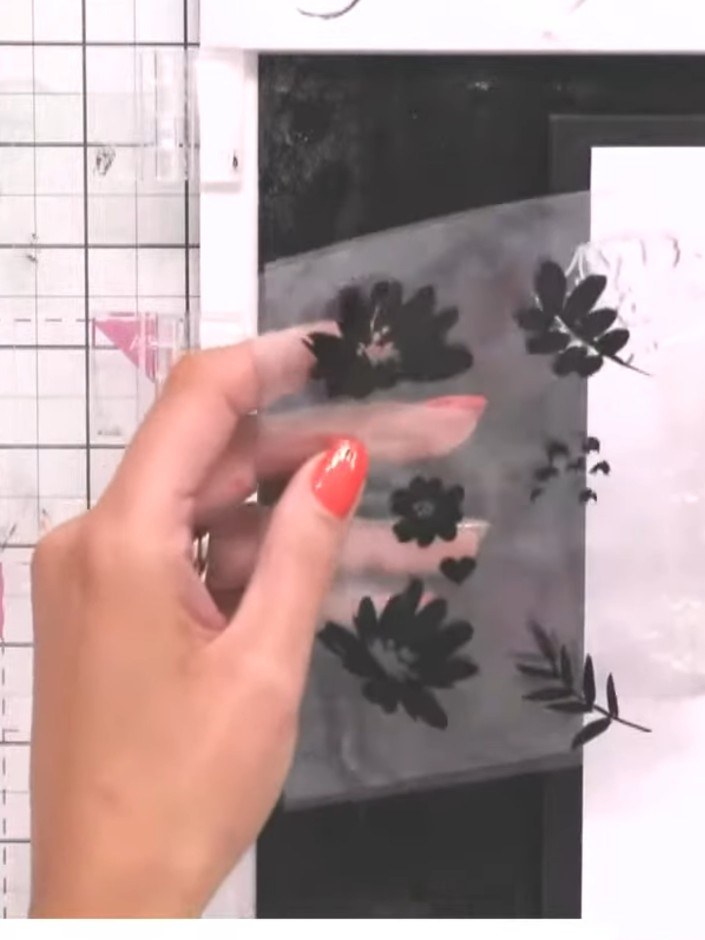
Cut out the Stylish Chevrons cover plate die from the floral patterned paper. The die features a decorative chevron pattern that will create an elegant frame for your card.
▶ watch this step (45:00)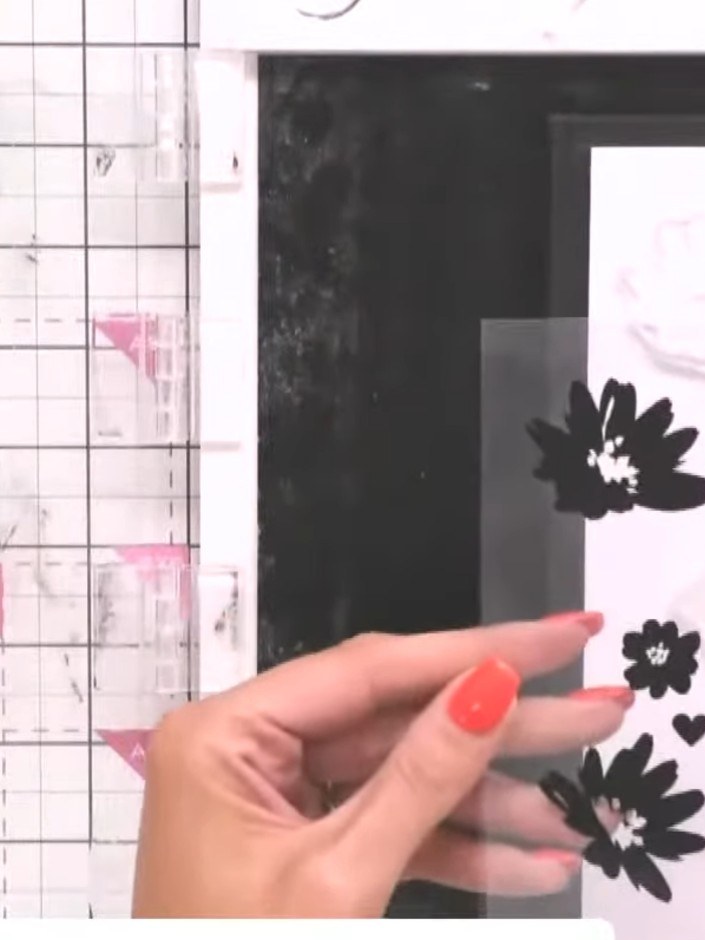
Paper piece the cut chevrons back into the white card stock base to create a layered background effect. Position each black chevron piece carefully into its corresponding space on the white card.
▶ watch this step (45:15)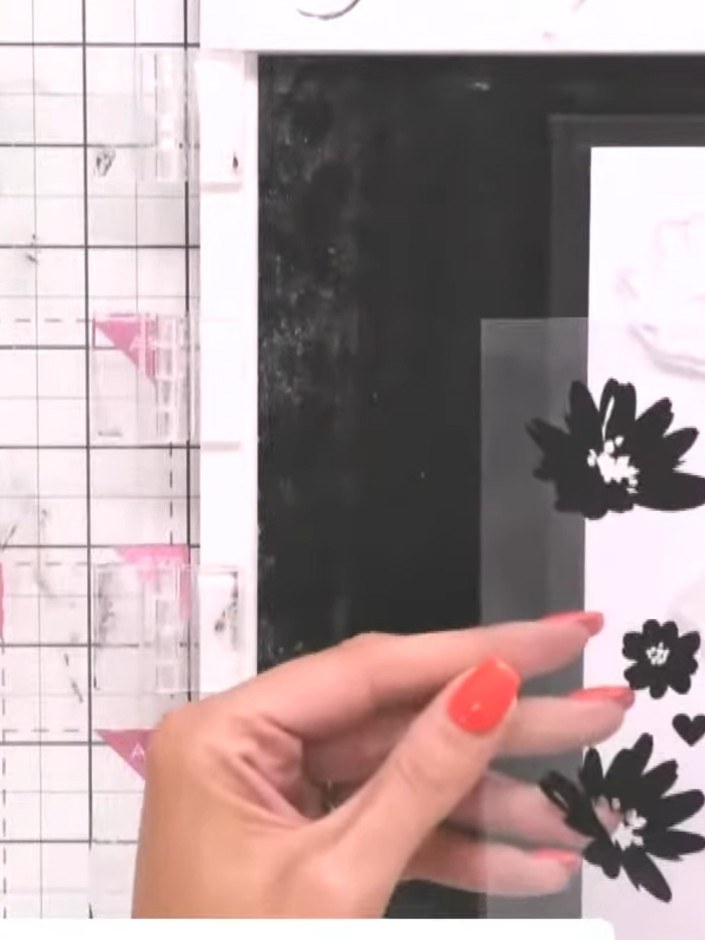
Take the first Wow Blooms stamp and locate the heart alignment marker in the centre of the stamp design.
▶ watch this step (46:00)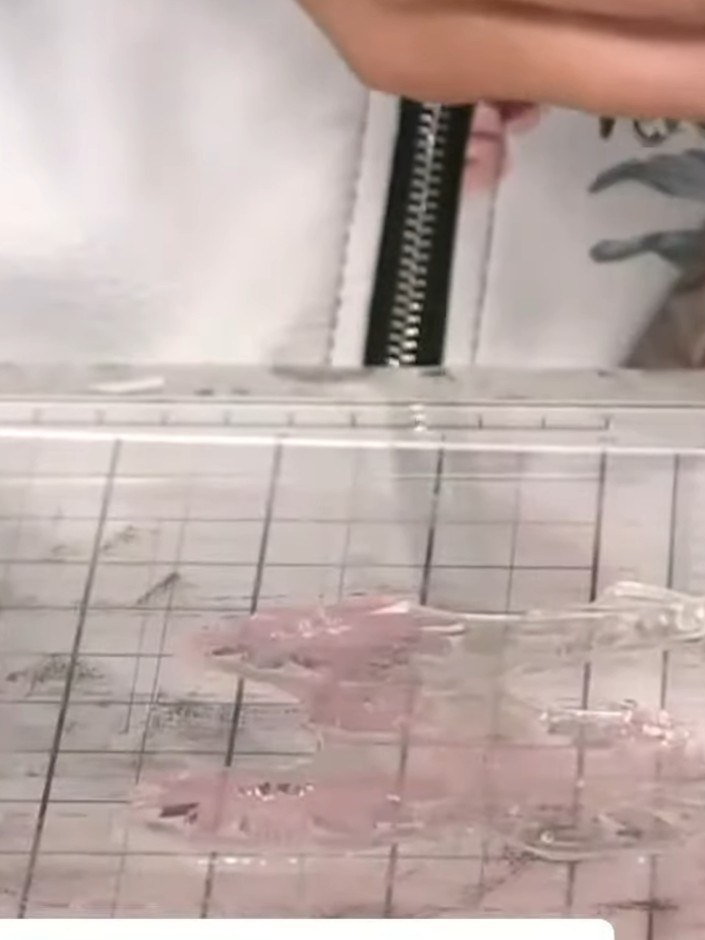
Line up the heart marker on your card stock and stamp the first flower layer using pink ink. Position the stamp carefully before pressing down to create a clear impression.
▶ watch this step (46:15)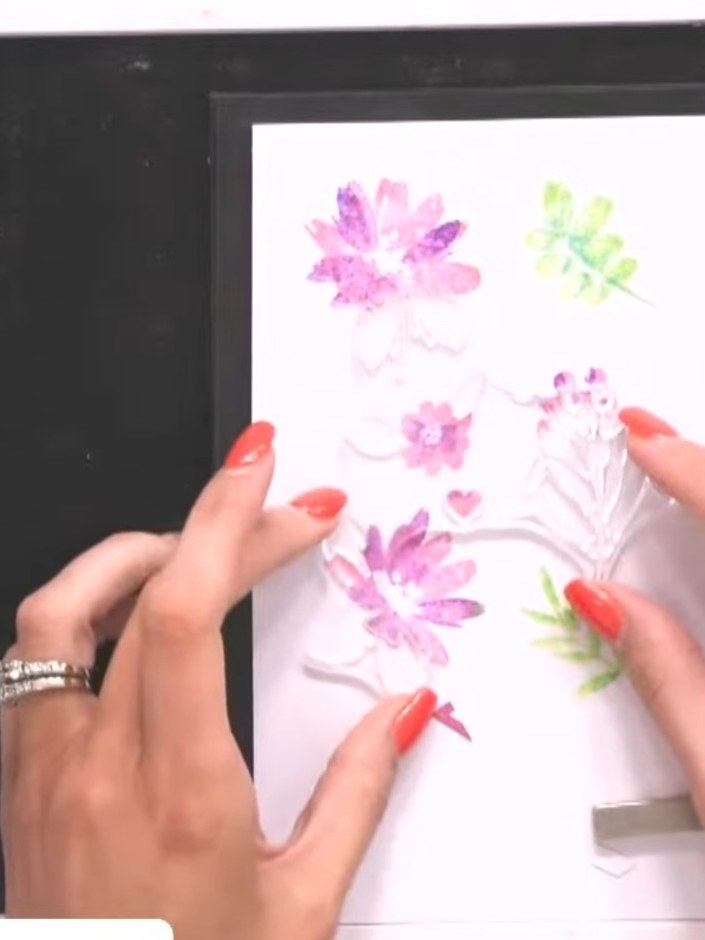
Ink the flower stamps with purple ink and the leaf stamps with green ink. Stamp them onto the card in the same positions as your previous stamping to create a watercolour effect.
▶ watch this step (48:30)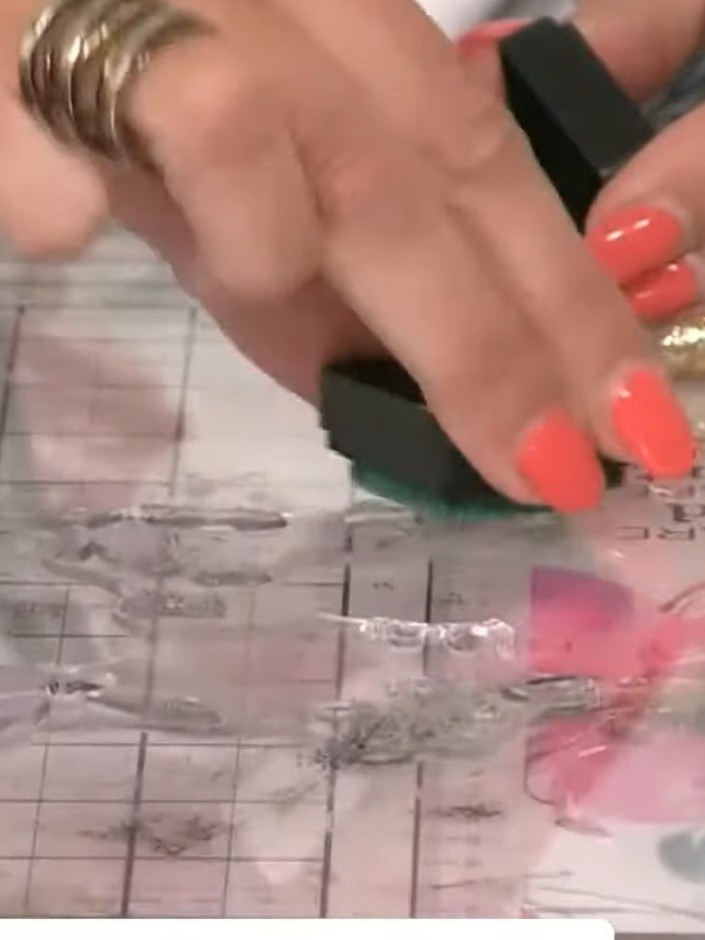
Repeat with the third stamp, positioning it to align with the heart motif. Apply different colour combinations using your ink pads to build depth and visual interest in the floral design.
▶ watch this step (49:00)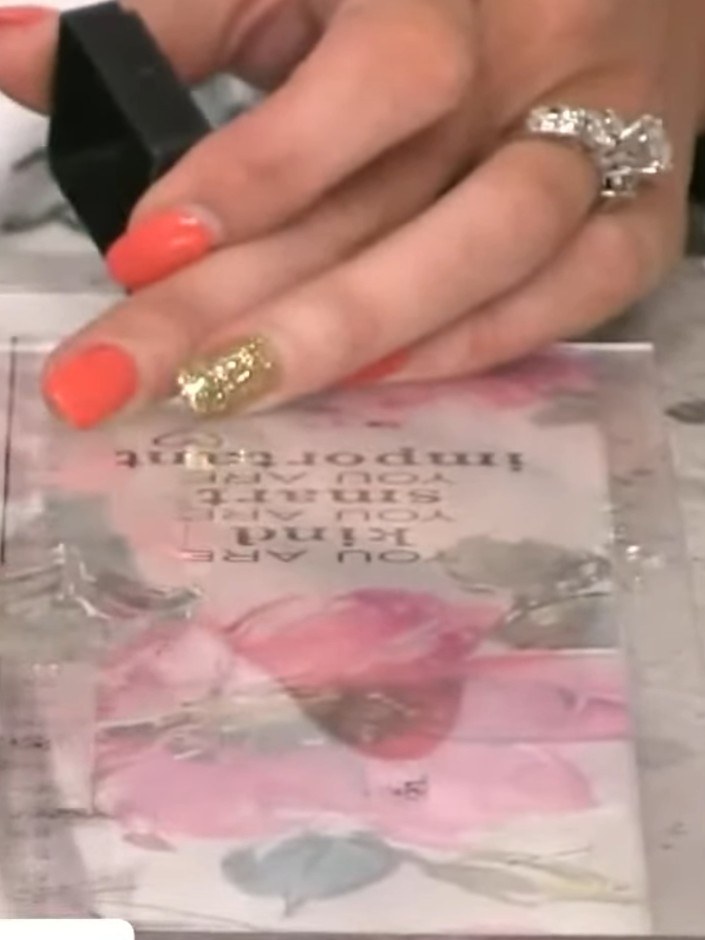
Use the fourth detail stamp to add centres to the flowers and fine details to the leaves. Align the heart-shaped registration marks as before to ensure accurate placement.
▶ watch this step (50:15)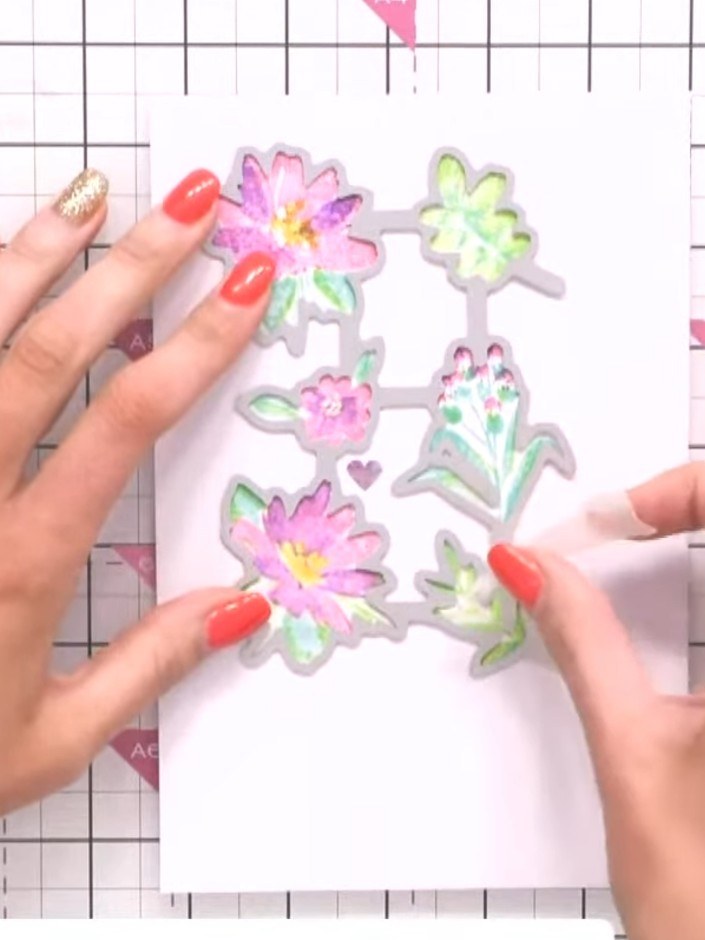
Die cut all the stamped flowers using the coordinating dies from the Wow Blooms set. This will give you clean, finished floral toppers ready to add to your card.
▶ watch this step (52:45)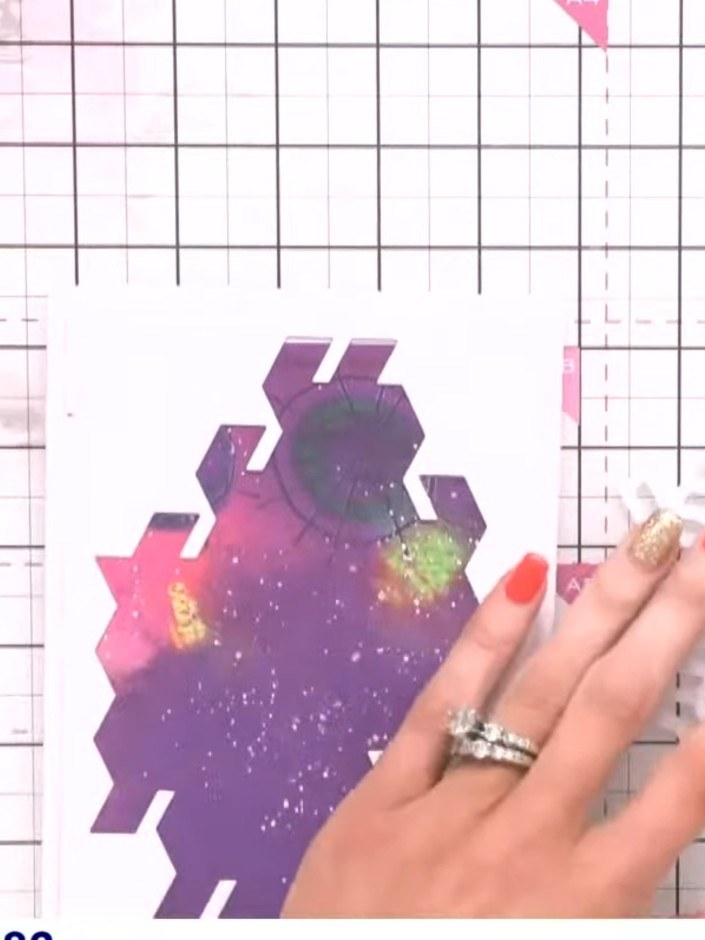
Arrange the die-cut floral elements on your chevron background panel, positioning them in the corner to create a layered focal point arrangement.
▶ watch this step (54:00)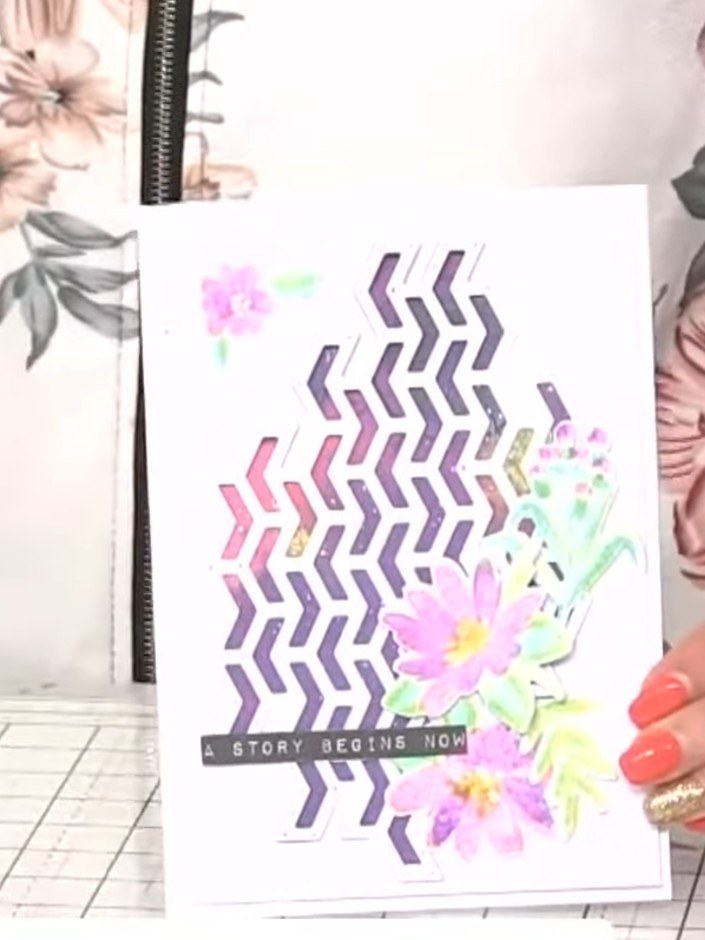
Add a sentiment stamp to the bottom of the card. Use a phrase such as 'A story begins now' to complete your watercolour floral design.
▶ watch this step (55:15)Written up from the show itself. See every guide from our shows · free how-to guides · watch live on My Telly