Give your friends $10 off their first order!
Refer a FRIEND








A project from our live show CREATE AND CRAFT TV - Join Toni for her brand new SBM launch show 2 - broadcast 8th Jan 2024 · 01/08/2024 · watch it from 34:15
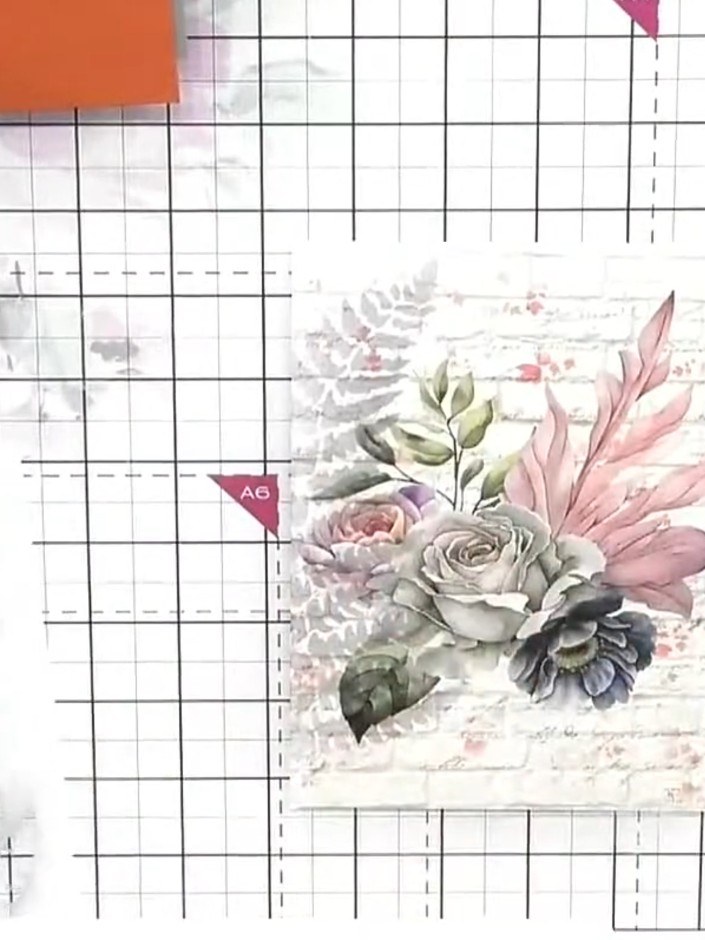
Create a sophisticated card featuring elegant floral imagery with embossed vellum layering. This project combines coral and grey cardstock with delicate rose and fern motifs, using embossing techniques and dimensional layering. The finished piece showcases subtle texture and depth through careful fussy cutting and stencilled shadow details.
 Stamps By Me - Wistful Charm - 5 X 7 Stencil - Fern - 180723BSEE IT
 Stamps By Me - Wistful Charm - 5 X 7 Stencil - Floral 180723CSEE IT
Take one of the painted mounts from the Wistful Charm collection. Fussy cut a floral element (roses with pink leaves and grey foliage) from the painted mount to use as a separate decorative layer.
▶ watch this step (34:15)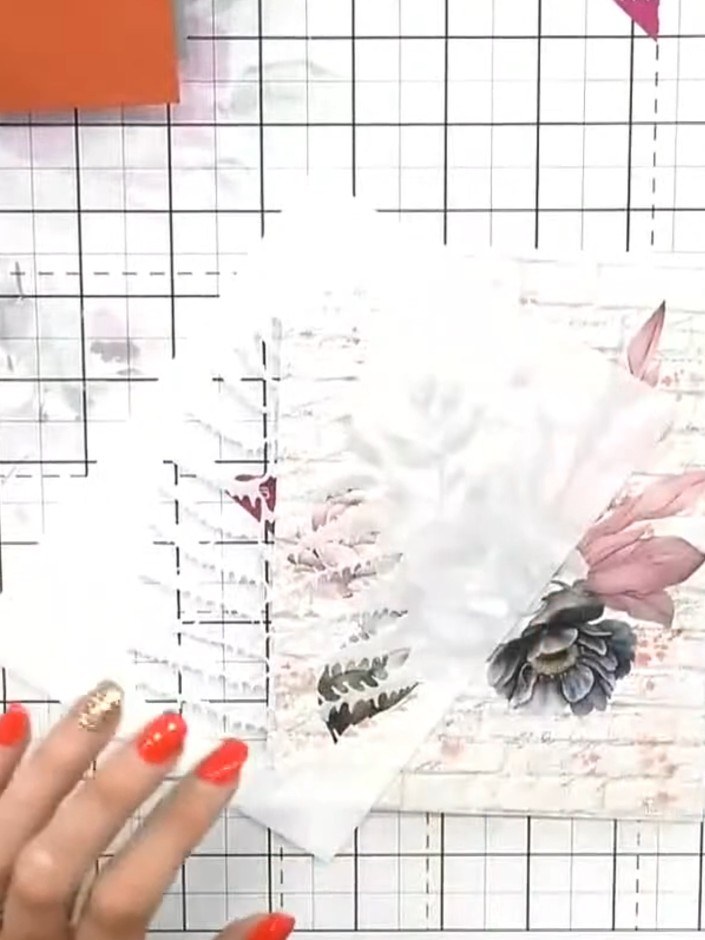
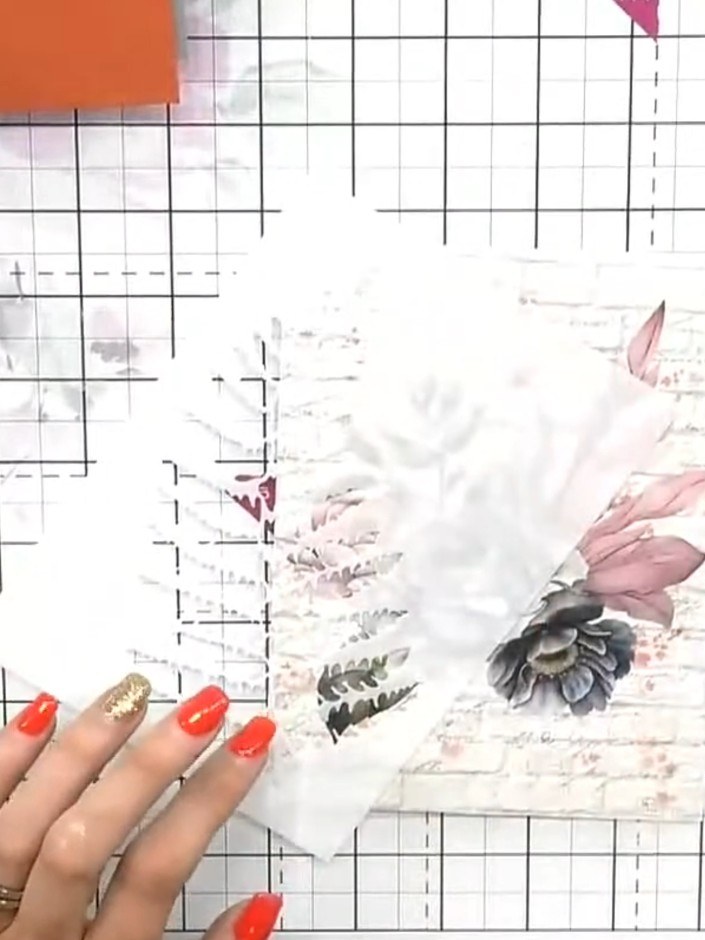
Place the vellum sheet inside the Magnolia embossing folder and run it through your embossing machine to create the embossed floral design.
▶ watch this step (34:30)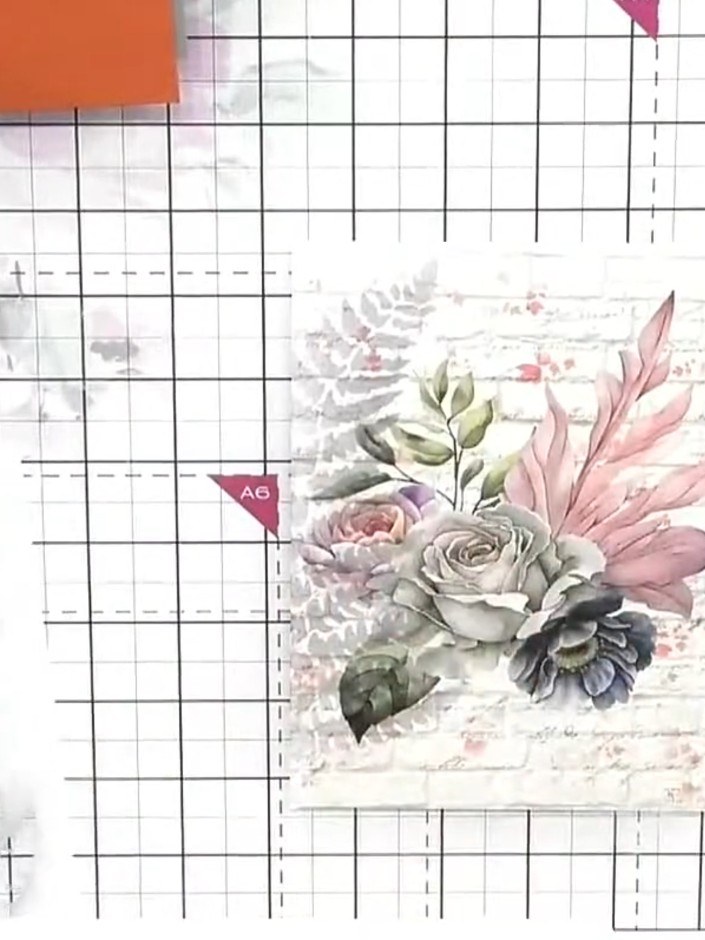
Trim the embossed vellum to fit neatly within the painted mount aperture, carefully tearing off any excess material around the edges.
▶ watch this step (35:00)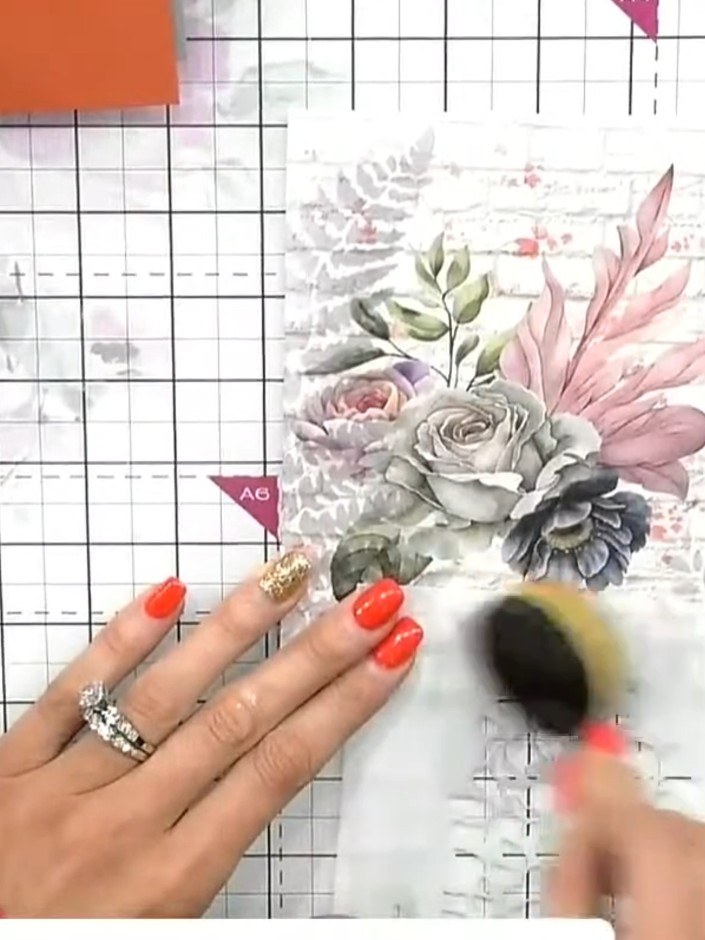
Use the fern stencil with black distress ink and a blending brush to add subtle shadow detail to one side of the painted mount background. Dab the ink lightly through the stencil to create a soft, shadowy effect.
▶ watch this step (35:30)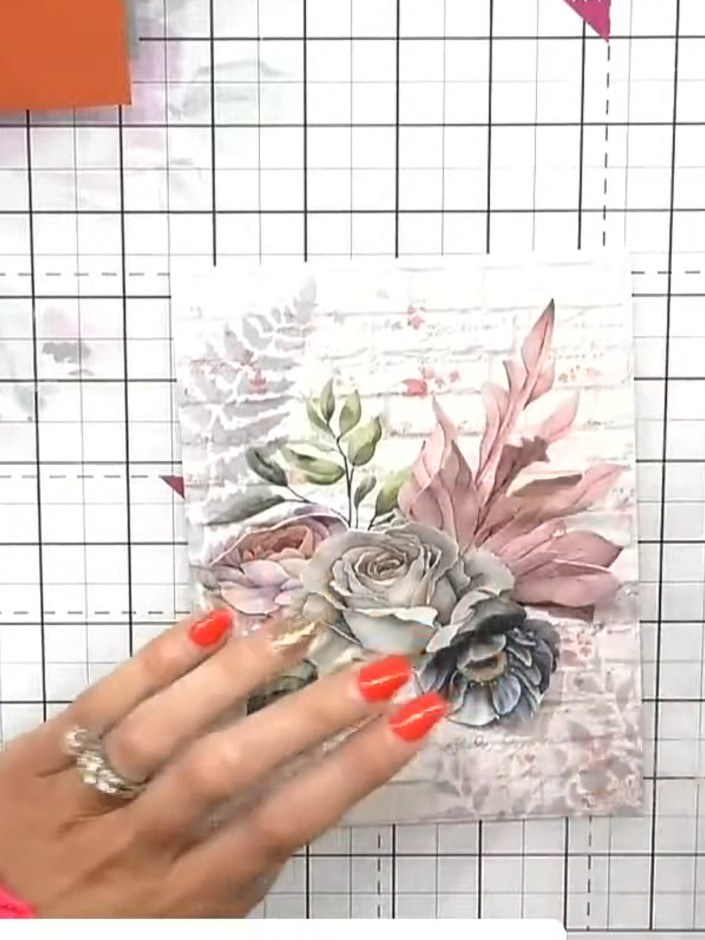
Use the floral stencil with black distress ink to add small floral detail near the bottom of the painted mount. Apply the ink lightly through the stencil to create subtle decorative elements.
▶ watch this step (36:00)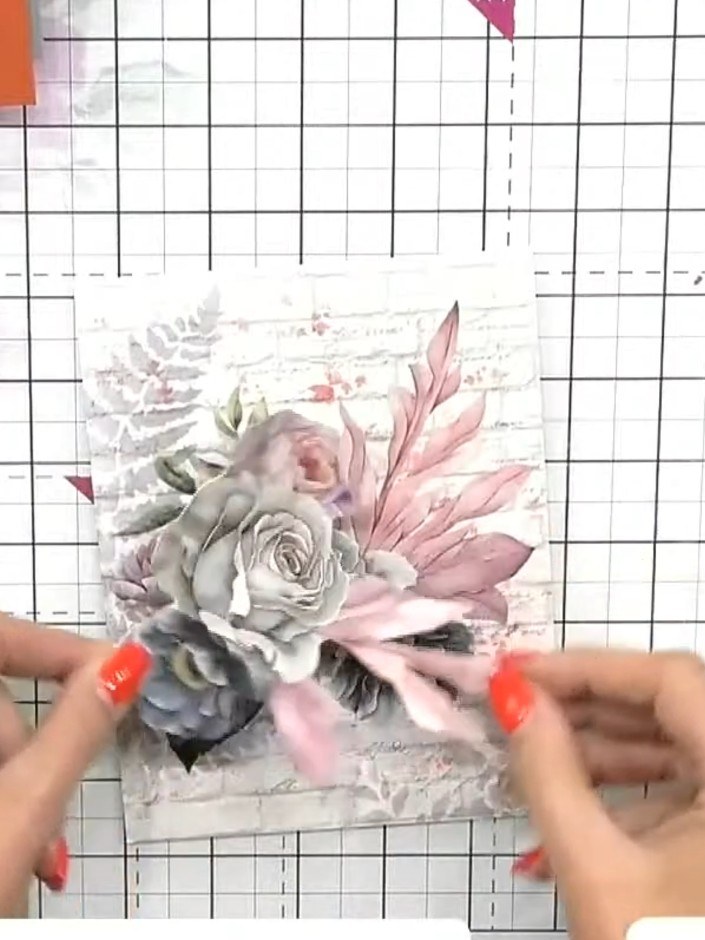
Highlight the embossed details on the vellum by gently swiping white ink pad across the raised floral areas. Work carefully to catch just the raised surfaces, creating a subtle highlighted effect.
▶ watch this step (36:15)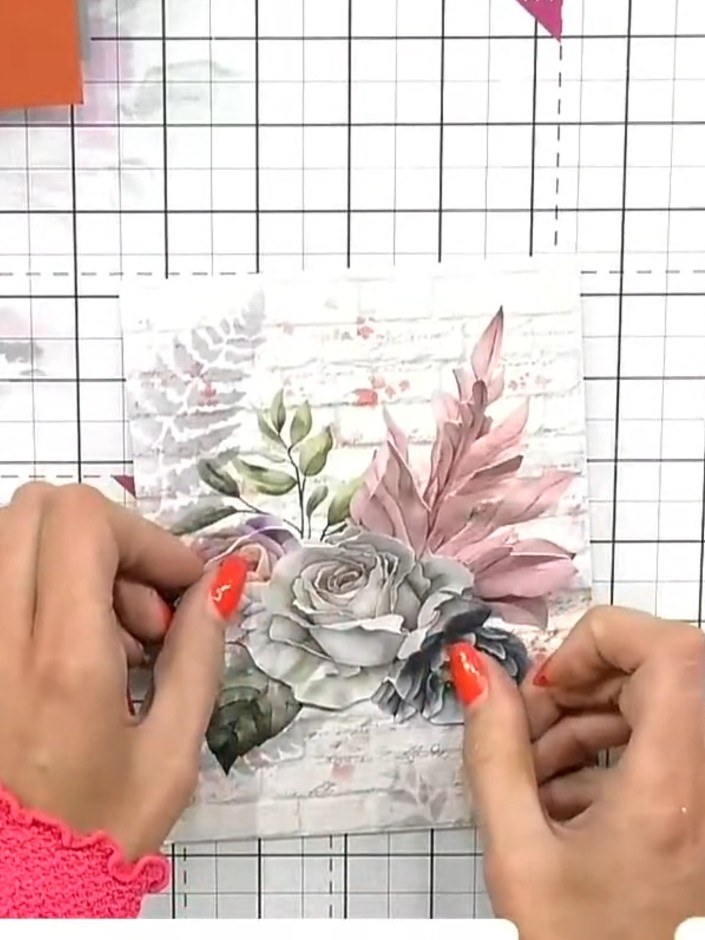
Soften the edges of the fussy-cut floral element by gently tearing around the perimeter to create a more natural, feathered edge.
▶ watch this step (36:45)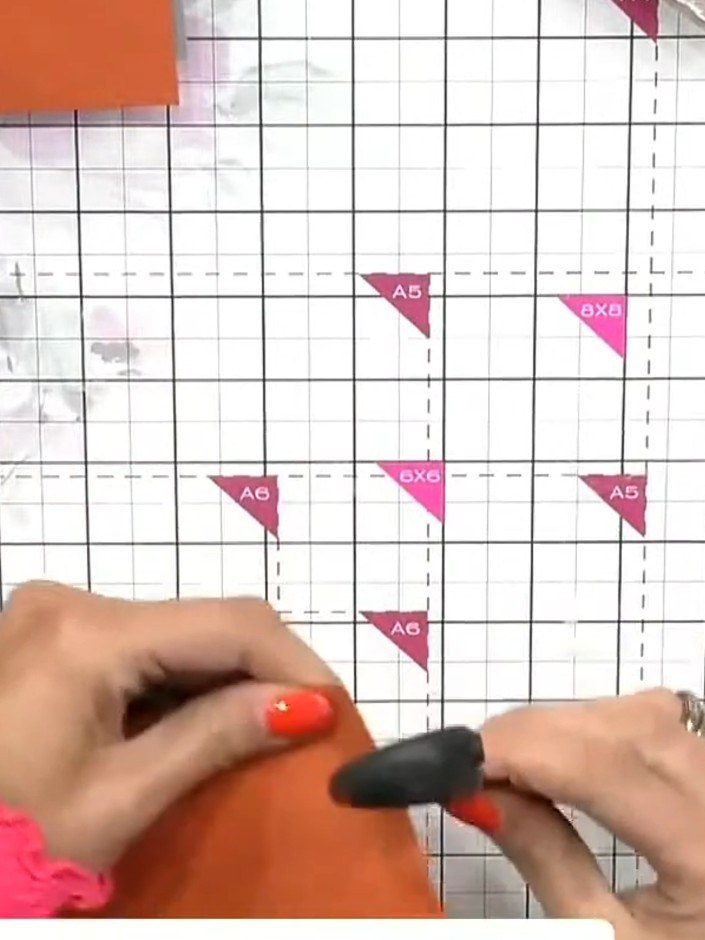
Apply adhesive to the back of the fussy-cut floral topper and position it off-centre on the vellum panel to create a natural bouquet effect.
▶ watch this step (37:00)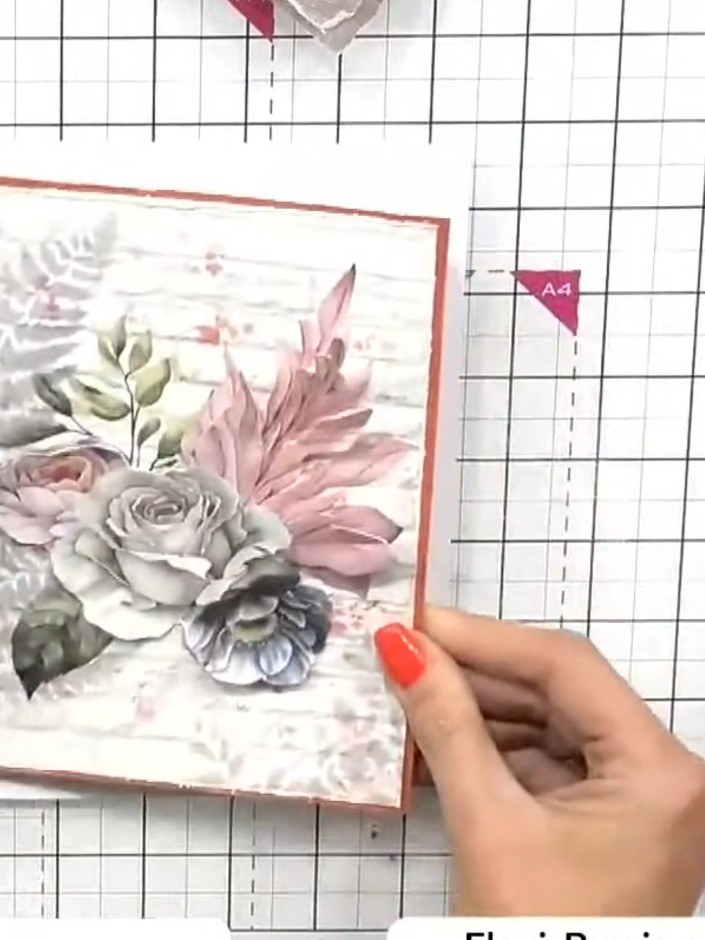
Mount the completed floral design onto a white card base using adhesive. Ensure the design is centred and pressed down firmly for a clean, professional finish.
▶ watch this step (39:00)Written up from the show itself. See every guide from our shows · free how-to guides · watch live on My Telly