Give your friends $10 off their first order!
Refer a FRIEND








A project from our live show CREATE AND CRAFT TV - Join Toni for her brand new SBM launch show 2 - broadcast 8th Jan 2024 · 01/08/2024 · watch it from 16:15
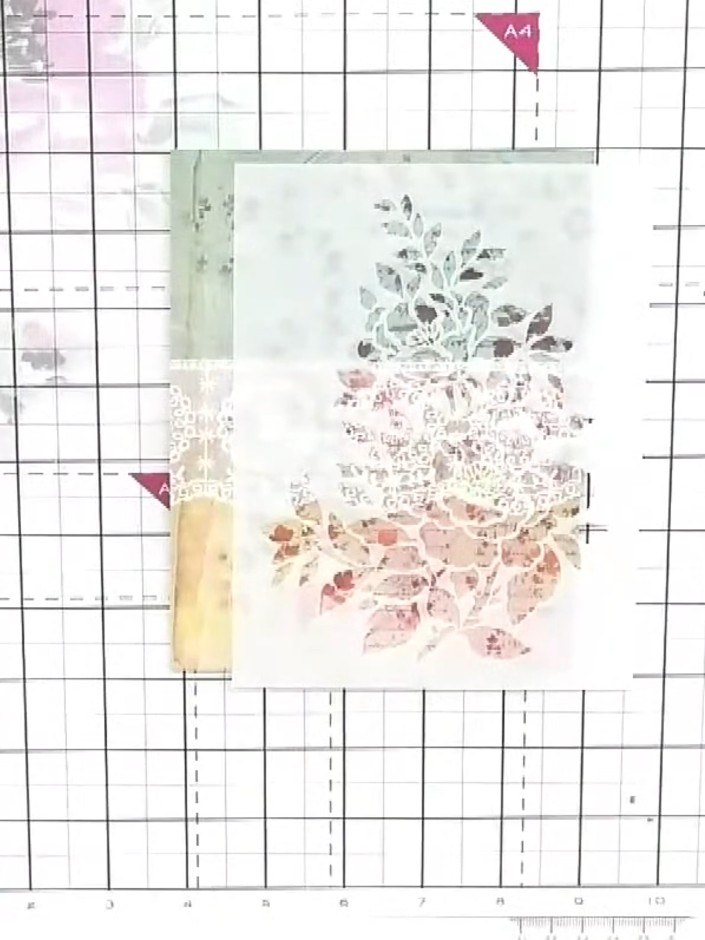
Create a beautiful layered card featuring a delicate fern design with multi-coloured ink blending in soft greens and blues. This project shows you how to build depth with colour, add white highlights to soften darker areas, and finish with colourless glitter for an elegant glass-like shimmer effect. The result is a sophisticated botanical card perfect for any occasion.
 Stamps By Me - Wistful Charm - 7 X 7 Paper Pad 140623BSEE IT
 Stamps By Me - Wistful Charm - 5 X 7 Stencil - Fern - 180723BSEE IT
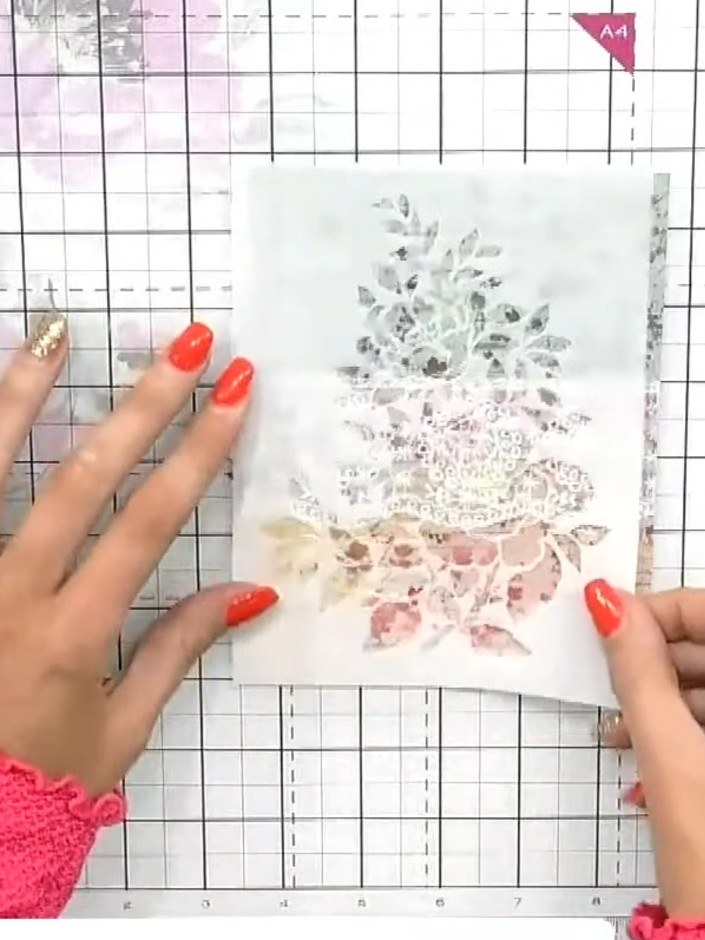
Cut a piece from the patterned paper featuring the lace border design. Position it on your card base, placing it where desired.
▶ watch this step (16:15)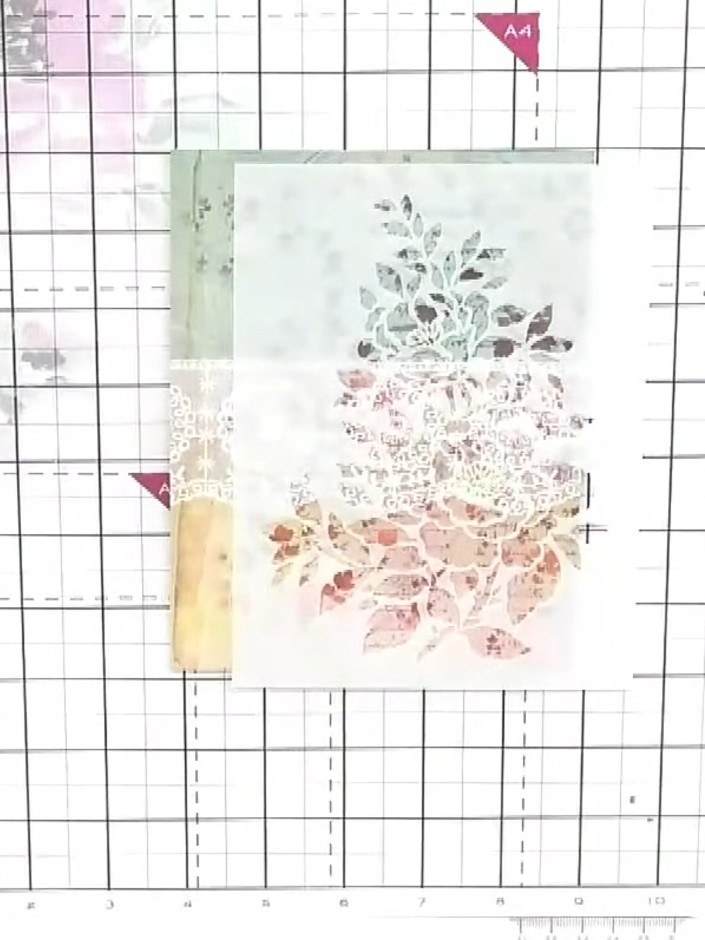
Position the fern stencil off-centre on the vellum paper, placing it slightly towards one edge rather than in the middle of the paper.
▶ watch this step (16:30)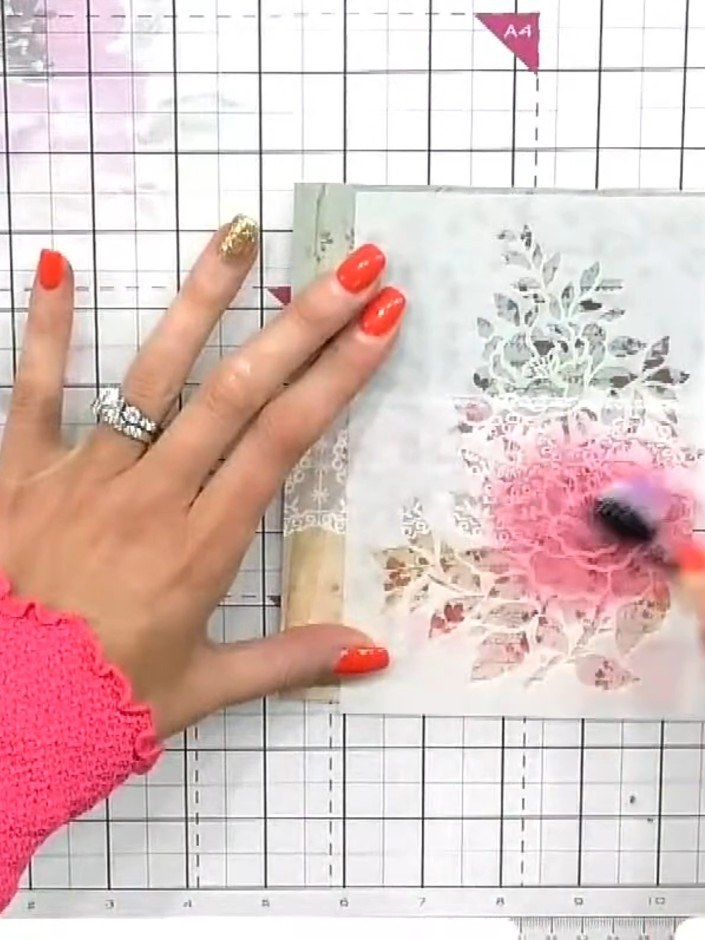
Tap the pink ink pad through the stencil using light taps, building the colour gradually. Work over the fern design area, keeping the stencil held firmly in place.
▶ watch this step (18:30)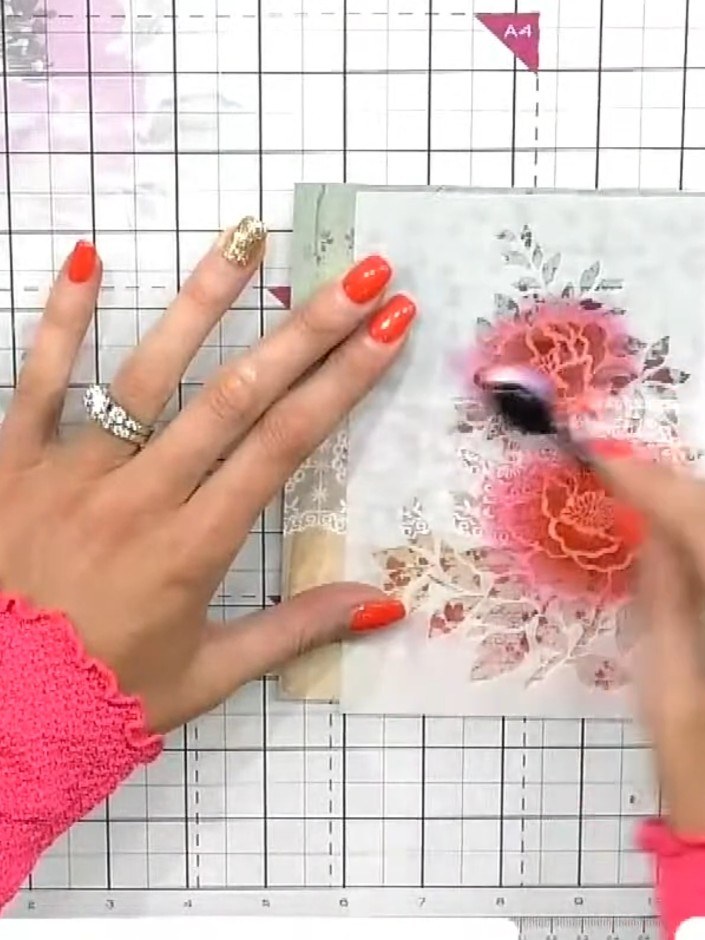
Apply orange ink around the fern area using a blending tool to create a halo effect, blending the colours together smoothly.
▶ watch this step (19:15)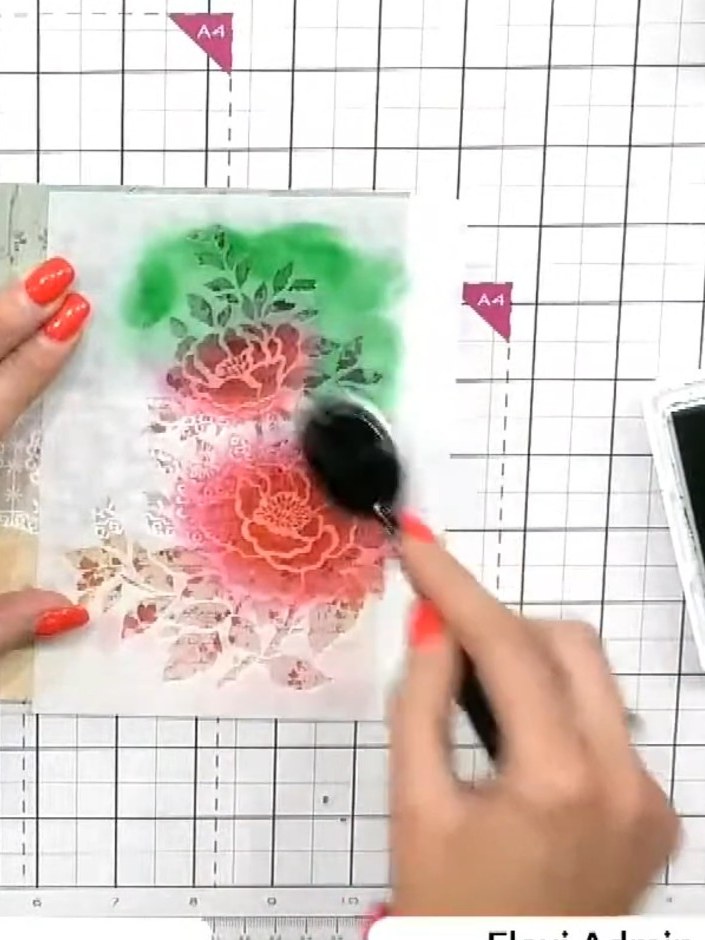
Using a blending brush, apply teal ink from the ink pad over the stencilled design to add depth and enhance the colour variety across the ferns and flowers.
▶ watch this step (19:30)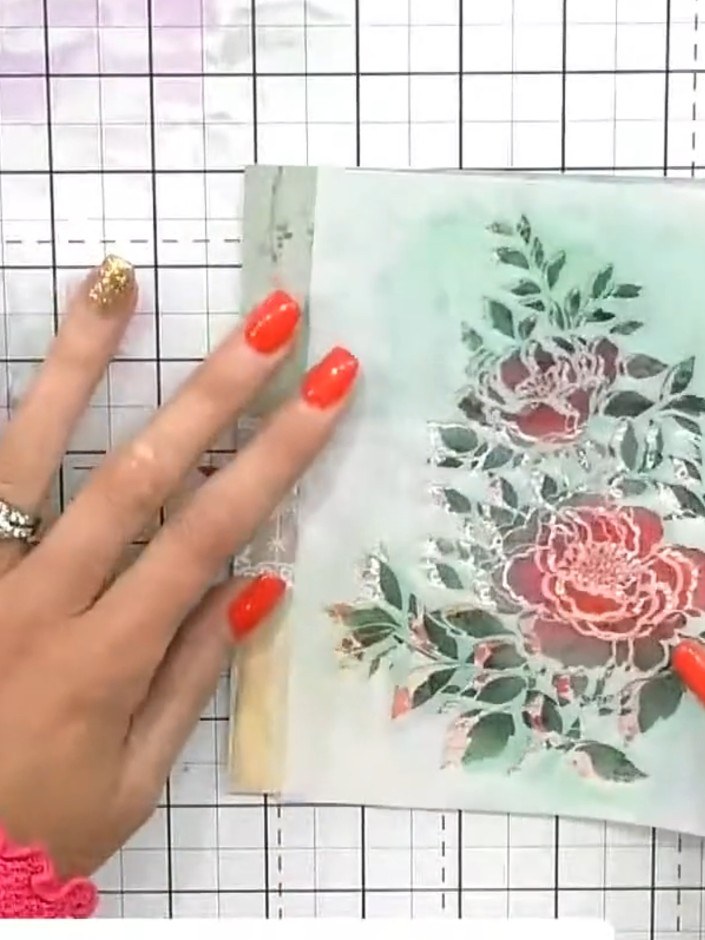
If the colour appears too dark, remove the stencil and use a clean brush with white pigment ink to gently push back the colour and soften the effect.
▶ watch this step (21:00)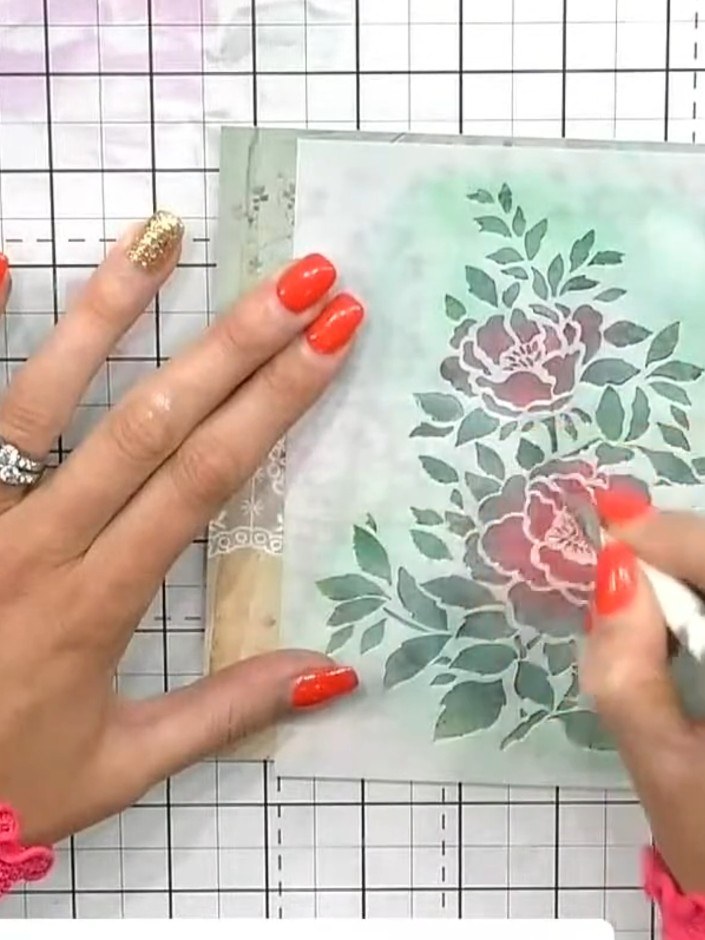
Using a glitter glue pen, apply colourless glitter glue randomly to some of the leaves on your stencilled design for a subtle shimmer effect.
▶ watch this step (22:30)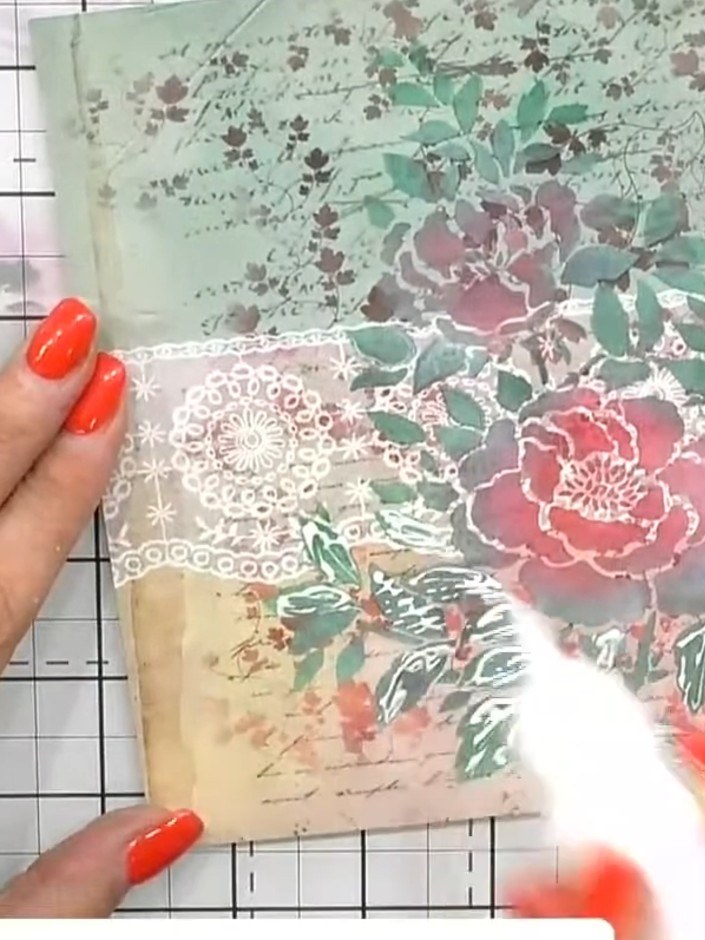
Allow the glitter glue to dry completely to reveal the glass-like finish without visible adhesive.
▶ watch this step (24:45)Written up from the show itself. See every guide from our shows · free how-to guides · watch live on My Telly