Give your friends $10 off their first order!
Refer a FRIEND








A project from our live show HOBBYMAKER TV - Join us for the latest show - Broadcast 1 p.m. (UK) 12th October 2026 · 10/12/2026 · watch it from 1:00:00
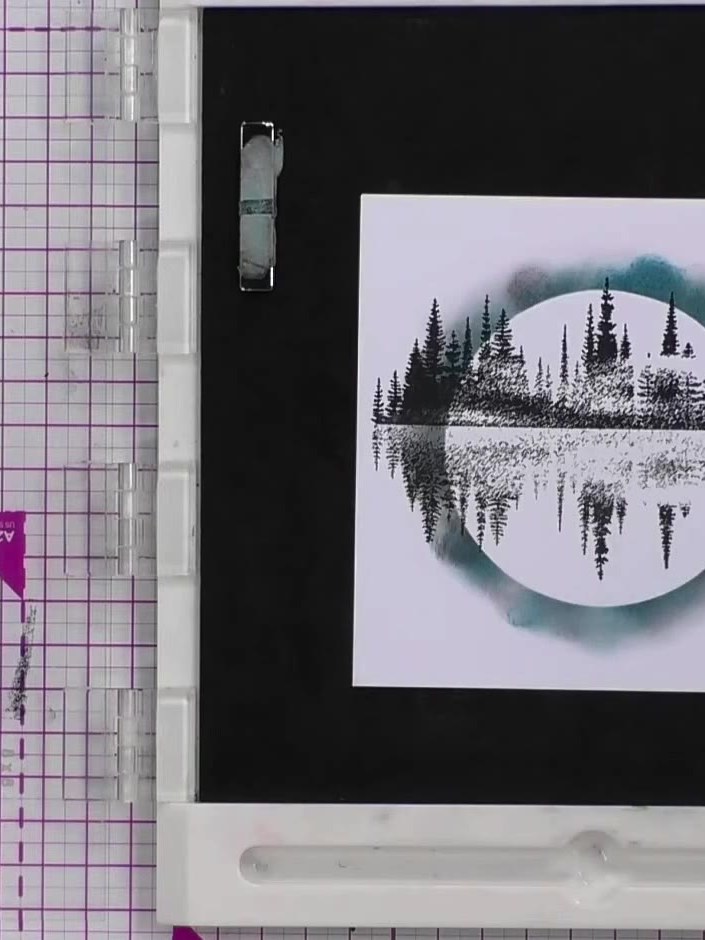
Create a stunning landscape card featuring a circular moon scene with reflected pine trees and a watercolour sky. This design uses the Reach for the Stars stamp set with layered inking in purple, teal and grey tones to create a dreamy, atmospheric effect. The reflection stamping technique adds depth and symmetry to this elegant winter landscape.
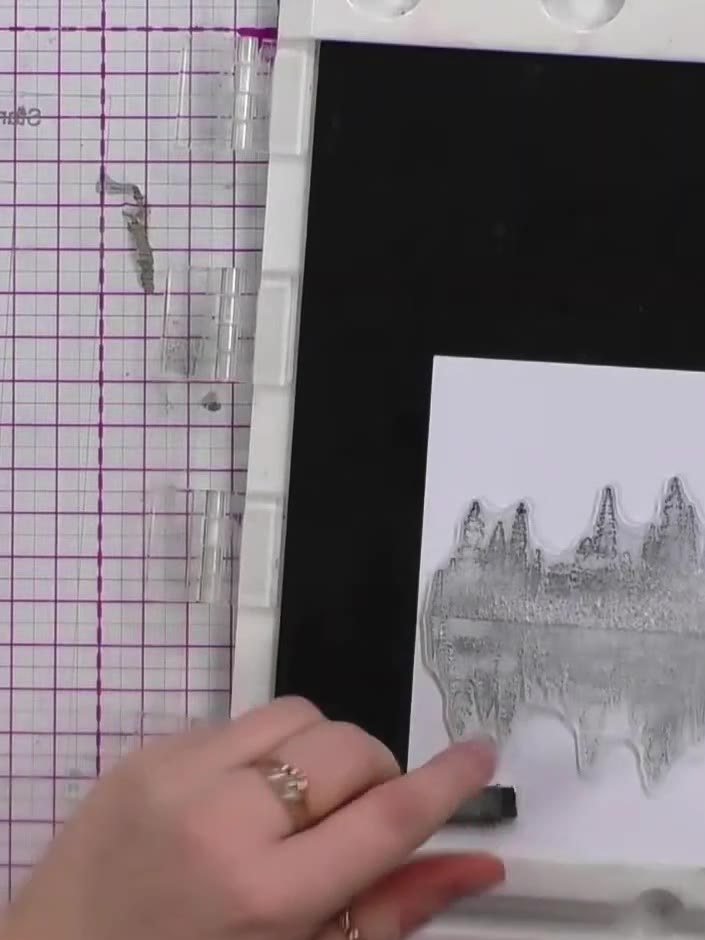
Using a stamping platform, stamp the landscape image across the white card panel with dark grey ink. Ensure the stamp covers the entire width of the panel, creating a mountain silhouette design.
▶ watch this step (1:01:00)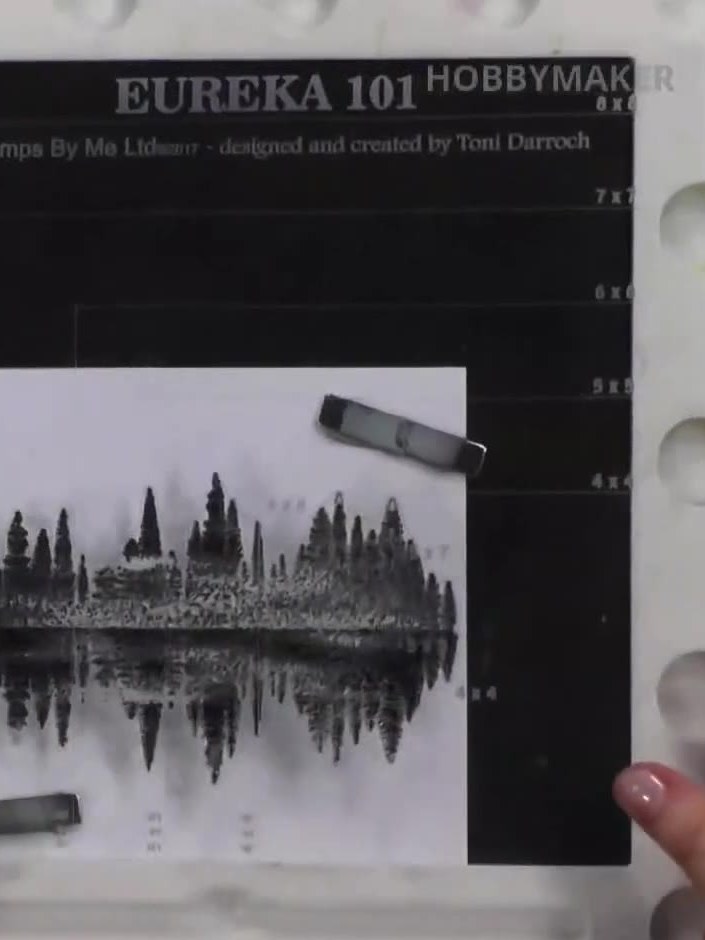
Stamp the same forest reflection image again, this time only stamping the top portion of the image. Press harder to create a darker, more concentrated impression at the top.
▶ watch this step (1:02:15)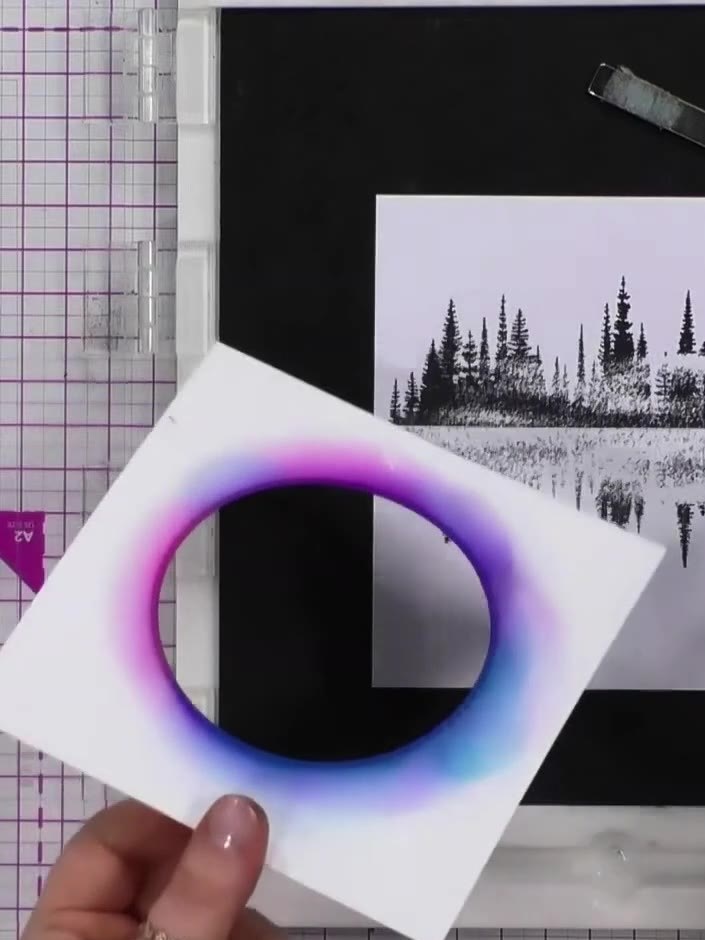
Turn the stamped piece 180 degrees so the darker stamped area appears at the top. This creates a natural reflection effect with the trees appearing above and their mirror image below.
▶ watch this step (1:02:45)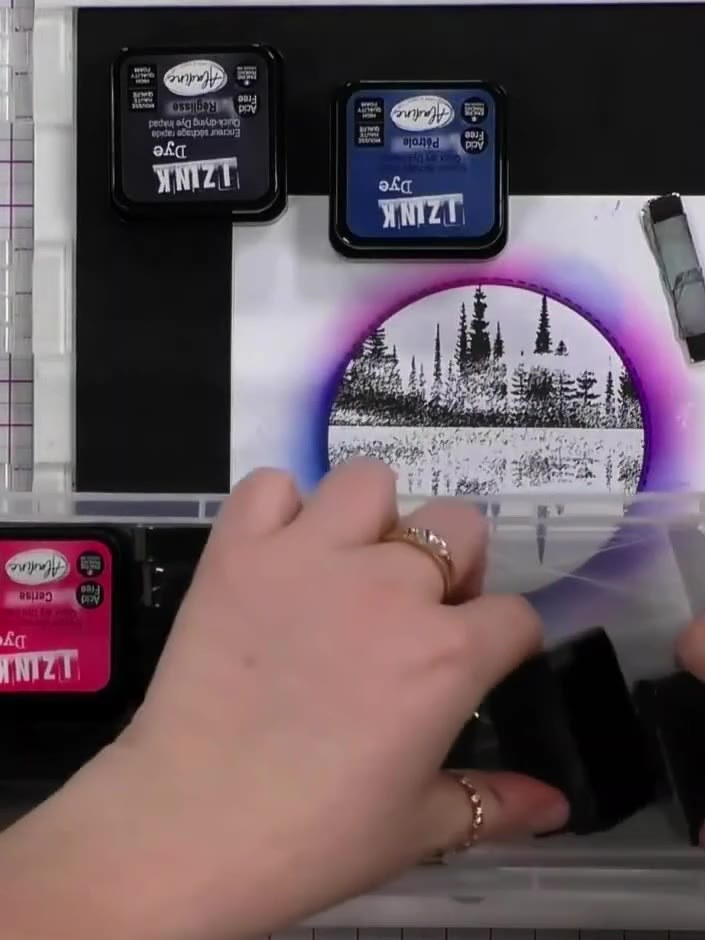
Layer a dirty piece of card or stencil over the top of your stamped circular image to create a shadow effect. Position it carefully to add depth to the landscape scene.
▶ watch this step (1:03:15)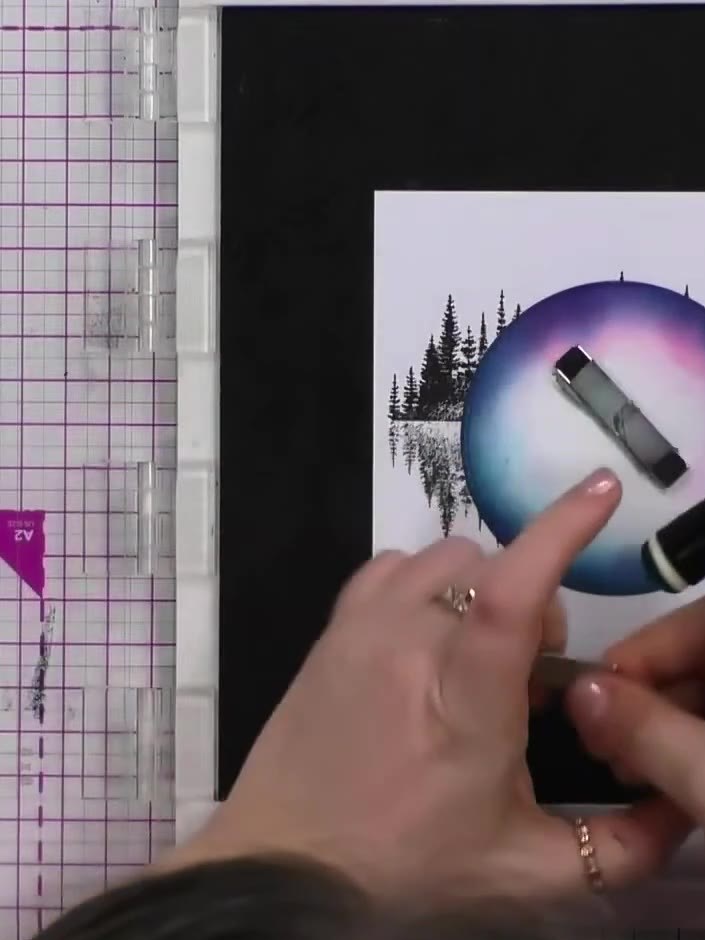
Apply dark blue ink around the outside edges of the circular stencil to create a shadow effect around the landscape reflection. Blend the ink outwards to create depth and dimension.
▶ watch this step (1:03:45)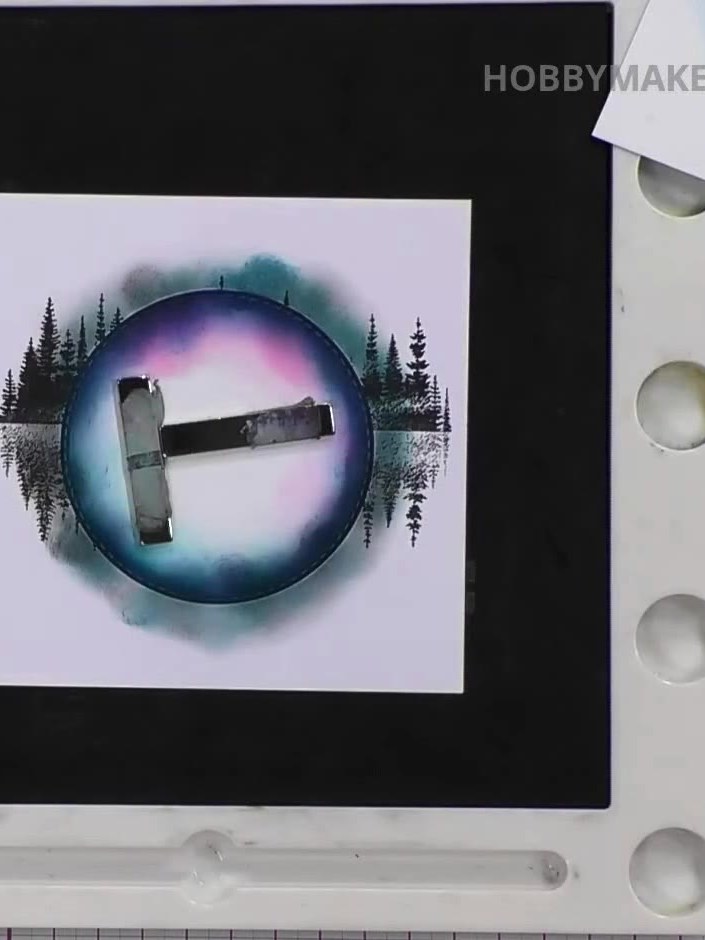
Apply lighter blue ink to the inside area of the circle to create the moon effect, leaving some areas lighter than others for variation.
▶ watch this step (1:04:15)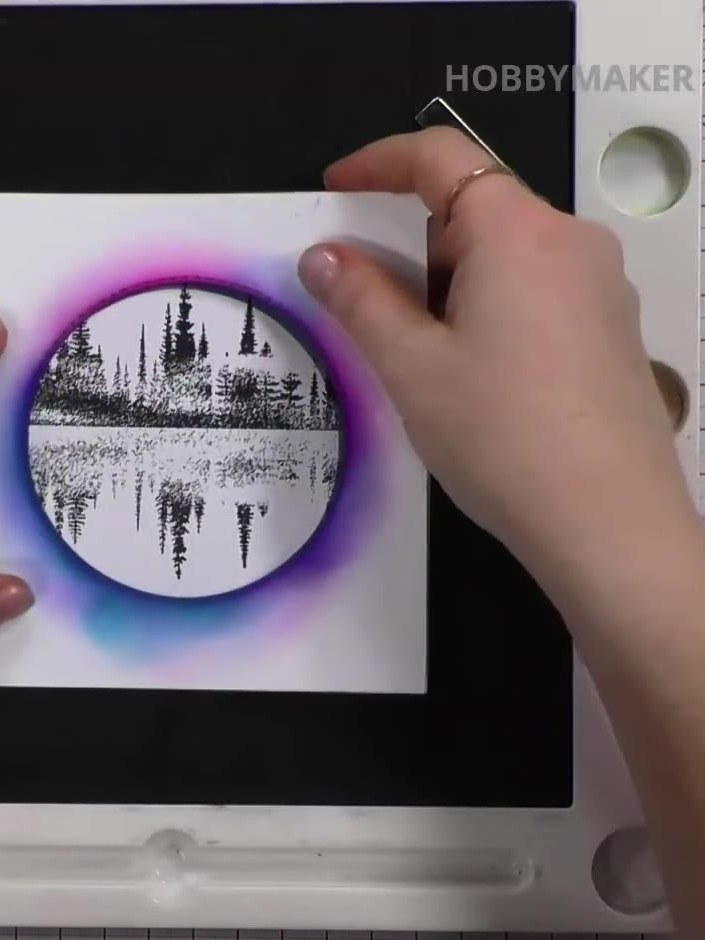
Add purple ink to the moon area to create additional depth and dimension. Blend the purple ink around the edges of the moon, working it into the existing colours for a seamless gradient effect.
▶ watch this step (1:04:45)Written up from the show itself. See every guide from our shows · free how-to guides · watch live on My Telly