Give your friends $10 off their first order!
Refer a FRIEND








A project from our live show HOBBYMAKER TV - Join us for the latest show - Broadcast 1 p.m. (UK) 12th October 2026 · 10/12/2026 · watch it from 31:30
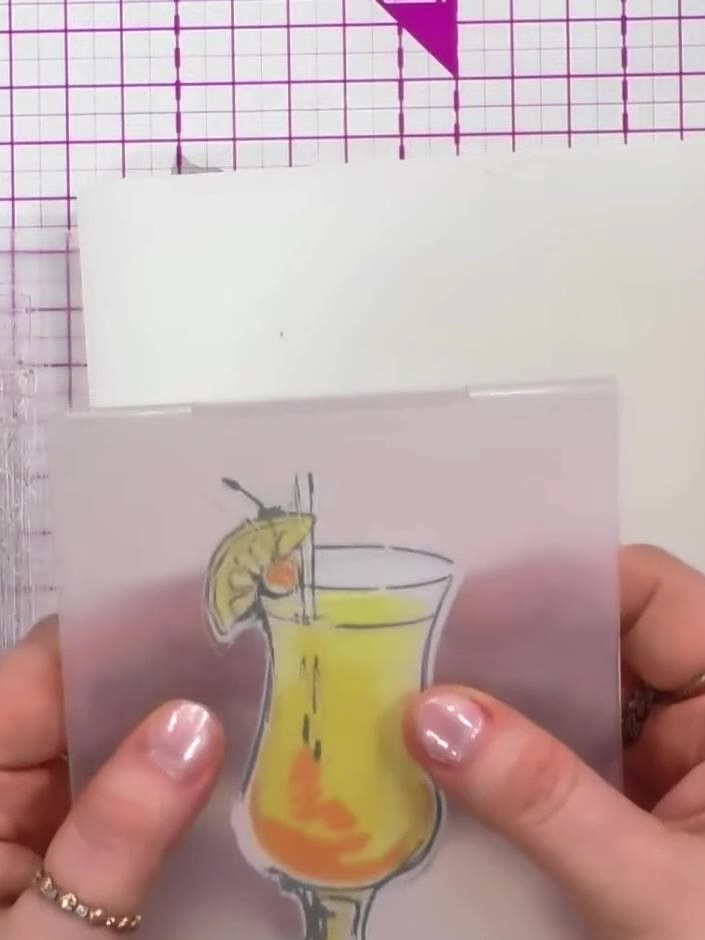
Create a vibrant layered cocktail card featuring a tequila sunrise drink with a beautiful gradient effect from yellow through orange to red. This eye-catching design uses the Quattro stamp set combined with stencilling, stamping, die-cutting and embossing techniques. The finished card showcases a realistic cocktail glass complete with garnish, perfect for celebrations or summer greetings.
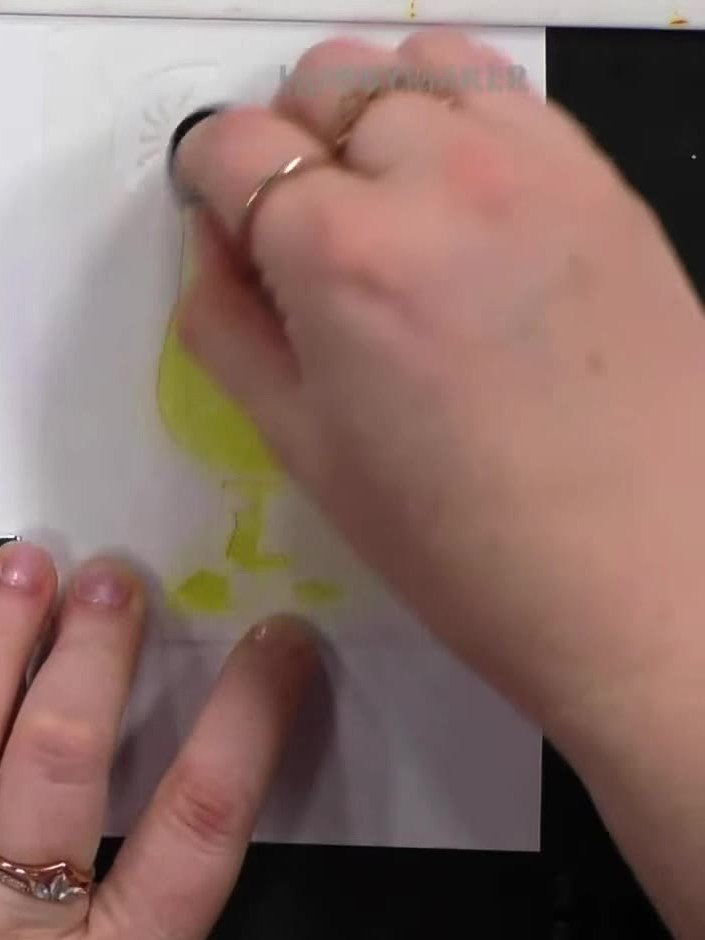
Position your first layering stencil (numbered 1) onto white cardstock. Using a yellow ink pad from the Tequila Sunrise set, lightly apply ink across the stencil in a dabbing motion.
▶ watch this step (32:00)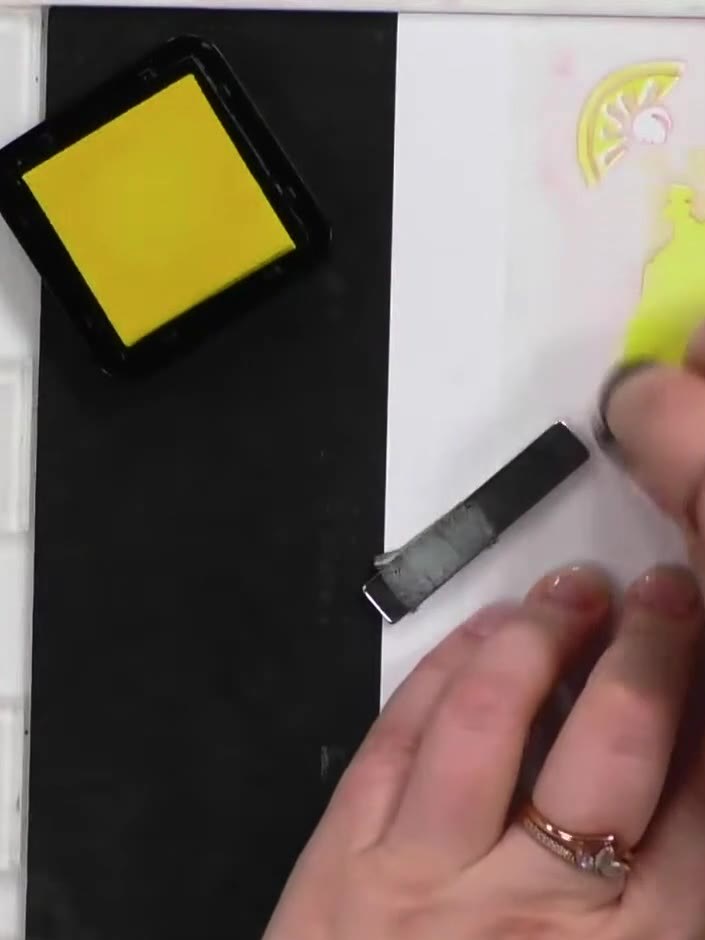
Line up the second layering stencil (numbered 2) using the heart registration marks and apply yellow ink again, this time more heavily to create a darker tone on the cocktail glass.
▶ watch this step (33:45)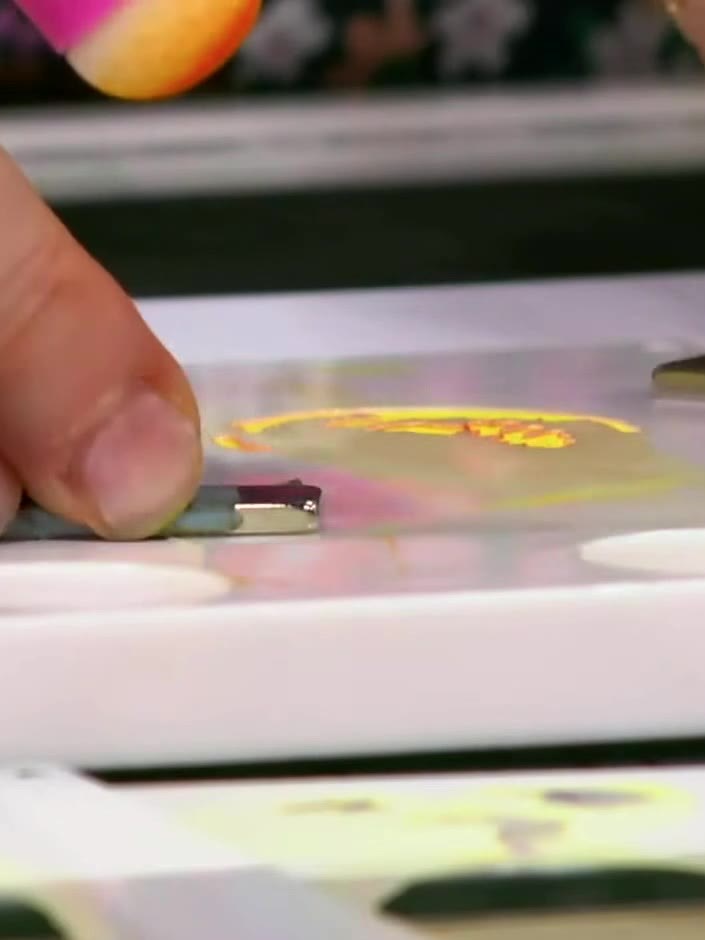
Position the third stencil over the cocktail glass design and apply orange ink to the bottom section using a blending tool, creating the orange layer of the tequila sunrise effect.
▶ watch this step (34:30)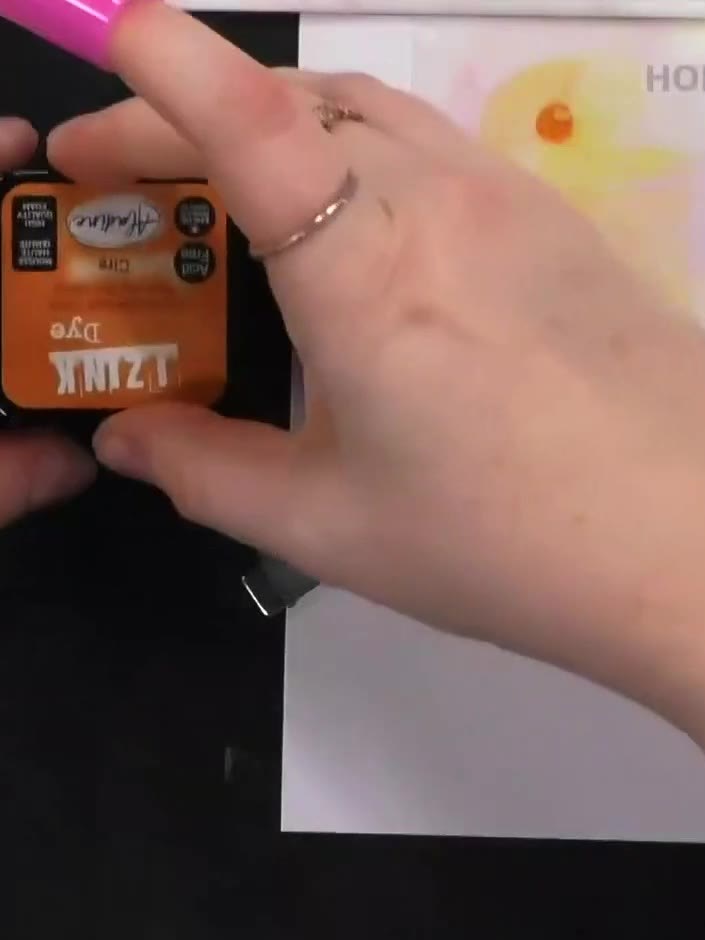
Stamp the cocktail glass image from the Tequila Sunrise stamp set over the top of your layered stencil work using dark grey or black ink. Position the stamp carefully to align with the blended colours beneath.
▶ watch this step (35:00)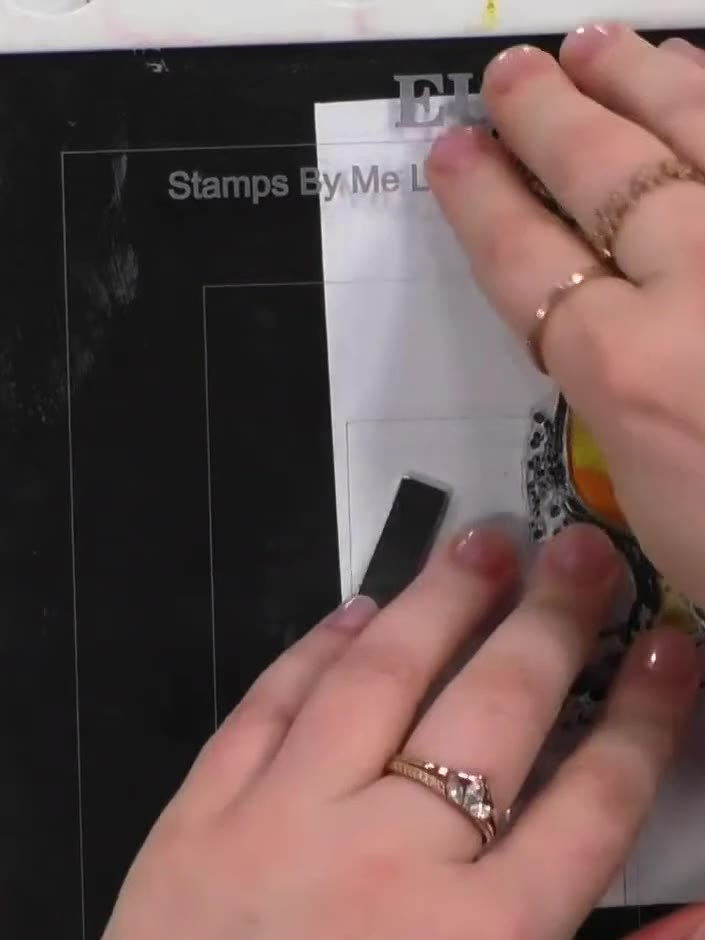
Place your stamped and coloured Tequila Sunrise image into the embossing folder, carefully aligning it with the raised and recessed areas inside the folder to ensure proper embossing.
▶ watch this step (36:30)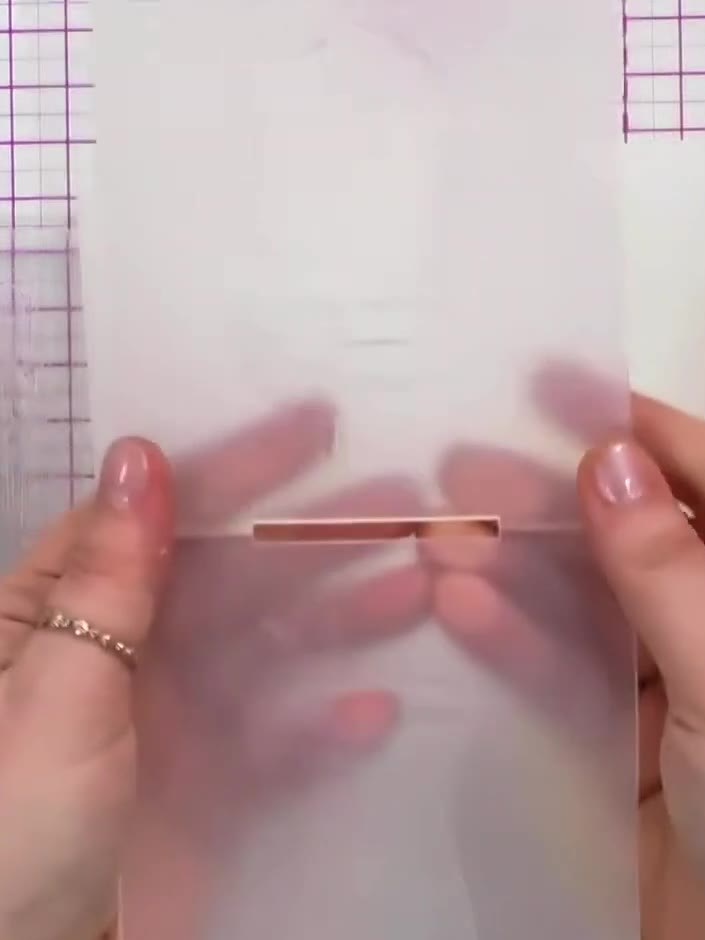
Run the embossing folder through your die-cutting machine to create the embossed detail on your card panel.
▶ watch this step (37:30)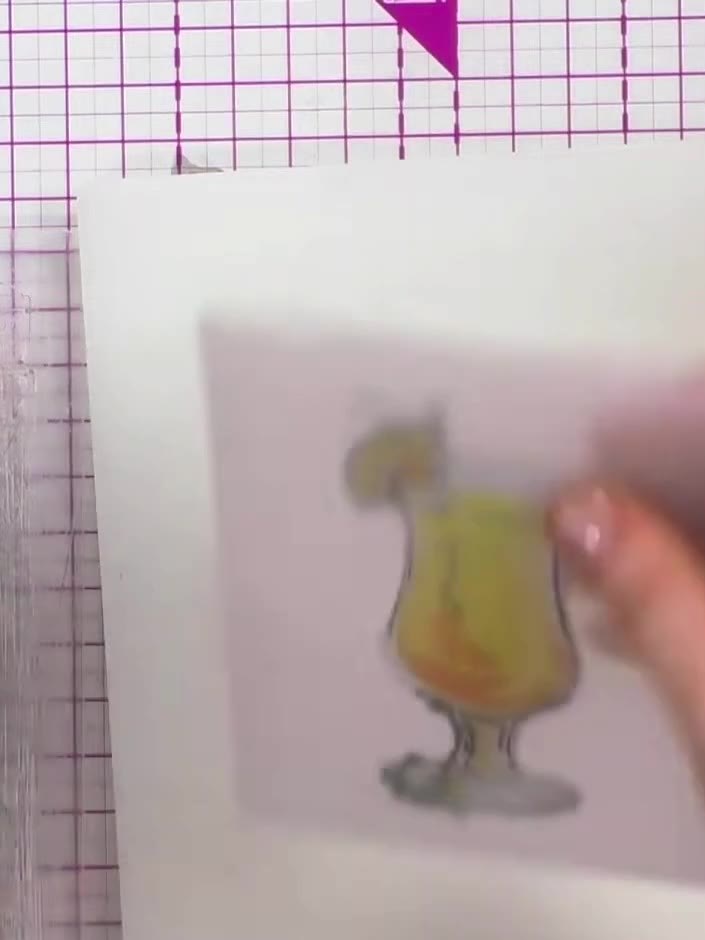
Remove the finished piece from the embossing folder. Turn it over to view the embossed detail from the back to see the full raised effect of the cocktail glass design.
▶ watch this step (38:00)Written up from the show itself. See every guide from our shows · free how-to guides · watch live on My Telly